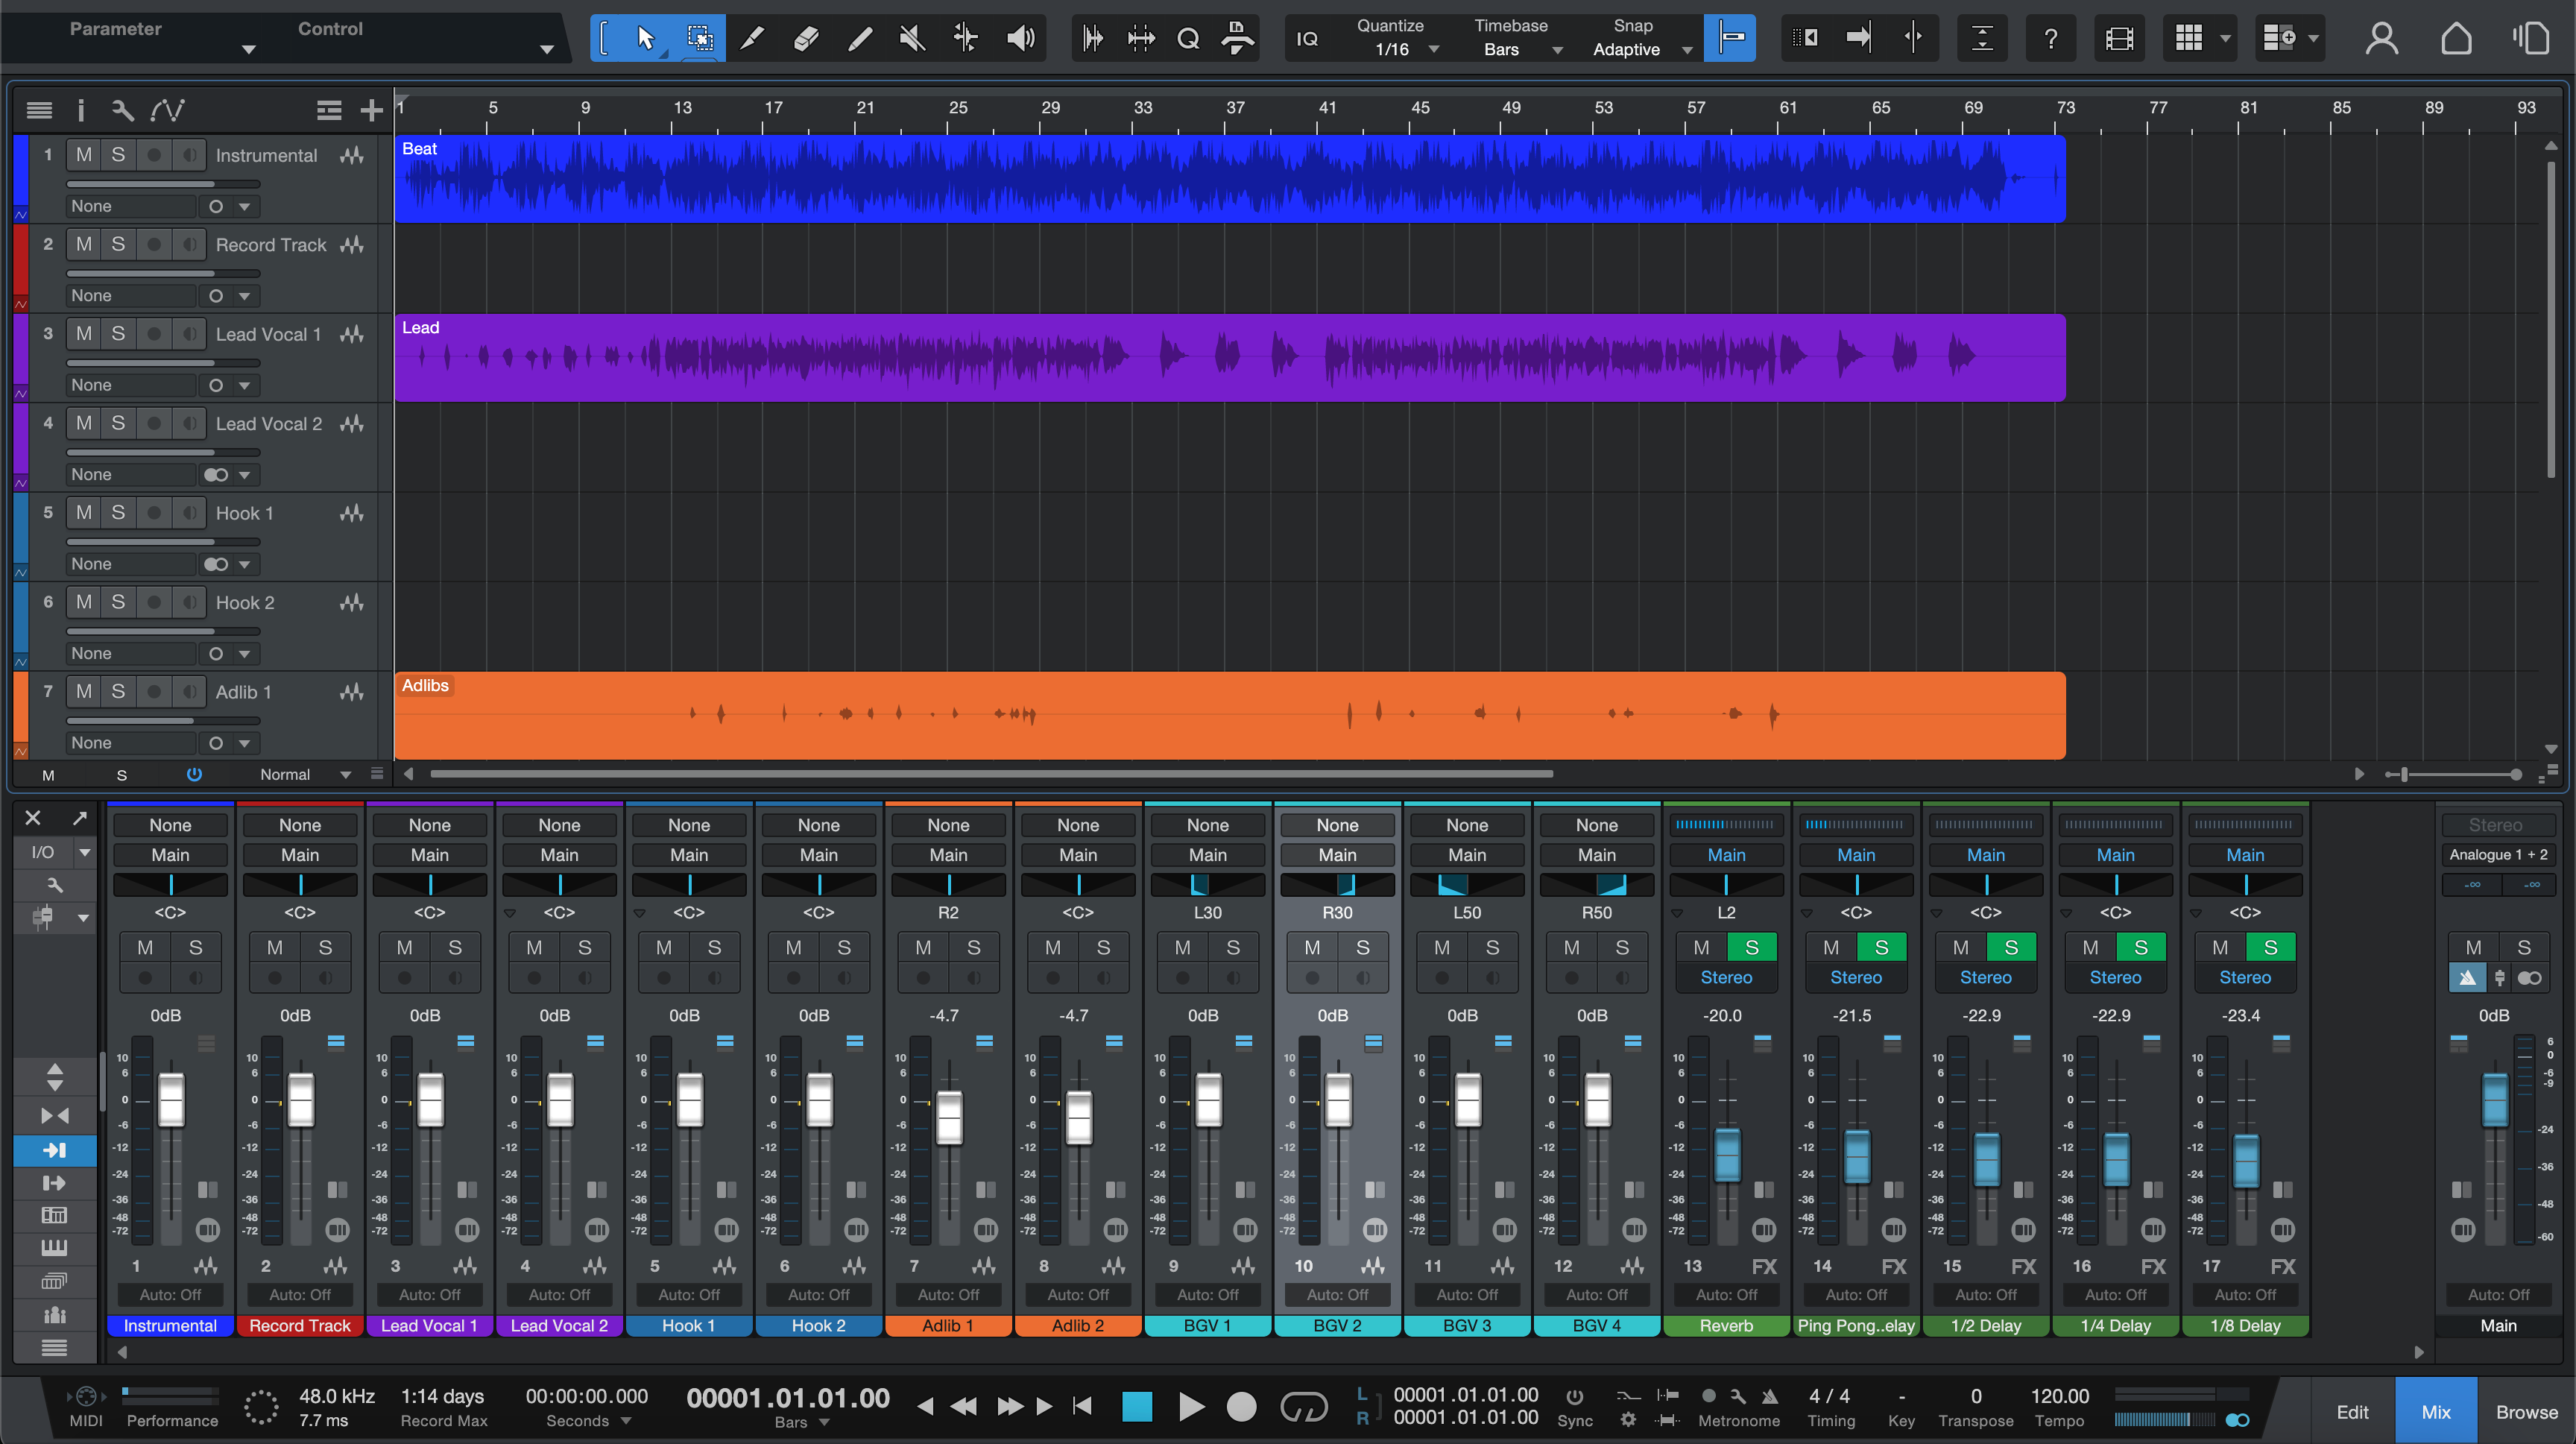
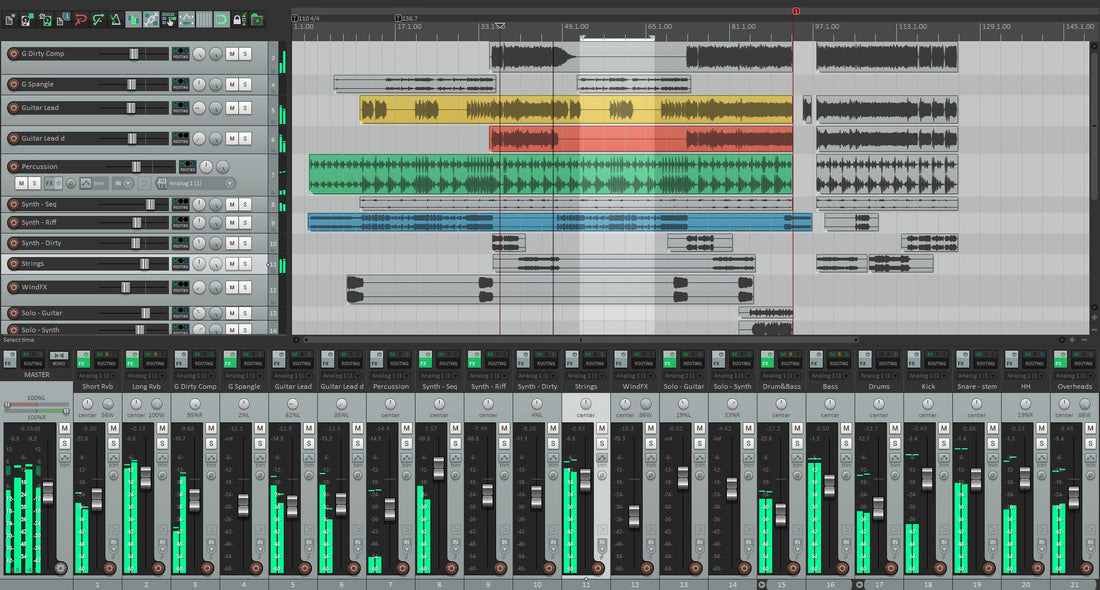
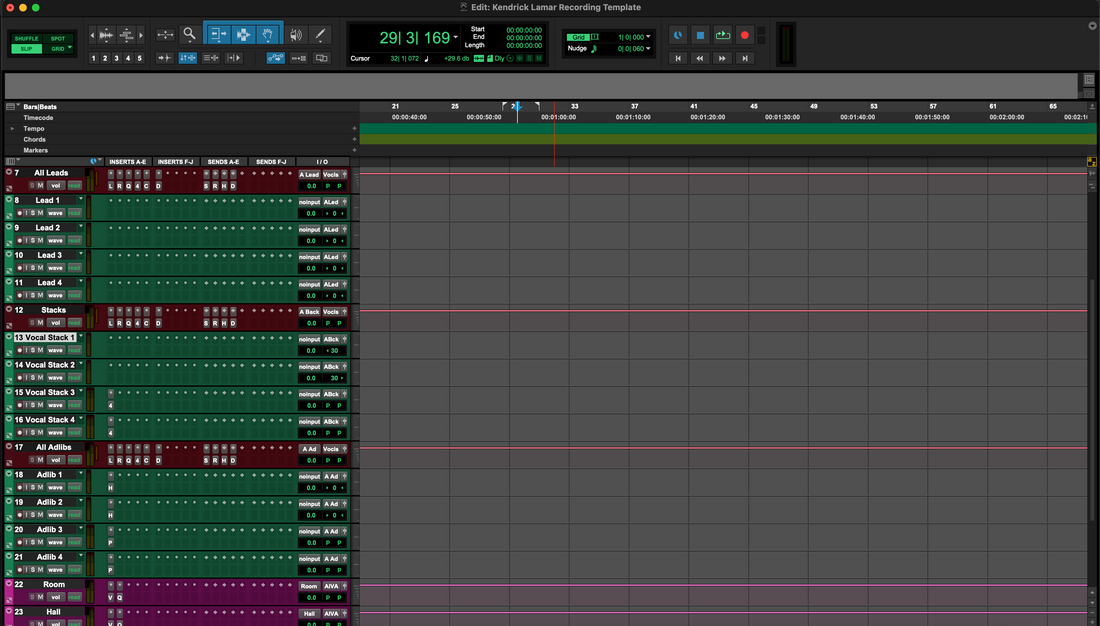
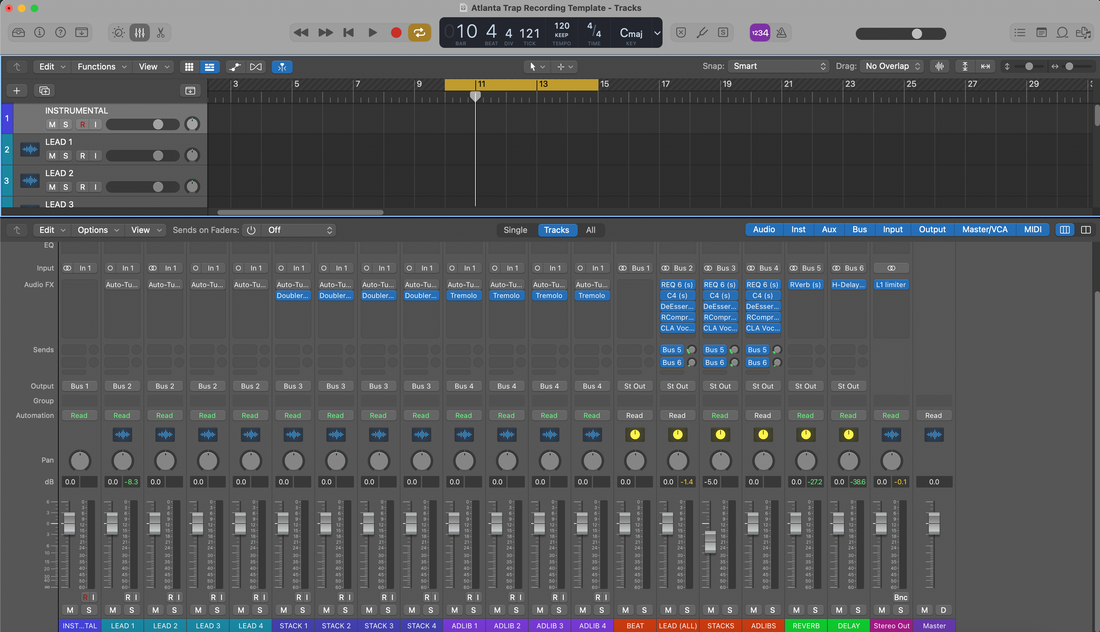
Studio One kan öppna direkt i en inspelningsklar studio—märkta vokalspår, en Vocal Bus, filtrerade FX-returer och cue-mixar som känns naturliga i hörlurar. Denna guide visar hur man installerar mallar på rätt sätt, var de finns och hur man bygger en ren, upprepningsbar layout för sång. Du kommer att lära dig Song Templates och Track Presets, låg-latensövervakning med Green Z/cue-sändningar, en tvåspårs beat-variant och snabba lösningar när något går fel.
1) Malltänk i Studio One (vad du egentligen sparar)
En mall är en genväg till en beprövad setup. I Studio One finns två huvudtyper:
- Song Template — ett komplett projektskal. Visas på Start Page under New Song. Innehåller spår, bussar, FX-kanaler, färger, klickinställningar, markörer och cue-mixar.
- Spår-/kanalförinställningar — spårnivåförinställningar för snabb insättning i vilken låt som helst. Perfekt för "Lead Vox", "Doubles Tight", "Ad-libs Phone" eller en full "Vocal Stack" sparad som en Multi Instrument/FX-kedja.
Behåll en eller två låtmallar (Vokal över 2-Track, Fulla stems) och ett litet bibliotek av spårförinställningar efter roll. Du kommer att arbeta snabbare utan att låsa dig till en enda layout.
2) Var mallar finns (så du slutar gissa vägar)
Du behöver inte leta i systemmappar. Använd kommandon i appen och låt Studio One hantera platserna:
- Spara som mall från vilken öppen låt som helst; den visas i Start-sida → Ny låt → Användare.
- Spår-/kanalförinställningar sparas/laddas från Bläddrarens Förinställningar-område. Högerklicka på en kanal för att spara eller hämta.
- Delbara kopior är bara .song-filer och förinställningsfiler. Zippa en mallmapp med eventuella anpassade IRs/samples i en sidliggande "Template Assets"-katalog så är du portabel.
3) Installera rutt A — Spara en låt som mall (den vardagliga vägen)
- Öppna en ren låt och bygg upp layouten du vill återanvända (se avsnitt 6–7 för kopplingar och kedjor).
- Gå till Arkiv → Spara som mall…. Namnge tydligt, t.ex. Vocal_Record_48k eller Dubs_2Track_48k.
- Lägg eventuellt till en bild och en beskrivning så att du snabbt kan hitta den på Start-sidan.
- Nästa gång, välj Ny låt → Användare och välj din mall. Spara genast Spara som… en ny mapp med namnet
Artist_Song_YYYY-MMså att originalet förblir orört.
Varför detta fungerar: Start-sidan blir din "mallväljare" och du rör aldrig systemvägar.
4) Installera rutt B — Drop-in Spår-/kanalförinställningar (spår på begäran)
Ibland är du redan i en klients session och behöver bara dina vokalspår. Använd Spår-/kanalförinställningar:
- I din bästa vokalsession, välj Lead-spåret (eller en summerad/busskanal om du använder en sådan). Högerklicka på kanalhuvudet → Spara förinställning. Namnge den LeadVox_StockClean eller LeadVox_Punch.
- Gör samma sak för Doubles Tight, Ad-libs Phone och din Vocal Bus.
- I vilken låt som helst, dra dessa från Bläddrarens Förinställningar till befintliga spår, eller högerklicka på en kanal och ladda dem.
Proffstips: Spara en "Vocal Stack" som en mapp-/bussförinställning om du föredrar att släppa hela riggen på en gång.
5) Installera rutt C — En delbar "masterkopia" (dra, duplicera, kör)
Team behåller ofta en enkel master .song i en delad mapp:
- Skapa Template — Vocal Record — 48k.song med dina kanaler och routing.
- Duplicera den filen för varje nytt projekt på OS-nivå, byt namn och öppna sedan. Det är inte lika elegant som Start-sidan, men det är universellt och lätt att zipa/dela.
6) Vokalens koppling: bussar, FX-kanaler och namn som fastnar
Struktur slår gissningar. Bygg en vokalram du kan lita på:
- Spår efter roll: Lead (mono), Boost Lines (mono—betoning på ord), Ad-libs (mono, panorera per sektion), Harmonier (stereo eller dual mono).
- Vokalbuss (Busskanal): routa alla vokalspår hit. Mjuk limning och en bred slutlig de-ess finns på denna buss; lämna Main ren under inspelning.
- FX-kanaler: Room (0,4–0,8 s), Slap (mono 90–120 ms), och Tempo Echo (1/8 eller prickad åttondel, låg feedback). Filterreturer: HPF ~150 Hz, LPF ~6–7 kHz så hörlurarna känns klara, inte brusiga.
- Ducking på delays: om du styr en kompressor på Slap från Lead, blommar upprepningar i luckorna istället för att ligga över orden.
- Markörer: Vers / Pre / Hook / Bridge, plus en 1-takts nedräkning för snabba punchar.
7) Inspelningskedja som håller sig ur vägen (och i tid)
Behåll sångarens känsla; spara tung polering till mixning. En pålitlig kanal ser ut så här:
- Lead-inserts: HPF (80–100 Hz) → Komp A (2:1–3:1; attack 10–30 ms; release 80–160 ms; 3–5 dB på fraser) → De-esser (bredbandig) → (valfri lätt färgning) → Komp B (1–2 dB på toppar) → liten närvarolyft endast om diktionen döljs.
- Boost: något högre HPF, lite mer de-ess, nedtonad −6 till −9 dB under Lead.
- Ad-libs: bandbegränsade (HPF ~200 Hz, LPF ~8–10 kHz) med lite mer Slap; panorera off-center per sektion.
- Vokalbuss: mjuk limning och en bred slutlig de-ess; ingen brickwall-begränsning under inspelning.
8) Låg latens-förtroende (Grön Z, Cue-mixar och ärliga hörlurar)
Latens förstör framträdanden. Använd Studio Ones övervakningsalternativ för att hålla tajt timing:
- Grön Z / Låg latens-övervakning: aktivera när tillgängligt (särskilt med kompatibla PreSonus-gränssnitt) för att kringgå tung look-ahead vid inspelning.
- Buffertar: 64–128 prover under tagningar; höj för mixning. Om du hör flanging/dubbling övervakar du genom hårdvara och mjukvara samtidigt—muta en väg.
- Cue-mixar: skapa Cue-sändningar från Vocal Bus eller Lead till hörlurar. Håll returer måttliga (liten Room + Slap) så att tonhöjd och timing känns naturliga.
- Gainmål: råa ingångstoppar runt −12 till −8 dBFS; efter inserts, toppar nära −6 till −3 dBFS. Lämna volym för mastering.
9) Tvåspårs beat-layout (sång över stereo instrumental)
När du bara har en stereobeat är klarhet viktigare än storlek. Behåll en dedikerad mallvariant:
- Spår: BEAT (stereo), Lead, Boost, Ad-libs, Harmonies, Vocal Bus, FX-kanaler.
- Beatkontroll: kör intros/hooks med eventgain eller en pre-fader-trim på BEAT-kanalen så du inte krossar Main senare.
- Rymdstrategi: mindre Room och lägre FX-sändningar än med stems; torrt lutande verser läses bättre. En liten throw på sista takten in i varje hook ger storlek utan suddighet.
10) Browser, färger och anteckningar (små saker som sparar timmar)
Gör sessionen självinstruerande:
- Palett: Lead = guld, Boost = orange, Ad-libs = blå, Harmonies = teal, Vocal Bus = mörkguld, Returns = lila.
- Namn: “Lead Vox,” “Boost Lines,” “Ad-libs,” “Harmonies,” “Vocal Bus,” “Room,” “Slap,” “Tempo Echo.” Undvik kryptiska koder.
- Anteckningar: fäst en textevent vid takt 1 med mikrofonavstånd, buffertmål och standard-sändningsnivåer. Alla spelar in snabbare när instruktioner syns.
11) Felsökningslista (ett symptom → en åtgärd)
- Mall saknas på startsidan: spara om via Arkiv → Spara som mall… (Användarfliken). Lägg till beskrivning och bild; starta om vid behov.
- Hör en dubblerad röst: stäng av hårdvaruövervakning eller sänk mjukvaruövervakning. Spela in med Green Z/låg latens och en slank kedja.
- FX-fördröjning vid inspelning: kringgå look-ahead-analysatorer och långa reverb; spela in med endast Comp/De-ess; lägg till polish vid mixning.
- Slap ligger på orden: lägg till lätt duckning—sidechaina en kompressor på Slap från Lead, 2–3 dB dipp, snabb release.
- S:s stickighet i hörlurar: bredda de-ess-bandet; sänk luftreglaget med 0,5 dB; lågpassfördröjningen återgår till ~6–7 kHz.
- Hook kollapsar i mono: håll Lead centrerad/torr; tryck bredden till dubbleringar/ad-libs, inte huvudspåret.
- Beat döljer rösten (tvåspår): trimma BEAT −1 till −2 dB och kör Lead +0,5 dB istället för att använda hård kompression.
12) Tio minuters uppbyggnad (kopiera detta till din första mall)
- Skapa låt: ”Template — Vocal Record — 48k.” Ställ in BPM/tonart om det är hjälpsamt.
- Lägg till spår: Lead (mono), Boost (mono), Ad-libs (mono), Harmonier (stereo). Färglägg och ordna dem.
- Skapa Vocal Bus (Bus Channel) och routa alla vokalspår till den.
- Lägg till FX-kanaler: Room (0,4–0,8 s), Slap (90–120 ms mono), Tempo Echo (1/8 eller prickad åttondel). Filtrera returer (HPF/LPF).
- Skicka standard: Lead låg Room + Slap; Boost lite mer Slap; Ad-libs mer Room och tillfälligt Echo-throw.
- Lead-kedja: HPF → Comp A → De-ess → (valfri färg) → Comp B → liten närvarolyft om behövs.
- Markörer: Vers / Pre / Hook / Bridge + en 1-bars nedräkning.
- Spara som mall och lägg till en kort beskrivning så att du (och samarbetspartners) vet vad som finns inuti.
13) Printning och överlämning (rent på första försöket)
Innan export, trimma början/slut och lämna naturliga reverberationer kvar. Printa Main, Instrumental och A Cappella med identiska start- och slutpunkter så versionerna stämmer överens i vilken DAW som helst. Dither endast när du skapar en 16-bitars leveransfil. Om du ska skicka stems, strama upp routingen nu – gruppera vokaler till Vocal Bus och musik till rena bussar – och följ sedan en dedikerad guide för att exportera stems från Studio One som går direkt in i en mixsession.
14) Där struktur möter ljud (lägg till din kedja en gång)
En Studio One Recording template kan hantera koppling och hastighet; tonen kommer från kedjan. Om du vill ha en polerad startpunkt som laddas med ett klick, lägg in utvalda Studio One vokalpresets i dina Lead/Boost/Ad-lib lanes, justera trösklar efter din röst och spara om mallen. Du börjar varje session närmare ”färdigt”, med utrymme kvar för smak och prestation.
15) FAQ (snabba svar du kommer återanvända)
Behöver jag tredjepartsplug-ins?
Nej. Bygg en standardmall först. Om du lägger till premiumverktyg, behåll en ”standard” variant för samarbetspartners.
Kan jag behålla flera mallar?
Ja – en för tvåspårs-vokaler, en för sessioner med stems och en för podcast/röstinspelning är en bra start.
Vad gäller samplingsfrekvens?
Behåll 44,1 kHz och 48 kHz versioner märkta i namnet. Lita inte på sista minuten-omprovtagning.
Hur högt vid inspelning?
Rå toppar runt −12 till −8 dBFS. Efter inserts, lämna headroom; ljudstyrka sker vid mastring.
16) Avslutning
Installera en Studio One Song Template så att Start-sidan öppnas i en studio som redan känner dig. Behåll Track/Channel Presets för roller du återanvänder. Rutta sång till en buss, filtrera dina returer och spela in med en slimmad kedja så att tajmingen förblir ärlig. Med den strukturen – och lane presets du litar på – kommer du att trycka på record snabbare och leverera renare mixar med färre revisioner.


