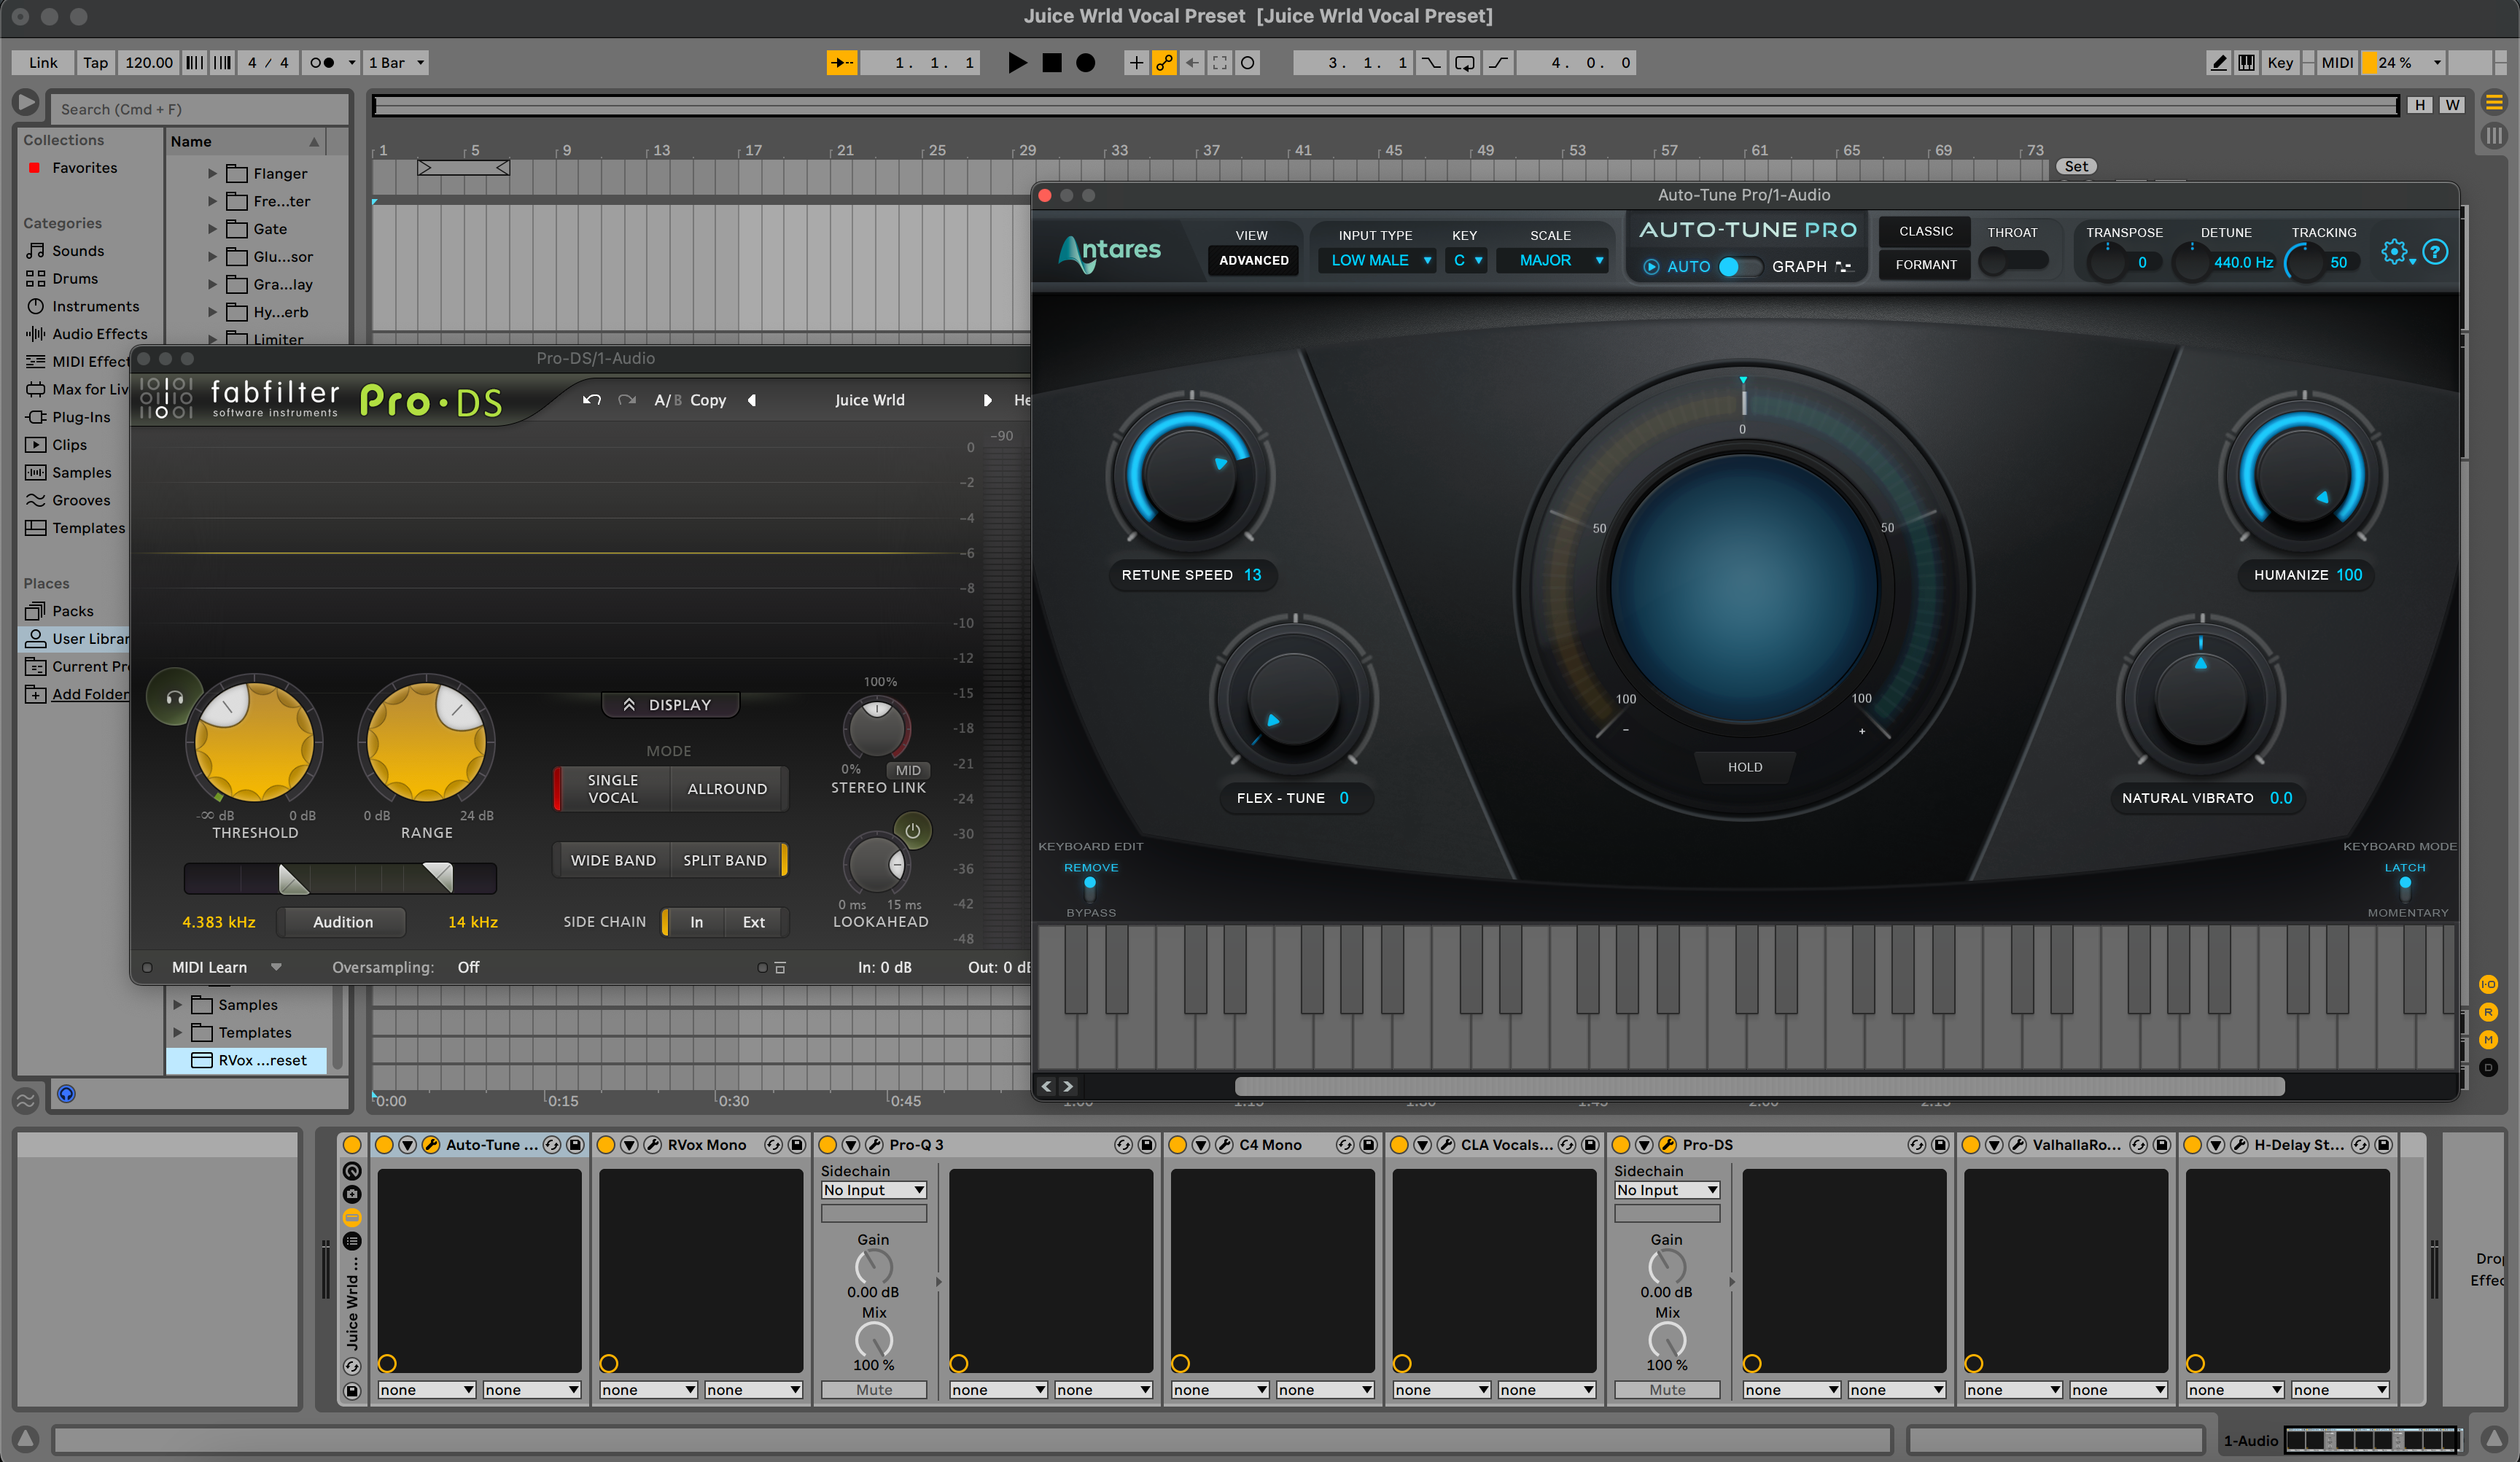
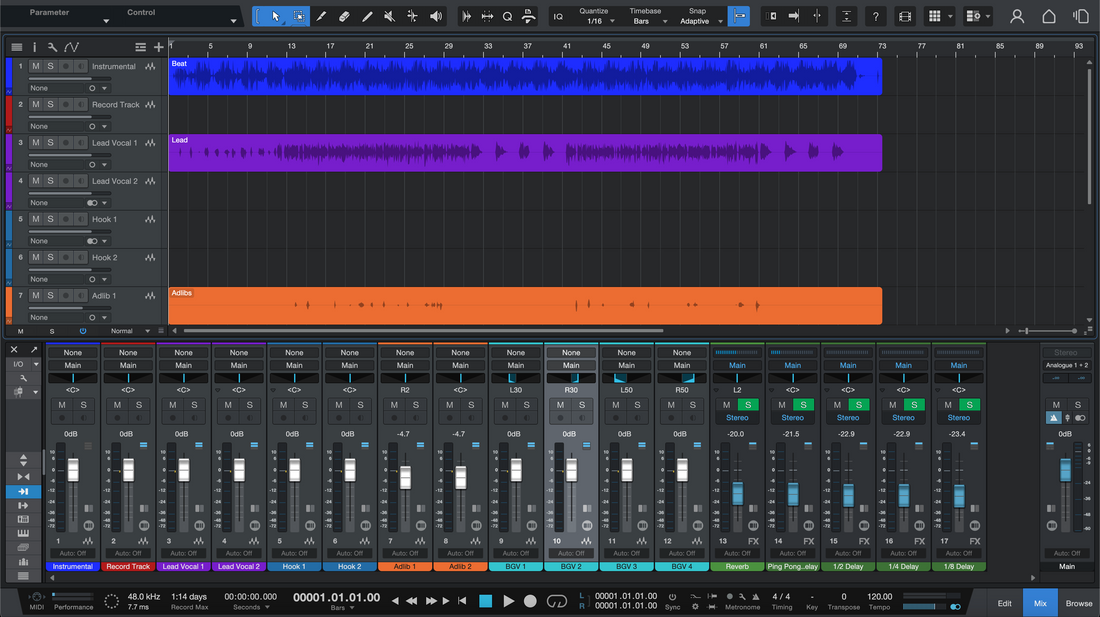
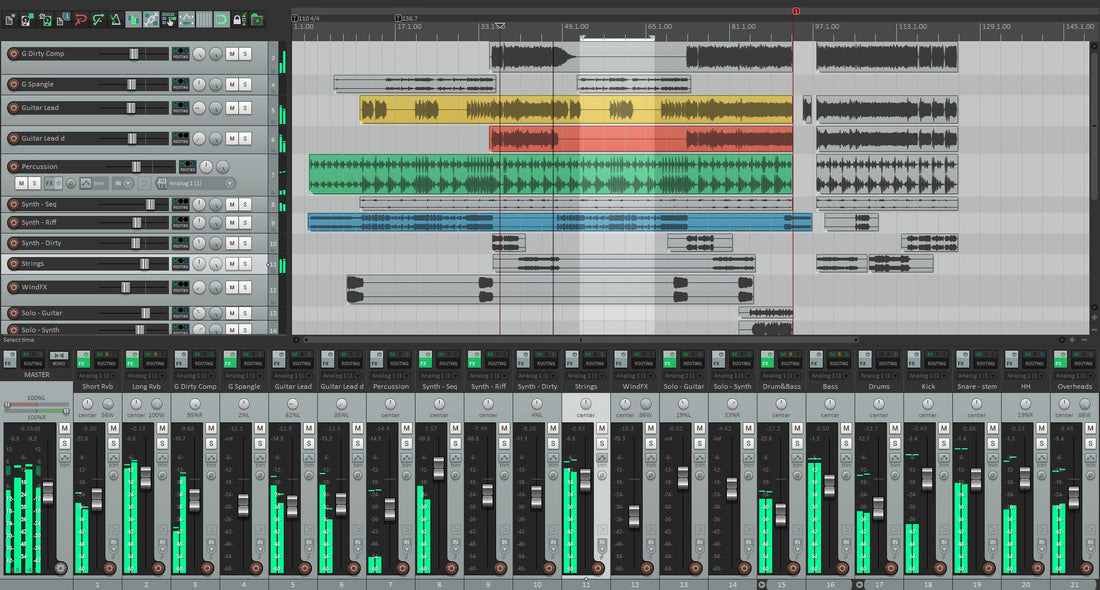
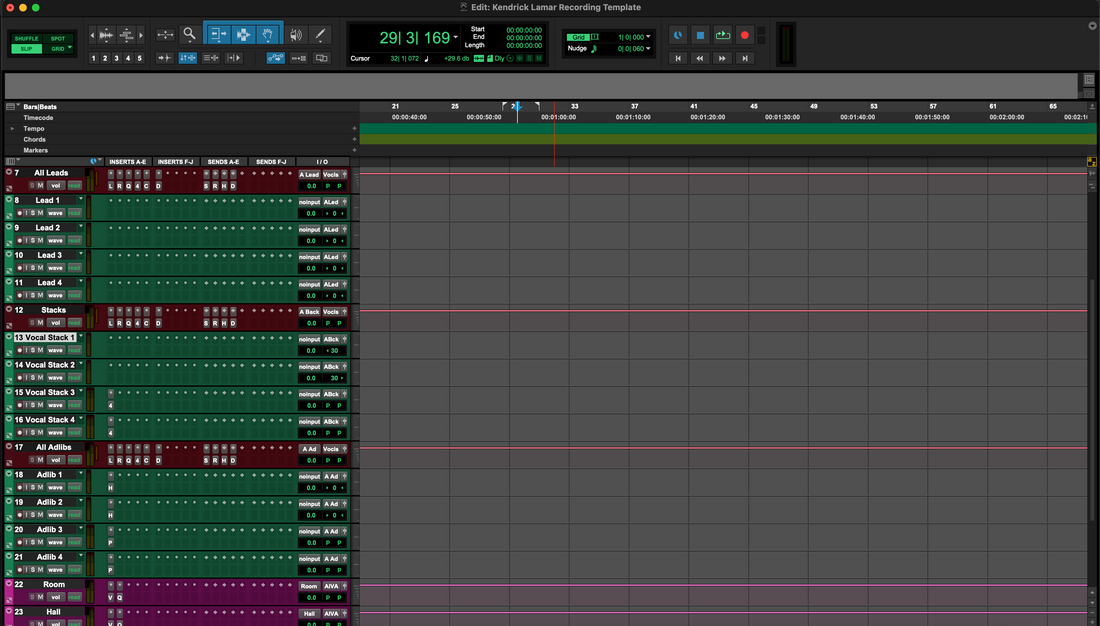
Ableton vokal ön ayarları, birkaç saniyede yükleyebileceğiniz önceden hazırlanmış efekt rafları ve zincirlerdir, böylece profesyonel bir vokal sesi elde edersiniz. Bu rehber, üç güvenilir kurulum yöntemini, kütüphanenizi nasıl organize edeceğinizi ve ön ayarları sesinize göre nasıl yükleyip özelleştireceğinizi gösterir. Ayrıca, raflarınızın ilk denemede çalışması için yaygın sorunlara hızlı çözümler öğreneceksiniz.
I. "Ableton vokal ön ayarları" aslında nedir
Ableton Live'da, "vokal ön ayarı" genellikle Audio Effect Rack olarak kaydedilen .adg (Ableton Device Group) dosyasıdır. Bazı paketler ayrıca şunları içerir:
-
.adv— tek bir stok efekt için cihaz ön ayarı. -
.als— önceden yapılandırılmış bir vokal parçası veya şablon oturumu içeren bir Ableton Seti. - Dokümantasyon, demo ses veya resim içeren klasörler.
Raflar sadece stok efektler veya stok ve üçüncü taraf eklentilerin karışımını kullanabilir. Bir ön ayar sahip olmadığınız eklentilere referans verirse, Live eklenti kurulup taranana kadar yer tutucu gösterir.
II. Başlamadan önce: hızlı gereksinimler
- Live 11 veya Live 12 kurulmuş ve güncellenmiş.
- Ön ayar paketini açmak için yeterli disk alanı.
- Üçüncü taraf eklentiler (ön ayar tarafından gerekliyse) kurulmuş ve lisanslanmış.
- Live → Tercihler > Eklentiler bölümünde kullandığınız formatları etkinleştirin (VST3 ve macOS'ta AU), sonra Yeniden Tara.
- Kullanıcı Kütüphanenizin nerede olduğunu bilin (Tercihler → Kütüphane).
III. Ableton vokal ön ayarlarını yüklemenin üç yolu
Yöntem A — Tek bir ön ayarı sürükleyip bırakma (en hızlı)
- İndirmenizi açın. Klasör yapısını koruyun.
- Live'ı açın. Boş bir Audio parça oluşturun.
- Sürükleyin
.adg(veya.alstemplate) Finder/Explorer'dan doğrudan parçaya sürükleyin. - Live, rafı anında yükler. Makrolar cihaz zincirinin üstünde görünür.
- Daha sonra kütüphanenize kaydetmek için, raftaki disk simgesine tıklayın ve net bir isim seçin (örneğin, "Pop Lead – Smooth Air").
Ne zaman kullanılır: ön ayarları hızlıca dinlemek veya sadece birkaç favoriyi tutmak istediğinizde.
Yöntem B — Tüm klasörü Yerlere ekle (yıkıcı olmayan)
- Ön ayar paketini kalıcı bir konuma zipten çıkarın (örneğin,
Belgeler/BCHILL/Vokal Ön Ayarları/Ableton/). - Live Tarayıcıda, Yerler altında sağ tıklayın ve Klasör Ekle… seçeneğini seçin.
- Zip'ten çıkarılmış klasörü seçin. Live bunu indeksler ve Tarayıcıda görünür kalır.
- Tarayıcıda klasörü açın ve herhangi bir
.adgyüklemek için vokal kanalınıza.
Ne zaman kullanılır: dosyaları Kullanıcı Kitaplığına kopyalamadan paketleri tek bir yerde düzenli tutmak istediğinizde.
Yöntem C — Kullanıcı Kitaplığına kopyala (taşınabilir ve aranabilir)
- Live → Tercihler → Kitaplık bölümüne gidin ve Kullanıcı Kitaplığı Konumunu not edin.
- O klasörü Finder/Explorer'da açın. Şuraya gidin
Ön Ayarlar/Ses Efektleri/Ses Efekti Rafı/. Klasörler yoksa, oluşturun. - Kopyalayın
.adgdosyaları (veya ön ayar klasörleri) satıcı adında bir alt klasöre (örneğin,Ses Efekti Rafı/BCHILL/). - Live'a geri dönün, Yeniden Tara (Tercihler → Kitaplık) tuşuna basın veya gösteriliyorsa Tarayıcıdaki küçük yenileme simgesine tıklayın.
- Kullanıcı Kitaplığı altında ön ayarlarınızı bulun ve yüklemek için sürükleyin.
Ne zaman kullanılır: her şeyi tek bir yerde aranabilir, yedeklemelere dahil ve kolayca taşınabilir yapmak istediğinizde.
IV. Eklenti önkoşulları (rafınız üçüncü taraf FX kullanıyorsa)
Birçok vokal rafı, üçüncü taraf geliştiricilerden kompresörler, EQ’lar veya doygunluk efektleri içerir. Sisteminizde Live’ın desteklediği tam eklenti formatlarını kurun, sonra yeniden tarayın:
-
Windows: VST3 için
C:\Program Files\Common Files\VST3(varsayılan). Bazı eski VST2 yolları olabilir, ancak VST3 önerilir. -
macOS: VST3 için
/Library/Audio/Plug-Ins/VST3; AU için/Library/Audio/Plug-Ins/Components.
Live’da Tercihler → Eklentileri açın, kullandığınız formatları etkinleştirin ve Yeniden Taraya tıklayın. Live hala bir eklentiyi göremiyorsa, eklentiyi ve lisans yöneticisini kurduktan sonra Live’ı yeniden başlatın.
V. Vokal raflarınızı gerçekten kullanacak şekilde düzenleyin
Ön ayarlar sadece hızlı bulabildiğinizde zaman kazandırır. Bu yapıyı deneyin:
- Kullanıcı Kitaplığı → Ön Ayarlar → Ses Efekti Rafı → BCHILL
- Kullanıma göre alt klasörler: Lead, Ad-Lib, Harmony, Rap, Podcast, Repair.
Ön ayarları pratik öneklerle yeniden adlandırın, böylece Tarayıcı iyi sıralar, örn. Lead – Clean Pop, Lead – Airy R&B, Rap – Punchy, Harmony – Wide Soft. Live’ın Koleksiyonlar renk etiketlerini “Favoriler,” “Rap” veya “Temiz” için kullanarak projeler arasında hızlı erişim sağlayın.
VI. Bir ön ayar ile yükle, yönlendir ve kaydet
-
Bir ses parçası oluşturun ve Ses Kaynağını mikrofonunuz/aracınız girişine ayarlayın (örneğin,
Ext In 1). İzlemek için parçayı etkinleştirin. - Rafınızı parçaya sürükleyin. Makrolar üstte görünür.
- Sağlıklı giriş kazancını ayarlayın. Raf öncesi ham zirveler için yaklaşık −12 ila −8 dBFS hedefleyin. Arayüz preampınızı kullanın, limiter değil.
- Konuşurken veya şarkı söylerken makroları ayarlayın (Ton, Gövde, Hava, De-Ess, Komp, Genişlik, FX).
- İsteğe bağlı: kaydetme vs. izleme. Temiz bir kayıt istiyorsanız, raf üzerinden izleyin ancak rafınızı bir Dönüş parçasına yerleştirip Gönder kullanarak kuru sinyali kaydedin veya işlenmiş parçanın çıkışından beslenen ikinci bir ses parçasına kaydedin.
VII. Bir kez kaydedin, sonsuza kadar kullanın
- Tercih ettiğiniz makro ayarlarla bir raf kaydedin: raf üzerindeki disk simgesine tıklayın.
- Bir parça ön ayarı kaydedin: parça başlık çubuğuna sağ tıklayın → Varsayılan Ses Parçası Olarak Kaydet (böylece her yeni ses parçası sizin zincirinizi içerir) veya parçayı Tarayıcıya sürükleyerek yeniden kullanılabilir bir parça ön ayarı kaydedin.
- Bir proje şablonu kaydedin: Dosya → Canlı Seti Şablon Olarak Kaydet (Live 12) veya raflar, dönüşler ve işaretçilerle bir “başlangıç” seti saklayın.
VIII. Makroları özelleştirin: küçük hamleler, büyük sonuçlar
Makrolar kurulumları basit tutar. İşte güvenli bir başlangıç yaklaşımı:
- Giriş Ayarı: mikrofonunuza uyacak şekilde ayarlayın; ortalama cümlelerin kompresyonu nazikçe tetiklemesini sağlayın.
- De-Ess: S sesleri kulaklıkta yumuşayana kadar artırın, sonra durun.
- Gövde: bulanıklık olmadan dolgun hissettirmek için yeterince ısı (120–200 Hz) ekleyin.
- Varlık: eğer diksiyon gizleniyorsa, 2.5–4 kHz makrosunu hafifçe ittirin; ani yükselişlerden kaçının.
- Hava: de-ess sabitlendikten sonra 10–12 kHz'i hafifçe yükseltin.
- FX Karışımı: boyut için kısa slap ve plate; kıtaları daha kuru tutun ve nakaratı açın.
IX. Ableton dosya türleri ve bulundukları yerler (hızlı referans)
| Öğe | Uzatma | Tipik Konum | Notlar |
|---|---|---|---|
| Ses Efekti Rafı | .adg | Kullanıcı Kitaplığı → Önayarlar → Ses Efekti Rafı | Makrolu vokal rafları için ana format. |
| Cihaz Önayarı | .adv | Kullanıcı Kitaplığı → Önayarlar → <Device> | Tek cihaz ayarları (örneğin, EQ Eight). |
| Canlı Set / Şablon | .als | Projeler / Şablonlar | Parçalar ve yönlendirme ile tamamlanmış oturumlar. |
| Paket | .alp | Yüklemek için çift tıklayın | Live içinde yükleyiciyi açar. |
X. Beş dakikada “şarkıcıya hazır” proje oluşturma
- İki ses kanalı: Lead (rack ile) ve Safety (kuru giriş, her ikisini de kayıt için hazırla).
- İki dönüş: A = Slap (90–120 ms, filtreli), B = Plate (0.7–1.0 s, ön gecikme 20–40 ms).
- İşaretçiler: Kıtalar, Pre, Hook için konum belirleyiciler ayarlayın, böylece kayıt ve derleme hızlanır.
- Ayar: Lead üzerinde bir pitch eklentisi kullanıyorsanız, anahtar/ölçek ve kıtalar için orta hız ayarlayın.
- Şablon: Yarınki oturumun saniyeler içinde başlaması için şablon olarak kaydedin.
XI. Sorun Giderme (sorun → odaklanmış çözüm)
- Ön ayar yükleniyor ama “Eksik Eklenti” gösteriyor. Tam eklentiyi yükleyin ve Tercihler → Eklentiler'de formatını etkinleştirin. Yeniden Taraya tıklayın. Gerekirse Live'ı yeniden başlatın.
-
Makroları ayarladığımda hiçbir şey değişmiyor. Bir rack yerine
.advcihaz ön ayarı yüklemiş olabilirsiniz veya rack makroları eşlenmemiş olabilir. Rack'i açın ve makro eşlemelerini doğrulayın; tekrar kaydedin. - Monitörleme sırasında ses çatırdıyor. Buffer boyutunu biraz artırın (Tercihler → Ses). Diğer uygulamaları kapatın. Sağlanıyorsa rack'in daha düşük CPU kullanan varyantlarını kullanın.
- Çok parlak/sert. Air/Presence makrolarını azaltın ve De-Ess'i biraz yükseltin. Kulaklık telafinizin/EQ'nun tizleri artırmadığını kontrol edin.
- Mikste çok donuk. S’ler kontrol edildikten sonra 0.5–1 dB Presence ve küçük bir Air yükseltmesi ekleyin. Vuruşun 2–4 kHz aralığını maskelemediğinden emin olun; gerekirse enstrümantalde orada hafif dinamik bir çukur açın.
- Ön ayarlar arasında seviye sıçramaları. Karşılaştırırken çıkış kazançlarını eşleştirin. A/B testleri sırasında seviye eşlemesi için cihaz zincirinin son utility/limiter aşamasını kullanın.
- “Bu cihaz kullanılamıyor” bilgisayar değiştirildikten sonra. Yeni makinede eklentileri yeniden yükleyin, formatları etkinleştirin ve yeniden tara. Kullanıcı Kitaplığınızı senkronize edilmiş bir sürücüde tutun, böylece rack'ler ve isimler sizinle taşınır.
XII. Ön ayarlarla kayıt sırasında güvenli kazanç hedefleri
İşlem öncesinde ham giriş zirvelerini −12 ile −8 dBFS arasında tutun. Rack'ten sonra biraz headroom bırakın. Takip yaparken ana miks bus'unda sert bir limiter kullanmaktan kaçının; sorunları gizler. Loudness, miksinizi masterlarken ortaya çıkar.
XIII. Sıkça sorulan sorular
Bir ön ayarla birlikte listelenen tam mikrofona ihtiyacım var mı?
Hayır. Ön ayarlar başlangıç noktalarıdır. Mikrofonunuzun tonuna uyması için Giriş Kırpma ve Gövde/Varoluş makrolarını kullanın.
Sadece Ableton’un stok efektlerine sahipsen ön ayarlar çalışır mı?
Evet—eğer raf sadece stok eklentilerden oluşuyorsa. Üçüncü taraf eklentilere ihtiyaç duyuyorsa, Live o eklentiler yüklenene kadar yer tutucular gösterir.
Kullanıcı Kütüphanesi nerede?
Tercihler → Kütüphane yolunu gösterir. İsterseniz (örneğin bulut sürücüsüne) taşıyabilir ve Live'ı yeni konuma yönlendirebilirsiniz.
Rafları bir Geri Gönderme kanalında kullanabilir miyim?
Kesinlikle. Bir “reverb/delay rafını” bir Geri Gönderme kanalına yerleştirin ve vokal kanalınızdan gönderme seviyelerini kontrol edin. Bu, kaydedilen parçanızı daha temiz tutar.
Ön ayarları nasıl yedeklerim?
Kullanıcı Kütüphanesi klasörünü ve Yerlere eklediğiniz harici klasörleri yedekleyin. Bu, raflarınızı, isimlerinizi ve etiketlerinizi korur.
XIV. Daha fazla bilgi ve sonraki adımlar
Özelleştirmeden önce stiller arasında seçim yapmaya mı ihtiyacınız var? Bu seçilmiş yazı, güçlü yönleri ve kullanım durumlarını anlatıyor: Ableton vokal ön ayarları rehberi. Raflarınızı kurup düzenledikten sonra, birkaç favori parça üzerinde şarkı söyleyerek zaman geçirin ve kendi sesinize uygun makro ayarlarıyla favori versiyonlarınızı kaydedin.
XV. Hızlı kurulum özeti (kopyalanabilir)
- İndirilen dosyanın sıkıştırmasını açın.
-
Hızlı test: yüklemek için
.adgdosyasını bir ses kanalına sürükleyin. -
Her şeyi düzenli tutun: ya Klasör Ekle… ile Yerlere ekleyin ya da
.adgdosyasını Kullanıcı Kütüphanesi → Ön Ayarlar → Ses Efekti Rafı içine kopyalayın. - Tercihler → Eklentiler bölümünde VST3/AU'yu etkinleştirin ve üçüncü taraf FX kullanılıyorsa Yeniden Tara seçeneğine tıklayın.
- Giriş zirvelerini −12 ile −8 dBFS arasında ayarlayın, makroları nazikçe düzenleyin ve kendi versiyonunuzu kaydedin.
Temiz bir kurulum ve düzenli bir kütüphane ile vokal ön ayarları, tahmin oyunu yerine yaratıcı bir kısayol olur. Şimdi güvenilir bir iş akışı oluşturun ve açtığınız her oturumda daha hızlı ilerleyin.


