REAPER'da Kayıt Şablonları Nasıl Yüklenir (Proje & Parça Şablonları)
REAPER, rutininizi öğrettiğinizde hızlıdır. Kayıt şablonları, parçaları, yönlendirmeleri, renkleri, dönüşleri ve hafif bir kayıt zincirini tek seferde yükler. Bu rehber, Proje Şablonları ve Parça Şablonlarının nasıl yükleneceğini ve yönetileceğini, bu dosyaların nerede olduğunu, güvenilir bir vokal düzeninin nasıl kurulacağını ve kayıt sırasında gecikmenin nasıl düşük tutulacağını gösterir. Ayrıca iki parçalı bir beat düzeni, düzenli bir dosya stratejisi ve işler ters gittiğinde hızlı çözümler öğreneceksiniz.
I. REAPER’ın şablon yaklaşımı (gerçekten yüklediğiniz şey)
REAPER'da “şablon yüklemek”, yeniden kullanılabilir bir dosyayı REAPER'ın beklediği yere koymak demektir. İki ana türü vardır:
- Proje Şablonu — tam bir oturum kabuğu: parçalar, klasör otobüsleri, dönüşler, işaretçiler, renkler ve tercihler. Yeni Proje iletişim kutusundan açılır veya varsayılan olarak ayarlanır.
- Parça Şablonu — FX, renkler, Giriş/Çıkış ve gönderimleriyle seçili bir veya daha fazla parça. Mevcut herhangi bir şarkıya tam bir vokal yığını eklemek için harika.
Her ikisi de hafiftir. Birkaç odaklanmış Proje Şablonunu (örneğin, “2-Parça Üzerinde Vokal,” “Tam Stemler”) ve küçük bir Parça Şablonu kütüphanesini (Lead, Doubles, Ad-libs, Telefon FX) saklayabilirsiniz. Oturuma uygun olanı kullanın.
II. “Kaynak Yolu”nu bir kez bulun, sonra bir daha asla tahmin etmeyin
REAPER, Şablonları, Parça Şablonlarını, FX Zincirlerini ve daha fazlasını tek bir “kaynak” klasöründe saklar. Uygulamadan açarak her zaman doğru yerde olursunuz.
- Yolu aç: Seçenekler → REAPER kaynak yolunu explorer/finder'da göster.
- Ana alt klasörler: ProjectTemplates, TrackTemplates, FXChains ve ColorThemes.
- Yedekleme ipucu: Bu tüm kaynak klasörünü haftalık olarak bulut/dış sürücüye yedekleyin. Beyniniz burada yaşıyor.
III. Rota A'yı yükleyin — Proje Şablonları (yeni proje başlangıç noktaları)
- Yeniden kullanmak istediğiniz parçalar, dönüşler ve yönlendirmeleri içeren temiz bir oturum açın veya oluşturun.
- Dosya → Proje şablonları → Projeyi şablon olarak kaydet… menüsüne gidin.
- Adını açıkça belirtin (örneğin, Vocal_Record_48k) ve kaydedin. REAPER bunu ProjectTemplates klasörüne yerleştirir.
- Kullanmak için: Dosya → Proje şablonları ve adı seçin; veya varsayılan olarak ayarlayın (Bkz. Bölüm V).
- Kural: asla ana şablona kayıt yapmayın. Açın → hemen Farklı Kaydet… ile şarkı adıyla kaydedin.
Neden harika: en hızlı “yeni şarkı” iş akışı ve bir ekiple paylaşması kolay.
IV. Rota B’yi kur — Parça Şablonları (herhangi bir oturuma vokal yığını bırakın)
- En iyi oturumunuzda, vokal düzeninizi oluşturan parçaları seçin: Lead, Boost, Ad-libs, Harmonies ve Vocal Bus. FX ve gönderimleri dahil edin.
- Seçili bir parça başlığına sağ tıklayın → Parçaları parça şablonu olarak kaydet….
- TrackTemplates içine kesin bir adla kaydedin, örn. VocalStack_Rap_Dry veya LeadVox_StockClean.
- Çağırmak için: boş TCP alanına sağ tıklayın → Şablondan parça ekle → yığınınızı veya şeridinizi seçin.
Neden harika: projedeki diğer şeyleri değiştirmeden herhangi bir şarkıya tam bir vokal sistemi ekleyebilirsiniz.
V. REAPER’ın her zaman “kayıt hazır” açması için varsayılan yapın
- Seçenekler → Tercihler → Proje bölümüne gidin.
- “Yeni projeler oluşturulurken” altında, Şablon olarak aşağıdaki proje dosyasını kullan seçeneğini seçin.
- ProjectTemplates içindeki Vocal_Record_48k.RPP dosyasına göz atın.
- Tamam tıklayın. Yeni projeler artık otomatik olarak o düzenle başlar.
İpucu: ses ve post arasında geçiş yapıyorsanız 48 kHz video çalışması için ikinci bir varsayılan tutun.
VI. Vokal şasi (klasör otobüsleri, dönüşler ve akılda kalan isimler)
REAPER’ın klasör parçaları otobüsler gibi yönlendirilir. Oturumunuzu düzenli tutmak ve sürüşleri ile baskıyı basitleştirmek için kullanın.
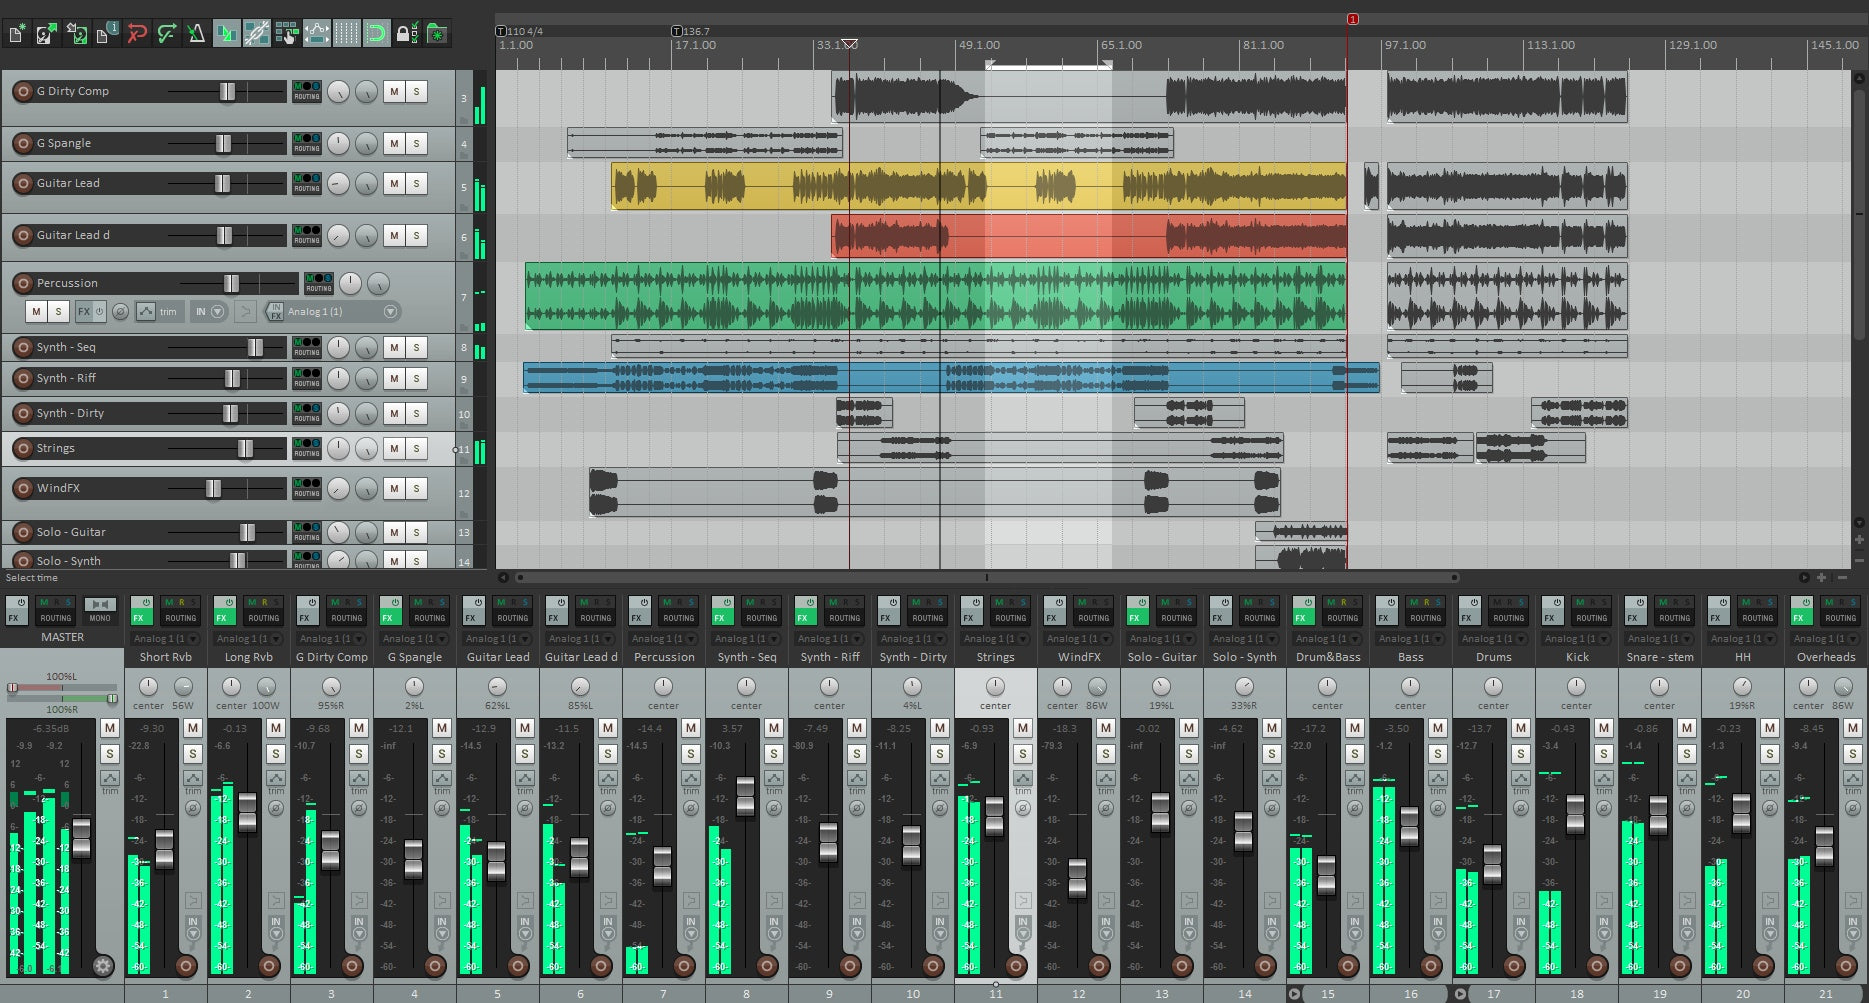
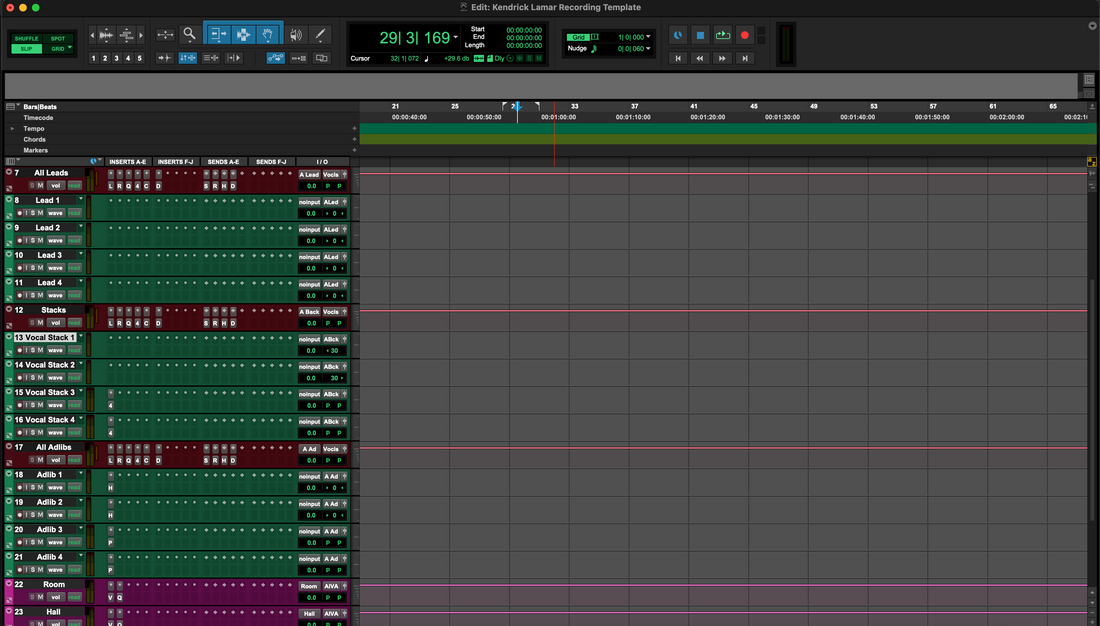
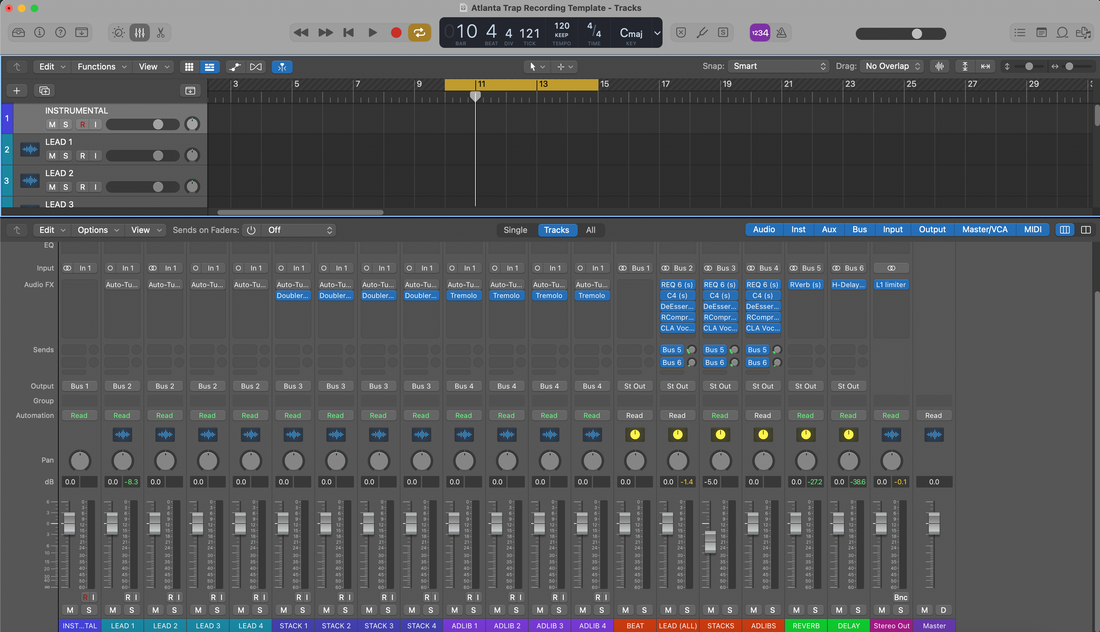
- Klasör yapısı: Vocal BUS adlı bir üst klasör oluşturun. Alt parçalar: Lead, Boost, Ad-libs, Harmonies. Üst klasör hepsini alır.
- Dönüşler: Room, Slap, Tempo Echo adlı parçalar oluşturun. Kayıt kollarını devre dışı bırakın; sadece “Alıcı” olarak ayarlayın.
- Gönderimler: Lead'den Room/Slap'e düşük seviyelerde; Boost biraz daha fazla Slap; Karakter için biraz daha fazla Room/Echo ad-libleri.
- Dönüşlerde filtreler: monitoring kulaklıklarda net kalsın diye HPF ~150 Hz ve LPF ~6–7 kHz ile ReaEQ ekleyin.
- İşaretçiler: Verse / Pre / Hook / Bridge ve 1 bar sayım bırakın; daha hızlı punch yapacaksınız.
İsimlendirme disiplini: “Lead Vox,” “Boost Lines,” “Ad-libs,” “Harmonies,” “Vocal BUS,” “Room,” “Slap,” “Tempo Echo.” Bulmaca yok. Gelecekteki kendiniz daha hızlı miks yapacak.
VII. Düşük gecikmeli güven (kayıt gibi hissettiren monitoring)
Takip zincirini sade tutun. Parlatmayı miks zamanına saklayın.
- Cihaz tamponu: arayüzünüzü seçin; kayıt sırasında 64–128 örnek. Ağır miksler için daha sonra artırın.
- Lead takip zinciri: ReaEQ HPF ~80–100 Hz → ReaComp (2:1–3:1, 10–30 ms attack, 80–160 ms release, ifadelerde ~3–5 dB) → de-ess (ReaXcomp bandı veya bir de-ess ön ayarı) → isteğe bağlı hafif renk (JS saturation) → hızlı peak catcher (1–2 dB).
- Havadan önce de-ess: daha sonra bir air shelf eklerseniz, S seslerinin dostça kalması için de-esser'ı tekrar gözden geçirin.
- Monitoring FX zinciri (isteğe bağlı): kayıtlar kuru kalırken şarkıcının parlatmayı duyması için Monitoring FX zincirine konfor EQ/kompresör koyun.
VIII. REAPER tarzı gecikmelerinizi kısın (basit sidechain)
Slap ve Echo'nun kelimeler arasında çiçek açmasına izin verin, kelimelerin üzerinde değil.
- Slap dönüşünde, parça kanallarını 4 olarak ayarlayın.
- Delay öncesinde ReaComp ekleyin. Dedektörü yardımcı 3/4 (sidechain) olarak ayarlayın.
- Lead parçasından, Slap’ın 3/4 kanallarına 0 dB'de bir Send ekleyin (bu ana sinyaldir).
- ReaComp'i hafif bir dip (2–3 dB GR) ve hızlı bir salınım ile ayarlayın, böylece tekrarlar boşluklarda yeniden ortaya çıkar.
Yoğun satırlar sırasında ekstra netlik istiyorsanız Tempo Echo dönüşü için aynı fikri kullanın.
IX. İki parça beat modu (stereo enstrümantal üzerinde vokaller)
Stems mevcut olmadığında, yine de sözlerin netliği ve nakarat büyüklüğü gerekir. Ayrı bir şablon varyantı tutun:
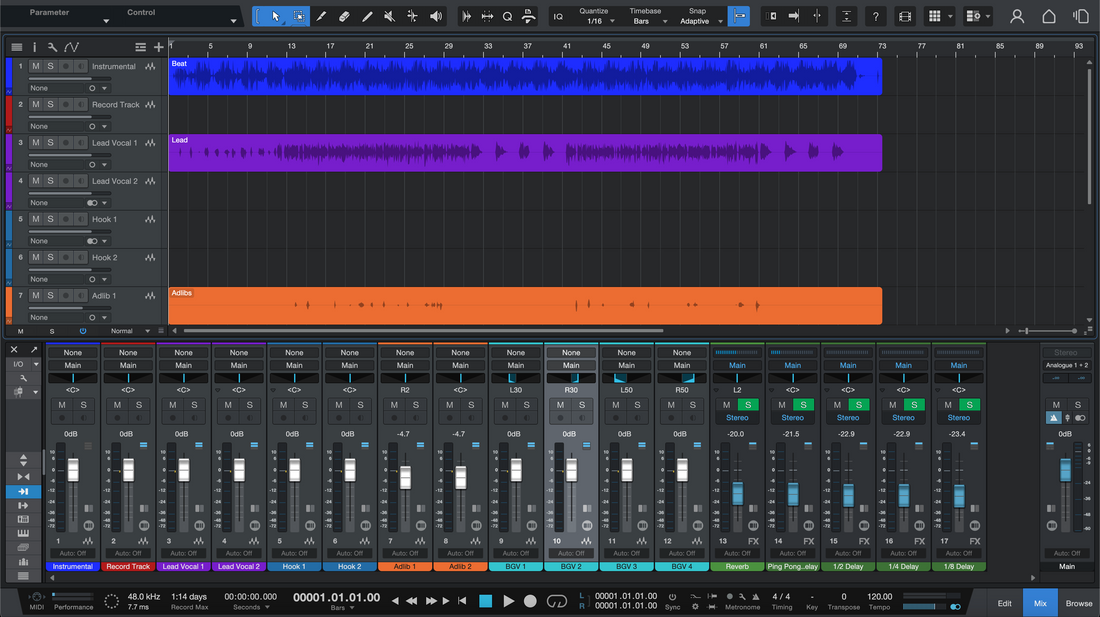
- Parçalar: BEAT (stereo), ardından aynı Vocal BUS ve dönüşler.
- Beat kontrolü: BEAT bölgesinde öğe kazanımını kullanarak intros ve nakaratlarda master'ı daha sonra ezmeden sürün.
- Mekan seçimi: tam stem’lere göre daha küçük Room ve daha düşük gönderimler; kuru eğilimli kıtalar yoğun iki parça üzerinde daha iyi okunur.
- Hook kaldırma: her nakarata son bar’da küçük bir Echo gönderimi otomatikleştir.
X. Dizüstü bilgisayarlar, stüdyolar ve güncellemelerle uyumlu dosya hijyeni
- Kendi içinde şablon klasörü: .RPP şablonunun yanında notlar, impulse response’lar ve özel JS ön ayarları içeren “Template Assets” klasörü tut.
-
Versiyonlama: bir şablon geliştiğinde yeni bir versiyon kaydet (
_v1.2). Ana dosyayı asla üzerine yazma. - Örnekleme hızı netliği: müzik ve video işleri arasında geçiş yapıyorsan 44.1k ve 48k varyantlarını koru.
- Yedekler: ProjectTemplates ve TrackTemplates klasörlerini aylık olarak ziple. Gelecekteki kendin sana teşekkür edecek.
XI. Belirti → tek hareket (gerçekten kullanacağın sorun giderme)
- Şablon listelenmiyor: dosyanın ProjectTemplates içinde olduğundan emin ol. Gerçek klasörü açmak için Resource Path menüsünü kullan; REAPER’ı yeniden başlat.
- Parça Şablonu yüklendi ama gönderimler çalışmıyor: dönüş isimleri veya kanal sayıları değişti. Gönderimi doğru dönüşe yeniden oluştur, sonra Parça Şablonunu tekrar kaydet.
- Çiftlenmiş/flanged monitör: donanım ve yazılımı birlikte duyuyorsun. Bir yolu sessize al veya Monitoring FX’i etkinleştir ve kuru kayıt yap.
- Kayıt sırasında FX gecikmesi: look-ahead analizörleri ve uzun reverbleri devre dışı bırak. Sadece Comp/De-ess ile kayıt yap; çekimlerden sonra cilala.
- Kulaklıkta S sesleri keskin: de-ess bandını genişlet; havayı 0.5 dB azalt; gecikme dönüşlerini 6–7 kHz civarında düşük geçişli yap.
- Hook mono’da çöker: Lead’i ortada ve nispeten kuru tut; genişliği doubles/ad-libs’e ver, Lead kanalına değil.
- Beat sesi gömüyor (iki parça): BEAT öğesini −1 ila −2 dB arasında kırp; Lead’i +0.5 dB artır; zinciri “yetiştirmek” için ezmekten kaçın.
- Sidechain tetiklenmiyor: dönüşün 4 kanallı olduğunu doğrula; Lead’i 3/4’e gönder; ReaComp dedektörünü aux 3/4 olarak ayarla.
XII. On dakikalık plan (boş projeden kayıt hazır hale)
- Yeni proje → gerekirse BPM/ton ayarla. “Template — Vocal Record — 48k.rpp” olarak kaydet.
- Vocal BUS adlı bir klasör busu oluştur.
- Çocuk parçalar ekle: Lead (mono), Boost (mono), Ad-libs (mono), Harmonies (stereo veya çift mono). Renklerini tutarlı yap.
- Dönüşler oluşturun: Room (ReaVerbate/ReaEQ filtreleri), Slap (ReaDelay 90–120 ms), Tempo Echo (senkronize 1/8 veya noktalı sekizlik). Dönüşleri filtreleyin (HPF/LPF).
- Tel gönderimleri vokal kanallarından dönüşlere. Muhafazakar varsayılan seviyeleri koruyun.
- Lead zinciri: ReaEQ HPF → ReaComp (şekillendirici) → de-ess bandı (ReaXcomp veya de-ess ön ayarı) → isteğe bağlı hafif JS doygunluğu → hızlı peak yakalayıcı.
- Markerlar Verse / Pre / Hook / Bridge + 1 bar sayım için.
- Projeyi şablon olarak kaydedin (Dosya → Proje şablonları → Kaydet…). Ayrıca tüm vokal parçalarını + dönüşleri seçin ve Parçaları parça şablonu olarak kaydet… seçeneğiyle VocalStack_StockClean olarak adlandırın.
XIII. Ölçeklenen organizasyon kalıpları
Bir dev dosya yerine birkaç odaklanmış başlangıç noktası tutun. Örnekler:
- Vocal_Record_48k — yalın dönüşler, sadece kayıt zinciri, İzleme FX isteğe bağlı.
- Dubs_2Track_48k — BEAT stereo parça, daha sıkı dönüşler, yankı atma otomasyon kanalları.
- Podcast_DualMic_48k — hafif genişleticiler, de-esserlar ve ses yüksekliği kontrolü için mono bus ile iki mono mikrofon.
Her birini Parça Şablonları ile eşleştirin: LeadVox_StockClean, LeadVox_Punch, AdLib_Phone, Doubles_Tight. Sadece donanım isimleriyle değil, niyet ile etiketleyin.
XIV. Dışa aktarma ve versiyonlama (her seferinde temiz teslimatlar)
- Başlar/sonlar: sessizliği kırpın, kısa fade ekleyin ve temiz reverb kuyrukları bırakın.
- Printler: Ana, Enstrümantal ve A Cappella aynı başlangıç ve bitişlere sahip olmalı, böylece versiyonlar her yerde hizalanır.
- Format: Oturum hızında 24-bit WAV. Belirli bir teslimat için bit derinliği azaltılırken sadece dither kullanın.
- Arşivleme: son şarkıyı yeni bir proje klasörü olarak kaydedin; ana şablonu dokunulmamış bırakın.
XV. Sonraki okuma: hızlı şablon oluşturma (yeniyseniz bile)
Bu makaleyle eşleşen hızlı bir başlangıç istiyorsanız, bu rehber REAPER'a dakikalar içinde uyarlayabileceğiniz basit, tekrarlanabilir bir düzen gösteriyor: 10 dakikada vokal kayıt şablonu oluşturun. Hem Proje Şablonunuzu hem de Parça Şablonu varyantlarınızı kaydederken bunu bir kontrol listesi olarak kullanın.
XVI. Kapanış düşünceleri
REAPER ödül yapısı. Şablon dosyalarınızı doğru klasörlere koyun, rolleri ayrı tutun, dönüşleri filtreleyin ve yalın bir zincirle takip edin. "Birinci gün" için gerçek bir Proje Şablonu ve her oturumda kullandığınız kanallar için birkaç Parça Şablonu kaydedin. Bu parçalar yerinde ve hızlı geri çağırma için Reaper vokal ön ayarları gibi bir ton başlatıcı ile—zaten sizi tanıyan bir stüdyoyu açacak, daha erken kayıt yapacak ve daha az tahminle daha temiz miksler sunacaksınız.


