I. Definition / Core concept
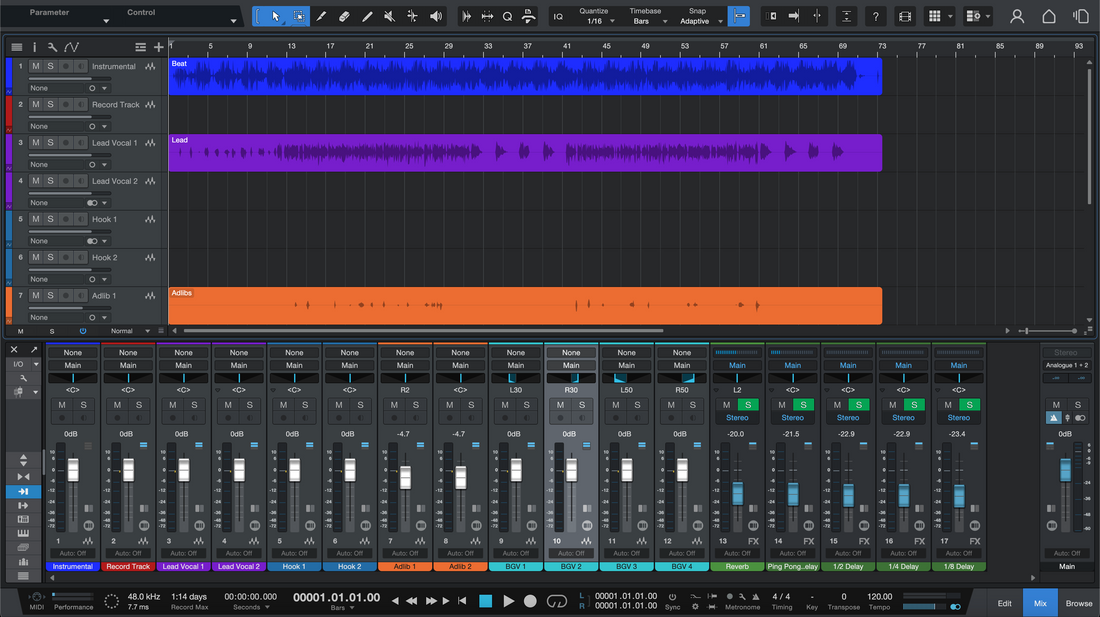
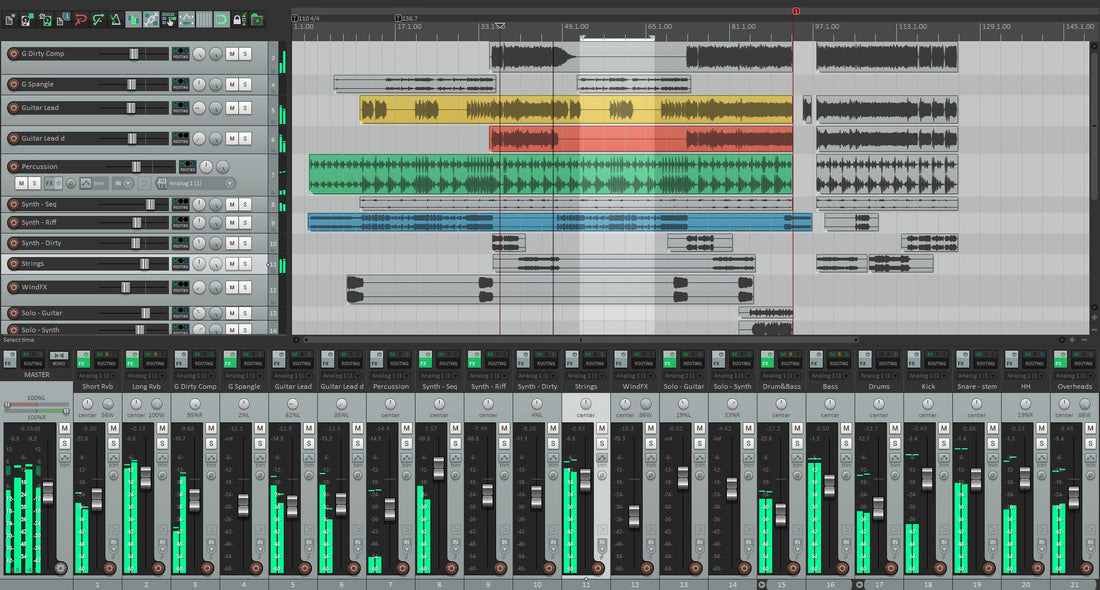
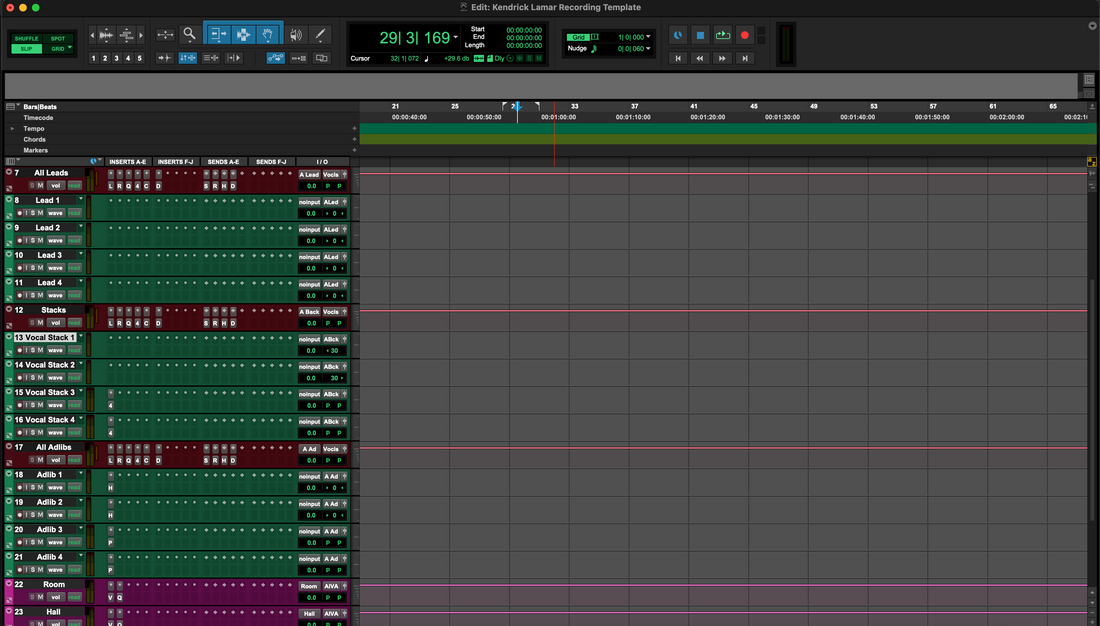
A vocal recording template is a prebuilt session you can open and record into immediately. It includes named tracks (Lead, Doubles, Ad-libs), a Vocal Bus, cue sends for headphones, a light tracking chain, color coding, markers, and a tidy folder structure. The goal is less setup and fewer mistakes. Every major DAW lets you save a user template or set a default starting session, so you don’t rebuild routing every time you open a project.
II. Why it matters (benefits & when it helps)
- Speed: Open, arm, record. A template removes repetitive tasks so ideas become takes fast.
- Consistency: Track names, buses, and gain targets stay the same across songs, which makes roughs and hand-offs clean.
- Better monitoring: Templates can bake in low-latency settings or a direct-monitor path, so singers hear themselves in time.
- Fewer errors: Pre-routed cue mixes, input selections, and “record safe” tracks reduce the chance of printing effects or clipping.
- Faster mixes: Organized sessions export stems quickly and translate well to outside engineers.
Use a template whenever you’re recording vocals, doing quick ideas, or collaborating with others who need consistent session structure. If you want a head start without building from scratch, our Recording Templates are tuned for modern vocal workflows.
III. Quick-start (6 steps you can copy)
- Set the project format. Choose 24-bit for headroom. Use 44.1 kHz for music releases or 48 kHz if the project targets video. Save these as your defaults. [2]
- Lower latency for tracking. Start at a 64–128 sample buffer. Enable your DAW’s Low Latency mode while recording, or use your interface’s direct monitoring to hear near-zero-latency input. Raise the buffer later for mixing. [1][6]
- Build the track list. Create: Lead Vox (record-enabled), Double L, Double R, Ad-libs, and an optional Talkback. Add two aux returns: Vox Verb (plate/room) and Vox Delay (tempo-sync). Route all vocal tracks to a Vocal Bus.
- Create a headphone cue. Add a pre-fader send from the Vocal Bus and from the instrumental/beat to a dedicated Cue output. Keep reverb low in the cue; keep the click lower still.
- Light tracking chain. On the Vocal Bus only (not the recording track), add: a high-pass filter (~80 Hz), a gentle compressor (2:1, slow attack, medium release), a de-esser if needed. Avoid high-latency plug-ins while recording.
- Gain targets. Adjust preamp/interface so typical phrases sit near −18 dBFS average, with peaks around −10 to −6 dBFS. This leaves headroom for clean edits and later processing. Save as a template named “Vocal Tracking — {Mic/Interface} — {SR}”.
Prefer to skip setup? Drop in a starting chain from our Vocal Presets and customize the template once—then reuse it forever.

IV. Style / use-case recipes
Rap (tight & upfront)
- Tracks: Lead, Double L/R (−6 to −10 dB below lead), Ad-libs.
- Sends: Short plate (0.7–1.2 s), 1/8-note slap. Predelay 10–20 ms to keep lyrics forward.
- Bus notes: HPF 80–100 Hz, fast compressor (4:1) for 2–4 dB GR, de-esser on 5–8 kHz.
R&B (smooth & airy)
- Tracks: Lead, Harmony 1/2, optional breathy doubles.
- Sends: Plate or hall 1.5–2.2 s with 20–40 ms predelay; dotted-eighth delay tucked low.
- Bus notes: Serial compression: first stage 2:1 (1–2 dB GR), second stage 3–4:1 (1–2 dB GR). Gentle 10–12 kHz shelf for sheen.
Pop (wide & polished)
- Tracks: Lead, Double L/R (hard-panned), 2–4 harmonies, FX throws track.
- Sends: Dual delays (1/4 + 1/8) tempo-synced; early reflections for presence.
- Bus notes: Two-stage compression for stability; keep wideners subtle and check mono.
Spoken word / podcast
- Tracks: Host, Guest, Room Tone.
- Sends: Usually none; absorb room with short plate if needed.
- Bus notes: HPF 70–90 Hz; de-esser ~4–6 kHz; aim for consistent LUFS and low noise floor.
V. Troubleshooting & fast fixes
- Latency throws off timing. Reduce buffer (64–128). Enable your DAW’s low-latency mode, or switch to direct monitoring on the interface. Latency above roughly 10–15 ms is noticeable for vocalists; keep it under that while tracking.
- Clipping on loud notes. Lower interface/preamp gain until peaks live around −10 to −6 dBFS. Leave headroom; you can add level later.
- Doubles sound phasey. Tighten timing: nudge in milliseconds, slip-edit consonants, and keep doubles 6–10 dB under the lead. Avoid chorus/wideners on doubles; keep those on the bus.
- Printed effects by mistake. Keep plug-ins on the Vocal Bus only. Record tracks stay dry; monitoring stays inspiring.
- Headphone bleed. Use closed-back cans, drop the click, and high-pass the reverb send.
- Messy sessions. Color-code tracks and create a “00-IMPORTS” folder. Save the cleaned session as your default template so the fix sticks.
VI. Advanced / pro tips
- Multiple templates: Keep genre-specific and mic-specific versions (e.g., SM7B vs. condenser). Swap by mood and singer—no re-routing required.
- Cue snapshots: Store go-to headphone balances (Lead +3 dB vs. beat; click −12 dB) if your DAW/interface supports it.
- Print stems fast: Pre-create “Lead Print,” “BGV Print,” and “FX Print” buses, routed to a Stems output—export in one pass at the end of a session.
- Low-latency safety: Put any look-ahead/linear-phase plug-ins on the mix bus and bypass them while recording; your DAW’s low-latency mode will temporarily disable high-latency paths during takes.
- Template hygiene: Before saving, remove unused audio from the pool/clip list so your template stays small and loads instantly.
VII. FAQs
What sample rate and bit depth should I use?
Use 24-bit. Choose 44.1 kHz for music or 48 kHz for video-focused work. Both are widely accepted and efficient for modern production.
What buffer size is best for tracking vocals?
Start at 64–128 samples. Turn on low-latency mode or direct monitoring while recording; raise the buffer when you mix with heavier plug-ins.
Should my template include plug-ins?
Yes—keep the tracking chain light (HPF, gentle compression, de-esser). Avoid high-latency processors while recording; add them back for mixing.
How loud should my input be?
Aim around −18 dBFS average, with peaks roughly −10 to −6 dBFS. This preserves headroom and keeps edits and tuning clean.


