


Ableton의 보컬 프리셋은 EQ, 컴프레션, 디-에싱, 톤, 공간을 하나의 체인으로 묶은 오디오 이펙트 랙입니다. 이 가이드는 로드, 게인 스테이지, 매크로 맞춤, 빠른 오디션, 리턴 라우팅, 자동화 방법을 보여주어 휴대폰, 이어버드, 대형 스피커에서 녹음물이 잘 들리도록 합니다. 선별된 시작점을 원한다면 최신 Ableton 보컬 프리셋을 탐색하고 마이크와 공간에 맞게 임계값과 전송을 조정하세요.
I. Live에서 “보컬 프리셋 사용”이 실제로 의미하는 것
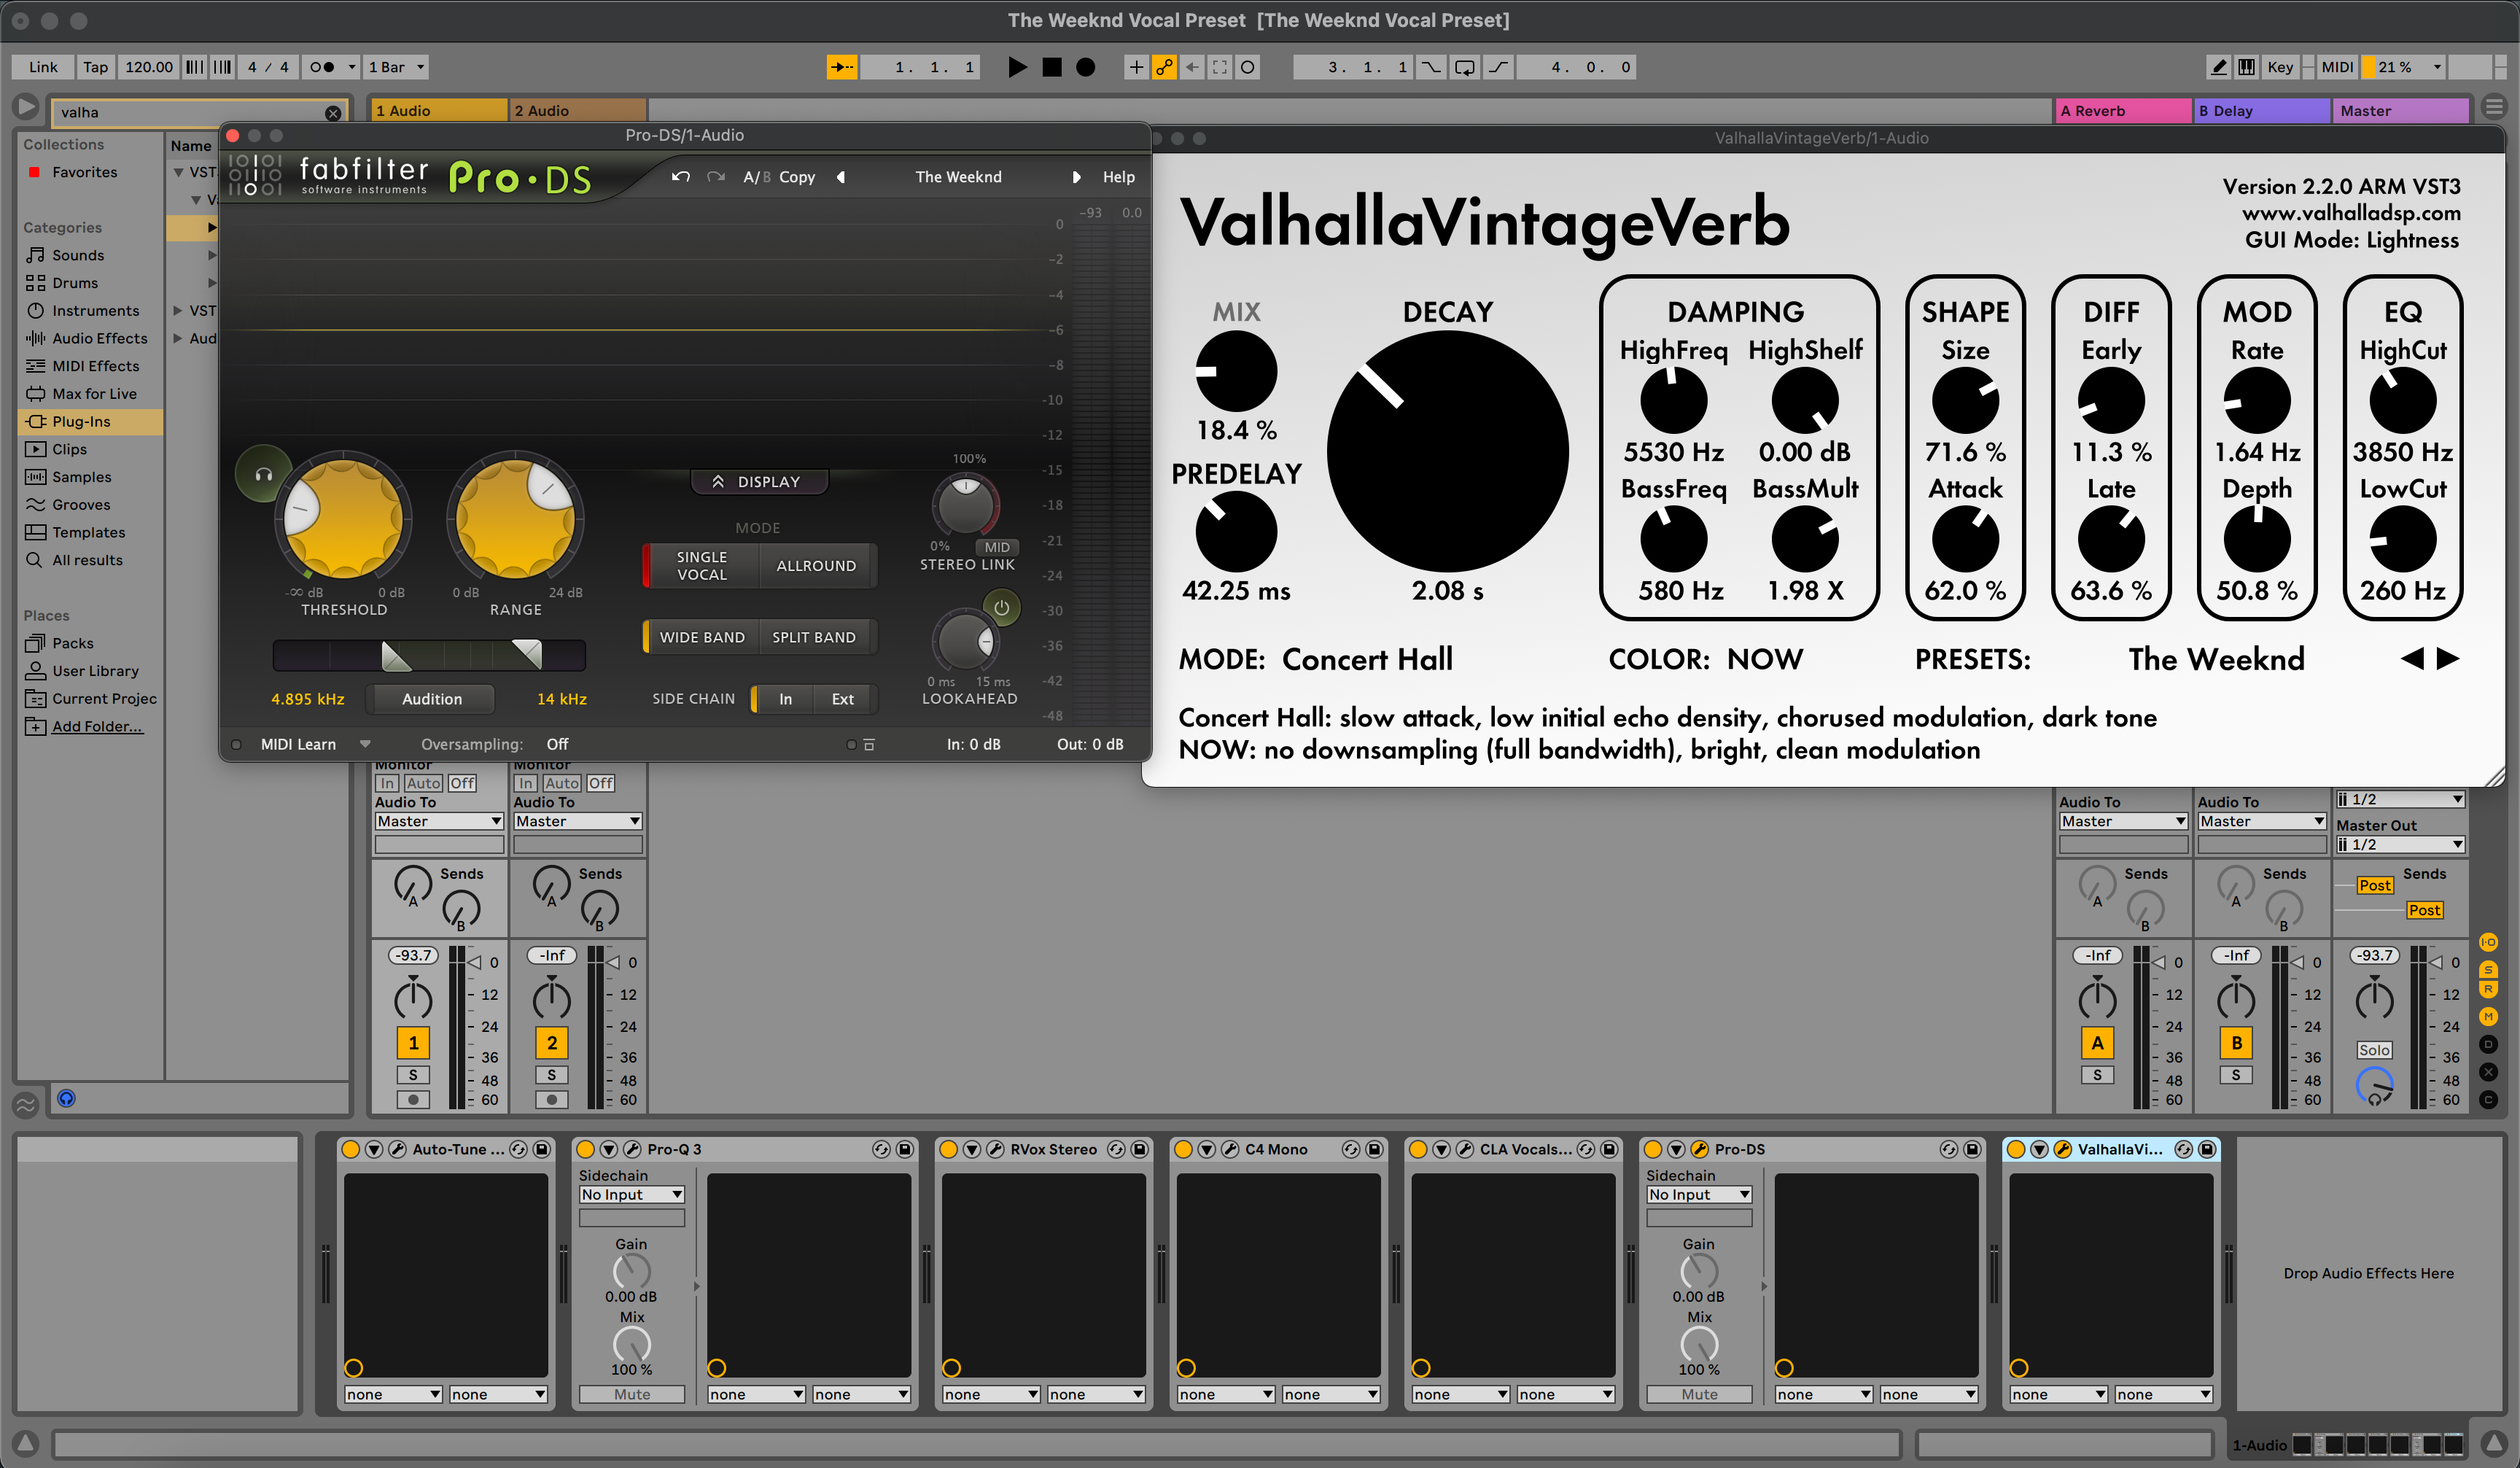
Ableton 보컬 프리셋은 매크로에 장치가 매핑된 오디오 이펙트 랙(.adg)입니다. 로드하면 세 가지 작업이 수행됩니다:
- 합리적인 장치 순서(EQ → 컴프 → 디-에싱 → 컬러 → FX)를 한 번의 클릭으로 적용합니다.
- 가장 중요한 컨트롤을 8개의 매크로로 노출하며, 안전한 범위가 이미 설정되어 있습니다.
- 수정한 내용을 사용자 이름 버전으로 저장하여 즉시 재사용할 수 있습니다.
프리셋은 믹싱 결정을 제거하지 않고, 결정을 빠르게 하며 반복 가능하게 만듭니다.
II. 세션 사전 점검 (프리셋이 제대로 작동하도록)
- 오디오 장치가 설정되고 작동 중; 트래킹을 위해 버퍼를 약 64~128 샘플로 설정 (나중에 믹싱 시 증가).
- 프로젝트 샘플 레이트가 전달 샘플 레이트와 일치 (음악은 44.1 kHz, 비디오는 48 kHz).
- 트래킹 중 클립 피크: 랙 전에 원시 입력을 약 −12에서 −8 dBFS 사이로 조정하세요.
- 브라우저에 사용자 라이브러리 표시; 랙은 사용자 라이브러리 → 프리셋 → 오디오 이펙트 랙 아래에 있습니다.
- 환경 설정 → 모양/느낌에서 미터링을 "평균 + 피크"로 설정 (결정이 더 쉬워짐).
III. 전문가처럼 로드 & 오디션
드래그 앤 드롭: .adg 파일을 보컬 트랙에 드롭하세요. 사용자 라이브러리에 있으면 브라우저에서 바로 드래그하세요.
핫스왑 (Q): 랙을 선택하고 Q를 누른 후 브라우저에서 랙을 화살표로 탐색하며 마우스 없이 연속 청취하세요.
매크로 변형: Live 11+에서 랙의 변형 패널을 클릭해 “벌스”와 “훅” 스냅샷을 저장하세요. 섹션별로 전환 가능—자동화 준비 완료.
버전 저장: 느낌이 맞으면 랙의 디스크 아이콘을 클릭하거나 우클릭 → 프리셋 저장 후 태그를 추가하세요 (예: 리드 — 클린 (YourName)).
IV. 게인 스테이징 & 모니터링 (성패를 좌우하는 단계)
프리셋은 충분한 헤드룸을 가정합니다. 단순하게 유지하세요:
- 입력 트림: 랙에 트림 매크로가 있으면, 컴프 A가 구간에서 약 3~5 dB를 터치하도록 설정하고 항상 10~12 dB가 되지 않게 하세요.
- 트랙 미터: 처리 후 피크가 −6에서 −3 dBFS 사이면 충분합니다; 마스터링은 나중에 하세요.
- 드라이 녹음, 웻 모니터링: 랙을 통해 모니터링하되 깨끗한 테이크를 유지하세요. 쉬운 방법 하나: 트랙 1에 녹음(랙 켜짐), 트랙 2를 오디오 소스: 트랙 1 → 포스트 FX로 설정하면 웻 세이프티 프린트도 가능합니다.
- 지연 시간 점검: 타이밍이 늦게 느껴지면 트래킹 중에 긴 리버브/딜레이와 무거운 룩어헤드 장치를 일시적으로 우회하세요.
V. 매크로 해부학: 가장 중요한 다섯 개 노브
- 디에스: 이어폰이 불평을 멈출 때까지 돌리되, 자음이 흐려지기 전에 멈추세요. 번역에는 광대역이 수술적 처리보다 낫습니다.
- 바디 (120~200 Hz): 존재감을 느낄 만큼만 따뜻함을 추가하세요; “박스”가 나타나면 250~350 Hz 넓게 깎으세요.
- 프레즌스 (3~4 kHz): 작고 넓은 부스트가 발음을 돕습니다. 하이햇/클랩이 밝으면 리드를 과도하게 부스트하지 말고 비트를 깎으세요.
- 에어 (10~12 kHz): 시빌런스가 진정된 후에만 미세하게 올리세요. 디에스 없이 에어를 올리면 거칠게 들립니다.
- FX 블렌드: 약 90~120ms 슬랩과 0.7~1.0초 짧은 플레이트(20~50ms 프리딜레이)를 사용하세요. 벌스는 더 건조하게 유지하고, 훅은 열어두세요.
전문가 팁: 맵 모드에서 매크로 범위를 자신의 마이크/룸에 맞게 조정하여 1/4회전이 극단적이지 않고 음악적으로 작동하게 하세요.
VI. 리드 대 스택: 복사본이 아닌 “가족”을 만드세요
중복 레인은 빠르지만, 역할에 맞춘 랙은 의도적으로 들립니다:
- 리드: 모노로 단단한 센터. 최소한의 와이드닝. 라이딩과 발음 우선.
- 더블 L/R: 더 높은 HPF, 약간 더 많은 디에싱, 리드 아래에 −6에서 −9 dB로 숨김. 마이크로 팬 L/R; 모노에서 무너지는 코러스 스타일 와이더는 피하세요.
- 하모니: 더 어두운 EQ와 더 넓게, 더블보다; 필요할 경우 5 kHz에서 +0.5–1 dB로 반짝임 추가 가능.
- 애드립: 좁은 대역폭 (HPF 약 200 Hz, LPF 8–10 kHz), 사이드 팬닝, 전환 시 짧은 에코.
각 레인의 랙을 자체 프리셋으로 저장하세요: Lead — Clean, Double — Tight, Harmony — Wide 등.
VII. 시간과 공간: 리턴 트랙이 무거운 작업을 합니다
모든 레인이 공간을 공유하도록 리턴에 리버브/딜레이를 넣으세요:
- 리턴 A = 슬랩 생성: 심플 딜레이 약 90–110ms, 필터 150 Hz–6 kHz, 낮은 피드백.
- 리턴 B = 플레이트 생성: 밝은 플레이트 또는 하이브리드 리버브 짧은 모드, 디케이 0.7–1.0초, 프리딜레이 20–50ms, 리턴에 HPF/LPF 적용.
- 반복 구간 덕킹: 리드 트랙에서 슬랩 리턴에 컴프레서를 사이드체인하세요; 단어 사이의 릴리즈가 에코를 깔끔하게 유지합니다.
- 프리 대 포스트: 믹싱할 때는 포스트 센드를 사용하세요; 뮤트/스터터 아래에서 꼬리가 계속되길 원할 때만 프리 센드를 사용하세요.
후크 부분에서 1–2 dB 만큼 센드 자동화; 혀 꼬임과 밀집된 벌스에서는 낮추세요.
VIII. 투트랙 비트 생존 키트
악기가 스테레오 파일일 때, 보컬에서 “더 밝게”가 아니라 충돌을 줄이세요:
- 미드레인지 레인: 악기 트랙에 컴프레서를 넣고, 리드에서 사이드체인을 활성화하세요, 비율은 약 1.2–1.6:1, 빠른 어택/릴리즈, 음성이 말할 때 −1에서 −2 dB GR—거의 들리지 않지만 매우 효과적입니다.
- 스플래시 컨트롤: 하이햇이 차가워 보이면, 리턴의 로우패스를 약 6–7 kHz로 설정하고 Air 매크로는 보수적으로 유지하세요.
- 모노 체크: 마스터를 모노로 합치세요; 스토리가 여전히 전달되어야 합니다. 폭 조절은 센터 인서트가 아닌 더블/리턴으로 이동하세요.
IX. 트래킹 대 믹싱: 필요한 것을 프린트하세요
건조하게 녹음하고, 젖은 소리를 듣기 (가장 유연함): 트랙 1의 랙을 통해 모니터링하고 깨끗한 입력을 녹음하세요. 클라이언트가 “데모처럼 들리는” 파일이 필요하면 트랙 2를 Audio From: Track 1 → Post FX로 설정하고 웻 세이프티를 프린트하도록 준비하세요. 이름은 명확하게 유지하세요: Lead_Dry, Lead_Wet.
나중에 CPU 부하가 큰 효과를 고정하기 위해 Freeze/Flatten을 사용하세요, 녹음 중에는 하지 마세요. 호출을 위해 커밋된 모든 버전의 _FXPRINT를 보관하세요.
X. 여러 프리셋 빠르게 청취 (위치 잃지 않고)
- 핫스왑 (Q): 랙 선택 후 Q 누르기. 브라우저에서 랙 화살표로 이동; Enter로 로드; Esc로 종료.
- 스냅샷: 구절/프리/후크용 매크로 변형 저장. 섹션 마커에서 변형 자동화.
- 책임감 있게 무작위화: 중요한 매크로(예: 디-에스)는 “제외” 설정 후 Randomize 사용. 우연한 성공을 새 변형으로 저장.
XI. CPU 및 지연 시간 관리
- 트래킹 중: 긴 리버브, 그레인 FX, 오버샘플링 우회; 버퍼 64–128 샘플.
- 믹싱 중: 폴리시 재활성화, 버퍼 512–1024로 증가, 무거운 트랙은 프리즈.
- 장치 CPU 미터: 제목 표시줄을 우클릭하여 장치별 CPU 표시; 문제 장치 교체 또는 렌더링.
XII. 스톡 전용 스타터 체인 (1분 만에 구축 가능)
- EQ Eight (처음): HPF 80–100 Hz; 박스형일 경우 250–350 Hz에서 부드럽게 −1~−2 dB 넓게; 코맹맹이 소리일 경우 1 kHz 근처에 선택적 좁은 노치.
- 컴프레서 A: 비율 2:1–3:1; 어택 10–30 ms; 릴리즈 80–160 ms; 구절당 약 3–5 dB 목표.
- 디-에스: Multiband Dynamics를 부드러운 고역 시빌런트 조절기 또는 전용 디에서 장치로 사용; 6–8 kHz 대역 설정.
- 컴프레서 B (캐처): 피크를 빠르게 자름 (1–2 dB); 전송 레벨 안정화.
- 새츄레이터 (저음 믹스): 따뜻한/테이프 느낌; 출력 매칭으로 “더 크게” 착각하지 않도록 하세요.
- EQ Eight (마지막): 발음이 숨겨질 때만 약 ±0.5–1 dB, 약 3–4 kHz에서 넓게; 디에스 후에 10–12 kHz에서 작은 셸프.
- 리턴: A = 슬랩 (90–110 ms, 필터링됨); B = 플레이트 (0.7–1.0 s, 20–50 ms 프리딜레이). 두 리턴 모두 필터링하세요.
Audio Effect Rack에 래핑하고, 주요 컨트롤을 매크로에 매핑하며, 적절한 범위를 설정한 후 Lead — Stock Clean으로 저장하세요.
XIII. 라인을 판매하는 자동화 (마이크로, 매크로 아님)
- 볼륨 조절: 다운비트에 +0.5–1 dB; 조밀한 자음에는 −0.5 dB.
- 디-에스 임계값: 어두운 모음에는 느슨하게; 밝은 모음에는 엄격하게. 구절마다 간단한 분기점이면 충분합니다.
- FX 안무: 진입 단어에 슬랩을 올리고; 빠른 음절에는 플레이트를 줄이며; 긴 딜레이는 섹션 끝에 저장하세요.
XIV. 조직 및 호출 (오늘 몇 분, 나중에 몇 시간 절약)
-
정렬되는 이름:
리드 — 클린,리드 — 에어+,랩 — 펀치,하모니 — Wide Soft,애드립 — 전화. - 컬렉션 태그: 브라우저에서 프리셋을 우클릭하여 즉시 호출할 수 있도록 컬러 컬렉션에 태그하세요.
- 기본 오디오 트랙: 튜닝된 트랙 헤더를 우클릭 → 기본 오디오 트랙으로 저장하여 새 트랙이 “믹스 준비” 상태로 시작하게 하세요.
XV. 문제 해결 (문제 → 집중된 조치)
- 밝게 한 후 거친 S 사운드: De-Ess를 약간 올리고; Air를 약 0.5 dB 줄이며; 딜레이/플레이트 리턴을 약 6–7 kHz로 로우패스하세요.
- 808 아래에서 보컬이 사라질 때: 벌스를 더 건조하게 유지하세요; Presence를 약간 올리고; 라인 중 −1 dB 미드 딥을 위해 비트에 사이드체인 컴프레서를 추가하세요.
- 내보낼 때 프리셋 소리가 다를 때: 필요 없으면 보컬의 클립 워핑을 비활성화하세요; 렌더링 시 변경되는 오버샘플링/품질 스위치를 확인하세요.
- 트래킹 중 레이턴시: 버퍼를 낮추고, 무거운 FX를 우회하며, 인터페이스가 지원하면 직접 모니터링을 사용하세요.
- 매크로가 작동하지 않을 때: Map Mode에 들어가세요; 파라미터 매핑과 범위를 확인하세요; 다시 매핑한 후 버전을 저장하세요.
- 마스터 클리핑: 트랙 출력 −2 dB 낮추거나 체인 끝에 Utility를 추가하세요; 마스터링을 위해 true-peak 안전은 남겨두세요.
XVI. 더 배우기 (Ableton 프리셋과 다음 단계)
먼저 파일을 올바른 위치에 넣어야 한다면, 이 단계별 가이드가 우리가 추천하는 모든 설치 경로를 보여줍니다: Ableton 보컬 프리셋 설치. 설치 후 위의 워크플로우는 사용을 빠르고, 음악적이며, 반복 가능하게 만듭니다.
XVII. 빠른 실행 계획 (복사 가능)
- 랙을 불러오고; Input Trim을 설정하여 Comp A가 약 3–5 dB를 터치하게 하세요.
- De-Ess는 “부드럽고 밝게” 설정하세요, 둔탁하지 않게; 발음이 숨겨질 때만 아주 작은 Presence를 추가하세요.
- Air를 아주 작게 유지하고 리턴을 필터링하세요; 벌스는 건조하게, 후크는 열리게.
- 보컬 중 비트 미드에서 dB를 사이드체인하세요; 빠른 릴리스.
- 버전을 저장하세요 (Lead — Clean (YourName)) 그리고 역할 기반 변형을 만드세요.
잘 사용하면, 보컬 프리셋과 ableton 녹음 템플릿은 의지가 아닌 신뢰할 수 있는 지름길입니다. 헤드룸을 건강하게 유지하고, 작은 움직임을 만들며, 의도적으로 자동화하면, 목소리가 거칠지 않고 앞으로 나와 노래마다 빛납니다.


