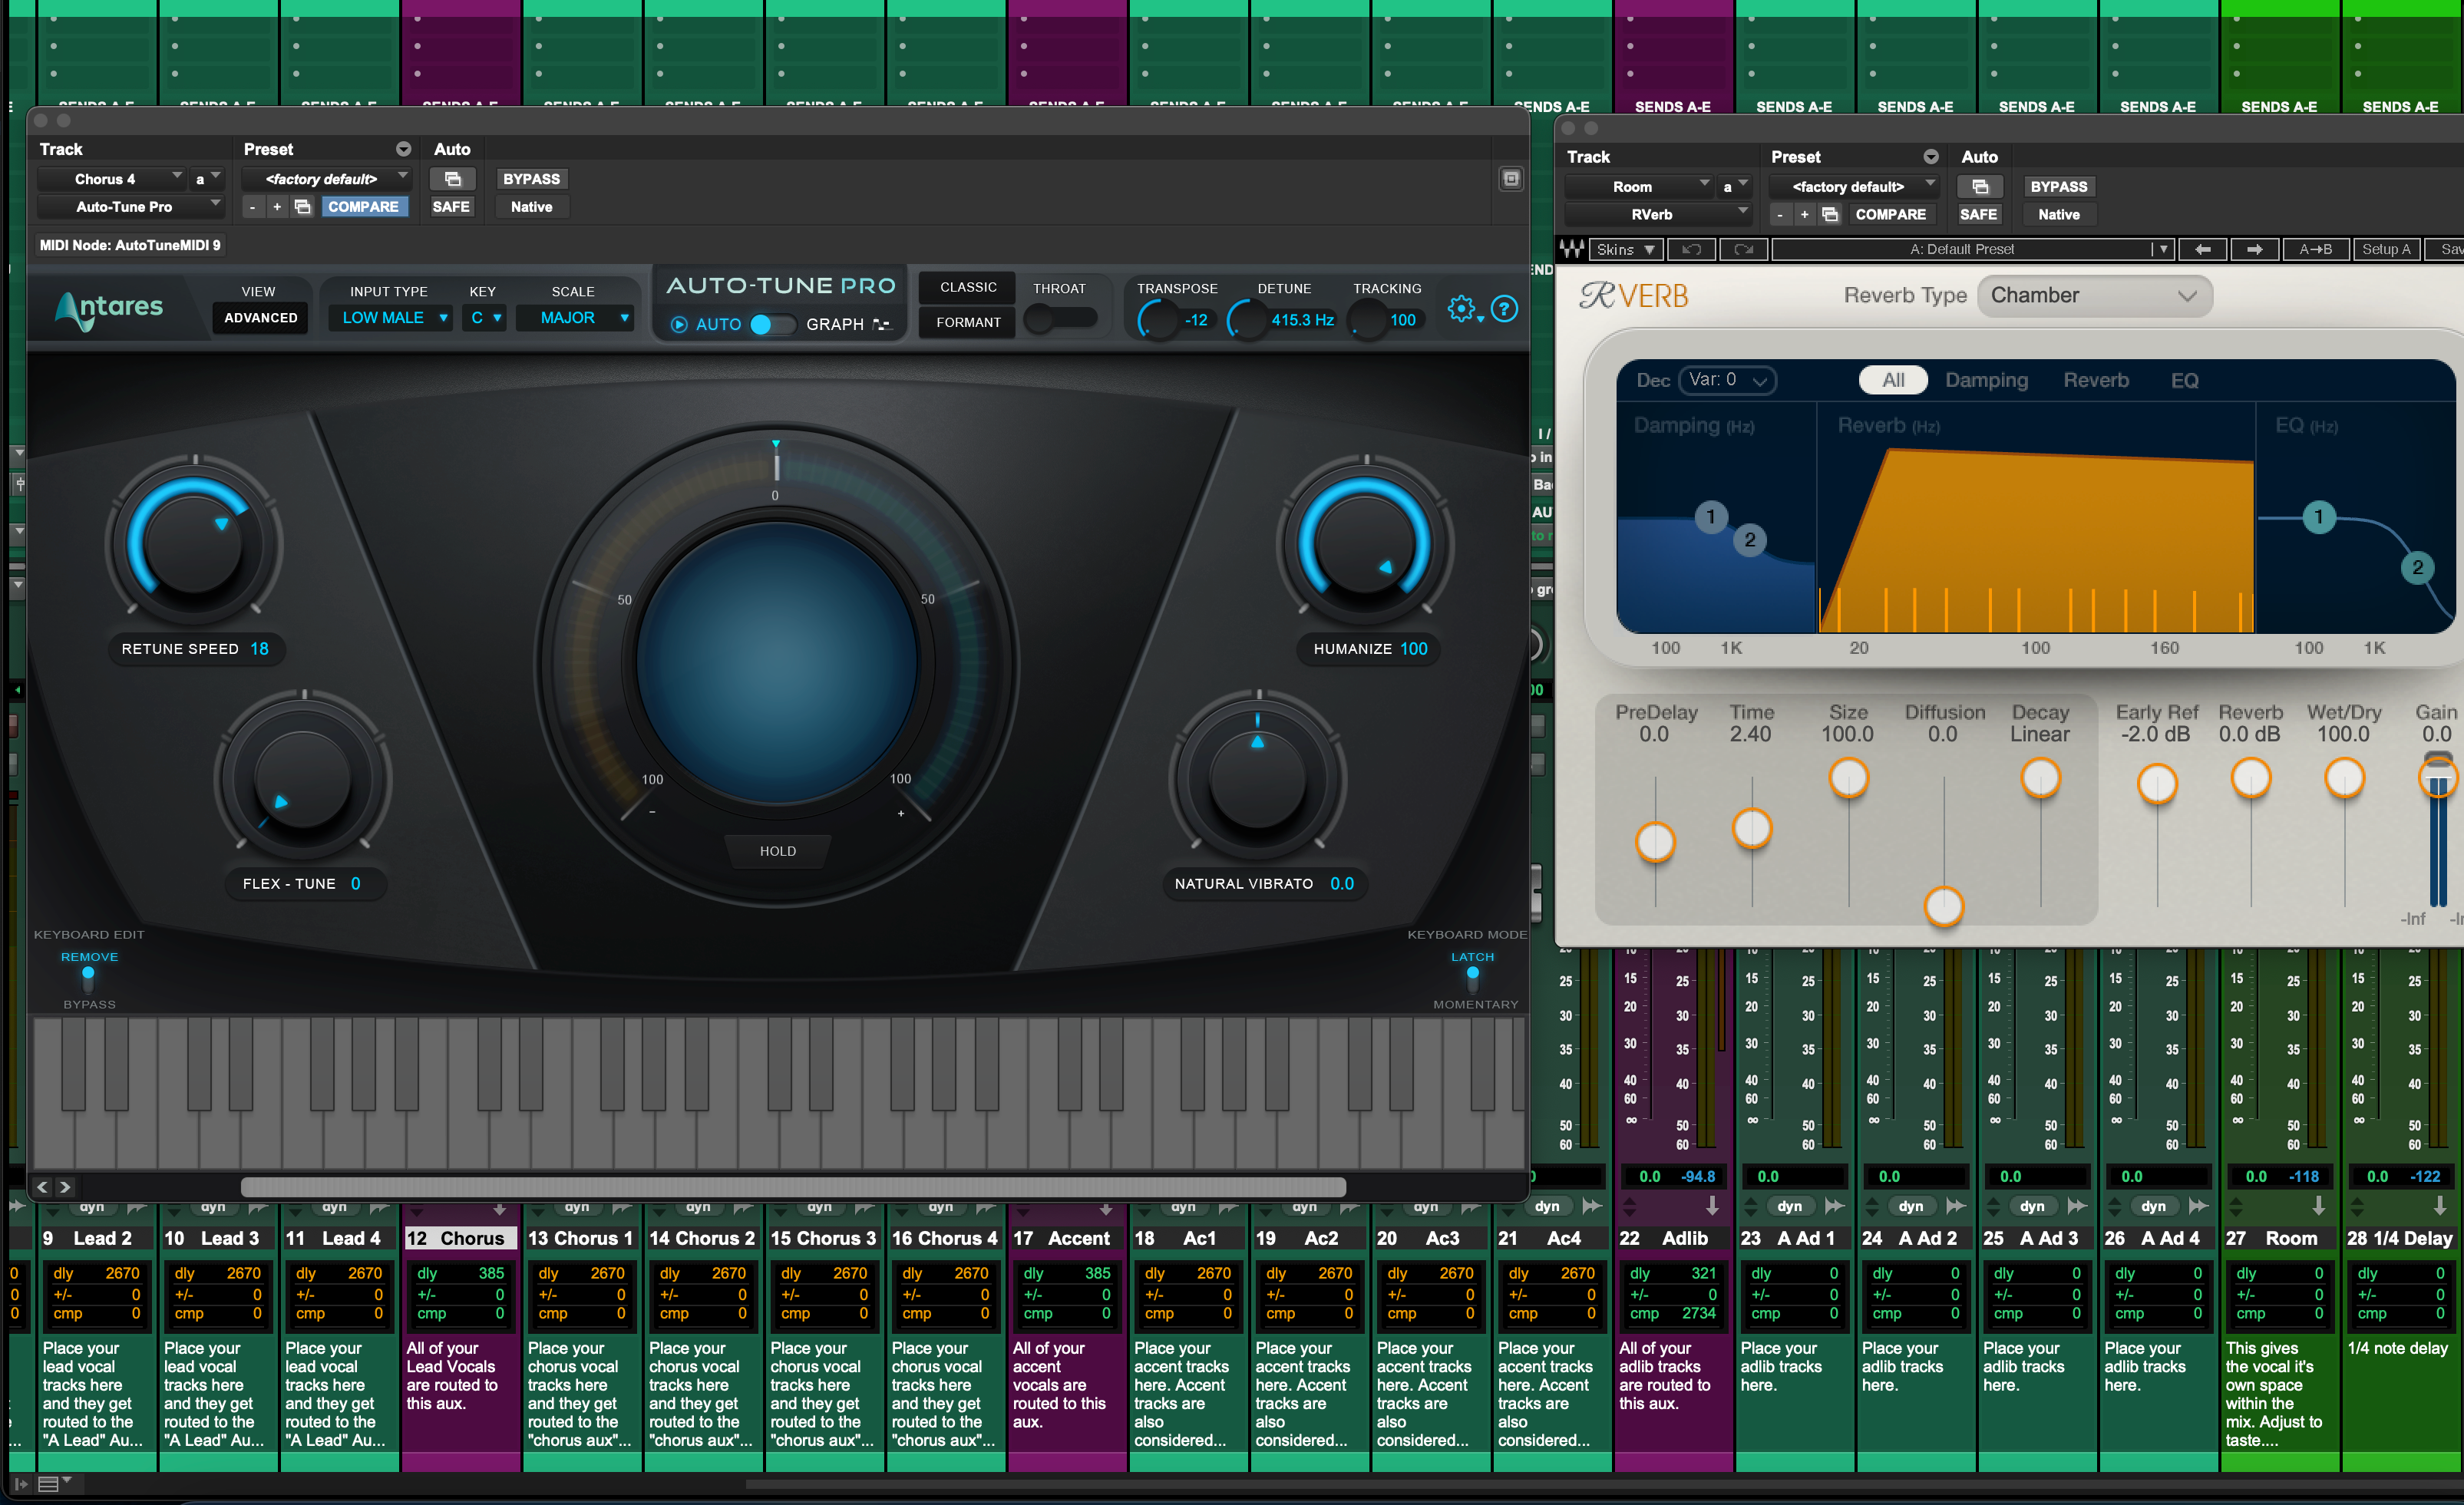
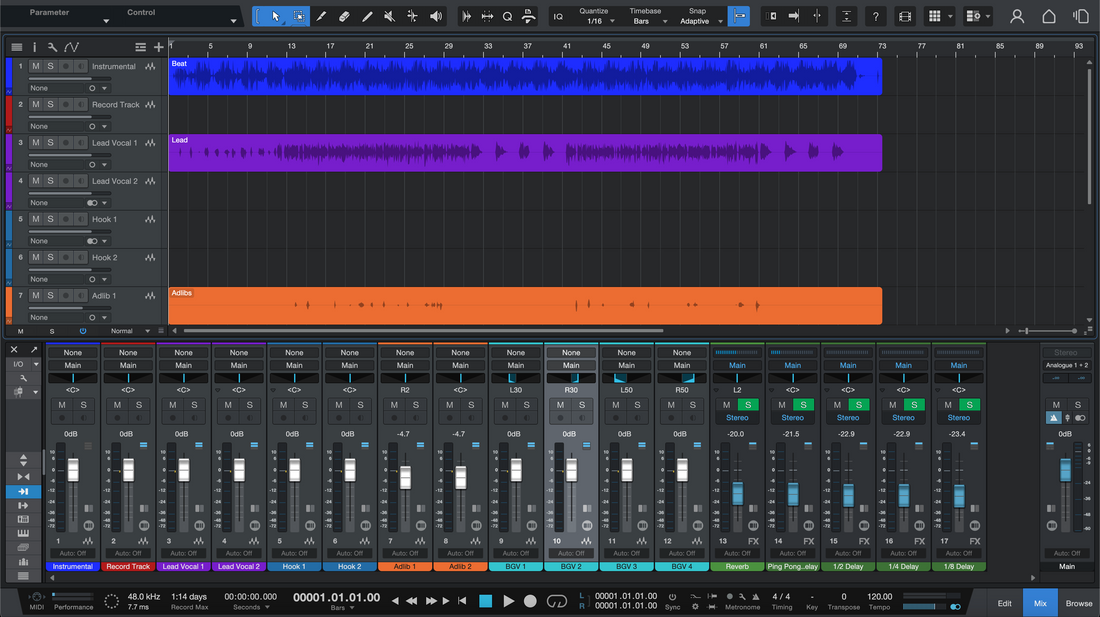
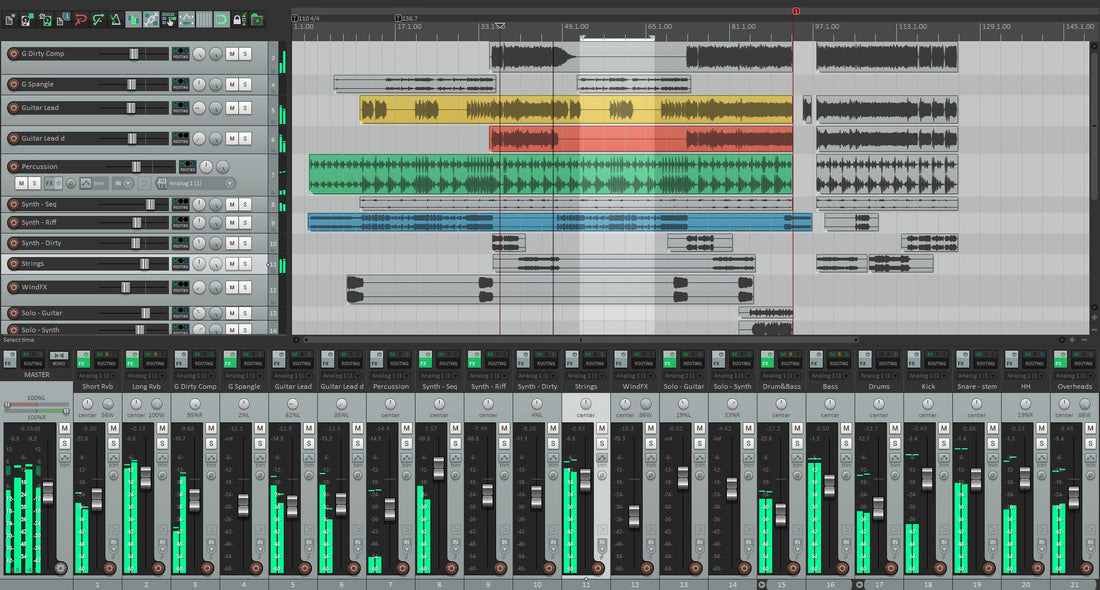
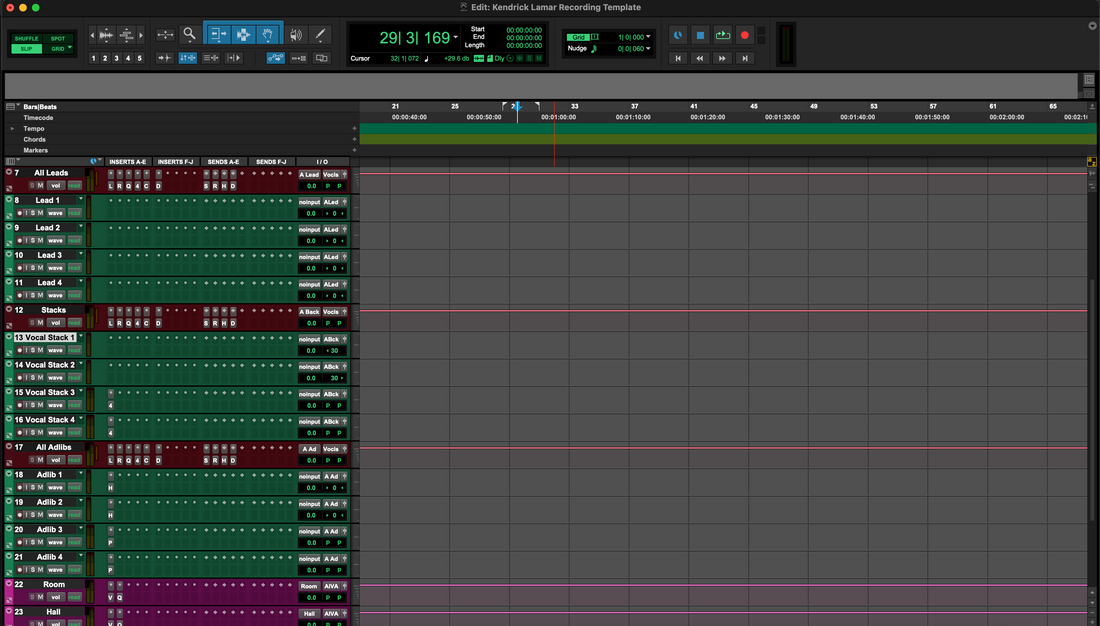
Pro Tools에서 보컬 프리셋은 로드 준비된 신호 경로—EQ, 컴프레션, 디에싱, 컬러, 딜레이, 리버브—를 트랙 프리셋, 플러그인 프리셋, 또는 전체 세션 템플릿으로 저장한 것입니다. 이 가이드는 세션에 프리셋을 불러오고, 입력을 보정하며, 몇 가지 결정적인 조작으로 톤을 조형하고, 현대적인 방식으로 이펙트를 라우팅하며, 리드, 더블, 하모니, 애드립을 위한 별도의 레시피를 유지하는 방법을 안내합니다. 이 DAW에 맞춘 빠른 시작을 원한다면 큐레이션된 Pro Tools 보컬 프리셋을 사용하고 임계값과 센드를 자신의 목소리에 맞게 조정해 보세요.
I. Pro Tools의 프리셋: 실제로 저장할 수 있는 것
Pro Tools는 대부분 워크플로우를 아우르는 몇 가지 빌딩 블록을 제공합니다:
- 트랙 프리셋 — 인서트, 순서, I/O, 센드, 심지어 색상까지 저장. 트랙 네임플레이트나 새 트랙 생성 시 불러오기.
- 플러그인 프리셋 — AAX 디바이스 상태(EQ, 컴프레서, 디에서, 딜레이, 리버브)를 체인 내에서 자유롭게 조합 가능.
- 세션 템플릿 — 클릭 한 번으로 보컬 준비된 환경(레인 + FX 리턴) 바로 열기.
- 세션 데이터 가져오기 — 다른 세션에서 튜닝된 보컬 트랙(및 버스)을 선택해 현재 세션에 넣기.
로딩이 첫 단계입니다. 두 번째 단계—종종 건너뛰는—는 가수와 곡에 맞게 게인, 시빌런스 컨트롤, 존재감, 앰비언스를 조정하는 것입니다.
II. 무대 설정 (간단 체크리스트)
- 재생 엔진: 인터페이스를 선택하세요; 트래킹 시 64–128 샘플, 믹싱 시 더 높게 설정.
- 샘플 레이트: 대부분 릴리스는 44.1 kHz (프로젝트가 비디오용일 경우 48 kHz 사용).
- 건강한 입력: 공연 수준으로 노래하고 원시 입력 미터에서 −12에서 −8 dBFS를 목표로 하세요.
- 스타터 레이아웃: Lead Vox라는 오디오 트랙 하나와 두 개의 AUX 리턴: A = Slap, B = Plate.
- 미터: 자동화나 센드 전의 게인을 보고 싶다면 트랙 미터를 프리페이더로 전환하세요.
III. 세션에 프리셋 불러오기 (신뢰할 수 있는 네 가지 경로)
1) 트랙 프리셋 (속도 옵션)
- 새 트랙 대화상자에서 트랙 프리셋을 선택하고 보컬 체인을 고르세요; 또는
- 트랙 이름판을 우클릭 → 트랙 프리셋 불러오기…; 또는
- 워크스페이스 열기 (Option+I) 후 트랙 프리셋을 편집/믹스 창으로 드래그하세요.
- 즉시 당신의 버전을 저장하세요 (예: Lead — Clean • YourName) 나중에 조정해도 원본이 덮어쓰이지 않도록.
2) 세션 데이터 가져오기 (플러밍이 포함된 레인 불러오기)
- 파일 → 가져오기 → 세션 데이터…를 선택하고 신뢰하는 보컬이 있는 기증 세션을 고르세요.
- 조율된 리드와 그 FX 리턴을 활성화하세요; 임시 트랙을 교체할 경우 “이름으로 트랙 일치”를 사용하세요.
3) 세션 템플릿 (녹음 준비 완료)
- 템플릿에서 생성 → “Vocal Starter”(리드, 더블 L/R, 하모니, 애드립, 슬랩/플레이트)를 선택하세요.
- 리드 입력을 설정하고 암기한 후 시작하세요—버스는 이미 연결되어 있습니다.
4) 플러그인 프리셋 (정밀 교체)
- 보컬 트랙에서 기본 AAX 도구(EQ3 7-Band, Dyn3 Comp/Lim, Dyn3 De-Esser, Mod Delay III, D-Verb/Space) 또는 서드파티 즐겨찾기를 불러오세요.
- 작동하는 장치 프리셋을 저장하세요; 나중에 이를 트랙 프리셋으로 묶어 원클릭으로 불러올 수 있습니다.
IV. 신호 보정 (왜 당신의 프리셋이 갑자기 작동하는가)
- 프리앰프, 그 다음 인서트: 인터페이스를 설정하여 처리되지 않은 피크가 −12에서 −8 dBFS 사이에 위치하도록 하세요.
- 클립 게인 응급처치: 컴프레션 전에 소리 큰 단어를 억제하고 속삭임을 올리세요 (보통 ±2–3 dB면 충분합니다). 편집이 보이지 않도록 짧은 페이드를 추가하세요.
- 컴프레서 A의 최적 지점: 구절에서 대략 3–5 dB 게인 감소를 목표로 하세요 (2:1–3:1, 10–30 ms 어택, 80–160 ms 릴리즈). 과도한 지속 압축은 디에싱을 어렵게 만듭니다.
- 체인 후: 후처리 FX 피크를 약 −6에서 −3 dBFS 사이로 유지하세요. 라우드니스는 트래킹이 아니라 마스터링 결정입니다.
- 공정한 비교: 체인 끝에 Trim/Gain을 추가하여 A/B 테스트가 "더 크게" 이기지 않도록 하세요.
V. 보컬의 90%를 형성하는 다섯 가지 움직임
- Sibilance: 디에서 밴드를 6–8 kHz 근처에 설정; 이어폰이 편안해지면서 자음이 잘 들리도록 적당히 조절.
- Low-mid weight: 가수가 얇게 느껴지면 120–200 Hz에 약간 추가; 부스 블룸이 나타나면 대신 250–350 Hz를 깎으세요.
- Presence lane: 단어가 숨겨질 때만 3–4 kHz 근처에서 넓고 작은 리프트. 심벌이 이미 밝으면 보컬을 강요하지 말고 비트를 깎으세요.
- Air: 시빌런스가 제어된 후 10–12 kHz의 작은 셸프.
- Space: 90–120 ms 정도의 슬랩백과 짧은 플레이트(0.7–1.0초, 20–50 ms 프리딜레이). 벌스는 건조하게 유지; 코러스는 활짝 피게.
VI. 한 명의 가수, 여러 레인: 각 작업을 자신의 레일에 유지
- Lead: 중앙에서 모노로 단단하고 안정적; 폭은 다른 곳에 둠. 구절을 라이딩하여 이야기가 떨어지지 않게.
- Doubles L/R: 리드보다 높은 하이패스, 약간 강한 디에스, 6–9 dB 정도 아래에 위치; 좌우 마이크로 패닝; 모노에서 무너지는 코러스 와이더는 피하세요.
- Harmonies: 더 어둡고 더 넓게 퍼짐; 사라지면 5 kHz 정도의 작은 광택으로 충분.
- Ad-libs: 좁은 대역폭(HPF 약 200 Hz, LPF 8–10 kHz), 중앙에서 약간 벗어난 패닝, 전환 시 짧은 던지기.
역할별로 트랙 프리셋 저장(Lead — Clean, Double — Tight, Harmony — Wide, Ad-Lib — Phone)하여 즉각적이고 일관된 호출 가능.
VII. 현대적인 앰비언스: 두 개의 aux, 많은 컨트롤
- Aux A = Slap (Mod Delay III)와 Aux B = Plate (D-Verb 또는 Space) 생성.
- 두 리턴 모두 EQ로 필터링: HPF 약 150 Hz, LPF 약 6–7 kHz로 작은 스피커에서 꼬리 소리가 쉬쉬거리지 않게.
- 리드에서 키드된 슬랩(aux)에 컴프레서 추가(빠른 어택/릴리스, 약 1–2 dB 게인 리덕션). 단어 위에 쌓이지 않고 틈새에 에코가 나타납니다.
- 간단한 센드 라이드를 작성하세요: 후크에서는 +1–2 dB, 밀도 높은 벌스에서는 줄이기.
VIII. 어디서나 사용할 수 있는 기본 툴킷
- EQ3 7-Band (first): 하이패스 80–100 Hz; 박스형 소리가 나면 250–350 Hz에서 부드럽고 넓게 컷; 필요할 때만 1 kHz 근처에 작은 노치.
- Dyn3 Comp/Lim (Comp A): 2:1–3:1, 10–30 ms 어택, 80–160 ms 릴리스; 구절에서 3–5 dB 정도 살짝 눌러주세요.
- Dyn3 또는 Avid De-Esser: 6–8 kHz 주변에 집중하세요; 미터가 아니라 귀로 판단하세요.
- Dyn3 Comp/Lim (Comp B): 피크에서 1–2 dB를 빠르게 잡아주는 “캐처”; 전송 레벨을 안정화합니다.
- 컬러 (맛): 밀도를 위해 매우 낮은 믹스에서 AIR Lo-Fi 또는 디스토션을 사용하세요; 출력 레벨을 맞춰 “더 크게” 착각하지 않도록 하세요.
- EQ3 (마무리): 발음이 아직 숨겨져 있다면 3–4 kHz 근처를 넓게 +0.5–1 dB 올리고, 마지막에 작은 에어 셸프를 추가하세요.
위 내용을 명확히 라벨링한 트랙 프리셋—Lead — Stock Clean (PT)—으로 감싸고, 다른 곡을 위해 가볍거나 무거운 변형을 만드세요.
IX. 자신을 속이지 말고 프리셋을 빠르게 평가하세요
- 부드러운 단어와 큰 소리 단어가 섞인 10–20초 구간을 루프하세요.
- 레벨 매치를 위해 끝에 트림/게인을 유지하세요; 트랙 프리셋이나 플러그인 스택을 전환하세요.
- 컨트롤 룸에서 가장 밝은 옵션뿐 아니라 이어폰과 휴대폰에서 잘 들리는 것을 선택하세요.
X. 비트가 단일 스테레오 파일일 경우 (타이트한 하이햇, 큰 서브)
- 보컬이 공간을 빌리게 하세요: 인스트루멘털 버스에 부드러운 2–4 kHz 딥을 보컬에 키잉된 사이드체인 컴프레서에 연결하세요—가수가 말할 때는 1–2 dB만.
- 고음대 편안함: 리드의 에어 무브먼트를 적당히 유지하세요; 심벌이 이미 시끄럽다면 이펙트 리턴을 로우패스 하세요.
- 모노 사운드 체크: 모니터를 잠시 모노로 합쳐 보세요; 가사가 휴대폰 스피커에서도 알아들을 수 있어야 합니다.
XI. 먼저 편집하고, 믹스는 덜 하세요: 컴핑 & 클립 게인
- 플레이리스트: 발음과 감정을 살리는 깨끗한 합성을 만드세요.
- 프리셰이프 다이내믹스: 빠른 클립 게인 조정(±1–2 dB)으로 부드럽게 만들어 컴프레서가 무거운 작업을 덜 하게 합니다.
- 숨소리: 명백한 헐떡임은 줄이고 자연스러운 숨소리는 유지하세요—이것들이 구절을 표시합니다.
XII. 무엇을 프린트할지 (그리고 언제)
건조한 레코딩과 습한 모니터링을 동시에. 깨끗한 리드를 캡처하세요; 누군가 “데모 분위기”가 필요하면 리드를 PRINT 트랙으로 보내고 습한 안전 레코딩도 함께 하세요 (Lead_Wet). 마무리 직전에 무거운 이펙트를 프리즈하거나 커밋하고, 리콜용으로 _FXPRINT 트랙을 유지하세요.
XIII. 작은 자동화, 큰 효과
- 레벨 라이딩: 다운비트에 +0.5–1 dB; 혀 꼬임 구절에는 아주 작은 딥.
- 디에서 임계값: 밝은 음절에는 약간 더 엄격하게, 어두운 구절에는 느슨하게 설정하세요.
- FX 안무: 코러스에서는 Slap/Plate를 밀고, 밀도 높은 벌스에서는 뒤로 빼며, 리턴은 필터링 상태로 유지하세요.
XIV. 라이브러리를 깔끔하게 유지하세요 (미래의 당신이 감사할 것입니다)
-
정렬되는 이름:
리드 — 클린,리드 — 에어+,랩 — 펀치,하모니 — 와이드,애드립 — 전화. - 레인별 한 개 프리셋: 리드/더블/하모니 각각 전용 트랙 프리셋을 사용해 스택을 과도하게 디에싱하거나 중앙을 실수로 밝게 만드는 일을 방지하세요.
- 세션 템플릿: 레인과 Slap/Plate 보조 채널이 포함된 “Vocal Starter (PT)”를 유지하고 모든 곡을 여기서 시작하세요.
XV. 문제 해결: 목표별 수정
- 에어가 거칠게 느껴질 때: 셸프를 약 0.5 dB 줄이고, 디에서를 약간 올리며, 리턴을 6–7 kHz 부근에서 로우패스하세요.
- 808에 보컬이 묻힐 때: 벌스에서 센드를 드라이하게 하고, 약간의 프레즌스를 추가하며, 라인 중 비트에 맞춰 미묘한 미드 딥을 자동화하세요.
- 딸깍거림/튀는 소리: 믹싱 시 버퍼를 늘리고, 바운스 전까지 룩어헤드/무거운 분석기를 비활성화하며, 백그라운드 앱을 종료하세요.
- 프리셋이 바운스 시 다르게 들릴 때: 품질/오버샘플링 토글을 확인하고, 마스터 클리핑을 피하며, 세션 속도로 바운스하세요.
- 마이크에서 체인이 평평하게 느껴질 때: 로우-미드 컷을 줄이고, 디에서를 완화하며, 진흙 없이 가슴 소리를 위해 150–180 Hz를 약간 올려보세요.
- A/B 바이어스: 최종 트림/게인을 사용해 라우드니스가 승자를 결정하지 않도록 하세요.
XVI. 한 페이지 게임 플랜
- 트랙 프리셋을 불러오고 입력을 보정해 원시 피크가 −12에서 −8 dBFS 사이에 위치하도록 하세요; 컴프레서 A는 약 3–5 dB GR로 부드럽게 작동합니다.
- 작고 넓은 움직임으로 시빌런스 → 바디 → 프레즌스 → 에어를 조형하고, 벌스에서는 FX를 절제되게 유지하세요.
- Slap/Plate 보조 채널로 보내고, 리턴을 필터링하며, 리드에서 Slap을 사이드체인 덕킹하세요.
- 역할별 트랙 프리셋(리드, 더블, 하모니, 애드립)을 저장하고 세션 템플릿을 사용하세요.
- 깨끗하게 프린트하고, 헤드룸을 유지하며, 라우드니스는 마스터링에 맡기세요.
의도적으로 사용하면, 프리셋은 레이저로 자른 지름길이지 의존할 도구가 아닙니다. 헤드룸을 넉넉히 유지하고, 절제된 움직임을 하며, 중요한 순간만 자동화하면 보컬이 거칠거나 눈부심 없이 앞으로 나옵니다. 이 정확한 생태계에 맞는 체인을 원한다면 Pro Tools 템플릿에서 시작해 반복 가능한 결과를 위해 자신만의 최적 버전을 고정하세요.


