Вокальные пресеты Cubase — это заранее настроенные цепочки, которые можно загрузить за секунды — эквалайзер, компрессия, деэссер, окраска и пространство — чтобы ваш первый дубль уже звучал профессионально. В этом руководстве показаны три надёжных способа установки (пресеты дорожек, избранное MediaBay и архивы/шаблоны дорожек), как быстро их тегировать и искать, а также как адаптировать цепочку под ваш микрофон и жанр. Если вы хотите получить качественный старт перед настройкой, изучите подобранные вокальные пресеты Cubase, а затем точно настройте пороги, атаку/релиз и посылы эффектов под ваш голос.
I. Что такое «вокальный пресет» в Cubase
В Cubase вокальный пресет может быть любым из следующих сохранённых объектов, которые восстанавливают вашу обработку и (опционально) маршрутизацию:
- Пресет дорожки (.vstpreset) — восстанавливает вставки, Channel Strip/EQ и некоторые параметры маршрутизации на аудиодорожке.
- Пресет цепочки эффектов — сохраняет ваш стек вставок, чтобы быстро применить его к любой дорожке.
- Пресет Channel Strip/EQ — сохраняет только состояние встроенного канала/эквалайзера; отлично подходит для настроек только со стандартными плагинами и низкой загрузки ЦП.
- Архив дорожки (.xml) — импортирует полностью настроенные дорожки (лид, дубли, гармонии, возвраты) в любой проект.
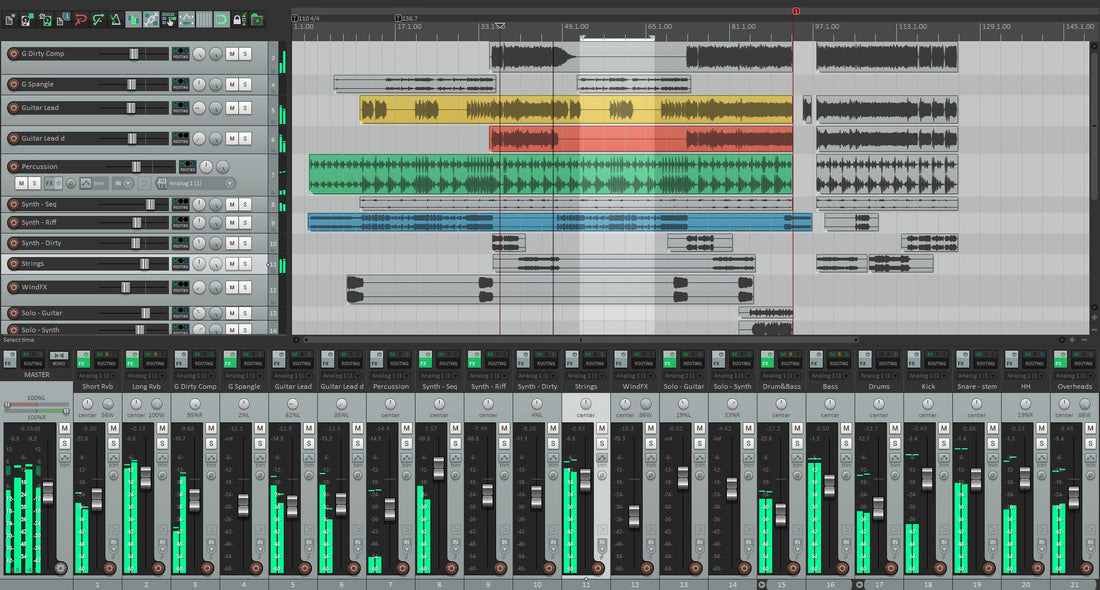
- Шаблон проекта — открывает новую сессию с уже настроенными вокальными дорожками, посылами и мониторингом.
Все это можно искать внутри MediaBay, который является браузером библиотеки Cubase. Как только пресет окажется в отсканированной папке (или вашей пользовательской библиотеке), его можно загрузить одним перетаскиванием.
II. Контрольный список перед установкой (сделать один раз)
- Обновите Cubase до последней стабильной версии для вашей ОС.
- Подтвердите, что ваш аудиодрайвер (ASIO на Windows) и вход микрофона настроены.
- Если в пакете указаны сторонние плагины, сначала установите и активируйте их.
- Откройте Studio → VST Plug-in Manager и выполните повторное сканирование, чтобы Cubase увидел новые плагины.
- Откройте MediaBay (F5) один раз; вы будете использовать его для индексирования и тегирования папки с пресетами.
III. Три способа установки вокальных пресетов Cubase
A) Пресет дорожки (самый быстрый, перетаскивание)
- Распакуйте ваш загрузочный файл. Сохраняйте имена папок без изменений.
- Откройте ваш проект и создайте аудиодорожку с именем «Lead Vox».
- Перетащите .vstpreset (пресет дорожки) из Finder/Explorer в окно проекта или MixConsole. Cubase добавит дорожку или применит цепочку, в зависимости от типа пресета.
- Сохраните это в вашей пользовательской библиотеке: выбрав дорожку, откройте меню Инспектора и выберите Сохранить пресет дорожки… Дайте ему понятное имя (например, «Lead — Clean Pop (CB)»).
Используйте это, когда хотите мгновенно получить доступ к пресетам в любой песне без изменения путей к папкам.
B) Избранное MediaBay (без изменений, организованно)
- Поместите распакованную папку пресетов в постоянное место (например,
Documents/BCHILL/Cubase/Vocal Presets/). - Откройте MediaBay (F5) → кликните правой кнопкой мыши в дереве Локаций → Добавить в Избранное и укажите эту папку.
- Нажмите кнопку Повторное сканирование. Теперь вы увидите все пресеты внутри этого Избранного.
- При необходимости фильтруйте по Атрибут → Тип медиа (пресет дорожки / цепочка эффектов / стрип).
- Перетащите любой пресет из MediaBay на вашу вокальную дорожку, чтобы загрузить его.
Используйте это, когда хотите, чтобы папка поставщика находилась в вашем браузере с тегами и рейтингами, без копирования файлов.
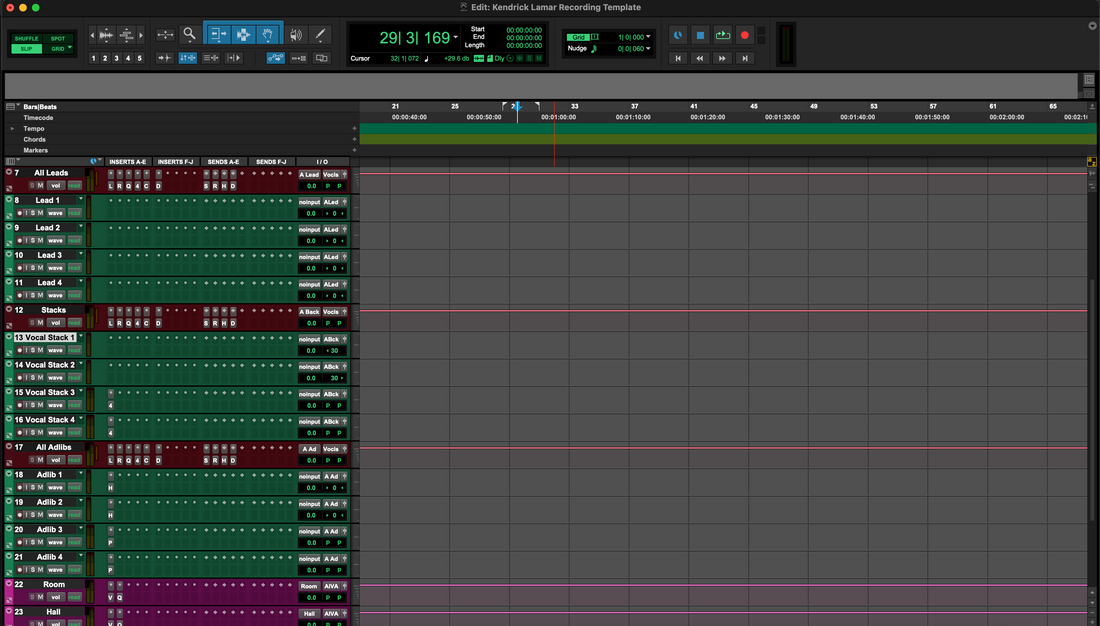
C) Архив дорожки / шаблон (полные настройки, мультидорожечный)
- Если в вашем паке есть архив дорожки (.xml), используйте Файл → Импорт → Архив дорожки… и выберите файл.
- Выберите дорожки для импорта (ведущая, дубли L/R, гармонии, адлиб, возвраты Slap/Plate) и нажмите OK.
- При желании сохраните текущую сессию как шаблон проекта, чтобы новые песни открывались готовыми к записи.
Используйте это, когда хотите перенести полный вокальный набор — включая посылы, цвета и группы — одним движением.
IV. Где что хранится (чтобы установки сохранялись после обновлений)
Самый простой способ — позволить MediaBay индексировать выбранную вами папку (Метод B). Так вам не нужно запоминать пути, специфичные для ОС. Если вы предпочитаете пользовательские папки, Cubase хранит пресеты дорожек/эффектов/стрипов в стандартных местах VSTpreset, которые MediaBay уже отслеживает. В любом случае всегда выполняйте повторное сканирование после добавления файлов и сохраняйте резервную копию папки поставщика.
| Ресурс | Тип файла | Как загрузить | Примечания |
|---|---|---|---|
| Пресет дорожки | .vstpreset | Перетащите из MediaBay или Загрузить пресет дорожки | Восстанавливает вставки, EQ/Strip, часть маршрутизации. |
| Пресет цепочки эффектов | .vstpreset | Меню вставок → Загрузить цепочку эффектов | Применяется к вставкам выбранной дорожки. |
| Пресет Channel Strip/EQ | .vstpreset | Меню модуля Strip/EQ → Загрузить пресет | Низкая загрузка ЦП; только стандартные рабочие процессы. |
| Архив дорожки | .xml | Файл → Импорт → Архив дорожки… | Многодорожечные установки; отлично подходят для полных вокальных стеков. |
| Шаблон проекта | Шаблон | Файл → Новый проект | Сессии «готово к студии» в один клик. |
V. Первичная загрузка: маршрутизация, мониторинг и установка уровня
- Настройте микрофон: установите вход аудиодорожки на правильный канал интерфейса. Включите мониторинг входа, если хотите слышать цепочку в реальном времени.
- Загрузите пресет: добавьте пресет дорожки/эффекта/стрип из меню MediaBay или Инспектора.
- Установите входной уровень: пойте на уровне исполнения и стремитесь к сырым пикам около −12 до −8 дБFS до обработки.
- Проверка задержки: если отслеживание кажется запоздалым, используйте «Lite» версию (EQ → легкий компрессор → де-эсс) для записи и включайте доработку при сведении.
- Запишите проход 10–20 с и сравните цепочку (обход/включение), чтобы подтвердить ясность без резкости.
VI. Сделайте пресет своим (небольшие изменения, которые работают)
Отличные цепочки реагируют на небольшие, предсказуемые настройки. Начните здесь:
- Input/Trim: нормализуйте уровень на входе в первый компрессор — стабильный вход лучше сильного сжатия.
- De-Ess: цель — «мягко-яркий», не глухой. Настраивайте по наушникам больше, чем по приборам.
- Body: заполнение 120–200 Гц; избегайте 250–350 Гц, которые создают мутность и мешают гитарам и паддам.
- Presence: +0,5–1 дБ широкополосно около 3–4 кГц только если дикция скрывается.
- Air: микро подъем на 10–12 кГц после успокоения сибилянтов.
- FX sends: моно слэп 90–120 мс (фильтр 150 Гц–6 кГц) и яркий короткий ревербератор (0,7–1,0 с, 20–50 мс предзадержка). Держите куплеты суше; откройте припев.
VII. Быстрые управления и макросы (быстрые действия)
Назначьте наиболее часто используемые параметры на Track Quick Controls, чтобы каждый пресет ощущался как аппаратный:
- QC1 = Input/Trim
- QC2 = De-Ess amount
- QC3 = Body (low shelf)
- QC4 = Presence (wide bell)
- QC5 = Air (high shelf)
- QC6 = Comp threshold
- QC7 = Slap send
- QC8 = Plate send
Сохраните как новый пресет дорожки, чтобы эти назначения сохранялись вместе с цепочкой.
VIII. Ролевые вокальные дорожки (ведущий, дубли, гармонии, адлиб)
Пресеты лучше всего работают как небольшая «семья», чтобы каждая дорожка звучала осознанно.
- Лид: моно-центр с минимальным расширением. В первую очередь ряды и дикция.
- Дубли: выше HPF, чуть больше де-эссинга, заглушены на 6–9 дБ ниже; микро-панорама L/R.
- Гармонии: темнее и шире; сильнее фильтруйте низкие средние; небольшой блеск на 5 кГц при необходимости.
- Ад-либы: уже полоса пропускания (HPF ~200 Гц, LPF ~8–10 кГц), панорамирование вбок; короткие броски на переходах.
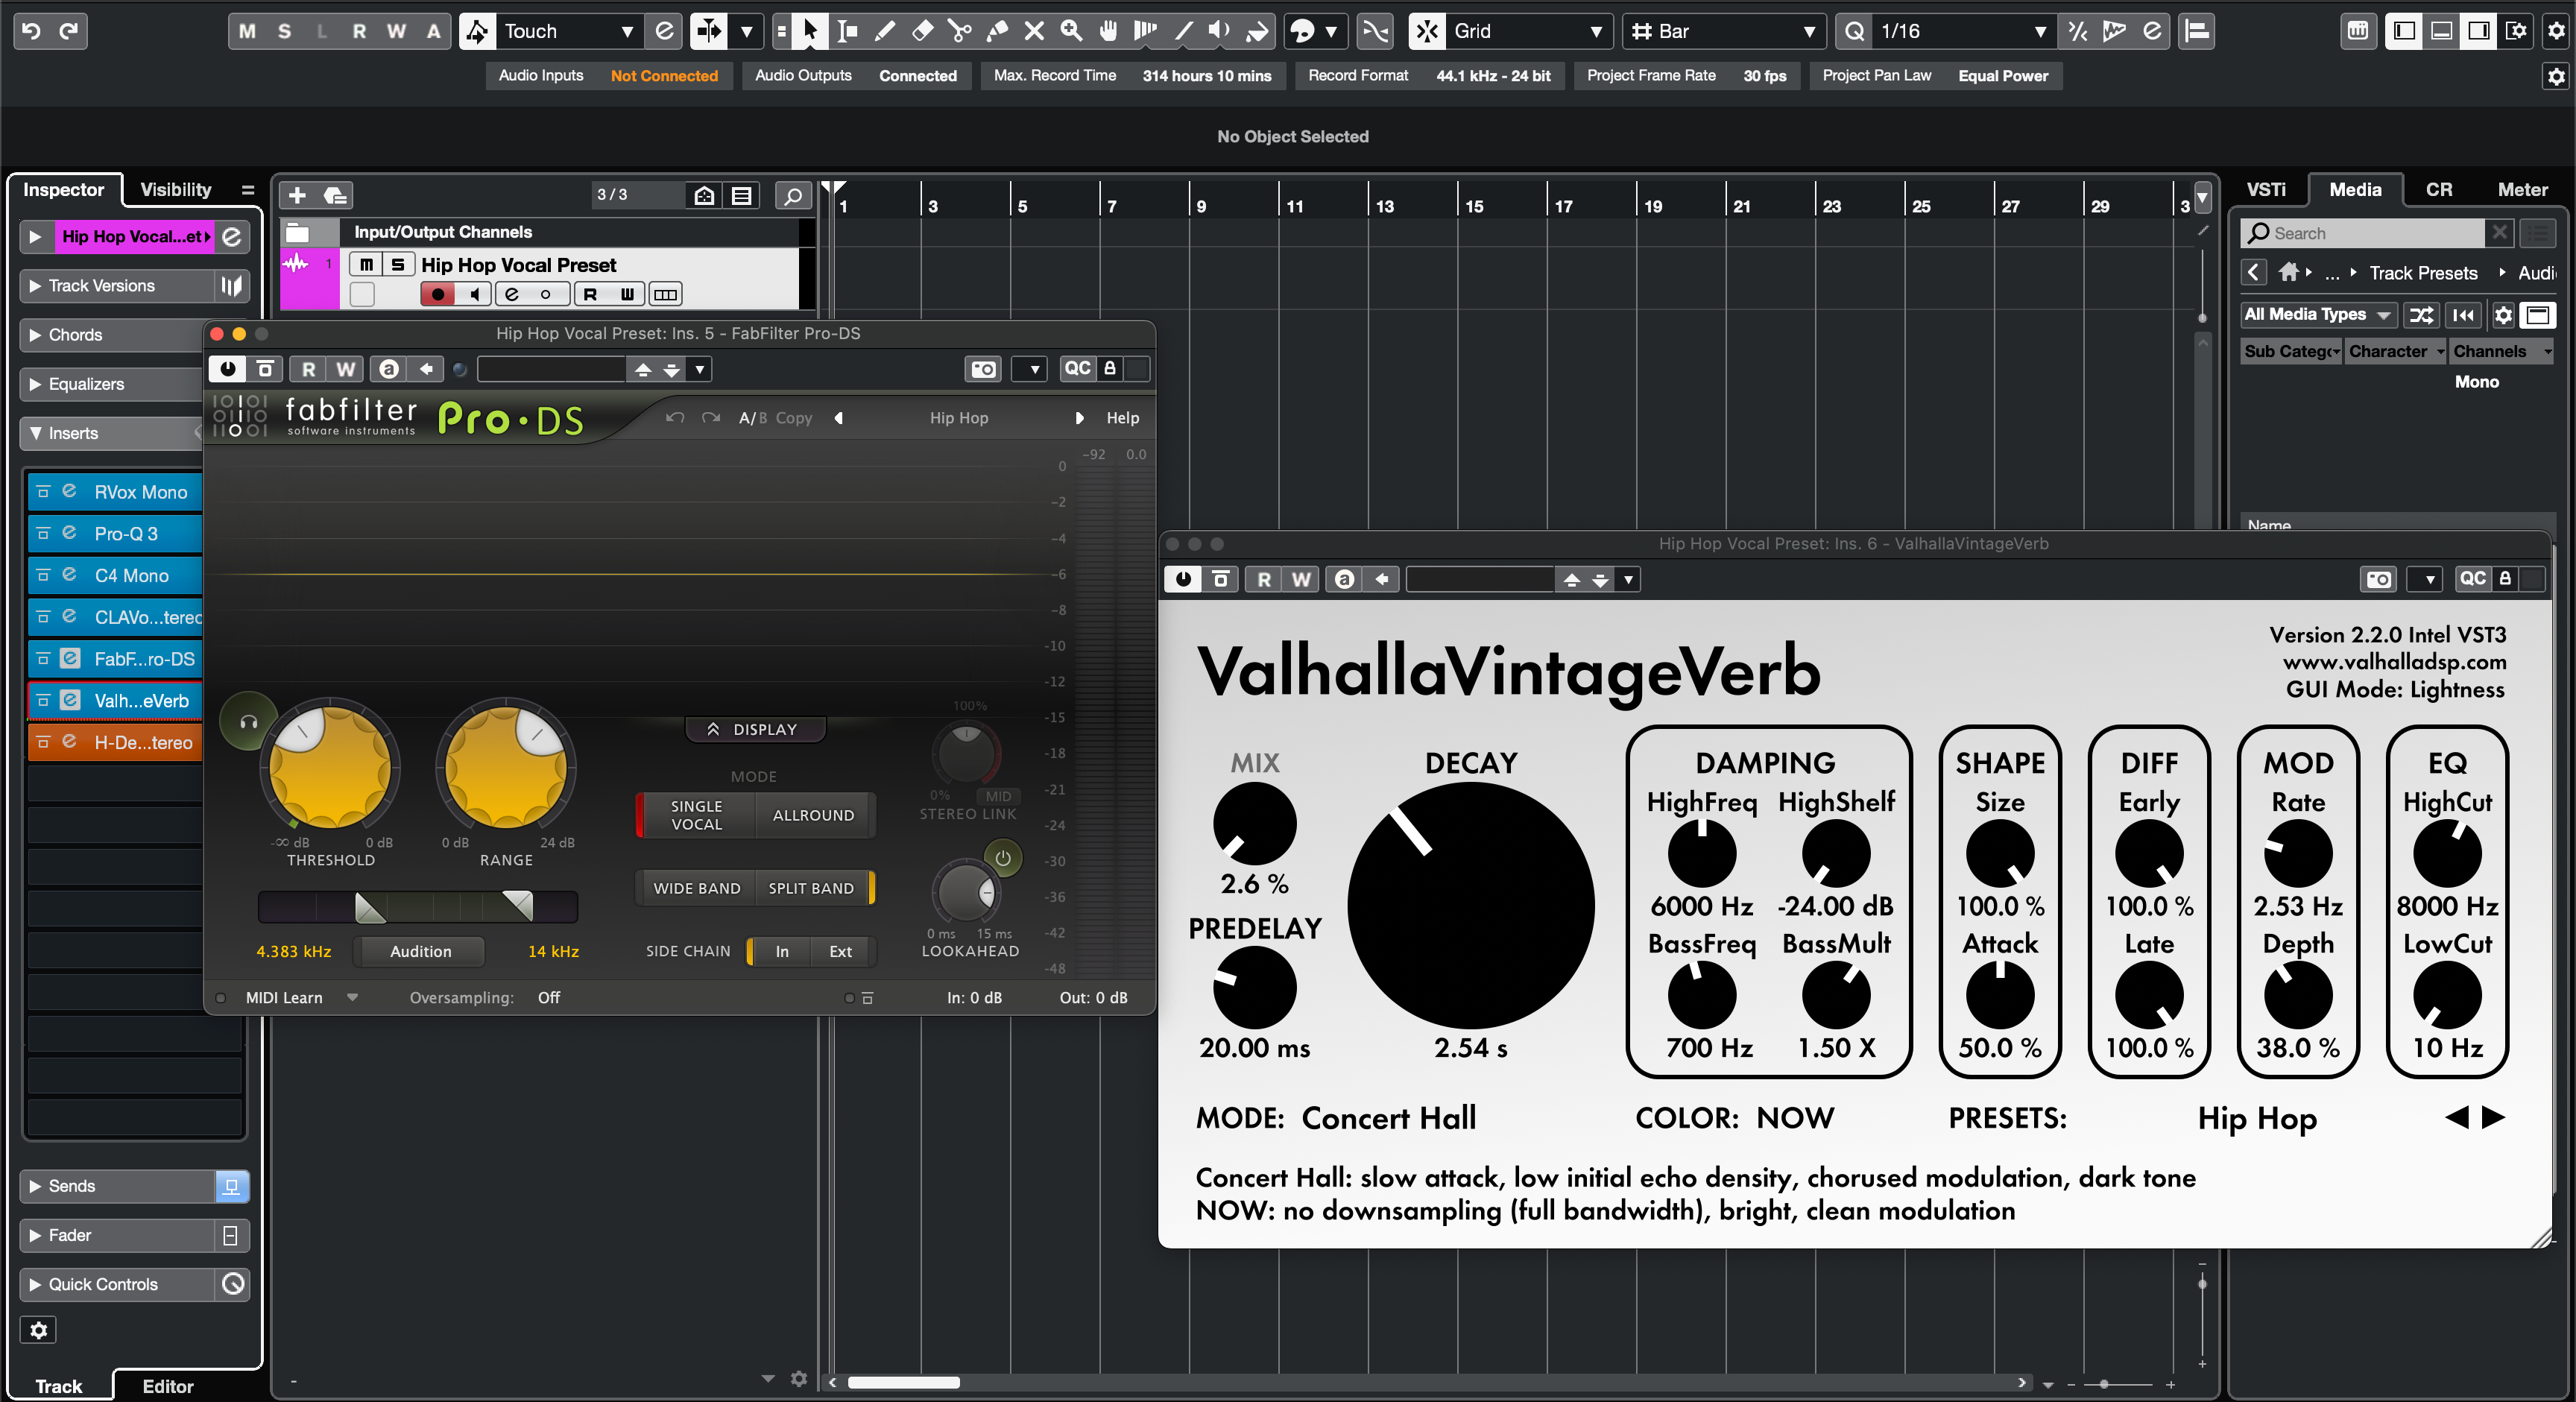
IX. Надёжная цепочка только из стандартных плагинов (пересборка внутри Cubase)
- Эквалайзер канала: HPF 80–100 Гц; сглаженный 250–350 Гц, если звучит гулко; опциональный узкий вырез около 1 кГц, если носовой.
- Компрессор A (Инсерты или Strip): коэффициент 2:1–3:1; атака 10–30 мс; релиз 80–160 мс; 3–5 дБ на фразах.
- Де-эссер (Strip или плагин): широкополосный 6–8 кГц; настраивается по наушникам.
- Компрессор B (ловец): быстрее, 1–2 дБ на пиках для стабильности синда.
- Сатурация (Magneto II/Tube): низкий микс для плотности; выход согласован.
- Полировка эквалайзером: +0.5–1 дБ широкополосно на ~3–4 кГц, если дикция теряется; небольшой воздушный подъём только после де-эссера.
- Эффекты (синды): хлопок 90–110 мс; короткий ревербератор 0.7–1.0 с с предзадержкой 20–50 мс; фильтруйте возвраты.
X. Живое звучание с яркими хэтами & тяжёлыми сабами (двухдорожечные биты)
- Вырезайте, не боритесь: на инструментальном автобусе попробуйте динамическое вырезание с ключом на 2–4 кГц во время вокала, чтобы согласные выделялись без истончения музыки.
- Управление сабом: если слоги теряются под хвостами 808, слегка уменьшите низкочастотный фильтр с ключом около 120–180 Гц во время вокальных фраз — делайте это аккуратно, чтобы избежать качания.
- Максимальный комфорт: фильтруйте задержки/возвраты реверберации; избегайте больших воздушных полок на лидирующем треке, если тарелки уже яркие.
XI. Организация & поиск (побеждает MediaBay)
-
Имена для сортировки:
Ведущий — Чистый поп,Рэп — Панч,Гармония — Wide Soft,Ad-Lib — Телефон. - Теги: добавьте «Lead», «Rap», «R&B», «Airy» или модель вашего микрофона для мгновенной фильтрации.
- Рейтинги: отметьте свои топ-3 звёздами; слишком много «избранных» замедляет вас.
XII. Устранение неполадок (проблема → целенаправленное действие)
- Пресет загружается, но кажется неполным. Плагин отсутствует или отключён. Установите точную версию и пересканируйте в VST Plug-in Manager, затем перезагрузите.
- Не видите новые пресеты в MediaBay. Добавьте папку в избранное и нажмите Rescan. Убедитесь, что фильтр не скрывает тип медиа.
- Макросы/Quick Controls ничего не двигают. Назначьте QC на ключевые параметры, затем сохраните Track Preset заново, чтобы назначения сохранились.
- Резкие «С» после осветления. Немного увеличьте де-эссинг и уменьшите воздушность примерно на 0,5 дБ; фильтр низких частот FX возвращается к ~6–7 кГц.
- Задержка при мониторинге. Записывайте с лёгкой цепочкой; включайте тяжёлые реверберации/ленту позже. Используйте прямой мониторинг, если ваш интерфейс это поддерживает.
- Уровни прыгают между пресетами. Сравнивайте уровни при переключении A/B; используйте финальную регулировку для справедливого сравнения.
- После обновления пресеты кажутся «исчезнувшими». Дерево расположения изменилось. Повторно добавьте папку производителя в избранное MediaBay и пересканируйте.
XIII. Резервное копирование и миграция (защита вашей настройки на будущее)
- Резервное копирование сейчас: скопируйте папку с пресетами производителя и любые сохранённые пользовательские пресеты на облачный диск.
- Новый компьютер: установите Cubase и необходимые плагины, затем добавьте папку с пресетами в избранное MediaBay и пересканируйте.
- Поделитесь пресетом: отправьте Track Preset и укажите любые сторонние плагины; по возможности включите вариант только со стандартными плагинами.
XIV. Узнайте больше (следующий навык в цепочке)
После установки вашей цепочки важны конечные результаты. Если вы сотрудничаете или отправляете песню на сведение, сохраняйте имена, начала и окончания файлов неизменными. Это руководство показывает точные шаги для экспорта стемов из Cubase, чтобы файлы открывались корректно в любом месте.
XV. Краткое руководство по быстрой установке
- Распакуйте архив.
- Быстро: перетащите Track Preset (.vstpreset) в Cubase → сохраните как свой собственный Track Preset.
- Организовано: добавьте папку в избранное MediaBay → пересканируйте → перетащите для загрузки.
- Полный комплект: импортируйте Track Archive (.xml) или начните с Project Template.
- Установите пики входа примерно на уровне −12 до −8 дБFS, слегка отрегулируйте де-эссинг/тело/присутствие и сохраните вашу версию «Lead — YourName».
С одной чистой установкой, умным тегированием и простым шаблоном Cubase становится быстрым и повторяемым вокальным рабочим процессом. Вы будете тратить меньше времени на поиск цепочек и больше времени на запись дублей, которые хорошо звучат на телефонах, наушниках и в больших помещениях.