


GarageBand vocal presets är förbyggda effektkedjor—EQ, kompression, de-essing, färg och rymd—som du kan ladda på några sekunder. Denna guide visar pålitliga installationsmetoder för macOS och iOS, var filer finns, hur du sparar dina egna patchar och snabba lösningar så att din första tagning låter polerad. Vill du ha en färdig startpunkt? Bläddra bland fokuserade GarageBand vocal presets och finjustera efter din mikrofon och rum.
I. Vad en GarageBand vocal preset är
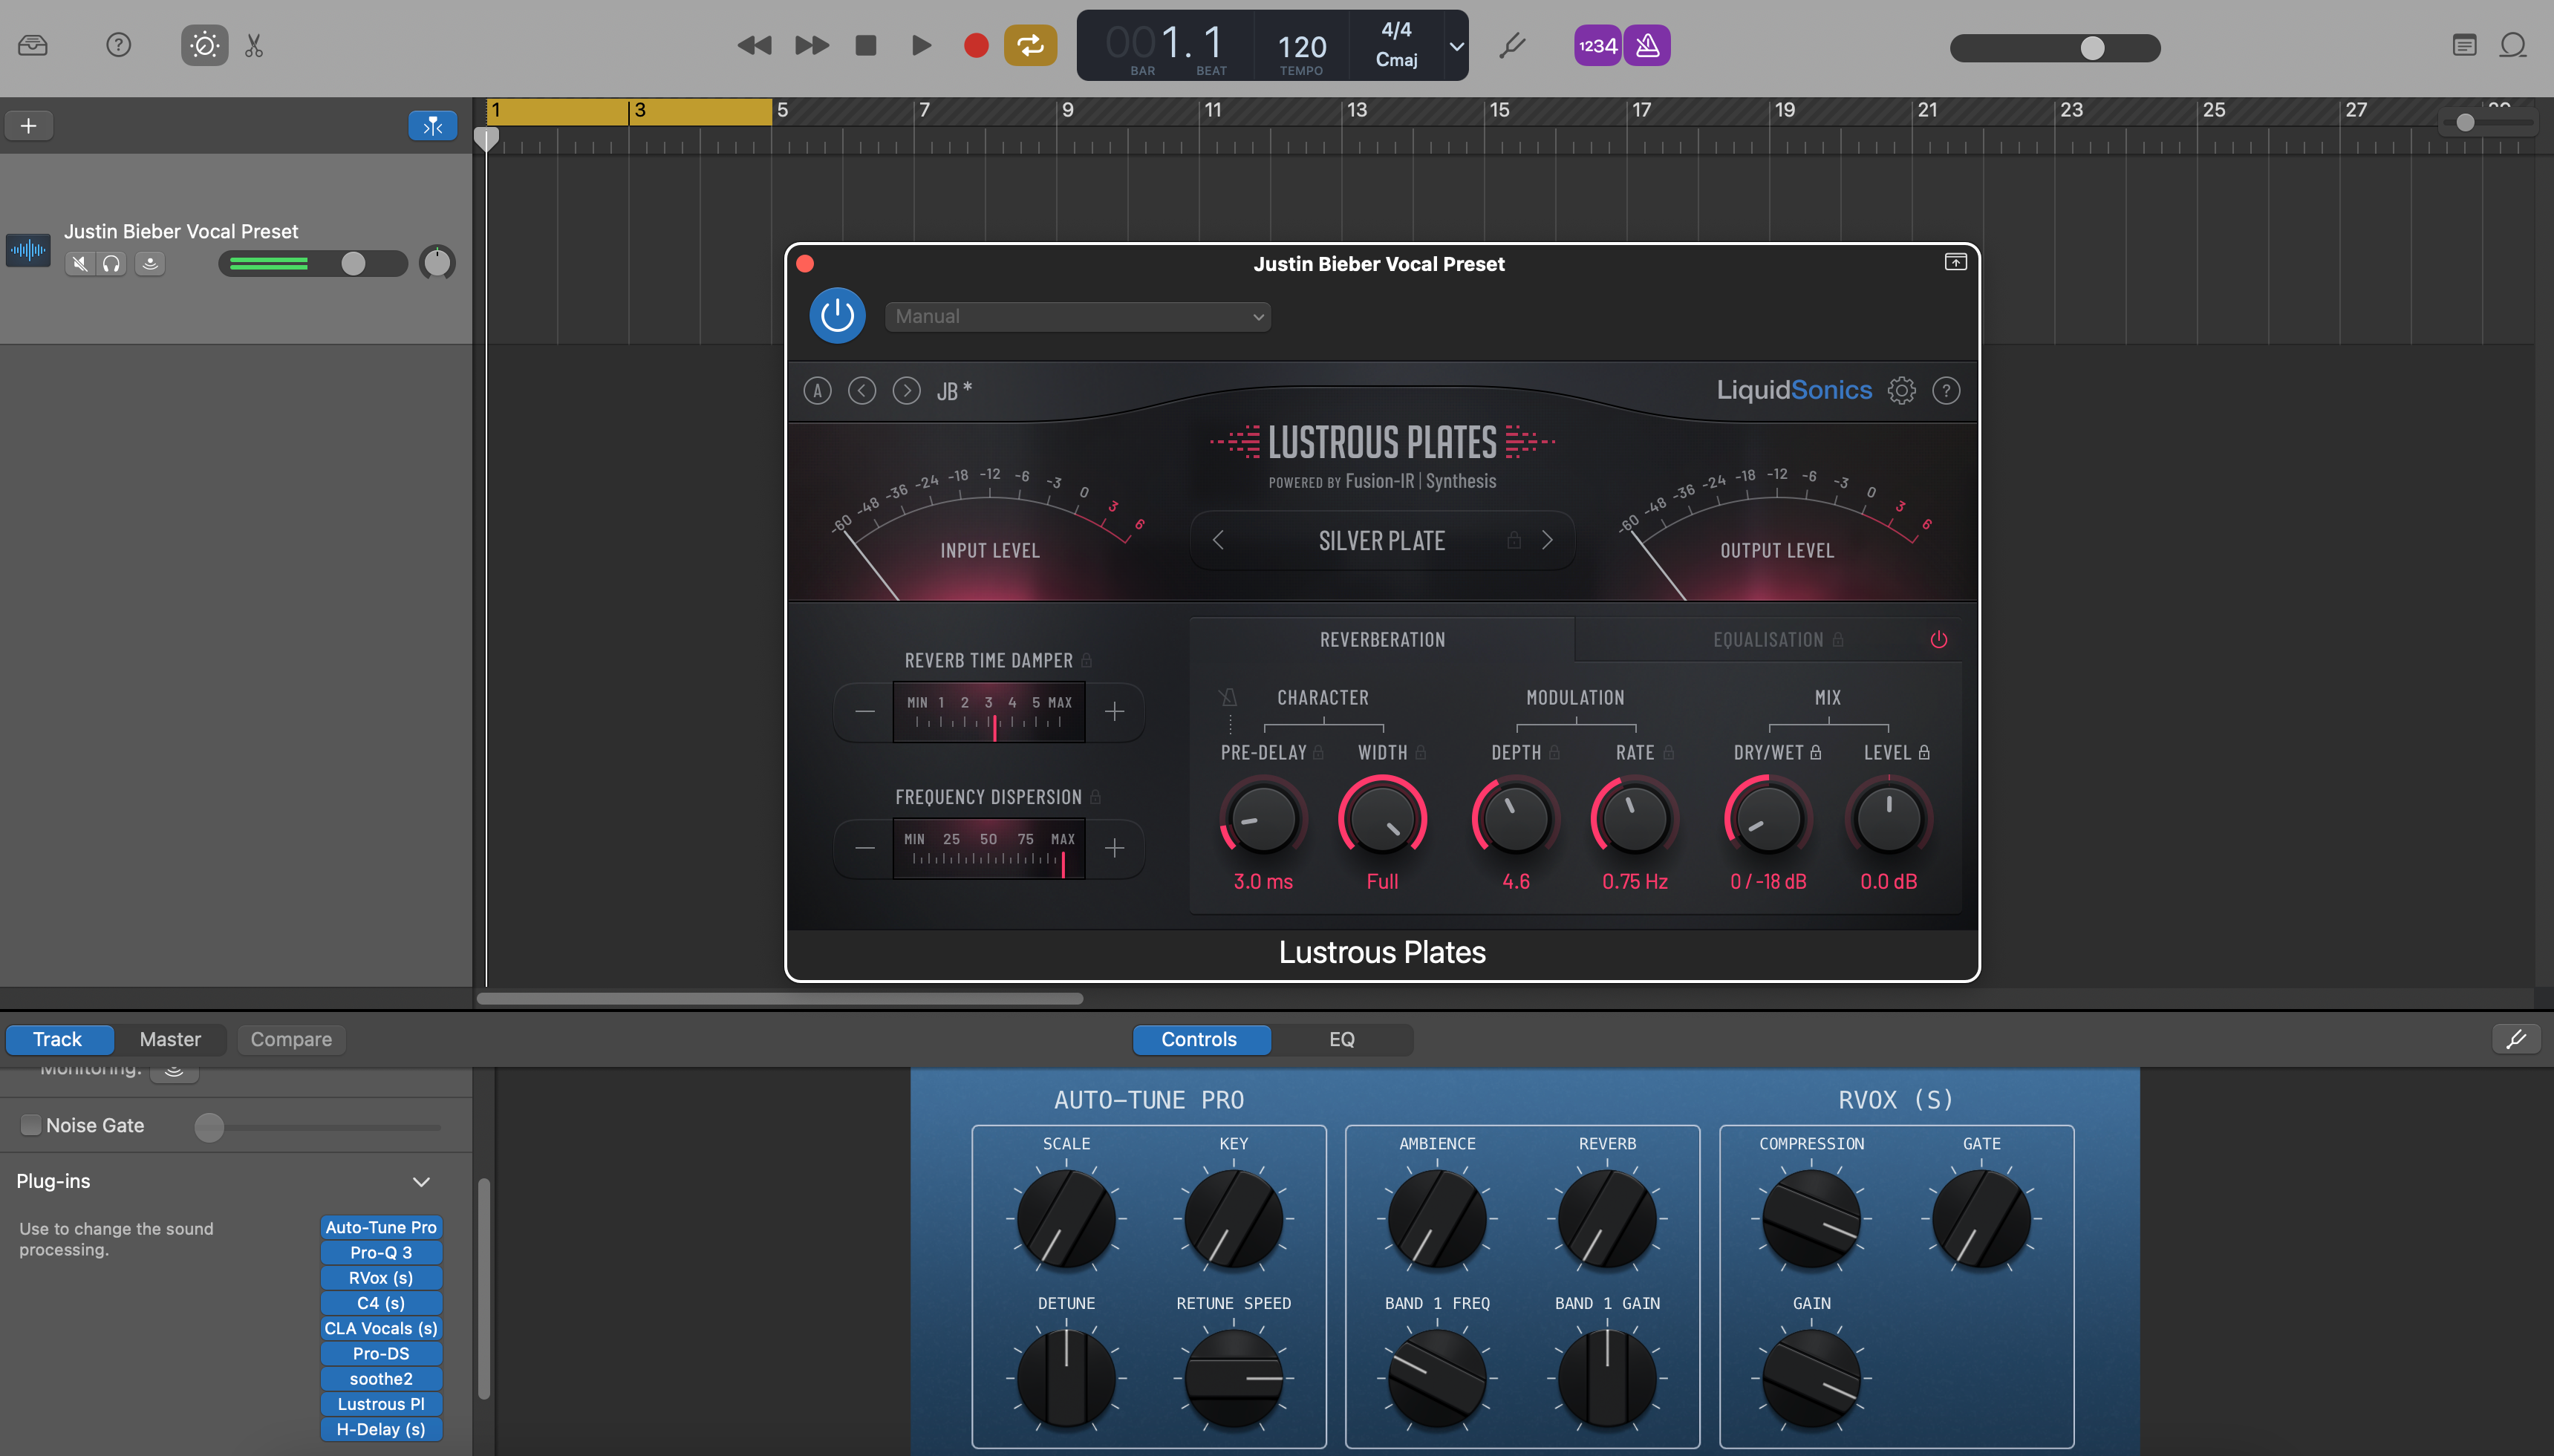
I GarageBand är en “vocal preset” en Patch—en sparad kanal kedja som du kan hämta från Biblioteket. En patch kan inkludera:
- Standardeffekter (Channel EQ, Compressor, DeEsser, Noise Gate, Chorus/Delay/Reverb).
- Audio Unit-plug-ins (AUv2 på Mac, AUv3 på iOS) när de är tillgängliga och aktiverade.
- Smart Controls mappade till användbara intervall (Input, Body, Presence, Air, De-Ess, FX).
Du kan installera patchar som tillhandahålls av en leverantör, eller skapa dina egna och spara dem i User Patches för omedelbar återanvändning i vilket projekt som helst.
II. Innan du börjar (engångskontroller)
- Uppdatera GarageBand på din Mac och/eller iPhone/iPad.
- Mac: GarageBand ▸ Inställningar ▸ Audio/MIDI ▸ aktivera Audio Units (om du ska använda AU-pluggar).
- Installera och licensiera eventuella tredjepartspluggar som ditt paket refererar till, starta sedan om GarageBand.
- Rensa diskutrymme för att packa upp nedladdningen (och för att behålla säkerhetskopior av dina User Patches).
- Skapa ett testprojekt med ett ljudspår som heter ”Lead Vox.”
III. Installera på macOS (tre säkra metoder)
A) Släpp patchar i User Patches (visas i Biblioteket)
- Packa upp din nedladdning. Leta efter en mapp som heter Patches eller filer som slutar på
.patch. - Avsluta GarageBand.
- I Finder, gå till
~/Music/Audio Music Apps/Patches/Audio/. (Om några mappar saknas, skapa dem.) - Kopiera vokalpatchfiler/-mappar hit. Behåll leverantörens undermappar för ordnade kategorier.
- Öppna GarageBand igen ▸ skapa/välj ett Audio-spår ▸ tryck på Y för att öppna Biblioteket ▸ välj User Patches ▸ ladda din nya patch.
Varför detta fungerar: Logic och GarageBand delar användarbiblioteket Audio Music Apps. Allt du placerar i ~/Music/Audio Music Apps/Patches/Audio visas under User Patches.
B) Ladda ett ”startprojekt” och spara kedjan som ditt patch
- Öppna det medföljande startprojektet (
.band) om ditt paket innehåller ett. - Välj vokalspåret ▸ öppna Biblioteket (Y) ▸ klicka på Spara längst ner i Biblioteksfönstret.
- Ge den ett tydligt namn (t.ex. Lead — Clean Pop (GB)). Den finns nu i User Patches för alla projekt.
Varför detta fungerar: Du rör inte mappar. Du förvandlar kedjan till en användarpreset inuti GarageBand.
C) Installera plug-in-förinställningar (när paketet inkluderar AU-inställningar)
- Vissa paket inkluderar
.aupresetfiler för specifika Audio Units. Avsluta GarageBand. - Placera varje förinställning i plug-in:ets användarförinställningsmapp (vanligtvis
~/Library/Audio/Presets/<Vendor>/<Plugin>/). - Öppna GarageBand igen. Ladda plug-in på ditt vokalspår ▸ öppna plug-in:ets förinställningsmeny ▸ välj den installerade förinställningen.
- När kedjan känns rätt, spara en User Patch så att hela uppsättningen är ett klick bort nästa gång.
Tips: Om du inte ser Library-mappen i Finder, använd Gå ▸ Gå till mapp… och klistra in sökvägen.
IV. Spara dina egna User Patches (macOS)
- Välj spåret med din justerade kedja.
- Öppna Biblioteket (Y) ▸ klicka på Spara längst ner.
- Välj en kategori (Audio) ▸ namnge den med roll + känsla (t.ex. Lead — Airy R&B, Rap — Punch).
- GarageBand skapar/använder User Patches och sparar filer i din Musik-mapp för återanvändning.
V. Installera & återanvänd på iOS (GarageBand för iPhone/iPad)
iOS visar inte en systemomfattande Biblioteks-panel som macOS. Använd en startlåt som du duplicerar, eller importera en mall som medföljer ditt paket.
Metod 1 — Duplicera ett färdigt spår (enkelt & pålitligt)
- Öppna den medföljande startlåten (eller skapa en med din favoritkedja på vokalspåret).
- I My Songs, långtryck på filen ▸ Duplicate ▸ byt namn för varje ny låt.
- Inuti dupliceringen, spela in på vokalspåret; lämna sends och FX som de är. Justera Smart Controls per låt.
Metod 2 — Använd AUv3-plugins (valfritt)
- Installera AUv3-plugins från App Store om ditt paket rekommenderar dem.
- På vokalspåret ▸ tryck på plug-in-platsen ▸ Audio Unit Extensions ▸ ladda AUv3 ▸ välj dess förinställning.
- Justera trösklar efter din mikrofon; håll förändringarna subtila. Spara låten som din uppdaterade "starter."
Note: iOS har inte en User Patches-lista som Mac, så mall-/dupliceringsmetoden är det snabbaste sättet att "installera" en kedja på mobilen.
VI. Ruttning, gain-steg och monitorering
- Input: ställ in din gränssnittskanal på ljudspåret. På iOS, välj ingång i spårinställningarna.
- Healthy level: sjung på prestationsvolym; sikta på råa toppar runt −12 till −8 dBFS före bearbetning.
- Monitor: om latens är distraherande, spela in med en enklare kedja (EQ → lätt kompressor → de-ess) och lägg till plate/fördröjning senare.
- Sanity A/B: spela in 10–20 sekunder; koppla bort/aktivera patchen för att bekräfta att klarheten förbättras utan hårdhet.
VII. Anpassa makron (små förändringar, stora resultat)
- Input/Trim: mata kompressorerna konsekvent; undvik att krossa första steget.
- De-Ess: mjuka upp S-ljud tills öronsnäckorna slappnar av; trubbla inte till konsonanterna.
- Body: varm 120–200 Hz; undvik 250–350 Hz dis.
- Presence: +0,5–1 dB vid ~3–4 kHz endast om diktionen döljs.
- Air: liten hylla vid 10–12 kHz efter att sibilans kontrollerats.
- FX: slap 90–120 ms (filtrerat 150 Hz–6 kHz), kort plate 0,7–1,0 s (20–50 ms fördröjning). Håll verserna torrare; öppna refrängen.
VIII. Organisera ett litet, snabbt bibliotek (Mac)
-
Namn som sorterar:
Lead — Clean,Lead — Air+,Rap — Punch,Harmony — Bred Mjuk,Ad-Lib — Telefon. - Behåll en per roll: Lead, Doubles, Harmonies, Ad-libs behöver olika HPF/de-ess-mängder.
-
Backup: kopiera
~/Music/Audio Music Apps/Patches/till molnet eller en enhet.
IX. En säker kedja med endast standardljud du kan återskapa
- Channel EQ: HPF 80–100 Hz; dämpa 250–350 Hz om boxigt; valfri smal dipp nära 1 kHz om nasalt.
- Kompressor A: ratio 2:1–3:1; attack 10–30 ms; release 80–160 ms; mål 3–5 dB på fraser.
- DeEsser: bred band 6–8 kHz; justera med hörlurar.
- Kompressor B: snabbare fångare (1–2 dB) för att stabilisera sends.
- Närvaropolerare (EQ): +0,5–1 dB brett runt 3–4 kHz endast om det behövs; sedan en liten lufthylla.
- Reverb/Delay (sends): kort ljus plate; slapback 90–110 ms; filtrera returer för att undvika brus.
Tips: Spara detta som en User Patch på Mac. På iOS, behåll det i din startlåt och duplicera per projekt.
X. Rollbaserade patchar (ljuder avsiktligt)
- Lead: mono-äkta, minimal breddning. Använd rides och artikulation först.
- Dubblar: högre HPF, lite mer de-ess, −6 till −9 dB under lead; mikro-pan L/R.
- Harmonier: mörkare EQ, bredare panorering; en liten 5 kHz glans om det behövs.
- Ad-libs: smalare bandbredd (HPF ~200 Hz, LPF ~8–10 kHz); korta kast på övergångar.
XI. Med tvåspårsbeats (ljusa hattar, tunga basar)
- Skär ut, slåss inte: om hattarna är skarpa, undvik stora lufthyllor; filtrera delay/plate-returer runt 6–7 kHz.
- Sub samexistens: om stavelser försvinner under basen, håll verserna torrare; lägg till närvaro istället för extrem kompression.
- Mono-kontroll: leaden ska höras på en telefonhögtalare; lägg bredd i doubles och returer, inte i center-insert.
XII. Felsökning (problem → fokuserad åtgärd)
-
Patch visas inte (Mac): bekräfta att filer finns i
~/Music/Audio Music Apps/Patches/Audio/; starta om GarageBand; kontrollera Bibliotek ▸ Användarpatcher. -
Plug-in-förinställningar saknas: placera
.aupreseti plug-in:ens användarmapp, starta om, och spara sedan en Användarpatch. - iOS låter annorlunda: kontrollera ingångsnivå; undvik att stapla effekter genom att ladda två liknande AUs; håll en lätt spårningskedja.
- S-ljudet blir vasst efter brightening: höj De-Ess lite; minska Air med 0,5 dB; low-pass FX återkommer.
- Latens vid övervakning: kringgå långa reverb vid inspelning; aktivera igen för mix; sänk I/O-buffer om möjligt.
- Nivåer hoppar mellan patchar: nivåmatcha medan du A/B-testar; använd Output-knappen eller en gain-utility för rättvis jämförelse.
- Efter en macOS-uppdatering, patchar "borta": bekräfta sökvägen; om du bytt Mac, återställ Patches-mappen från backup.
XIII. Sätt upp en "sångarredo" mall på 5 minuter
- Mac: Skapa spår för Lead, Doubles L/R, Harmonier, Ad-libs; lägg till två auxar (Slap, Plate). Ladda dina patchar; färgkoda; spara projektet som Starter — Vocals.
- iOS: Bygg samma layout; spara som Starter — Vocals (iOS); duplicera för varje ny låt.
- Håll båda starterna synkroniserade—när du förfinar Mac-patchen, uppdatera iOS-startens Smart Controls.
XIV. Lär dig mer (ljudval & alternativ)
Att välja rätt startkedja snabbar upp allt. Denna snabba sammanfattning hjälper dig att matcha stil till patch: Top 5 Best Vocal Presets for GarageBand Users.
XV. Kopierbar snabbinstallationssammanfattning
- Packa upp paketet.
-
Mac: kopiera
.patchtill~/Music/Audio Music Apps/Patches/Audio/eller öppna startprojektet och Spara till Användarpatcher. - iOS: duplicera en startlåt med din kedja; ladda AUv3-förinställningar vid behov.
- Aktivera Audio Units; ställ in råa toppar runt −12 till −8 dBFS.
- Justera De-Ess/Body/Presence lätt; spara din personliga patch; säkerhetskopiera din Patches-mapp.
Med en ren installation, en slimmad spårningskedja och en återanvändbar start, blir GarageBand ett snabbt, upprepningsbart arbetsflöde för sång som låter bra i telefoner, hörlurar och stora högtalare—utan att kämpa med inställningarna varje gång.


