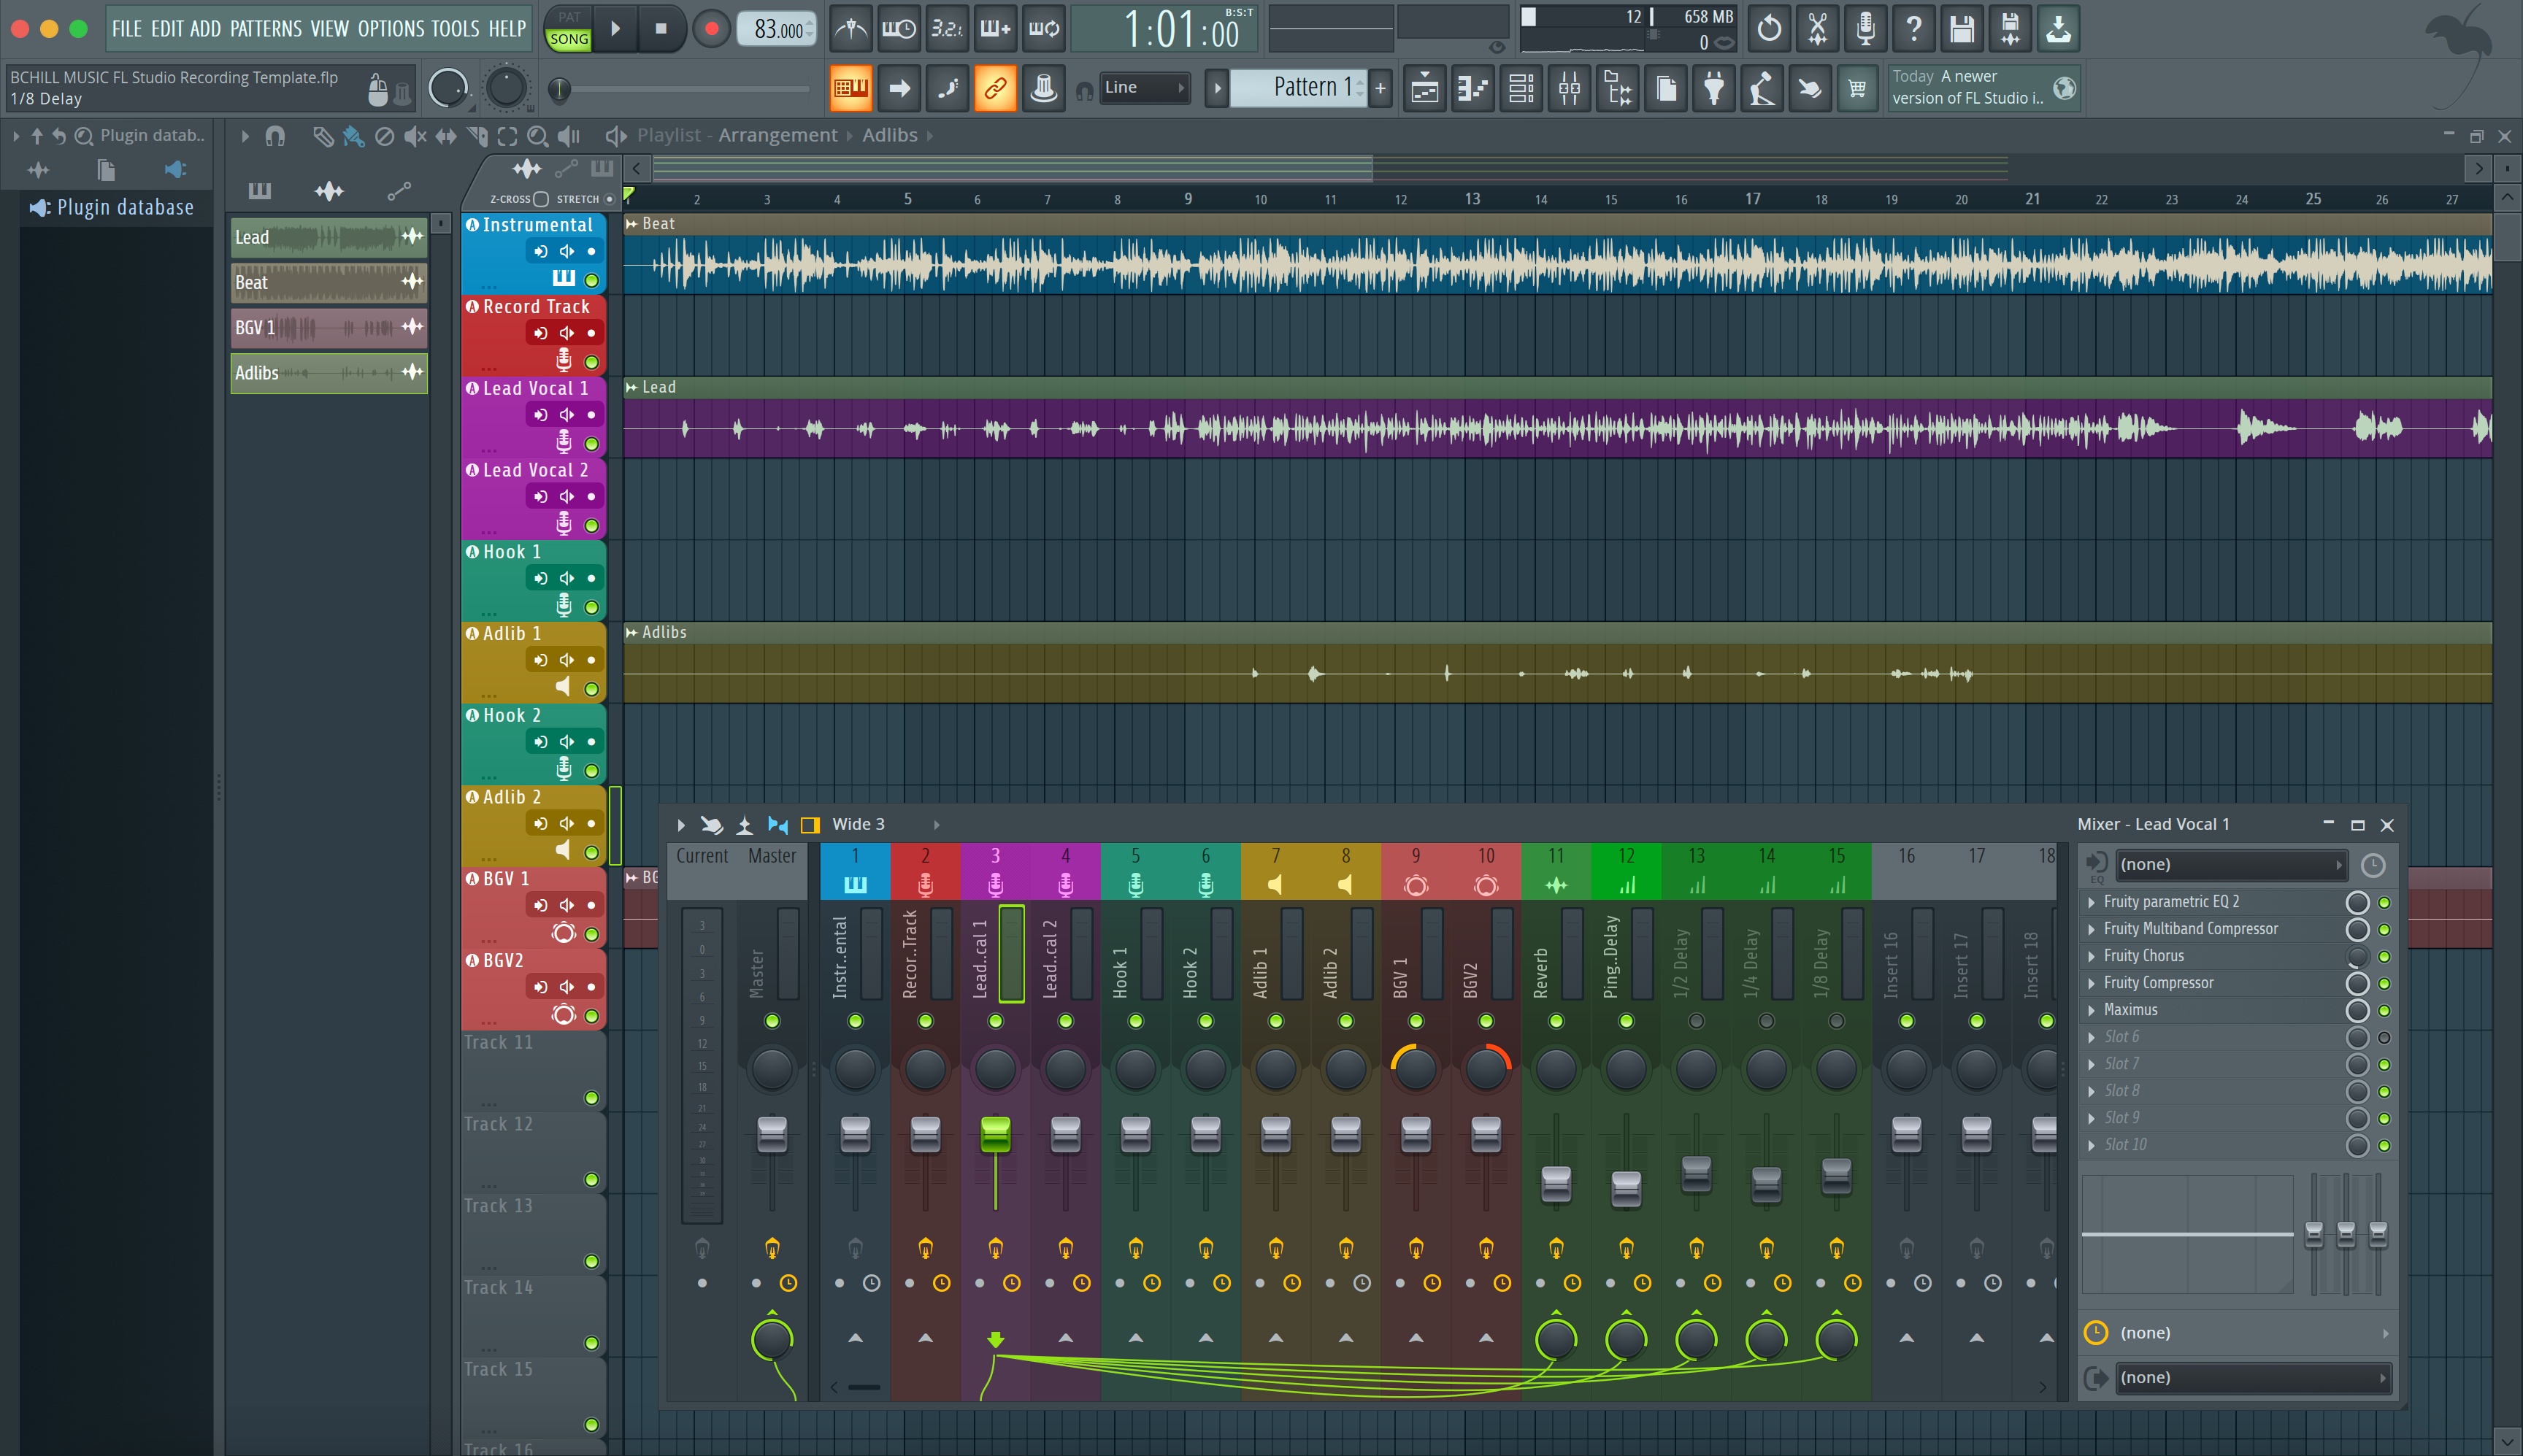
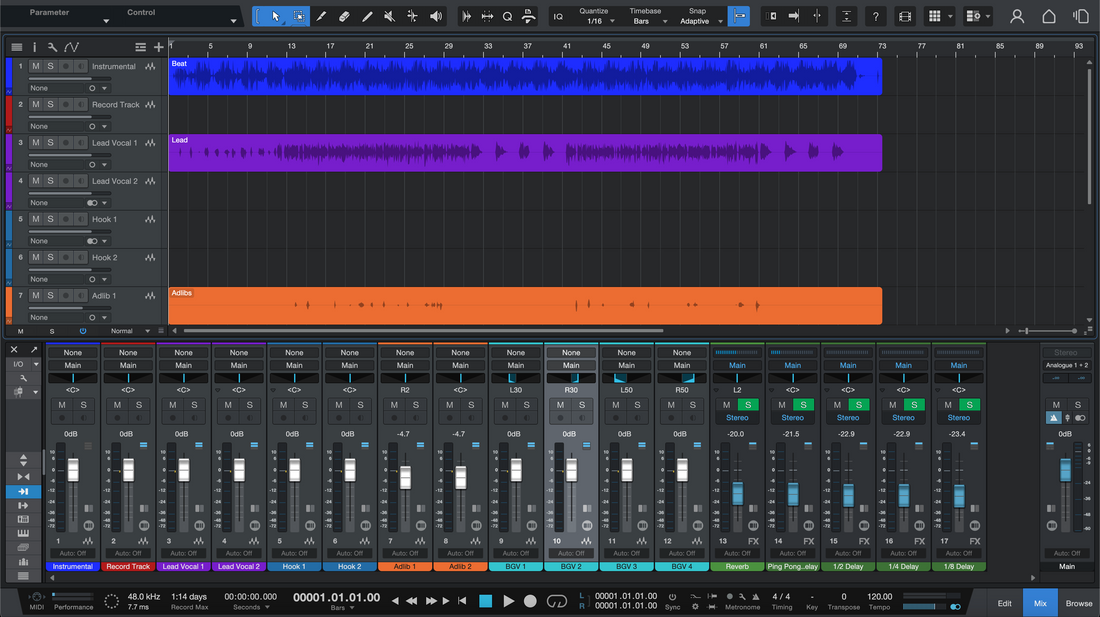
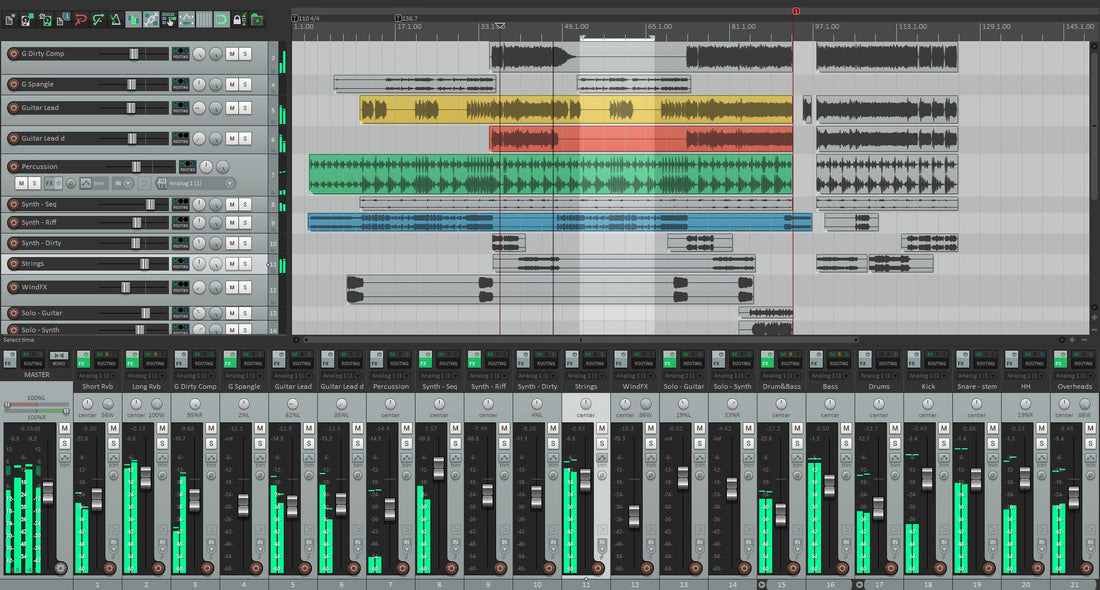
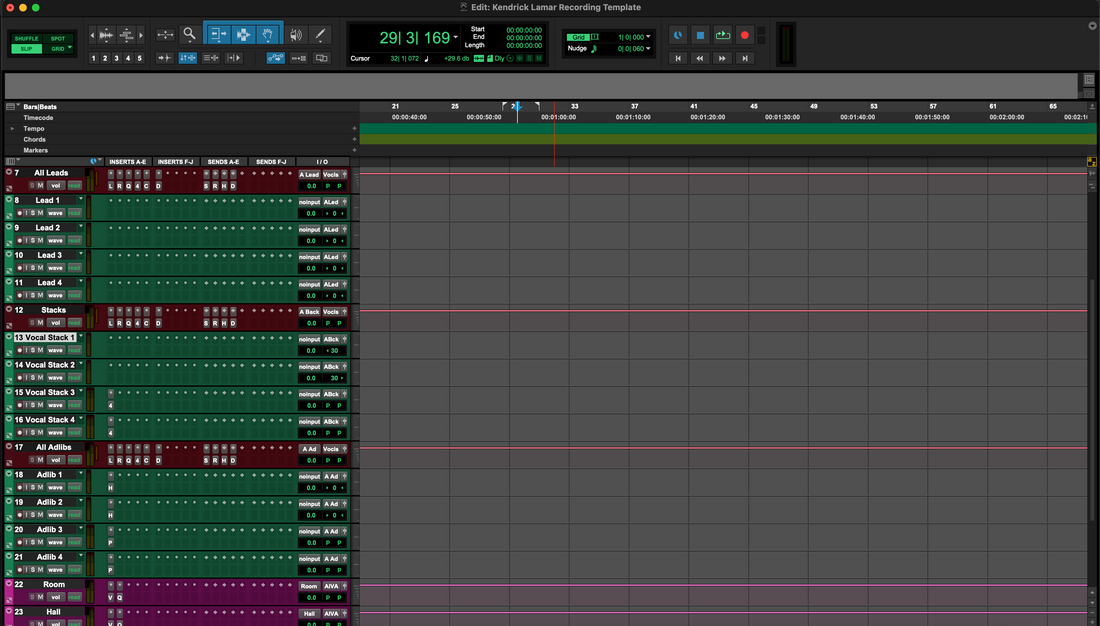
Inspelningsmallar låter FL Studio öppnas i en session redo för inspelning—vokallåtar, returer, färger och routing förinställda. Den här guiden visar hur du installerar mallfiler, får dem att visas i Ny från mall, ställer in en standardsession och organiserar allt i Browsern. Du kommer också att skapa en vokalförst-layout som spelar in med låg latens, passar tvåspårsbeats och exporterar rena versioner på första försöket.
Om du också vill ha en tonstartpunkt som passar direkt i din mall, utforska de kuraterade FL Studio vocal presets och finjustera sedan trösklar, de-ess-band och sändningsnivåer för din mikrofon och rum.
I) Vad en ”inspelningsmall” betyder i FL Studio
I FL Studio är en mall en projektfil (.flp) sparad i en speciell ”Templates”-mapp. Allt i den mappen visas under Fil → Ny från mall. Du kan också välja en standardmall så att FL Studio alltid öppnas i din inspelningslayout. Utöver mallar stöder FL Studio återanvändbara Mixer Track States (.fst) och Patcher-rack—perfekta för att hålla kedjor konsekventa mellan projekt.
II) De två installationsvägarna (använd en eller båda)
- Sökväg A — Mallmeny: placera ett projekt (.flp) i FL:s Templates-katalog. Det visas under Ny från mall, och du kan ställa in det som din standard-session.
- Sökväg B — Browser-mapp: behåll en personlig ”Templates”-mapp var som helst, lägg till den i Filinställningar → Browser extra sökmapp, och dubbelklicka på ditt masterprojekt för att starta från det. Perfekt när du har mallar på en extern enhet eller i molnet.
III) Installera via mallmenyn (klassisk metod)
- Öppna din master .flp (eller bygg ett rent projekt du vill återanvända).
-
Spara i mallmappen: använd Fil → Spara som… och navigera till FL Studio Templates-katalogen. Om du är osäker på sökvägen, öppna Filinställningar och klicka på mappikonen bredvid ”Användardata” för att hitta din Projekt/Templates-väg. Skapa en undermapp som
Vocal_Record_48koch spara projektet där. - Bekräfta synlighet: starta om FL Studio eller öppna Fil → Ny från mall. Din mall ska visas under den mapp du skapade.
- Håll mastern ren: spela aldrig in i filen inne i mallmappen. Spara alltid som… en ny låt direkt efter att du öppnat den.
IV) Lägg till en personlig mallmapp i Browsern (favorit för snabbhet)
- Skapa en dedikerad mapp var du vill (t.ex. Audio/Templates/FL/Vocals).
- Säg åt FL var den finns: Alternativ → Filinställningar → Browser extra sökmapp → klicka på en mappplats → välj din mallväg.
- Öppna snabbt: i Browsern ser du nu din mapp. Dubbelklicka på .flp för att starta; Spara som… med ett låtnamn direkt.
-
Versionsråd: lägg till suffix med små versioner (
_v1.2) när mallar utvecklas. Behåll_v1.0för återkallning.
V) Gör din mall till standard-session
Vill du att FL Studio ska öppnas direkt i din inspelningslayout?
- Gå till Alternativ → Allmänna inställningar.
- Hitta Default template och välj din inspelningsmall efter namn.
- Nästa start öppnar FL Studio den sessionen. Du kan fortfarande ladda andra via New from template.
VI) Vad en stark vokalinspelningsmall inkluderar
Använd detta som en checklista vid skapande eller installation av en mall:
- Tracks by role (namngivna och färgade): Lead Vox (mono), Boost Lines (mono betoning på ord), Ad-libs (mono, panorera per sektion), Harmonies (stereo eller dual mono).
- Vocal Bus (stereo grupp): mild glue och en bred, slutgiltig de-ess. Master hålls ren.
- FX returns: Room (0,4–0,8 s), Slap (90–120 ms mono), Tempo Echo (1/8 eller prickad åttondel). Filterreturer (HPF ~150 Hz, LPF ~6–7 kHz) så monitoreringen förblir klar.
- Ducking på delays: sidechain Slap/Echo från Lead så upprepningar blommar mellan stavelser, inte på dem.
- Markers: Vers/Pre/Hook/Bridge och en 1-takts nedräkning för snabba punch-ins.
- Print lane: ett dedikerat ljudspår routat från Vocal Bus eller Master för snabba roughar (namnge tydligt så du inte printar av misstag).
VII) Låg-latens inspelningskedja (enkelt slår komplext)
Under inspelning, "känn" beatets egenskaper. Håll kedjan slank; lägg till polish senare.
- Slot 1: Trim (Fruity Balance) → ställ in ingång så råa toppar landar runt −12 till −8 dBFS.
- Slot 2: Comp A (Fruity Compressor) → 2:1–3:1; attack 10–30 ms; release 80–160 ms; ~3–5 dB på fraser.
- Slot 3: De-ess (Maximus som de-esser eller mild hylla i COMP-läge i Fruity Limiter).
- Slot 4: Valfri färg (mycket lätt)—Blood Overdrive eller Waveshaper på liten mix; output-match.
- Slot 5: Comp B (Fruity Limiter i COMP) → snabb peak-fångare, endast 1–2 dB, stabiliserar sends.
- Slot 6: Polish EQ (Parametric EQ 2) → +0,5–1 dB brett vid 3–4 kHz endast om diktionen döljs; liten 10–12 kHz hylla sist.
Spara tyngre förstärkning till mixning. Inspelning känns bättre när latensen är låg och transienterna får andas.
VIII) Tvåspårs beatvariant (sång över ett stereoinstrumental)
Många sessioner börjar med en stereobeat. Skapa en dedikerad mall:
- Spår: Beat (stereo), Lead Vox, Boost, Ad-libs, Harmonies, Vocal Bus.
- Beat-kontroll: lägg till en enkel gain-plugin eller använd clip gain-handtaget på Beat så du kan styra intromusik och hooks utan att krossa Master senare.
- Rymd: mindre rum och lägre återkoppling än med fulla stems—klarhet först.
- Hook-lyft: automatisera en liten sändningsökning till Echo på sista takten in i refrängen; återställ för verserna.
IX) Håll din installation portabel (media och mappar)
- Självständiga sessioner: lagra samples och eventuella egna Patcher-rack i en mapp bredvid mallen, eller i en delad "Assets"-mapp tillagd i Browser.
- Backuper: spegla din Templates-mapp och Patcher-kedjor veckovis (lokalt + moln/externt).
-
Rate-varianter: behåll
_44koch_48k-versioner om du växlar mellan musik- och videoproduktion.
X) Felsökningslista (symptom → enkel åtgärd)
- Mallen visas inte i menyn: kontrollera att .flp-filen finns i den officiella Templates-mappen eller lägg till dess mapp under Browser extra search folders. Starta om FL Studio.
- Hör dubblerad/flangerad röst: du övervakar via hårdvara och mjukvara. Muta en väg, eller spela in med en enklare kedja.
- FX-fördröjning vid inspelning: bypassa tunga look-ahead eller långa reverb; spela in med bara Comp/De-ess; lägg till polish efter tagningar.
- Klick hörs vid export: stäng av metronomen; routa den inte till Master; håll den i Cue/hörlurar endast.
- S-ljud som sticker i hörlurar: vidga de-ess-bandet något; sänk luft med 0,5 dB; lågpassfördröjning återgår till ~6–7 kHz.
- Hook kollapsar i mono: centrera Lead; behåll bredden i doubles/ad-libs, inte på Lead-spåret; undvik breda körer på huvudvokalen.
- Fel ingång efter gränssnittsbyte: välj om ljudenhet; tilldela spåringången igen; spara om den uppdaterade mallkopian för den riggen.
- Beat som överröstar rösten: trimma Beat 1–2 dB; höj Lead +0,5 dB; undvik att krossa kedjan för att "hålla jämna steg."
XI) Bygg en på 10 minuter (kopierbart recept)
- Nytt projekt: namnge det "Template — Vocal Record — 48k". Ställ in BPM/tonart om det är till hjälp.
- Lägg till spår: Lead (mono), Boost (mono), Ad-libs (mono), Harmonier (stereo), Beat (stereo, mutad), Vocal Bus (stereo).
- Routa: alla vokalspår → Vocal Bus. Master hålls ren. Lägg till Room/Slap/Echo-returer; filtrera returer.
- Inspelningskedja: Trim → Comp A → De-ess → (Valfri färg) → Comp B → Polish EQ. Endast lätta beröringar.
- Markörer: lägg till vers/refräng/brygga-lokatorer och en 1-takts nedräkning.
- Spara: lägg denna .flp i din Mallar-katalog och ställ in den som standard (Allmänna inställningar).
- Spela aldrig in direkt i master: öppna → Spara som… en ny låt → spela in.
XII) Mallar + kedjor = snabbhet (nästa bästa steg)
Mallen är ditt rum och kablage; kedjan är ditt ljud. När din mall är installerad och spåren är märkta, fokusera på vokalkedjor och makron du kan återkalla direkt. Denna genomgång passar perfekt med din nya layout och täcker rackplacering, gain staging och att spara spårspecifika versioner: installera FL Studio vokalpresets.
XIII) Vanliga frågor (korta svar du faktiskt kommer använda)
Behöver jag tredjepartsplug-ins?
Nej. Bygg standard- och premiumvarianter. Om en samarbetspartner saknar ett plug-in, byt till standard och spara om en ”standard” mall.
Kan jag behålla flera mallar?
Ja—lagra flera under Mallar (t.ex. Vocal_Record_48k, Dubs_2Track_48k, Podcast_DualMic_48k). Välj rätt vid projektskapande eller i Allmänna inställningar.
Var ska jag lagra assets?
Behåll en lokal ”Assets”-mapp bredvid mallen eller lägg till den i Browsern. Självständiga sessioner är lättare att flytta och säkerhetskopiera.
Hur högt vid inspelning?
Ställ in ingången så att råa toppar landar runt −12 till −8 dBFS; efter racken är toppar nära −6 till −3 dBFS okej. Lämna ljudnivån till mastring.
Vad sägs om två kompressorer?
Två lätta kompressorer låter oftast mer naturligt än en tung—Comp A för form, Comp B för toppar.
XIV) Avslutning
Installera din FL Studio inspelningsmall en gång och sluta bygga om sessioner. Använd Ny från mall för snabba uppsättningar, eller favoritisera en personlig Mapp för mallar i Browsern. Spåra med lätta kedjor, behåll bredden i stödjande spår och skriv ut justerade alternativ rent. Kombinera strukturen med återanvändbara kedjor så spelar du in snabbare, mixar lugnare och levererar mer konsekventa resultat—varje gång du öppnar ett projekt.


