


I Mixcraft är en "vokalförinställning" en återanvändbar effektkedja—EQ, kompression, de-essing, tonfärg, delay och reverb—som du kan ladda på ett spår i ett enda steg. Denna guide visar hur du väljer och laddar rätt förinställning, ställer in hälsosam gain, formar ton, routar sends, automatiserar scener och sparar rollbaserade versioner för lead, doubles, harmonier och ad-libs. Vill du ha en snabb start?
I. Vad en "vokalförinställning" är i Mixcraft
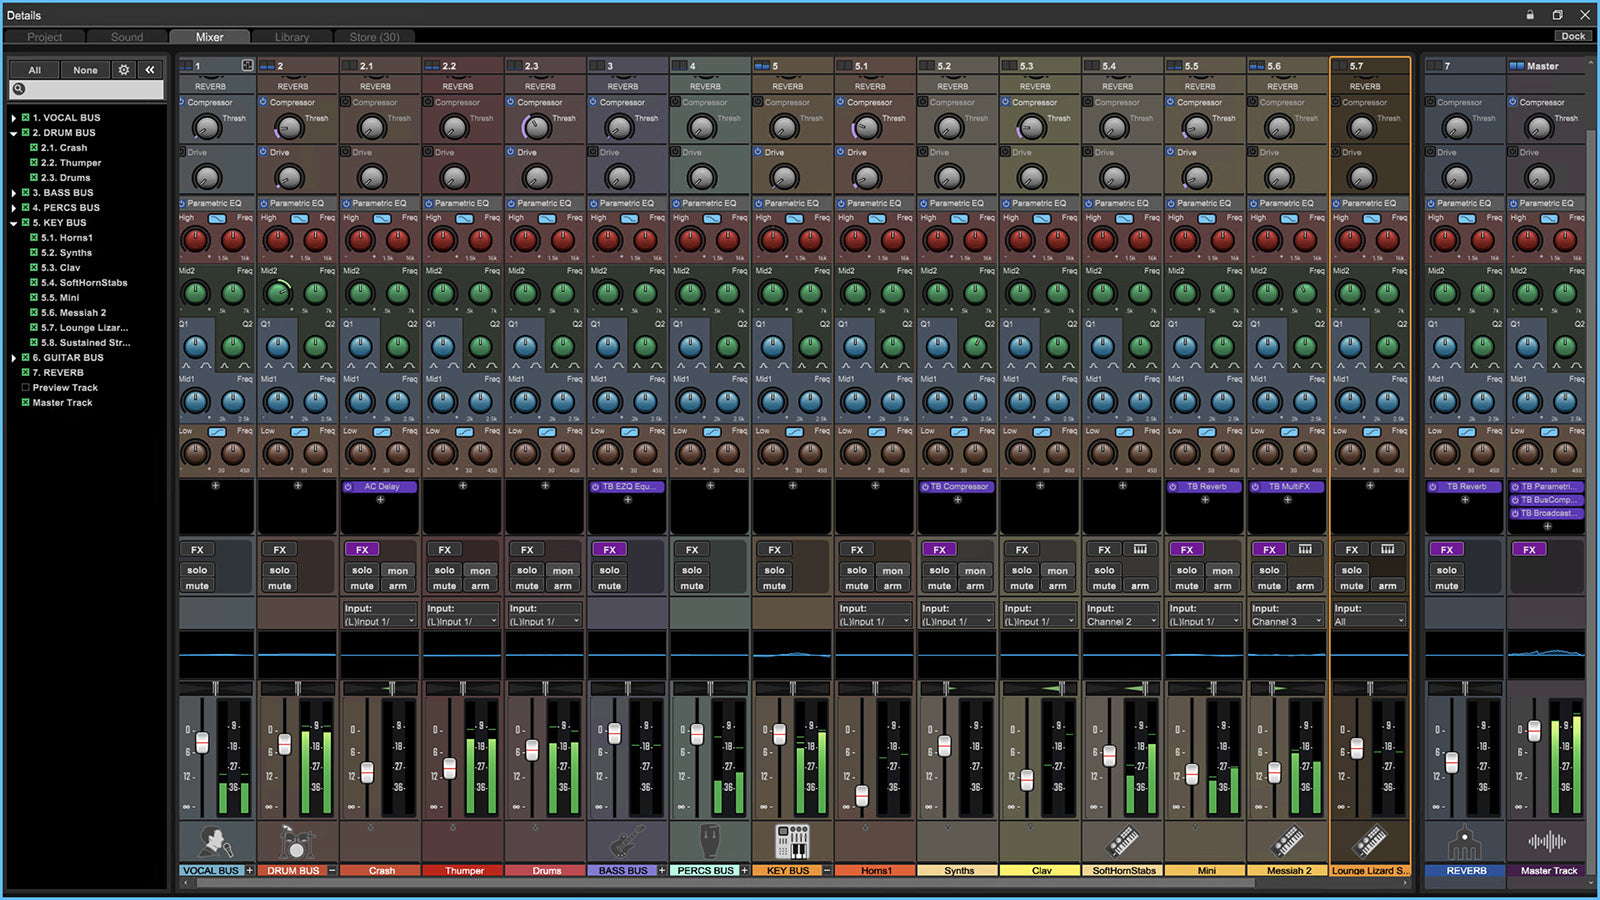
Mixcraft stöder flera förinställningscontainrar som gör vokalkedjor lätta att ladda och återanvända:
- Effektkedjeförinställning — en sparad insert-stack (ordning + inställningar) som du kan applicera på vilket ljudspår som helst.
- Spårmall — ett ljudspår sparat med dess kedja, routing, färg och sends (t.ex. Slap/Plate). Perfekt när du vill ha ett helt spår med ett klick.
- Projektschema — en startsession med spår (Lead, Doubles, Harmonies, Ad-libs) och Send-spår redan uppsatta.
Att använda en förinställning är mer än att bara ladda den—du kommer att anpassa ingångsnivå, de-ess, närvaro, luft och FX-balans till din röst och låt.
II. Förberedelser (så att presets fungerar)
- Ljudenhet & buffert: välj din enhet; 64–128 samples för inspelning, höj senare för mixning.
- Sessionsfrekvens: 44,1 kHz för musik (48 kHz om du levererar till video).
- Inmatningsmål: sjung med prestationsvolym; sikta på råa toppar runt −12 till −8 dBFS innan några FX.
- Spårlayout: börja med ett ljudspår som heter Lead Vox plus två sändningsspår (A = Slap, B = Plate).
- Popfilter & avstånd: 10–20 cm från micken; håll hållningen konsekvent för att stabilisera tonen.
III. Ladda en vokalpreset (fyra pålitliga vägar)
1) Effektskedje-förinställning (snabbast)
- Välj ditt Lead Vox-spår → öppna FX-fönstret.
- Ladda en Effektskedja från förinställningsmenyn (eller dra den från Browsern till FX-området).
- Bekräfta ordningen: EQ → Comp A → De-Ess → (Color/Sat) → Comp B (catcher) → Utility.
- Spara omedelbart din arbetskopia med ett tydligt namn (t.ex. Lead — Clean (DittNamn)).
2) Spårmall (lane + sändningar i ett steg)
- Högerklicka i spårlistan → Infoga Spår Från Mall → välj din vokalmall.
- Ställ in spårets ingång till din mickkanal; armera och övervaka.
3) Projektmall (starta redo varje gång)
- Fil → Ny Projekt → välj din "Vocal Starter"-mall (Lead/Doubles/Harmonies/Ad-libs + Slap/Plate-sändningar).
- Ställ in ingångar och spela in; allt annat är förkopplat.
4) Dra-och-släpp från Browsern
- Behåll en _Presets/Vocals-mapp i Browsern; dra en kedja till spåret vid behov.
IV. Gain staging: avgörande
- Mic pre först: ställ in interfacet så att oprocessade toppar når −12 till −8 dBFS.
- Trimma in i Comp A: använd kedjans ingång/trim för att nå ~3–5 dB gainreduktion på fraser (ratio 2:1–3:1; attack 10–30 ms; release 80–160 ms). Slå inte konstant 10–12 dB.
- Efter racken: håll koll på toppar runt −6 till −3 dBFS; ljudstyrka sker senare i mastringen.
- Level-match A/B: lägg till en sista trim/verktyg så att förinställningsjämförelser inte påverkas av "högre vinner."
V. Fem kontroller du kommer att använda på varje låt
- De-Ess (6–8 kHz): vrid tills hörlurarna slutar klaga; sluta innan konsonanter blir suddiga.
- Body (120–200 Hz): lägg till värme om tunt; om båset låter ”boxigt,” minska istället 250–350 Hz.
- Närvaro (3–4 kHz): liten, bred förstärkning endast om artikulation döljs. Om hi-hats/claps är ljusa, skär ut takten istället för att förstärka rösten.
- Air (10–12 kHz): mikrohylla endast efter att sibilans lugnat sig.
- FX balance: slapback 90–120 ms och kort plate 0,7–1,0 s (20–50 ms fördröjning). Verser torrare; hooks öppna.
VI. Lead vs. stacks: bygg en ”familj”, inte kloner
- Lead: mono-äkta center; minimal breddning; automatisera volym för att driva berättelsen framåt.
- Doubles L/R: högre HPF än Lead; lite mer de-ess; sänk −6 till −9 dB under; mikro-pan vänster/höger; undvik chorus-förstärkare som kollapsar i mono.
- Harmonies: mörkare EQ; bredare än doubles; valfri +0,5–1 dB nära 5 kHz för shimmer endast om nödvändigt.
- Ad-libs: smalt bandbredd (HPF ~200 Hz, LPF ~8–10 kHz), sidopannat, korta kast vid övergångar.
Spara en preset per roll—Lead — Clean, Double — Tight, Harmony — Wide, Ad-Lib — Phone—så att återkallning är omedelbar och konsekvent.
VII. Tid & rum: Send-spår gör det tunga jobbet
- Skapa två Send-spår: A = Slap och B = Plate. Färglägg dem för snabb igenkänning.
- På spår A, lägg till en kort delay (≈90–110 ms), filtrera 150 Hz–6 kHz, låg feedback.
- På spår B, lägg till en ljus plate (0,7–1,0 s) med 20–50 ms fördröjning; HPF/LPF på returen.
- Duck the Slap: placera en kompressor på A, sidechain från Lead; snabb attack/release så att eko blommar i luckorna.
- Automate sends: +1–2 dB in i hooks; lägre i täta verser; håll returer filtrerade för telefonöversättning.
VIII. Standard "säker kedja" (återuppbyggbar var som helst)
- EQ (first): HPF 80–100 Hz; brett −1 till −2 dB vid 250–350 Hz om boxigt; snäv notch nära 1 kHz om nasalt.
- Compressor A (shape): ratio 2:1–3:1; attack 10–30 ms; release 80–160 ms; ~3–5 dB GR på fraser.
- De-Esser: centrum ~6–8 kHz; minska tills S/T/SH är bekväma i öronsnäckor.
- Compressor B (catcher): snabbare 1–2 dB GR för att stabilisera sends och toppar.
- Color (optional): lätt mättnad/band; utgång matchad så att ”högre” inte lurar dig.
- EQ (polish): +0,5–1 dB brett vid 3–4 kHz endast om diktionen döljs; liten lufthylla sist.
- Delay & Reverb (sends): slå på A; plate på B; filterreturer.
Slå in det som en Effects Chain; spara som Lead — Stock Clean (MX) och skapa lättare/tungare versioner per låt.
IX. Snabb audition (utan att lura dina öron)
- Loop en 10–20 s fras som inkluderar tysta och högljudda ord.
- Behåll en sista trimning i slutet av kedjan; matcha nivåerna innan bedömning.
- Växla kedjeförinställningar; välj vad som översätts på hörlurar/telefon, inte bara det ljusaste alternativet.
X. Tvåspårs beat-överlevnad (ljusa hattar, tunga subbar)
- Skär ut, kämpa inte: om instrumentalen är en stereofil, skär små överlapp istället för "mer ljus" på vokaler. En mild dipp runt 2–4 kHz på takten under vokallinjer (via automation) låter konsonanter poppa.
- Splash-kontroll: håll Lead’s Air konservativ; LPF återvänder ~6–7 kHz om hi-hats är isiga.
- Mono-kontroll: temporär mono på mastern; historien ska fortfarande landa på en telefons högtalare.
XI. Inspelning vs. mixning: vad som ska printas
Spela in torrt, hör vått: övervaka genom förinställningen på spåret men spela in en ren tagning. Om en samarbetspartner behöver "demo vibe", routa Lead till ett PRINT-spår och spela in en våt säkerhet (Lead_Wet).
Commit sent: Frys eller rendera tunga FX nära slutet; behåll ett _FXPRINT ljudspår för återkallning.
XII. Automation som säljer linjen (mikro, inte makro)
- Volymrörelser: +0,5–1 dB på nedslag; −0,5 dB på tungvrickare.
- De-ess tröskel: något tajtare på ljusa stavelser; lösare på mörka fraser.
- FX-koreografi: lyft Slap/Plate i hooks; sänk i verser; håll returer filtrerade.
XIII. Organisation & återkallelse (minuter nu, timmar senare)
-
Namn som sorterar:
Lead — Ren,Lead — Air+,Rap — Punch,Harmoni — Bred,Ad-Lib — Telefon. - En per roll: separata kedjor för Lead/Doubles/Harmonies förhindrar över-de-essing-staplar eller överljusning av mitten.
- Mall: behåll ett "Starter — Vocals (Mixcraft)" projekt med lanes och två Send-spår. Duplicera för varje ny låt.
XIV. Felsökning (problem → fokuserad åtgärd)
- Hårda S-ljud efter att ha lagt till Air: höj de-ess något; minska Air med ~0,5 dB; LPF-returer till ~6–7 kHz.
- Vokalen sjunker under 808: håll verserna torrare; lägg till en liten Presence-lyft; minska delay-feedback; överväg en liten 2–4 kHz dipp på takten under raderna.
- Förinställning låter annorlunda vid export: kontrollera plug-in kvalitet/latenslägen; undvik masterklippning; rendera i sessionshastighet.
- Klick eller knaster: höj bufferten för mixning; inaktivera tung oversampling tills rendering; stäng bakgrundsappar.
- Kedjan känns "död" på din mikrofon: lätta på de-ess; minska låg-mellan skärningar; en liten 150–180 Hz lyft kan återställa bröst utan gegga.
- Nivåer hoppar i A/B-tester: matcha utgångar med en slutlig trimning; högre vinner örat orättvist.
XV. Snabb handlingsplan (kopierbar)
- Ladda en Effects Chain eller Track Template; ställ in ingång så att råa toppar landar på −12 till −8 dBFS; Comp A kyssar 3–5 dB.
- De-Essa till "soft-bright", lägg till liten Presence bara om diktionen döljs; håll Air konservativ.
- Routa Slap/Plate på Send-spår; filtrera returer; ducka Slap från Lead; automatisera sends in i hooks.
- Spara versionsbaserade roller (Lead, Doubles, Harmonies, Ad-libs); behåll en projektsmall.
- Rendera roughs med headroom; håll mastern utan klippning; lämna ljudnivån till mastring.
Använda väl, är vokala förinställningar pålitliga genvägar—inte kryckor. Håll headroom hälsosamt, gör små justeringar, automatisera det som är viktigt, och din röst kommer att ligga framåt utan hårdhet—låt efter låt. När du vill börja med kedjor redan inställda för modern pop, rap och R&B, utforska vokala förinställningar och lås in dina egna "bäst passande" versioner för snabba, konsekventa sessioner.


