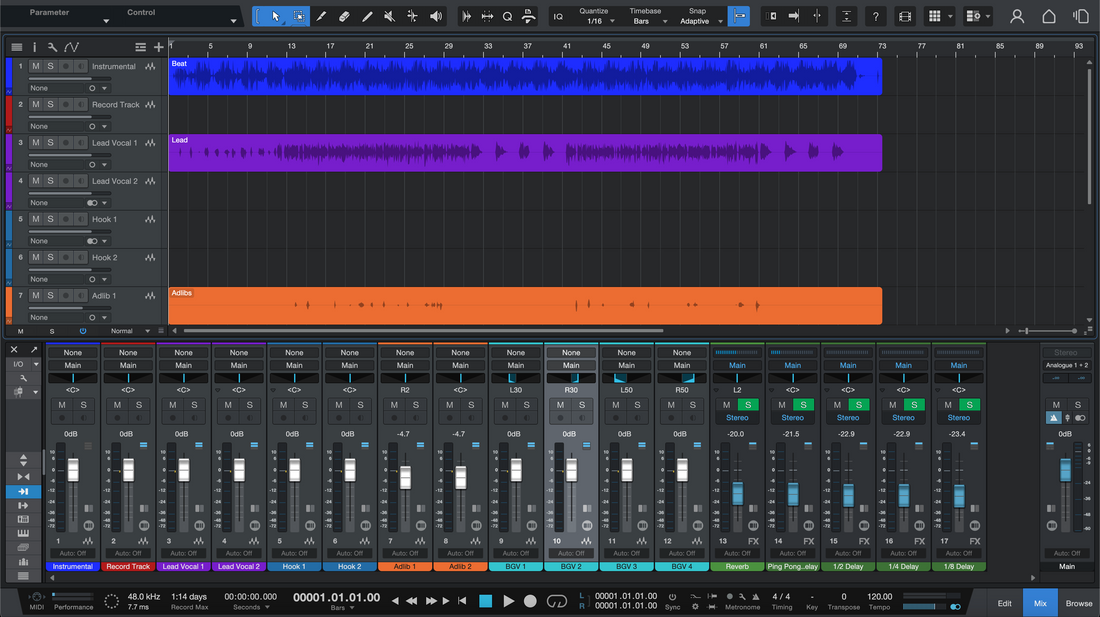
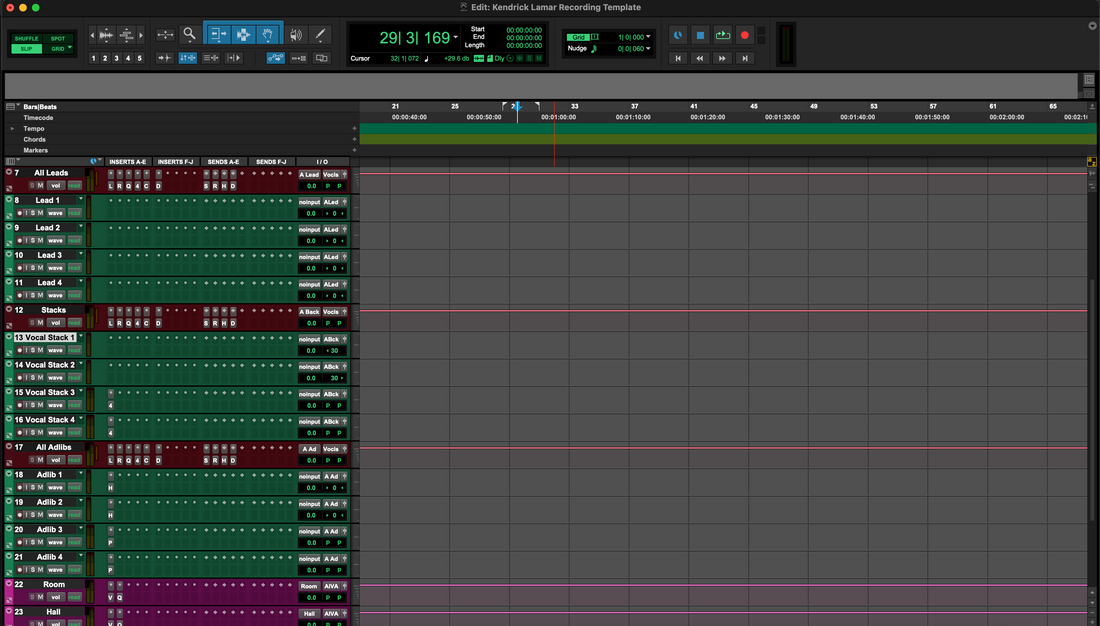
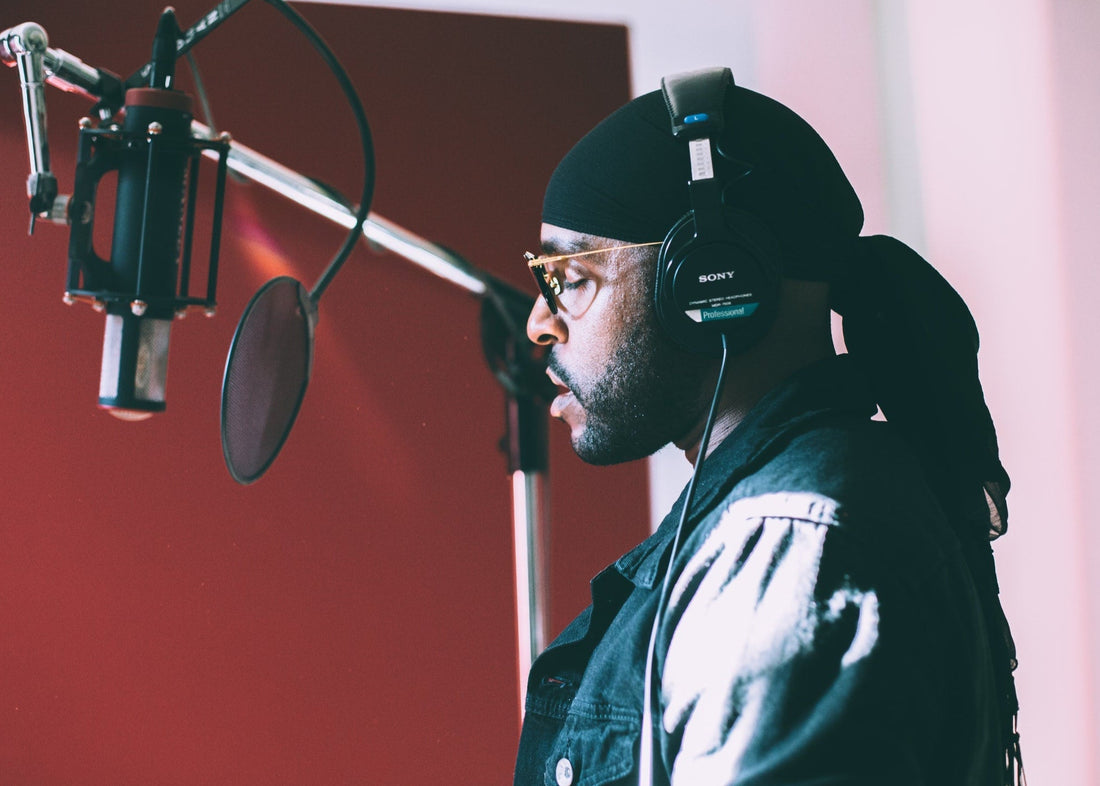
In Studio One, a “vocal preset” is a reusable channel chain—EQ, compression, de-essing, tone color, delay, and reverb—that you can load in one move. This guide shows how to choose and load presets (FX Chains and Track Presets), set healthy gain, adapt tone to your mic, route sends, automate scenes, and save role-based versions for lead, doubles, harmonies, and ad-libs. If you want a tuned springboard, browse purpose-built Studio One vocal presets and then fine-tune thresholds and sends for your voice and room.
I. What a “vocal preset” is in Studio One
Studio One gives you several preset containers that make vocal chains easy to load and reuse:
- FX Chain preset — a saved insert stack with Macro controls (one-click channel strip).
- Track Preset — recalls inserts, order, I/O, color, and sends for a track (Studio One 6+).
- Song Template — opens a whole session “studio-ready” (lanes + FX channels prewired).
- Device presets — per-plug-in settings (Pro EQ³/Pro EQ², Compressor, De-Esser, Analog Delay, Room Reverb/OpenAIR, etc.).
Loading a preset is step one. Step two is adapting input level, de-ess amount, presence, air, and FX balance to your voice and the song.
II. Pre-flight (so presets behave)
- Audio device & buffer: smaller buffer (64–128) while tracking; raise later for mixing.
- Session rate: 44.1 kHz for music (48 kHz if delivering to video).
- Input target: sing at performance level; aim raw peaks around −12 to −8 dBFS before any inserts.
- Track layout: one audio track named Lead Vox and two FX channels (A = Slap, B = Plate).
- Pop filter & distance: 10–20 cm from mic; stay consistent to stabilize tone.
III. Load a vocal preset (four reliable routes)
1) FX Chain preset (fastest, macro-ready)
- Open the Browser (F5) → Effects → FX Chains → drag your chain onto the Lead Vox channel.
- Click the Macro panel (wrench icon) to expose Trim, De-Ess, Body, Presence, Air, and FX controls.
- Save your working copy (right-click channel header → Store FX Chain) as Lead — Clean (YourName).
2) Track Preset (lane + sends in one move)
- Right-click a track header → Apply Track Preset… (or drag from Browser → Track Presets).
- Set input, arm, and monitor. Your inserts and sends load together.
3) Song Template (start ready)
- New Song → pick your “Vocal Starter” template with Lead/Doubles/Harmonies/Ad-libs and Slap/Plate FX channels.
- Set inputs and record; everything else is prewired.
4) Drag-drop device presets
- In the Browser, drag device presets (Pro EQ³, Compressor, De-Esser, etc.) into empty insert slots to build a chain, then Store FX Chain.
IV. Gain staging: make or break
- Interface pre first: set the mic pre so unprocessed peaks land −12 to −8 dBFS.
- Clip Gain / Event Gain: nudge loud/soft phrases (±2–3 dB) before compression; add short fades at edit points.
- Comp A target: aim ~3–5 dB gain reduction on phrases (ratio 2:1–3:1; attack 10–30 ms; release 80–160 ms). Don’t slam 10–12 dB constantly.
- Post-chain peak: keep track peaks around −6 to −3 dBFS; leave loudness for mastering.
- Level-match A/B: keep a final Gain/Trim at chain end so comparing presets isn’t skewed by “louder wins.”
V. Five controls you’ll touch on every song
- De-Ess (6–8 kHz): turn until earbuds stop complaining; stop before consonants blur.
- Body (120–200 Hz): add warmth if thin; if the booth is boxy, reduce 250–350 Hz instead.
- Presence (3–4 kHz): tiny, wide lift only if diction hides. If hats/claps are bright, carve the beat rather than boosting the voice.
- Air (10–12 kHz): micro shelf only after sibilance is calm.
- FX blend: slapback 90–120 ms + short plate 0.7–1.0 s (pre-delay 20–50 ms). Verses drier; hooks open.
VI. Lead vs. stacks: build a “family,” not clones
- Lead: mono-true center; minimal wideners; ride volume to keep the story forward.
- Doubles L/R: higher HPF than Lead; a touch more de-ess; tuck −6 to −9 dB under; micro-pan L/R; avoid chorus wideners that collapse in mono.
- Harmonies: darker EQ; wider than doubles; optional +0.5–1 dB near 5 kHz for shimmer only if needed.
- Ad-libs: narrow bandwidth (HPF ~200 Hz, LPF ~8–10 kHz); side-panned; short throw echoes on transitions.
Save one FX Chain or Track Preset per role—Lead — Clean, Double — Tight, Harmony — Wide, Ad-Lib — Phone—so recall is instant and consistent.
VII. Time & space: FX channels do the heavy lifting
- Create two FX channels: A = Slap (Analog Delay or Beat Delay), B = Plate (Room Reverb/OpenAIR plate IR).
- Filter returns: insert Pro EQ³ on each FX channel; HPF ~150 Hz, LPF ~6–7 kHz so tails never hiss on earbuds.
- Ducking trick: insert Compressor on the Slap FX channel; sidechain from Lead; fast attack/release; ~1–2 dB GR so echoes bloom in the gaps.
- Send automation: +1–2 dB into hooks; lower in dense verses; keep tails filtered.
VIII. Macro Controls (FX Chains = your channel strip)
- Open the FX Chain editor → Macro Controls. Create knobs: Trim, De-Ess, Body, Presence, Air, FX.
- Map each knob to the key parameter (e.g., De-Esser amount, Pro EQ shelves, Delay/Reverb sends).
- Set useful ranges so a quarter-turn does something musical, not extreme.
- Store the FX Chain so every session loads with your “channel strip” in one click.
IX. Stock “safe chain” (rebuildable anywhere)
- Pro EQ³/Pro EQ² (first): HPF 80–100 Hz; wide −1 to −2 dB at 250–350 Hz if boxy; tight notch near 1 kHz if nasal.
- Compressor (Comp A, shape): ratio 2:1–3:1; attack 10–30 ms; release 80–160 ms; ~3–5 dB GR on phrases.
- De-Esser: center ~6–8 kHz; reduce until S/T/SH are comfortable on earbuds.
- Compressor (Comp B, catcher): faster, 1–2 dB GR to stabilize send levels and peaks.
- Color (optional): Softube-style Saturation Knob (if installed) or stock Saturation; very low mix; output matched.
- Pro EQ (polish): +0.5–1 dB broad at 3–4 kHz only if diction hides; tiny 10–12 kHz shelf last.
- Sends: Analog/Beat Delay for slap; Room Reverb/OpenAIR plate; filter returns.
Wrap as an FX Chain; add Macro controls; save as Lead — Stock Clean (S1); branch lighter/heavier variants per song.
X. Fast audition (without fooling your ears)
- Loop a 10–20 s phrase with quiet and loud words.
- Keep a final Gain at chain end to level-match; flip FX Chains or Track Presets from the Browser.
- Pick what translates on earbuds/phone, not just the brightest option.
XI. Two-track beat survival (bright hats, heavy subs)
When the instrumental is a stereo file, reduce collisions instead of “more bright” on the voice:
- Mid dip on the beat (dynamic): insert Pro EQ on the instrumental bus; create a gentle bell around 3 kHz; sidechain a Compressor to the vocal and link (or automate) the EQ band for −1–2 dB only while the voice speaks.
- Splash control: keep the Lead’s Air conservative; LPF returns ~6–7 kHz if hats are icy.
- Mono check: temporarily sum the monitor path; the story should still land on a phone speaker.
XII. Tracking vs. mixing: what to print
Record dry, hear wet: monitor through the preset on Lead but print a clean take. If a collaborator needs the “demo vibe,” bus Lead to a PRINT track and record a wet safety (Lead_Wet).
Commit late: render/freeze heavy FX near the end; keep an _FXPRINT audio track for recall.
XIII. Automation that sells the line (micro, not macro)
- Volume rides: +0.5–1 dB into downbeats; −0.5 dB on tongue-twisters.
- De-ess threshold: slightly tighter on bright syllables; looser on dark phrases.
- FX choreography: lift Slap/Plate into hooks; lower in verses; keep tails filtered.
XIV. Organization & recall (minutes now, hours later)
-
Names that sort:
Lead — Clean,Lead — Air+,Rap — Punch,Harmony — Wide,Ad-Lib — Phone. - One per role: separate FX Chains/Track Presets for Lead/Doubles/Harmonies prevent over-de-essing stacks or over-brightening the center.
- Template: keep a “Starter — Vocals (Studio One)” Song Template with lanes and FX channels; start every song from it.
XV. Troubleshooting (problem → focused move)
- Harsh S’s after adding Air: raise De-Esser slightly; reduce Air ~0.5 dB; LPF returns to ~6–7 kHz.
- Vocal sinks under 808: keep verses drier; add a tiny Presence lift; apply a subtle 2–4 kHz dip on the beat during lines.
- Clicks or crackles: raise buffer while mixing; disable heavy oversampling until render; close background apps.
- Preset sounds different at export: verify quality/oversampling modes; avoid master clipping; render at session rate.
- Chain feels “dead” on your mic: ease de-ess; reduce low-mid cuts; a tiny 150–180 Hz lift can restore chest without mud.
- Levels jump in A/B tests: match outputs with a final Gain; louder wins the ear unfairly.
XVI. Learn more (next best step)
Hand-offs are smoother when stems are clean and consistent. This walkthrough on how to export stems from Studio One step by step shows naming, starts, and tails that open cleanly anywhere.
XVII. Quick action plan (copyable)
- Load an FX Chain or Track Preset; set input so raw peaks land −12 to −8 dBFS; Comp A kisses 3–5 dB.
- De-ess to “soft-bright,” add tiny Presence only if diction hides; keep Air conservative.
- Route Slap/Plate on FX channels; filter returns; duck Slap from the Lead; automate sends into hooks.
- Save role-based versions (Lead, Doubles, Harmonies, Ad-libs); keep a Song Template.
- Render roughs with headroom; keep the master unclipped; leave loudness for mastering.
Used well, vocal presets are reliable shortcuts—not crutches. Keep headroom healthy, make small moves, automate what matters, and your voice will sit forward without harshness—song after song. For a fast start tuned to this DAW, grab the curated Studio One vocal presets and lock in your own “best-fit” versions for consistent, repeatable results.


