


I preset vocali di Bitwig Studio sono catene di dispositivi pronte all'uso (con Controlli Remoti) che caricano EQ, compressione, de-essing, colore e spazio con un clic. Questo tutorial mostra tre metodi affidabili di installazione, come organizzare i preset per trovarli rapidamente e come adattare le catene al tuo microfono e genere. Riceverai anche una mappa di risoluzione problemi chiara così la tua prima sessione funziona subito. Se vuoi un avvio raffinato prima di modificare, esplora i moderni preset vocali e poi adatta soglie e invii alla tua voce.
I. Cos'è effettivamente un “preset vocale” di Bitwig
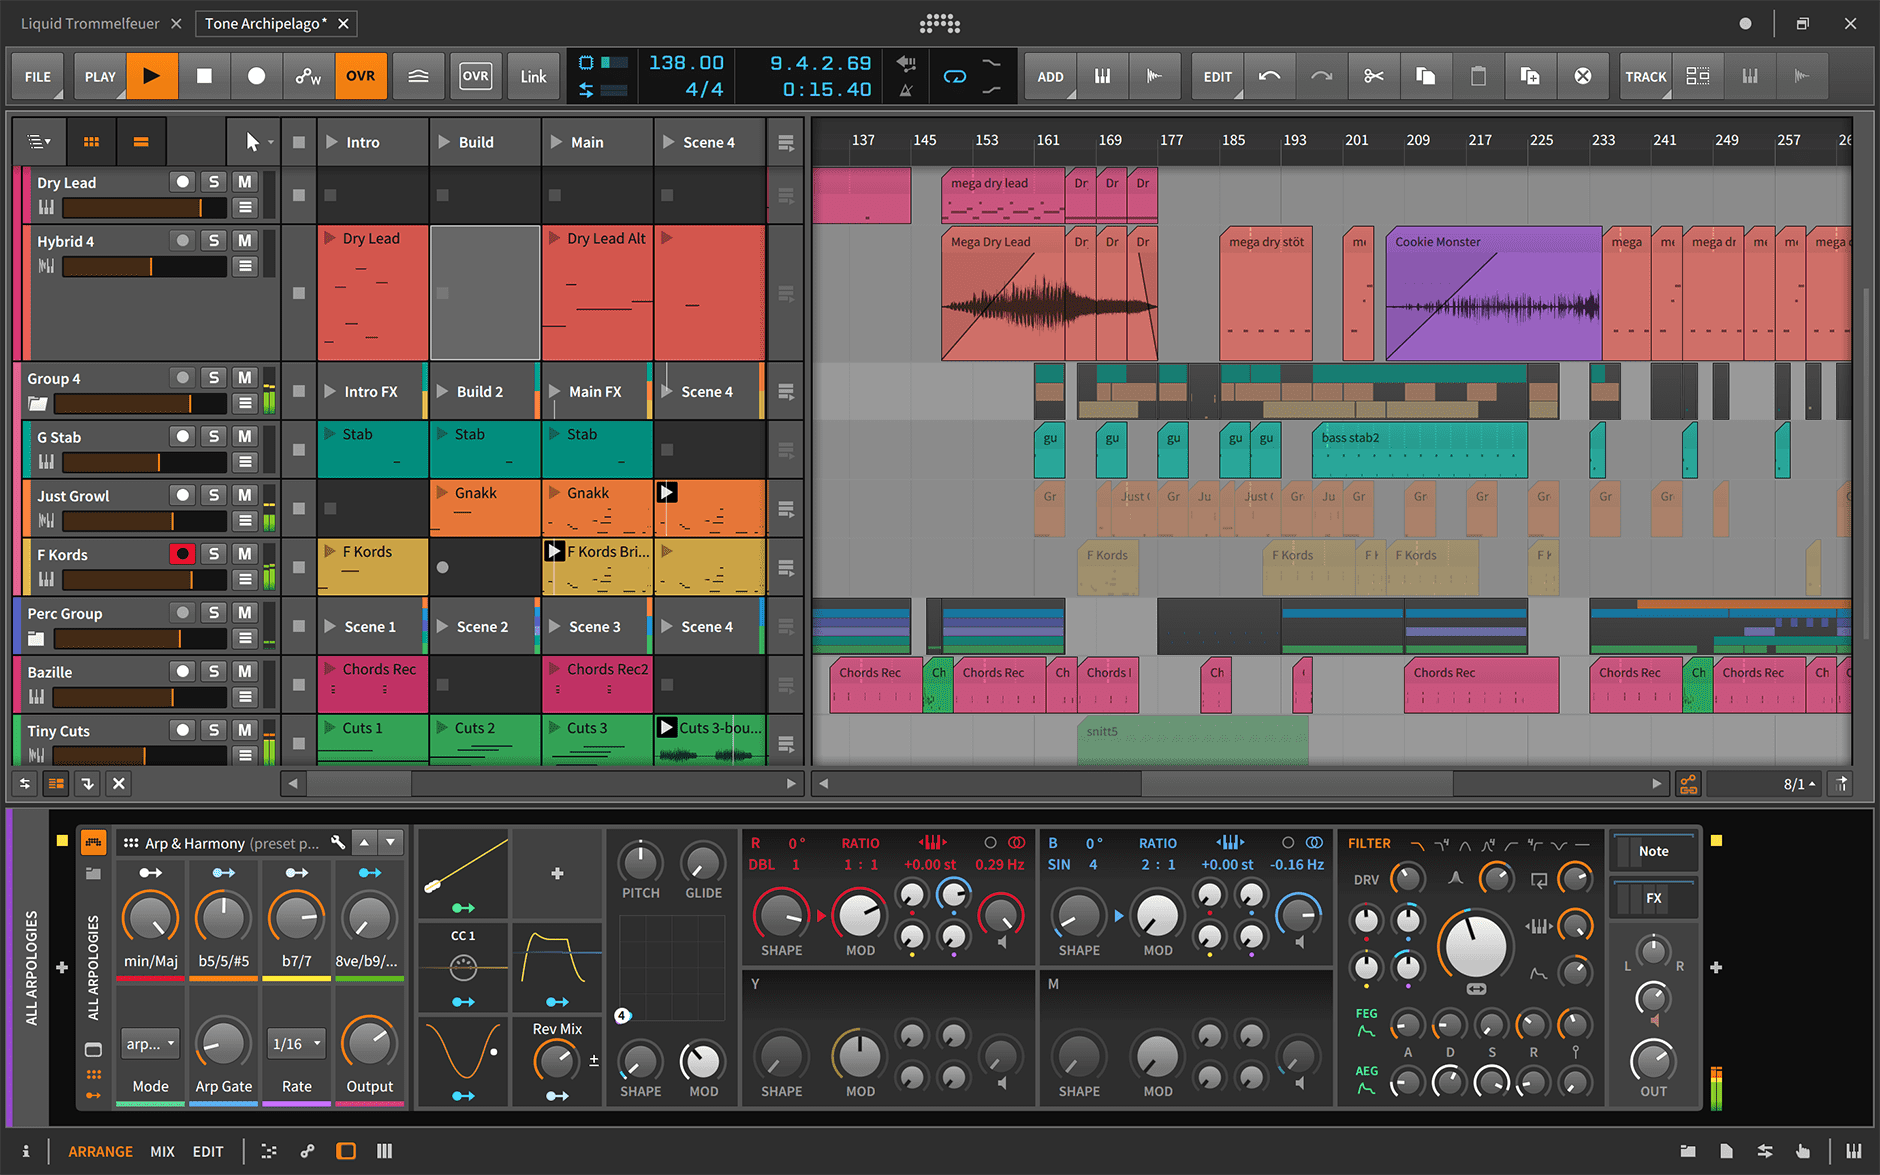
In Bitwig, un preset è un dispositivo o una catena salvata—di solito una catena Audio FX con Controlli Remoti (macro). I file usano tipicamente l'estensione .bwpreset. Un preset vocale può includere:
- Dispositivi standard (EQ+, Dynamics, De-esser, Saturator, Delay+, Reverb) organizzati in una catena o contenitore (es. FX Layer/Selector).
- Controlli remoti mappati su intervalli utili (Input Trim, De-Ess, Body, Presence, Air, Comp, FX Blend, Width).
- Plug-in opzionali di terze parti (VST3/CLAP); se mancanti, lo slot appare come non disponibile fino all'installazione.
I preset possono essere caricati dalla tua My Library, da qualsiasi cartella aggiunta a Library Locations, o trascinati dal file manager del tuo sistema operativo. Una volta che ti piace una catena, salvala nella tua libreria e taggala così sarà ricercabile tra le canzoni.
II. Lista di controllo pre-installazione (da fare una volta)
- Aggiorna Bitwig Studio all'ultima versione stabile.
- Sappi dove si trova My Library (vedi Impostazioni → Posizioni).
- Se un preset fa riferimento a plug-in di terze parti, installali e scansiona prima (VST3/CLAP).
- Libera un po' di spazio su disco per estrarre i download.
- Crea un progetto di prova con una traccia audio chiamata “Lead Vox.”
III. Tre modi per installare i preset vocali di Bitwig
Metodo A — Trascina e rilascia un singolo .bwpreset (più veloce)
- Decomprimi il tuo download e individua il
.bwpresetfile (o una cartella di preset). - Apri Bitwig e il tuo progetto di prova. Seleziona la traccia vocale.
- Trascina il
.bwpresetda Finder/Explorer nel Pannello Dispositivo o nel Browser. La catena si carica istantaneamente con i Controlli Remoti. - Clicca il nome del preset e scegli Salva Preset (o clic destro → Salva Preset) per salvarlo nella tua libreria con un nome personalizzato.
Usa questo quando vuoi ascoltare rapidamente o tenere solo pochi preferiti.
Metodo B — Aggiungi l'intera cartella a Posizioni Libreria (non distruttivo)
- Decomprimi il tuo pacchetto in una posizione permanente (es.,
Documenti/UTENTE/Bitwig/Preset Vocali/). - In Bitwig, apri Impostazioni → Posizioni e clicca Aggiungi posizione… sotto Posizioni Libreria.
- Seleziona la cartella decompressa. Bitwig la indicizza; la vedrai nel Browser sotto Posizioni Libreria.
- Apri la cartella nel Browser, anteprima e trascina qualsiasi preset nella tua traccia.
Usa questo quando vuoi che una cartella del fornitore appaia sempre nel Browser senza spostare i file in La Mia Libreria.
Metodo C — Copia in La Mia Libreria (portatile, ricercabile, con backup)
- Apri Impostazioni → Posizioni e annota il percorso di La Mia Libreria (questa è la tua cartella preset utente).
- In Finder/Explorer, apri quella cartella, poi
Preimpostazioni(crea se mancante). Opzionale: crea una sottocartella comeUTENTE/Voci. - Copia i file
.bwpresetin quella cartella. Torna a Bitwig—i preset appaiono sotto La Mia Libreria e sono completamente ricercabili per nome/tag.
Usa questo quando vuoi tutti i preferiti in un unico posto con backup (ottimo per migrare su una nuova macchina).
IV. Dove vivono le cose (riferimento rapido)
| Articolo | Estensione | Risiede in | Note |
|---|---|---|---|
| Preset vocale (dispositivo/catena) | .bwpreset | La mia Libreria o Posizioni Libreria | Mostrato nel Browser; trascina sulla traccia per caricare. |
| Progetto / Modello | .bwproject | Qualsiasi cartella tu scelga | Salva un progetto iniziale con rack, ritorni e Controlli Remoti. |
| Pacchetti di contenuti | — | Gestore pacchetti | Non richiesto per preset di terze parti, ma utile per FX e campioni di serie. |
V. Primo caricamento: instradamento, monitoraggio e gestione del guadagno
- Instrada il microfono. Imposta l'ingresso della traccia audio sul canale della tua interfaccia; abilita il monitoraggio se necessario.
- Carica il preset. Trascinalo sulla traccia. Conferma che appaiano i Controlli Remoti (la pagina 1 dovrebbe mostrare Trim, Comp, De-Ess, Presence, Air, FX).
- Guadagno in ingresso. Canta a livello di performance; punta a picchi grezzi intorno a −12 a −8 dBFS prima della catena.
- Controllo della latenza. Se la registrazione sembra in ritardo, usa una versione “Lite” (o bypassa i riverberi lunghi) durante la registrazione; abilita la rifinitura completa in fase di mix.
- Registra una passata di 10–20 s e confronta la catena accesa/spenta per confermare il miglioramento senza asprezza.
VI. Rendi il preset tuo (piccoli aggiustamenti che fanno la differenza)
- Trim: normalizza l'ingresso affinché il primo compressore lavori nel suo punto ideale.
- De-Ess: punta a un suono “morbido-luminoso,” non opaco. Regola più con gli auricolari che con i metri.
- Body: aggiungi calore intorno a 120–200 Hz; attenzione a 250–350 Hz “box.”
- Presence: spinta piccola e ampia vicino a 3–4 kHz solo se la dizione è nascosta.
- Air: micro-sollevamento a 10–12 kHz dopo che le S sono calme.
- FX Blend: slap 90–120 ms per carattere; bright short plate (0.7–1.0 s) con pre-delay 20–50 ms per sollevare. Mantieni i versi più asciutti; cori aperti.
VII. Una “prima catena” sicura dentro Bitwig (dispositivi stock)
- EQ+: filtro passa-alto 80–100 Hz; smussa 250–350 Hz se la cabina è risonante; opzionale tuffo stretto ~1 kHz se nasale.
- Dynamics (Comp A): 2:1–3:1; attacco 10–30 ms; rilascio 80–160 ms; 3–5 dB GR sulle frasi per modellare i transienti.
- De-esser: banda larga intorno a 6–8 kHz; regolato ad orecchio con gli auricolari.
- Dynamics (Comp B): catcher più veloce (1–2 dB GR) per stabilizzare gli invii.
- Saturator (low mix): densità stile triode/nastro; corrispondenza di uscita.
- Presence polish (EQ+): +0.5–1 dB ampio vicino a 3–4 kHz solo se necessario; micro air shelf dopo il de-esser.
- Delay+ & Reverb: slap 90–110 ms, filtrato 150 Hz–6 kHz; breve pop plate/hall 0.7–1.0 s con pre-delay 20–50 ms. Filtra i ritorni.
Avvolgi la catena in un FX Layer se vuoi piste parallele “Air” o “Color” con un macro mix dedicato.
VIII. Organizza & etichetta per trovare le cose velocemente
-
Denominazione:
Lead — Clean Pop,Lead — Airy R&B,Rap — Punch,Harmony — Wide Soft,Ad-Lib — Telefono. - Tag: imposta caso d'uso, atmosfera e microfono (es. Lead, Clean, SM7B). I tag rendono il Browser uno strumento di memoria muscolare.
- Pagine Controlli Remoti: pagina 1 = tono/dinamica; pagina 2 = FX; pagina 3 = riparazione. Mantieni 8 manopole per pagina ordinate.
- Collezioni: metti la stella/favorito sui tuoi tre principali, non su trenta. La velocità combatte il disordine.
IX. Template: inizia ogni sessione pronto
- Crea le tracce Lead Vox (con il tuo preset), Doppi L/R (HPF più alto, più de-ess, abbassati), Armonie (più scure, più larghe) e Ad-libs.
- Aggiungi due ritorni: A = Slap, B = Plate. Imposta valori predefiniti sensati.
- Salva come Template (File → Salva come Template). La prossima volta, scegli da Nuovo da Template.
X. Regolazioni basate sul ruolo (lead, doppi, armonie, ad-libs)
- Lead: centro mono solido; evita gli allargatori. Lascia che FX e tracce di supporto portino la larghezza.
- Doppi: high-pass più alto del lead; de-ess leggermente più forte; abbassali di 6–9 dB; micro-pan L/R; niente allargamenti chorus che collassano in mono.
- Armonie: filtra di più i low-mid; un piccolo aumento a 5 kHz può aggiungere brillantezza senza rendere il lead più tagliente.
- Ad-libs: banda stretta, pan per sezione, brevi interventi nelle transizioni; tienili fuori dalla corsia del lead.
XI. Con beat a due tracce e piatti brillanti
- Scava, non combattere: prova un calo dinamico a 2–4 kHz sull'instrumentale (keyed dalla voce) così le consonanti emergono solo quando serve.
- Gestione dei sub: se le sillabe si perdono sotto le code degli 808, sposta leggermente un low-shelf sincronizzato sul beat a 120–180 Hz durante le frasi vocali—mantienilo sottile.
- Comfort nelle alte frequenze: filtra i ritorni Delay+/Reverb; se i piatti sono freddi, evita grandi boost sulle alte frequenze nel lead.
XII. Risoluzione dei problemi (problema → soluzione mirata)
- Il preset non appare nel Browser. Conferma di averlo posizionato in La Mia Libreria o di aver aggiunto la cartella in Posizioni Libreria. Aggiorna il Browser; riavvia Bitwig se necessario.
- “Dispositivo mancante” o slot vuoto. Un plug-in di terze parti non è installato o non è stato scansionato. Installa, abilita e riscansiona i plug-in; ricarica il preset.
- Le macro non fanno nulla. Apri la catena e verifica la mappatura dei Controlli Remoti. Riassegna il parametro, imposta intervalli utili, quindi salva nuovamente il preset.
- La catena suona dura sugli auricolari. Alza leggermente il de-ess; riduci qualsiasi aumento di aria di 0,5 dB; passa i ritorni con filtro passa basso vicino a 6–7 kHz.
- Latencia durante la registrazione. Disattiva riverberi lunghi e dispositivi con look-ahead pesante; registra con una catena leggera e abilita la rifinitura dopo.
- Salti di livello tra preset. Livella i volumi durante il confronto; aggiungi un Utility o usa le regolazioni di uscita del dispositivo per un confronto equo A/B.
- Preset mancanti dopo aggiornamento/spostamento. Controlla il percorso di La Mia Libreria in Impostazioni → Posizioni. Se hai cambiato computer, copia la cartella della libreria nello stesso percorso.
XIII. Backup e migrazione
- Backup ora: copia la cartella La Mia Libreria su cloud o storage esterno.
- Sposta su una nuova macchina: installa Bitwig e i plug-in; imposta lo stesso percorso La Mia Libreria; incolla i tuoi preset; riavvia.
-
Condividi un preset: clic destro → Mostra in Finder/Explorer, invia il
.bwpresetpiù una nota con eventuali dispositivi di terze parti.
XIV. Adattatori rapidi per genere
- Rap/Trap: rilascio leggermente più lento su Comp A per rimbalzo; aggiungi slap mono per spigolosità; mantieni i plate corti nei versi.
- Pop/R&B: aria delicata dopo il de-ess; Delay+ ottavo puntato con ducking; plate ride +1 dB nel ritornello.
- Cantautore: riduci FX e saturazione; stanza più stretta per intimità; concentrati su dizione chiara più che su brillantezza.
XV. Scopri di più sui preset (mentalità e flusso di lavoro)
I preset non sono numeri da seguire alla lettera—sono punti di partenza curati. Sapere quando tagliare, quando comprimere e come taggare i preferiti mantiene le sessioni veloci e coerenti. Per un breve primer che si abbina bene a questa guida di installazione, vedi questa spiegazione su cosa sono i preset vocali e come usarli senza suonare generici.
XVI. Riepilogo rapido per installazione copiabile
- Decomprimi il pacchetto.
-
Test veloce: trascina
.bwpresetsulla traccia vocale. Se ti piace, Salva Preset. - Mantieni ordine: aggiungi la cartella in Impostazioni → Posizioni oppure copia i preset in La Mia Libreria.
- Imposta i picchi di ingresso intorno a −12 a −8 dBFS, regola leggermente i Controlli Remoti e salva la tua versione personale.
- Crea un modello semplice con tracce Lead/Doubles/Harmonies e due ritorni (Slap, Plate) così ogni nuova canzone inizia pronta.
Con un'installazione pulita, smart tag e un modello affidabile, Bitwig Studio diventa uno spazio veloce e ripetibile per le voci. Passerai meno tempo a cercare catene e più tempo a registrare take che suonano bene su telefoni, auricolari e grandi ambienti.


