


1 Why Acoustic Treatment Matters for Your Studio
Every untreated room has its own acoustic signature—a unique combination of reflections, resonances, and frequency buildups that color every sound passing through it. When you're mixing or recording in an untreated space, you're not hearing your music accurately; you're hearing your music filtered through your room's acoustic problems. This leads to mix decisions that sound great in your space but translate poorly everywhere else.
Acoustic treatment transforms an ordinary room into a reliable listening environment where what you hear accurately represents what's in your recordings. Professional studios invest heavily in acoustic design because they understand that accurate monitoring is the foundation of quality production. The good news is that effective acoustic treatment doesn't require professional budgets—with the right knowledge and approach, you can significantly improve your room's acoustics affordably.
The primary goals of studio acoustic treatment are controlling reflections that interfere with direct sound from monitors, managing bass frequencies that accumulate in corners and create uneven frequency response, and reducing reverb time to hear details clearly. Each of these issues requires specific treatment approaches, which is why understanding room acoustics matters before purchasing or building panels.
Unlike soundproofing, which prevents sound from entering or leaving a room, acoustic treatment addresses how sound behaves within a space. You can have excellent acoustic treatment in a room that's not soundproofed at all—these are separate concerns with different solutions.
2 Understanding Room Acoustics Fundamentals
Sound in enclosed spaces behaves according to predictable physical principles. When sound leaves your monitors, it travels outward in all directions. Some sound reaches your ears directly, but much of it bounces off walls, ceiling, and floor before arriving at your listening position. These reflections arrive milliseconds after the direct sound, creating interference patterns that affect what you perceive.
Early Reflections
Early reflections arrive within approximately 20 milliseconds of direct sound. Your brain cannot distinguish these from the direct sound, so they combine to create a confused image of the original. Strong early reflections from side walls are particularly problematic—they degrade stereo imaging and make it difficult to place sounds accurately in the stereo field. Treating first reflection points is one of the highest-impact improvements you can make to any listening environment.
Late Reflections and Reverb
Reflections arriving after 20-30 milliseconds are perceived as reverb or room ambience. In large spaces, some reverb can be pleasant, but in small control rooms, excessive reverb masks detail and makes mixing difficult. Absorption panels throughout the room reduce overall reverb time, creating a "drier" acoustic environment where you can hear subtle details in your recordings.
Standing Waves and Room Modes
When sound wavelengths correspond to room dimensions, standing waves form. These create spots in the room where certain frequencies are louder (peaks) or quieter (nulls) than they should be. Bass frequencies are most affected because their long wavelengths interact strongly with typical room dimensions. Use our Room Mode Calculator to identify your room's problematic frequencies.
Room modes explain why bass sounds different depending on where you stand in a room. At the listening position, you might have a buildup at 80 Hz making bass sound boomy, while 120 Hz might be canceled out, making your kick drums sound thin. These problems can't be fixed with EQ—they require physical acoustic treatment.
3 Types of Acoustic Treatment Explained
Effective studio acoustic treatment uses three main categories of treatment, each addressing different acoustic problems. Understanding when to use each type is key to creating a balanced, accurate listening environment.
Absorption
Absorptive panels convert sound energy into heat through friction as sound waves pass through porous material. They're effective at reducing reflections and controlling reverb time. Standard absorption panels using 2-4" thick rigid fiberglass or mineral wool effectively absorb mid and high frequencies. However, thin panels are ineffective at absorbing bass—this is a critical point many home studio owners miss.
Absorptive materials are rated using absorption coefficients from 0 (perfectly reflective) to 1 (perfectly absorptive) across different frequencies. Quality panels achieve coefficients above 0.8 at mid and high frequencies but may only reach 0.3-0.4 at bass frequencies. This is why bass traps require different approaches.
Bass Traps
Bass traps are specialized absorption designed to work at low frequencies. Because low-frequency absorption requires either thick absorbers (4-12" or more) or specifically tuned resonant absorbers, bass traps are distinct from standard panels. Corner placement maximizes effectiveness because bass pressure is highest at room boundaries where walls meet.
Two main types of bass traps exist: porous absorbers (thick fiberglass or mineral wool) that absorb through friction, and resonant absorbers (membrane or Helmholtz designs) tuned to specific frequencies. Porous bass traps offer broader absorption and are more practical for most home studios. Resonant traps can target specific problem frequencies but require careful design.
Diffusion
Diffusers scatter sound waves in multiple directions rather than absorbing them. They maintain acoustic energy in the room while preventing focused reflections that cause comb filtering. Diffusion creates a sense of space and liveliness that pure absorption cannot achieve. Most studios use diffusion on rear walls behind the listening position, where scattered reflections add pleasant ambience without interfering with direct sound.
Commercial diffusers use mathematically calculated surface shapes (QRD, skyline, or primitive root designs) to scatter sound effectively across broad frequency ranges. DIY diffusers can work but require careful design to avoid creating more problems than they solve.
4 Strategic Panel Placement for Maximum Impact
Where you place treatment matters as much as what treatment you use. Strategic placement addresses the most significant acoustic problems while maximizing the effectiveness of limited treatment area.
First Reflection Points
First reflection points are where sound from your monitors bounces off walls and ceiling before reaching your ears. Use the "mirror trick" to locate them: have someone slide a mirror along the wall while you sit at your mix position. Wherever you can see a monitor's reflection in the mirror is a first reflection point that needs treatment. Typically, this includes spots on both side walls at roughly seated ear height, and potentially the ceiling between monitors and listening position.
Place 2-4" thick absorption panels at each first reflection point. Panels should be at least 2' x 4' to effectively cover the reflection zone. This single treatment dramatically improves stereo imaging and frequency response accuracy.
Corner Bass Traps
After first reflection points, corner bass traps provide the next biggest improvement. Start with the front corners behind your monitors—these accumulate the most bass energy. Floor-to-ceiling bass traps in all four room corners significantly reduces bass buildup and creates more even low-frequency response throughout the room.
If budget is limited, prioritize the front corners behind monitors, then the rear corners, then the ceiling-wall corners. Each additional bass trap improves low-frequency accuracy.
Rear Wall Treatment
The wall behind your listening position is the third priority. Many producers use a combination of absorption and diffusion here—absorption to reduce flutter echo between front and back walls, and diffusion to maintain some sense of space and liveliness. A common approach places absorption at the center behind the listener with diffusers to either side.
5 DIY vs Commercial Acoustic Panels
One of the most practical decisions in studio treatment is whether to build panels yourself or purchase commercial products. Both approaches can produce excellent results, but they have different trade-offs in cost, time, and convenience.
DIY Panel Construction
DIY acoustic panels using rigid fiberglass or mineral wool (Rockwool, Owens Corning 703/705) match or exceed commercial panel performance at 30-50% of the cost. Basic construction requires only simple woodworking skills: build wooden frames from 1x4 lumber, insert insulation, wrap in breathable fabric, and mount on walls. Total material cost per 2'x4' panel typically runs $30-50 depending on frame material and fabric choice.
The primary downside of DIY is time investment. Building a full room's worth of treatment—perhaps 8-12 panels plus bass traps—requires a weekend or more of work. You'll also need basic tools (saw, staple gun, drill) and workspace for construction. However, the cost savings often justify the effort, especially for larger treatment projects.
Commercial Panel Options
Commercial acoustic panels offer convenience, consistent quality, and sometimes better aesthetics than DIY options. Prices range from $50-150 per 2'x4' panel depending on brand, thickness, and finish quality. Premium brands may offer custom sizes, colors, and designer fabrics that integrate better with room decor.
Beware of cheap "acoustic foam" products—most foam panels are too thin and low-density to provide meaningful absorption, especially at lower frequencies. If purchasing commercial panels, look for products using proper acoustic materials (rigid fiberglass or mineral wool) rather than decorative foam.
6 Dealing with Room Modes and Bass Problems
Room modes—standing waves at frequencies related to room dimensions—are among the most challenging acoustic problems to solve. In rectangular rooms, modes occur at frequencies where the room length, width, or height equals half a wavelength (or multiples thereof).
Identifying Problem Frequencies
Calculate your room's axial modes using the formula: frequency = 565.5 / dimension (in feet). A 12-foot room length creates an axial mode at approximately 47 Hz, with additional modes at 94 Hz, 141 Hz, and so on. Tangential and oblique modes involving multiple dimensions create additional resonances. The result is a complex pattern of peaks and nulls throughout the bass frequency range.
Measurement software and calibrated microphones can map your room's actual frequency response, revealing which modes are most problematic at your listening position. This data guides treatment decisions more accurately than calculations alone.
Treatment Strategies for Modes
Thick porous bass traps in corners provide the most practical mode control for home studios. Position changes—moving your listening position or monitors—can sometimes shift you away from severe nulls or peaks. Low-frequency parametric EQ can partially compensate for mode problems but should supplement rather than replace physical treatment.
Complete elimination of room modes is impractical in small rooms. The goal is reduction to manageable levels where bass frequencies are consistent enough for reliable mixing decisions.
7 Common Acoustic Treatment Mistakes
Understanding what not to do is as valuable as knowing best practices. These common mistakes compromise treatment effectiveness and waste money.
Over-Treating with Thin Absorption
Covering every wall surface with thin foam or 2" panels creates an unnaturally dead-sounding room that's uncomfortable to work in. Worse, thin absorption only works at high frequencies, leaving bass problems untreated while removing all the "air" from the room. The result is a boomy, muffled-sounding space that's actually harder to mix in than a completely untreated room.
Ignoring Bass Treatment
Many studios invest heavily in mid/high absorption while neglecting bass treatment entirely. Since most affordable panels don't effectively absorb bass, the room ends up with controlled mids and highs but uncontrolled low end. Proper treatment addresses bass first through corner trapping before adding broadband absorption.
Treating Before Optimizing Position
Speaker and listener positioning dramatically affects what acoustic treatment can achieve. Before investing in treatment, optimize monitor placement, listening position distance from walls, and desk or console positioning. Sometimes small position changes resolve problems that would otherwise require significant treatment.
8 Budget Planning for Studio Treatment
Effective acoustic treatment doesn't require unlimited budgets, but it does require strategic investment. Plan your treatment in phases, starting with highest-impact improvements.
Phase 1: Essential Treatment ($200-400)
DIY bass traps for front corners (2) and first reflection point panels (2-4). This addresses the most significant acoustic problems and dramatically improves monitoring accuracy. Most home studios should start here.
Phase 2: Extended Treatment ($300-500)
Additional bass traps for rear corners, ceiling treatment above the mix position, and rear wall absorption/diffusion. This phase creates a more complete treatment solution suitable for serious mixing work.
Phase 3: Optimization ($200-400+)
Additional panels for remaining reflection points, ceiling clouds, door and window treatment, and measurement-guided problem solving. This phase fine-tunes an already well-treated room.
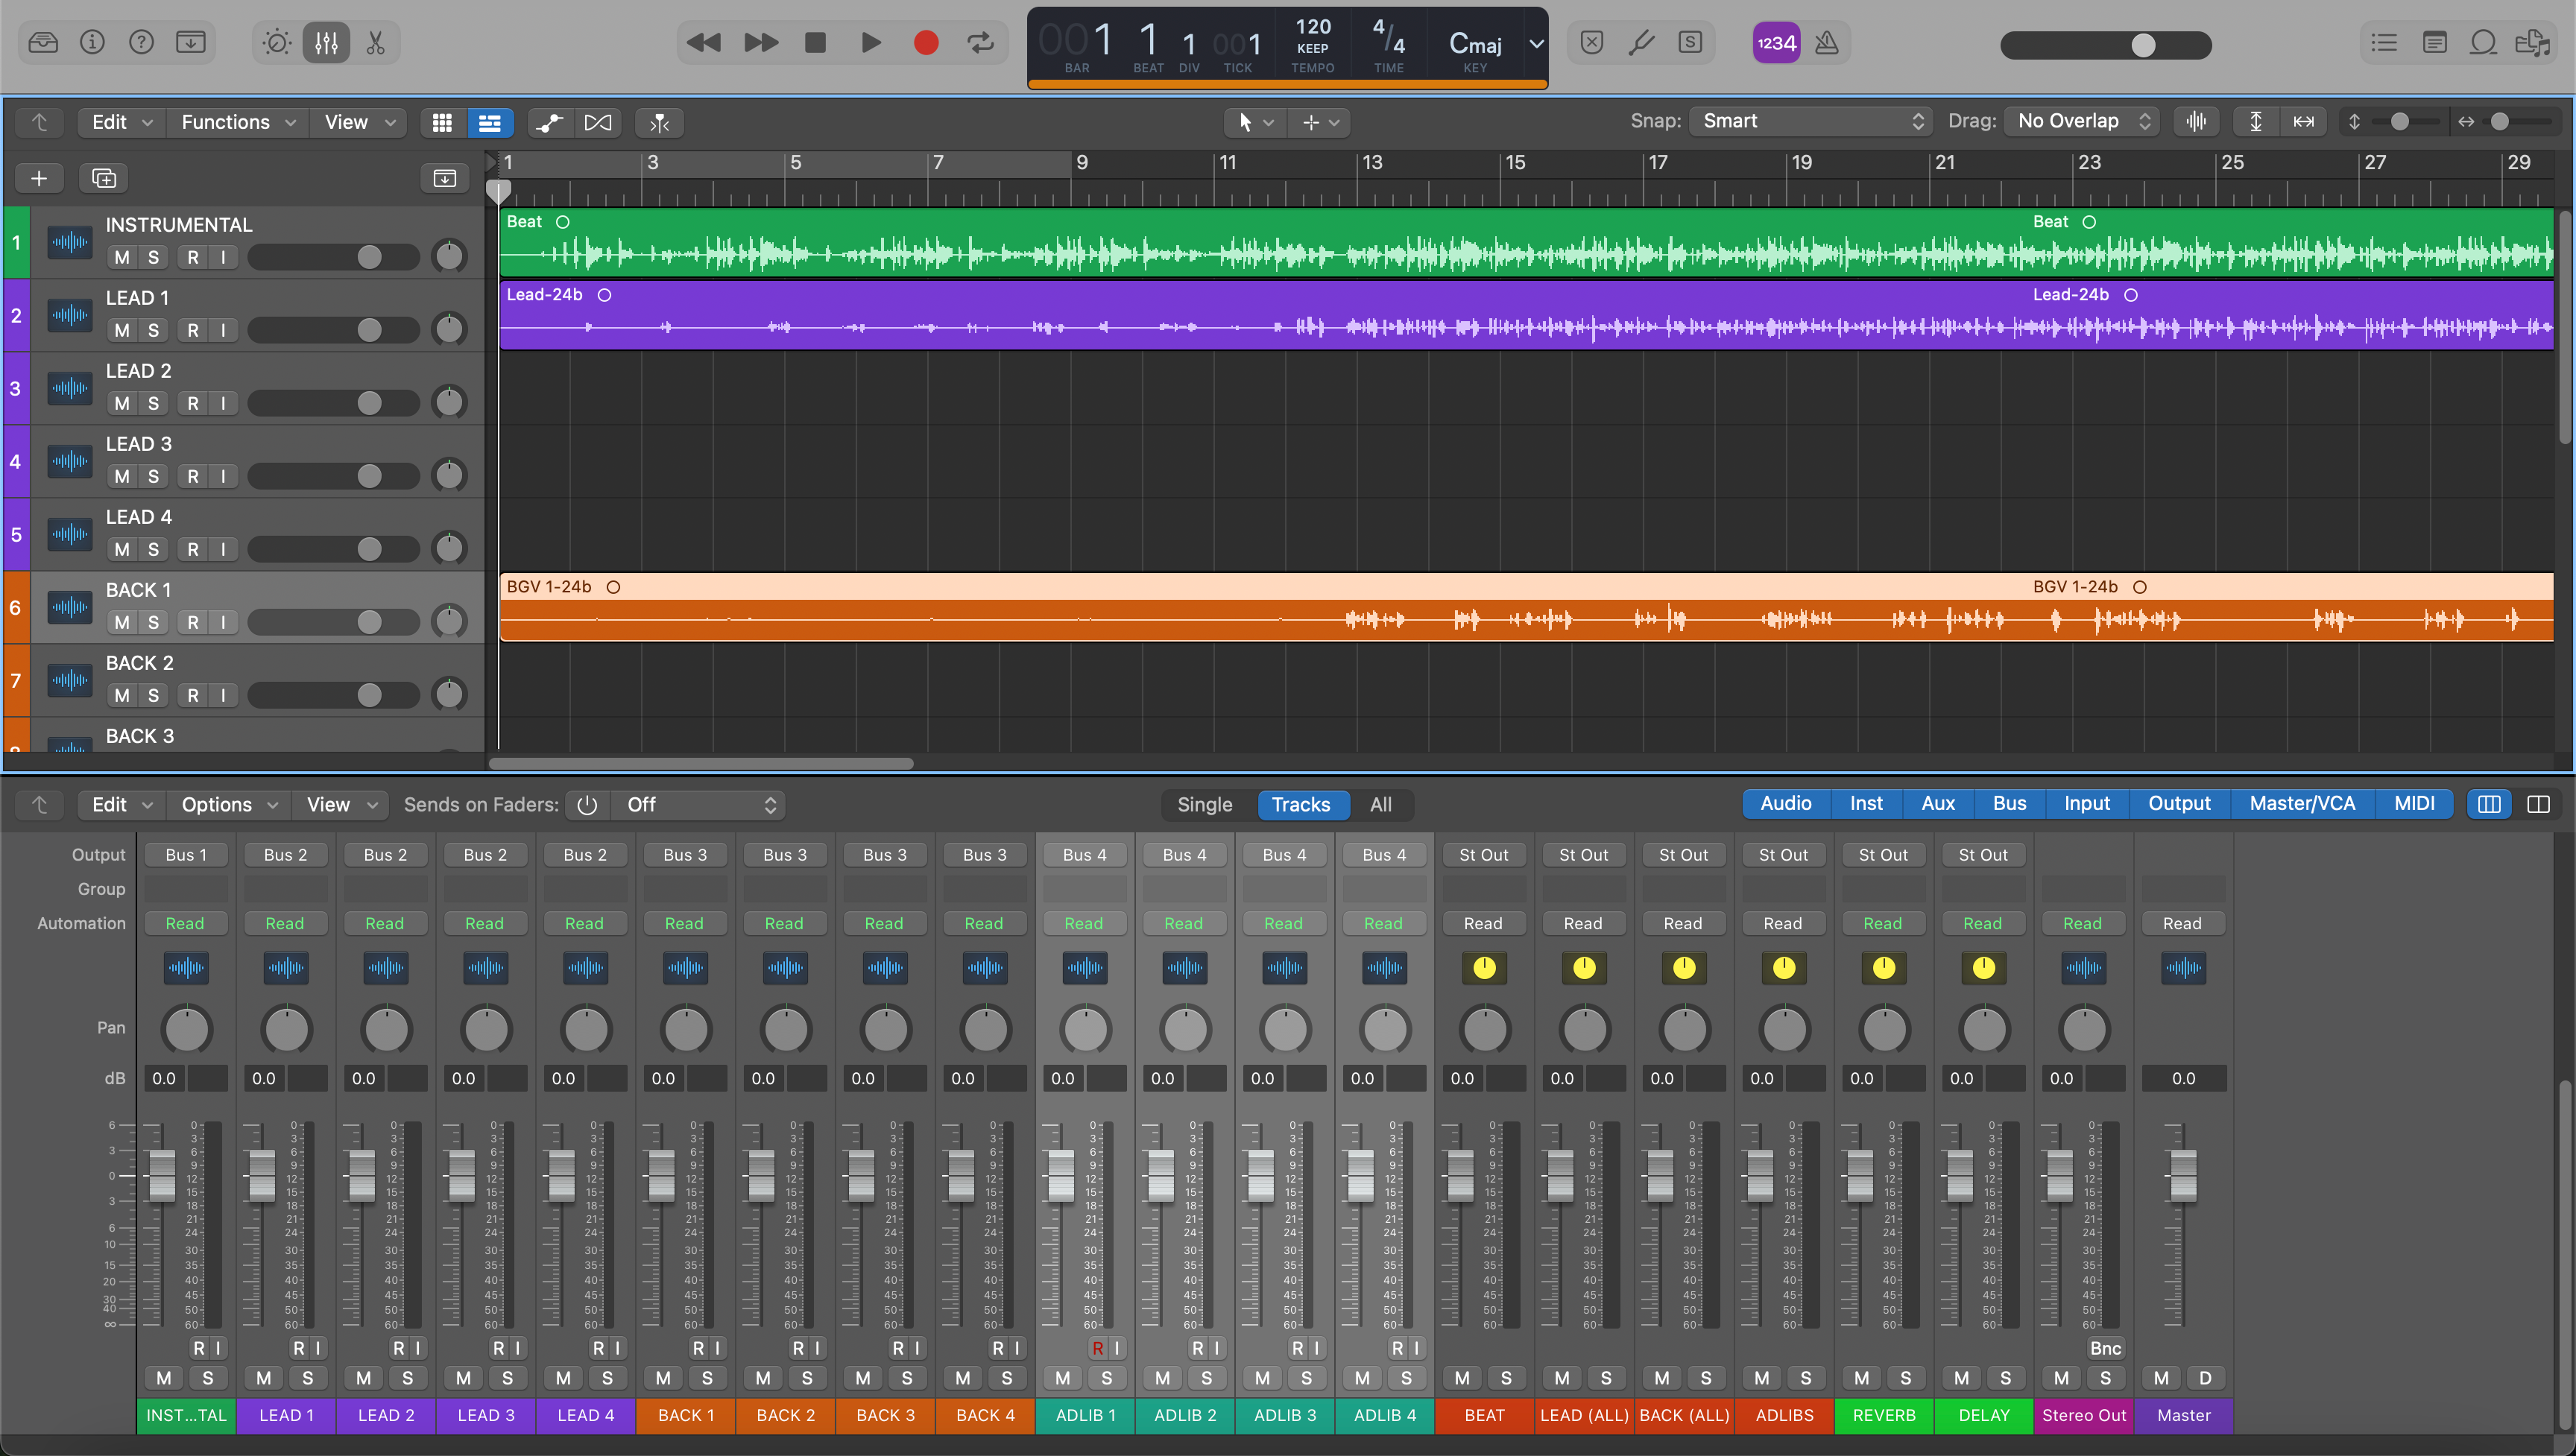
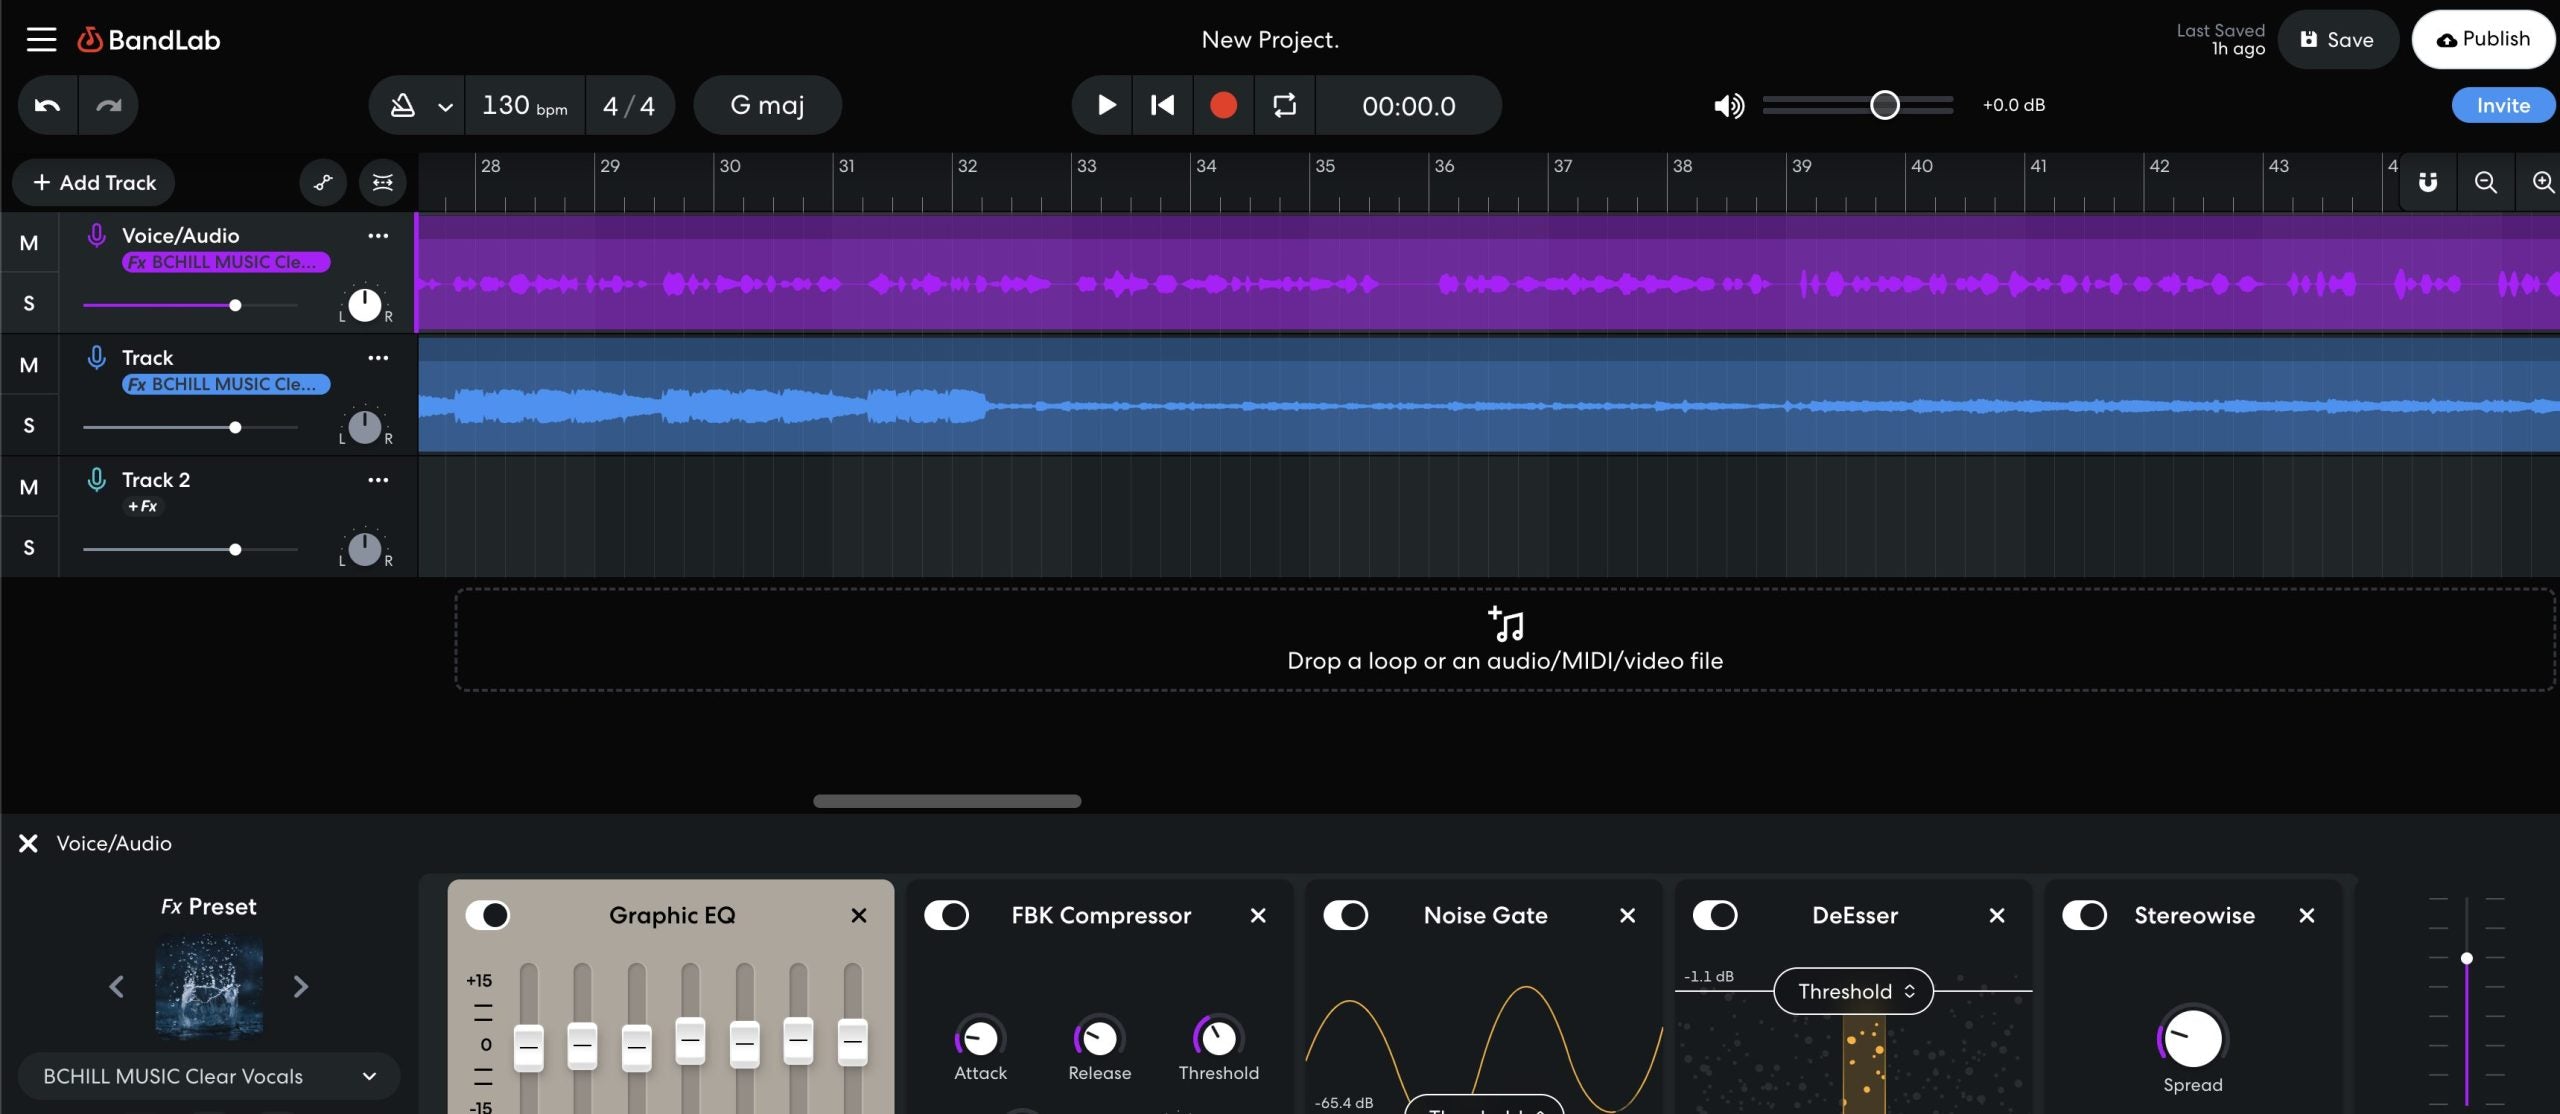
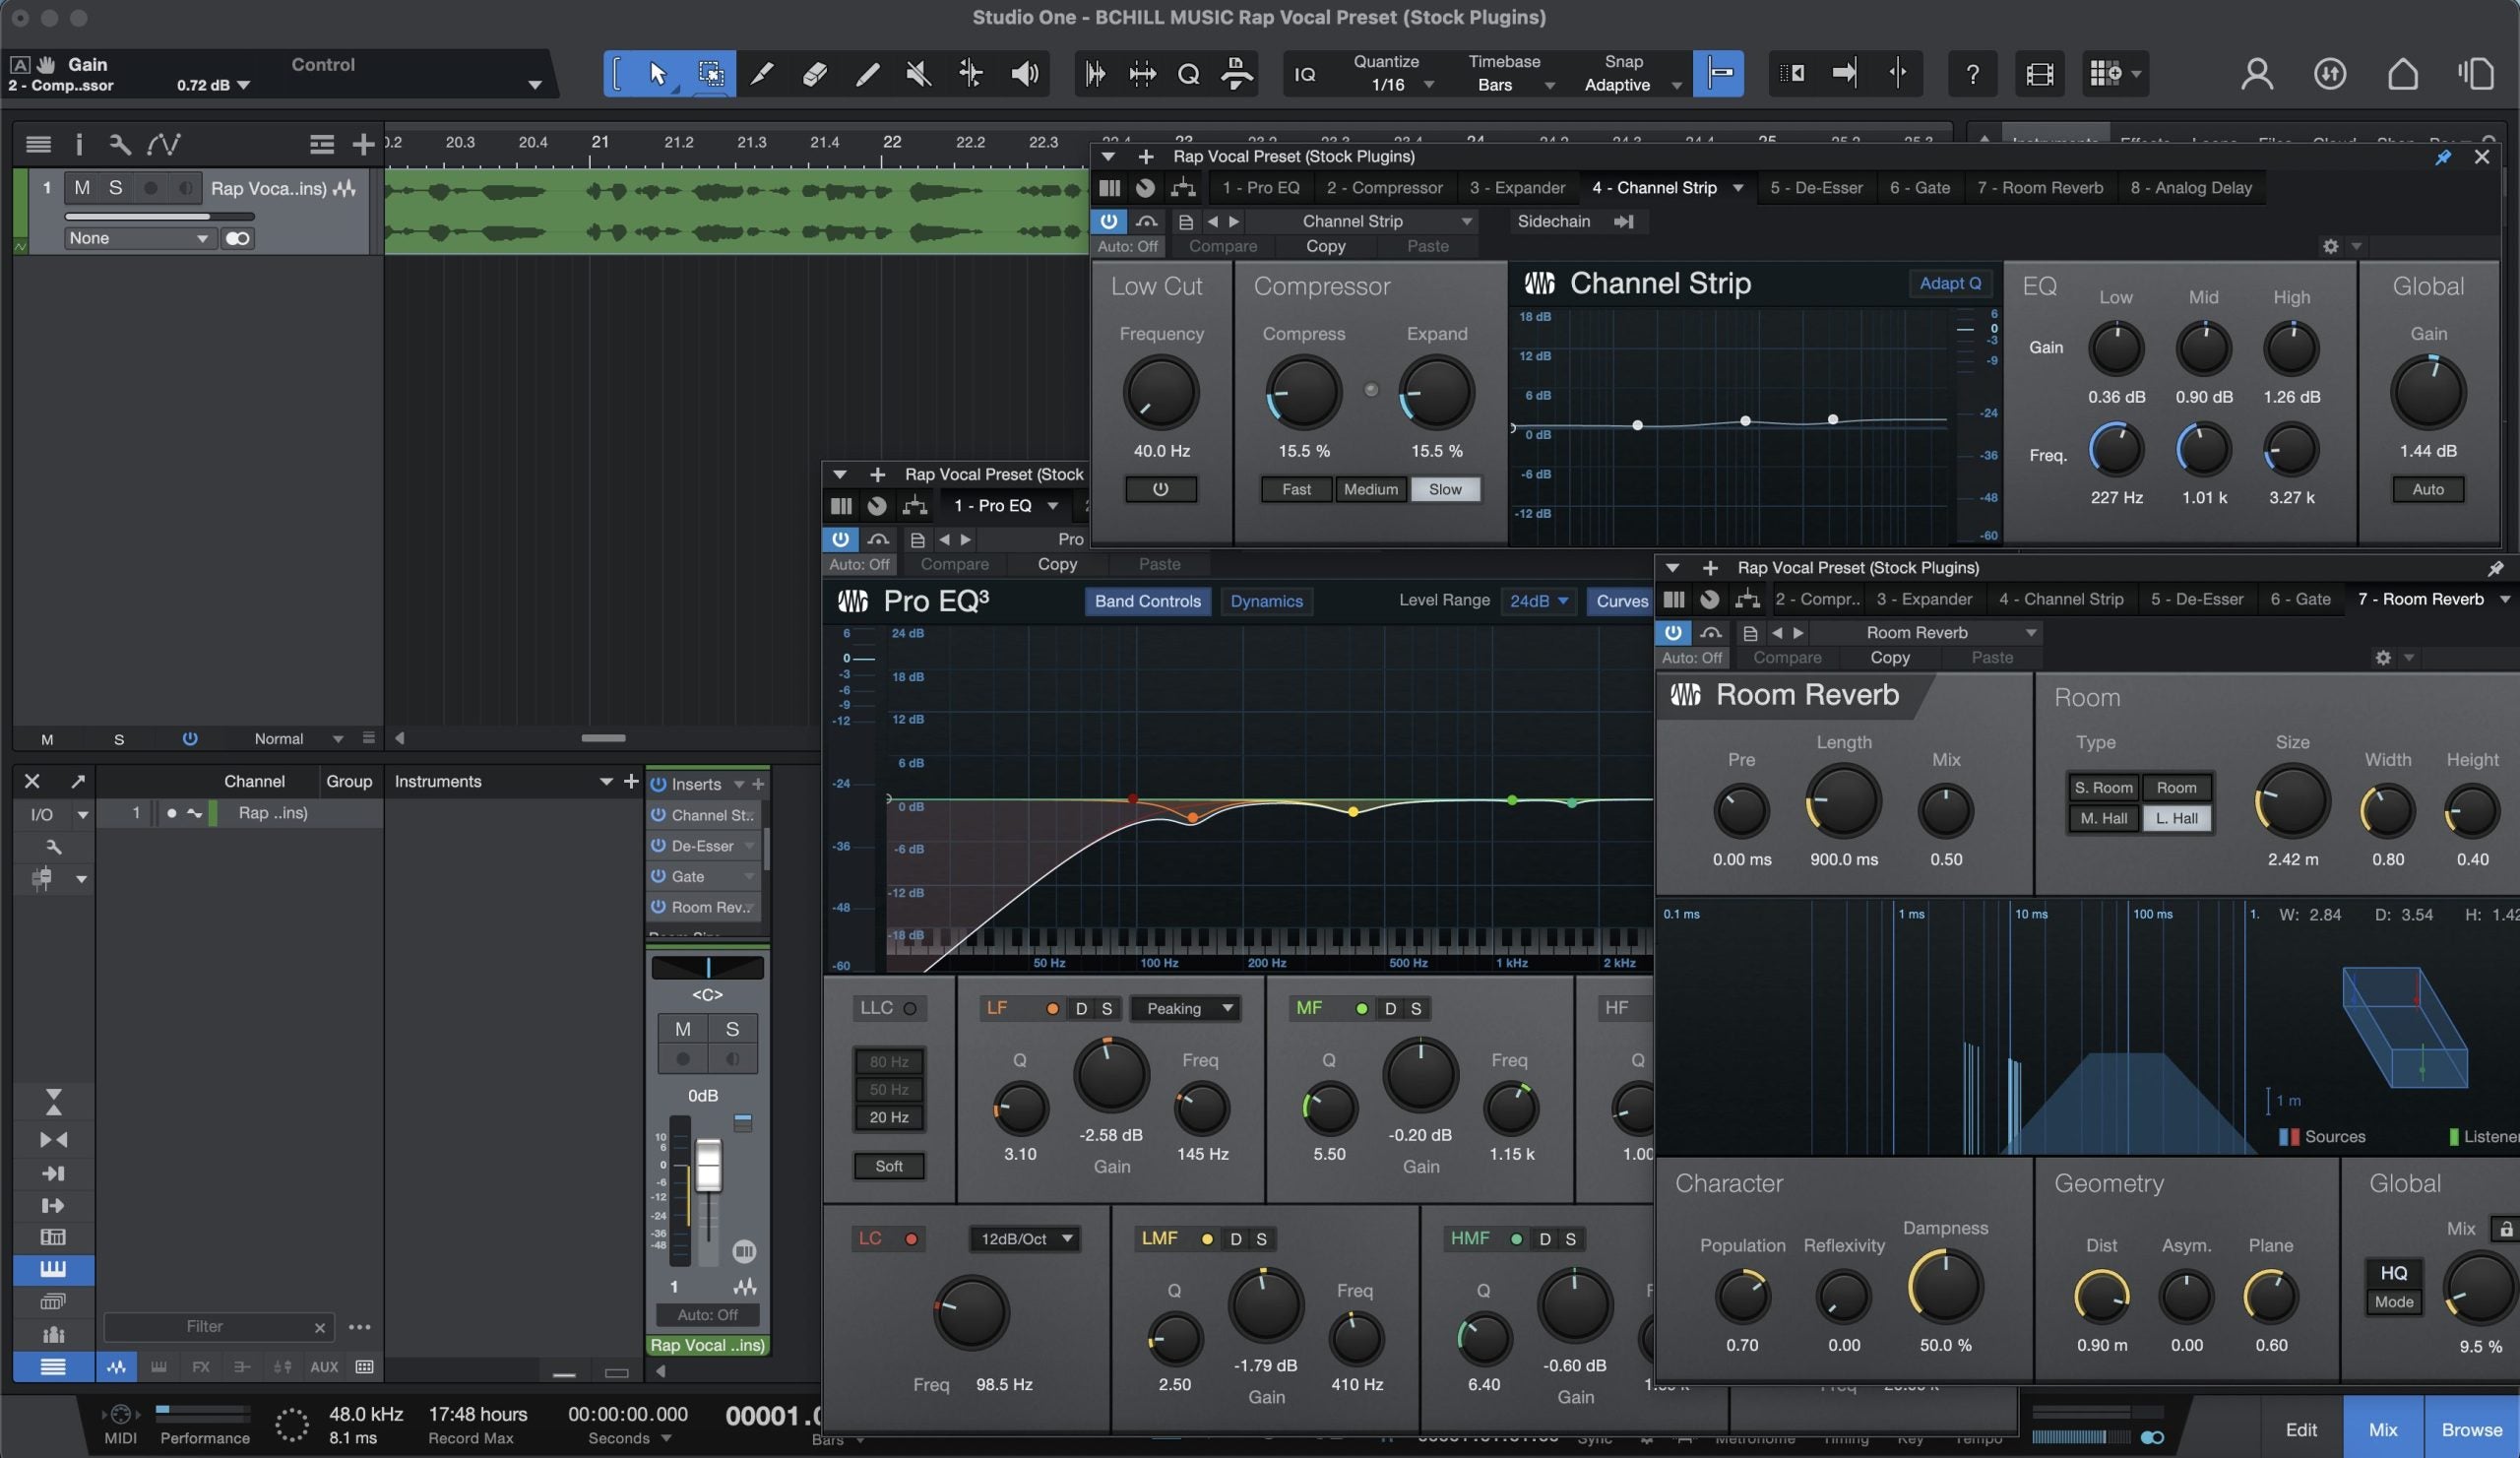
For professional-quality recordings in your treated space, explore our Vocal Presets and Recording Templates designed to help you capture the best possible performances.