


1Introduction to Audio Trimming
Audio trimming is one of the most fundamental editing operations in music production, podcasting, and content creation. The ability to precisely extract a section from a longer recording is essential for creating samples, cleaning up takes, and preparing audio for various uses.
Unlike destructive tape cutting of the analog era, digital trimming is non-destructive—your original file remains intact while you export only the selected portion. This makes experimentation risk-free and allows multiple extractions from a single source.
Our browser-based audio trimmer provides visual waveform display and millisecond-precision timing controls, allowing accurate extraction without specialized software installation.
2Why Trim Audio Files
Recording sessions often capture more than needed—count-ins, false starts, trailing silence, and between-take chatter. Trimming removes this excess, leaving only the essential content. Clean files are easier to organize, faster to load, and more professional.
Sample creation is another primary use. Extracting drum hits, vocal phrases, synth stabs, or musical loops from longer recordings builds your personal sample library. Trimming is the first step in isolating usable elements.
Content creators trim interviews to remove pauses, mistakes, or irrelevant tangents. Podcast editors routinely extract the best segments from longer conversations. Trimming transforms raw recordings into polished content.
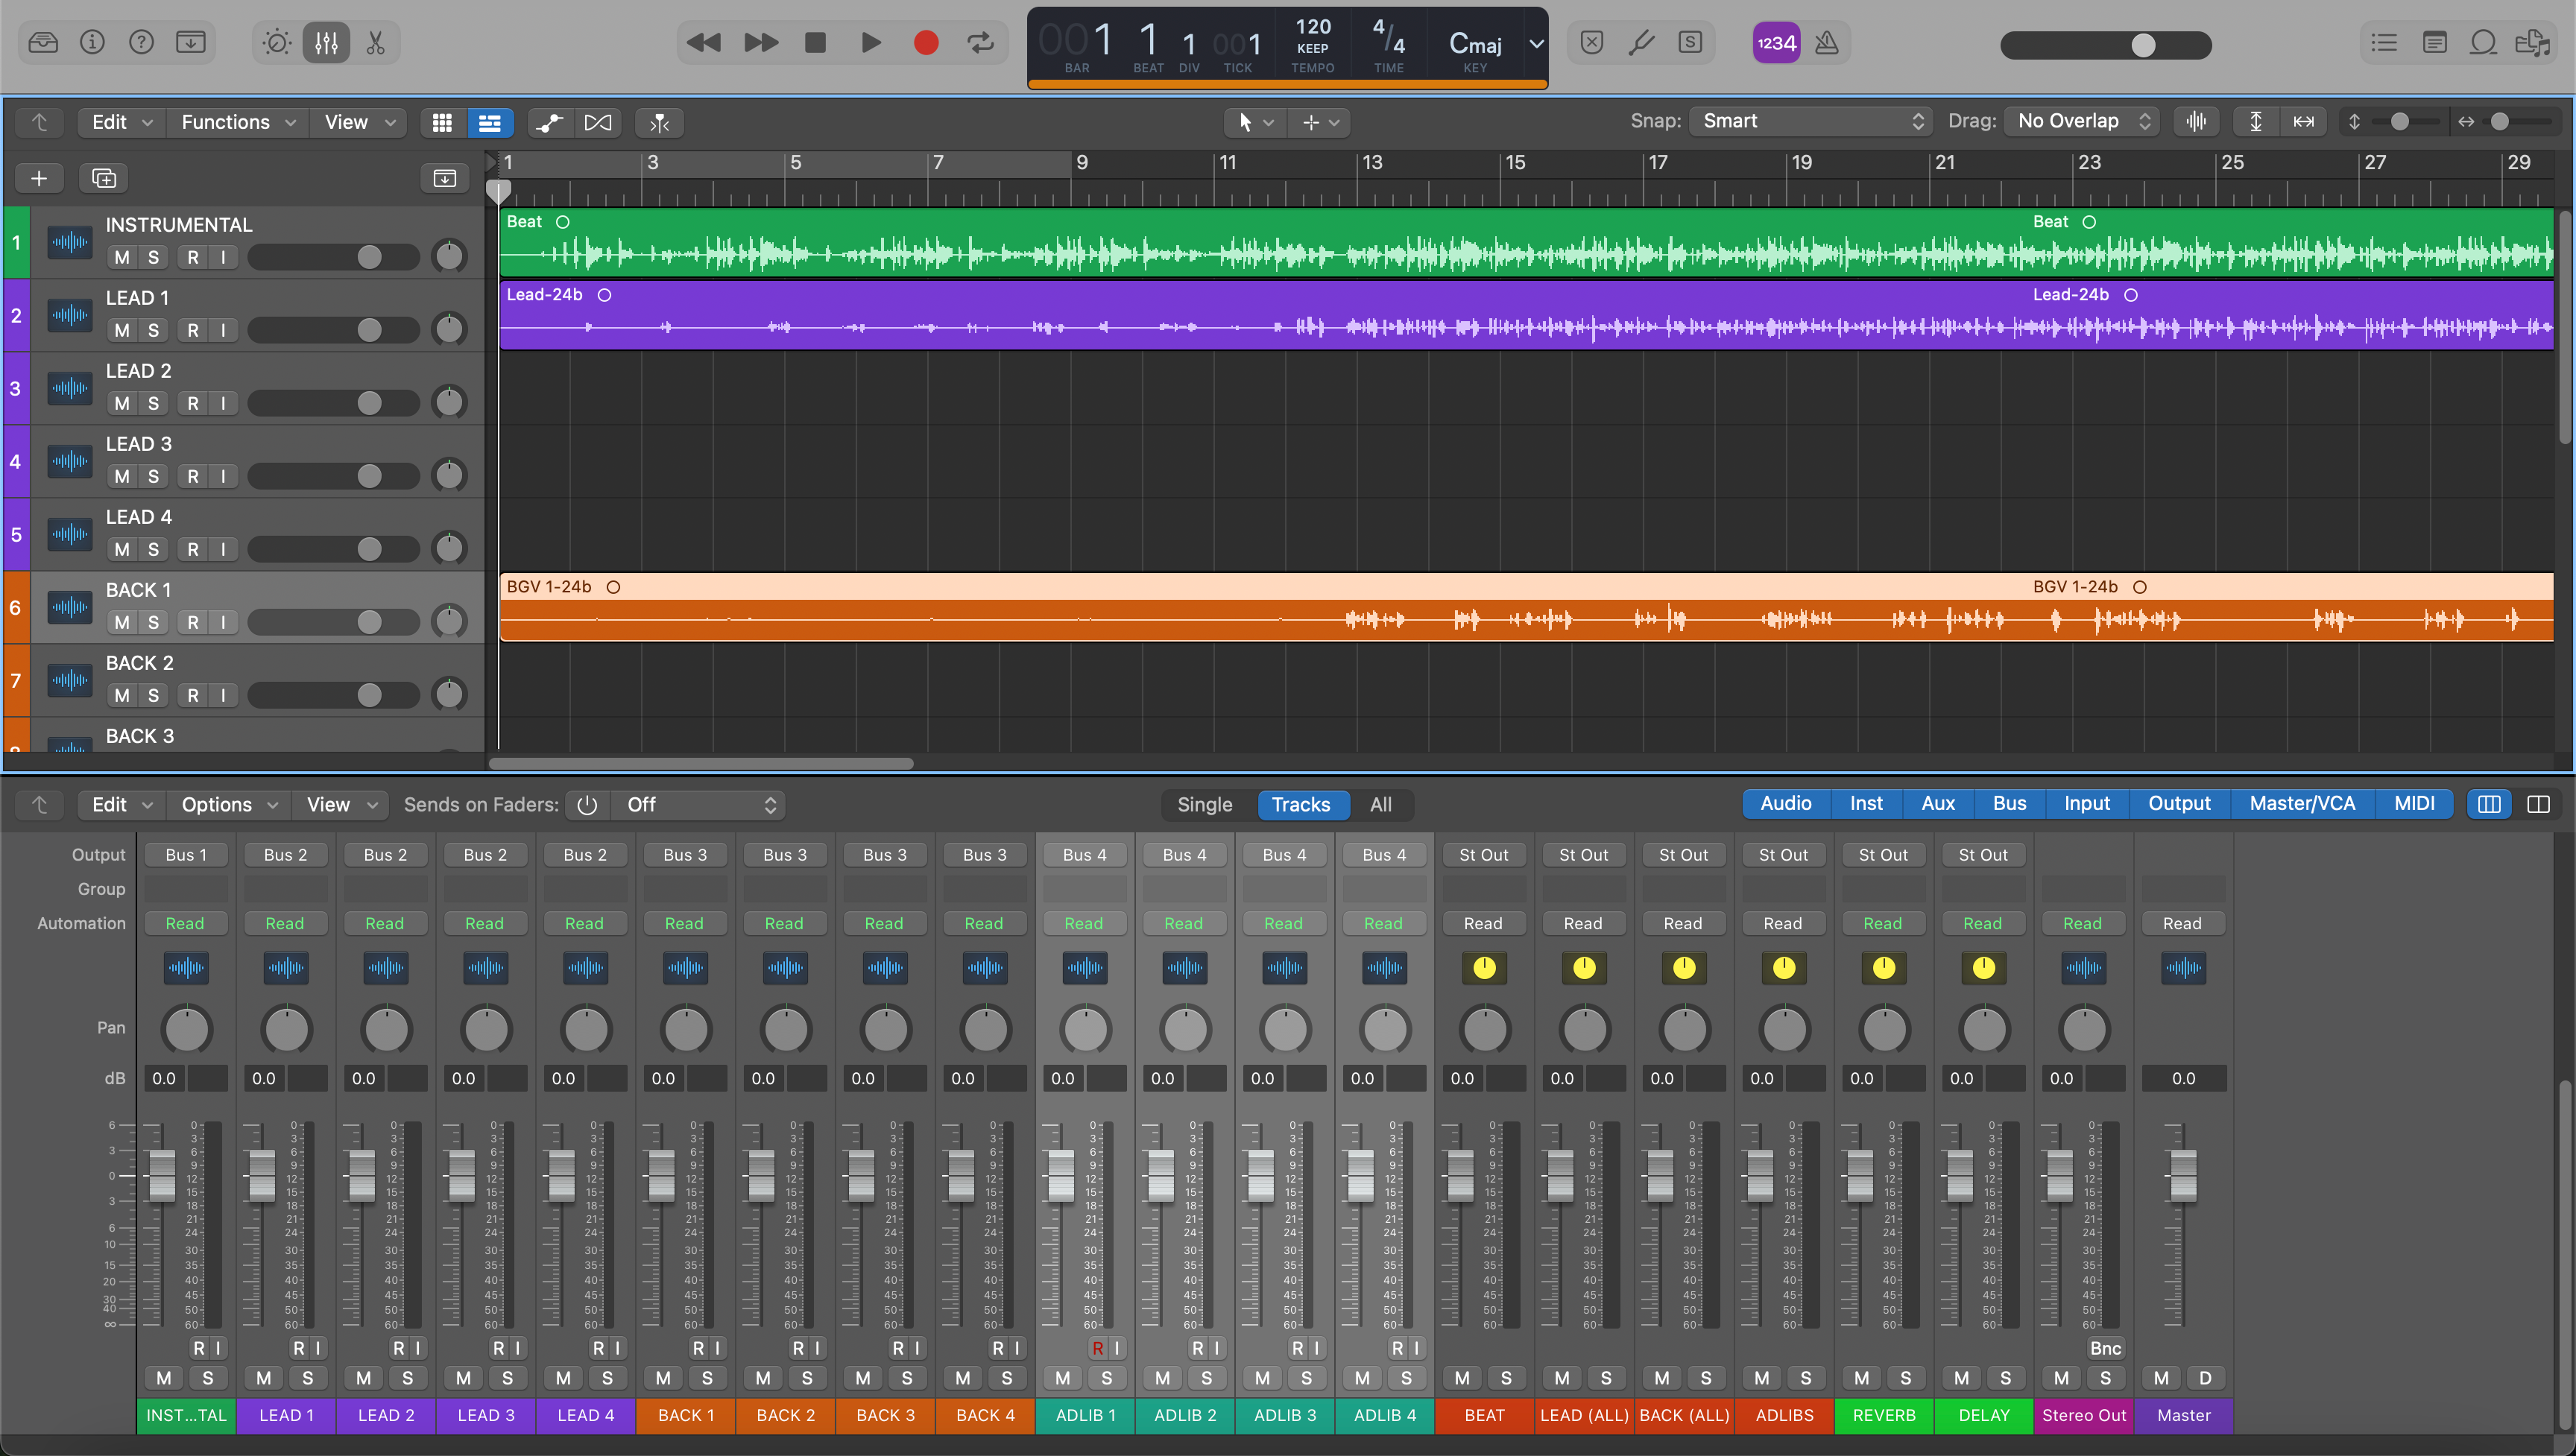
3Understanding Waveforms
Waveform displays visualize audio amplitude over time. Taller peaks indicate louder moments; flat sections represent silence or quiet passages. Learning to read waveforms helps you identify content boundaries quickly.
Transients—sudden amplitude spikes—mark drum hits, consonants, and note attacks. These visual landmarks guide trimming decisions. The space between transients often contains sustained tones or reverb tails.
Stereo waveforms show left and right channels separately, revealing panning information. Mono files display a single waveform. Understanding this visual language accelerates editing workflow significantly.
Visual Editing Tip: Zoom in on waveforms when making precise cuts. Small timing differences invisible at full zoom become clear when examining individual cycles.
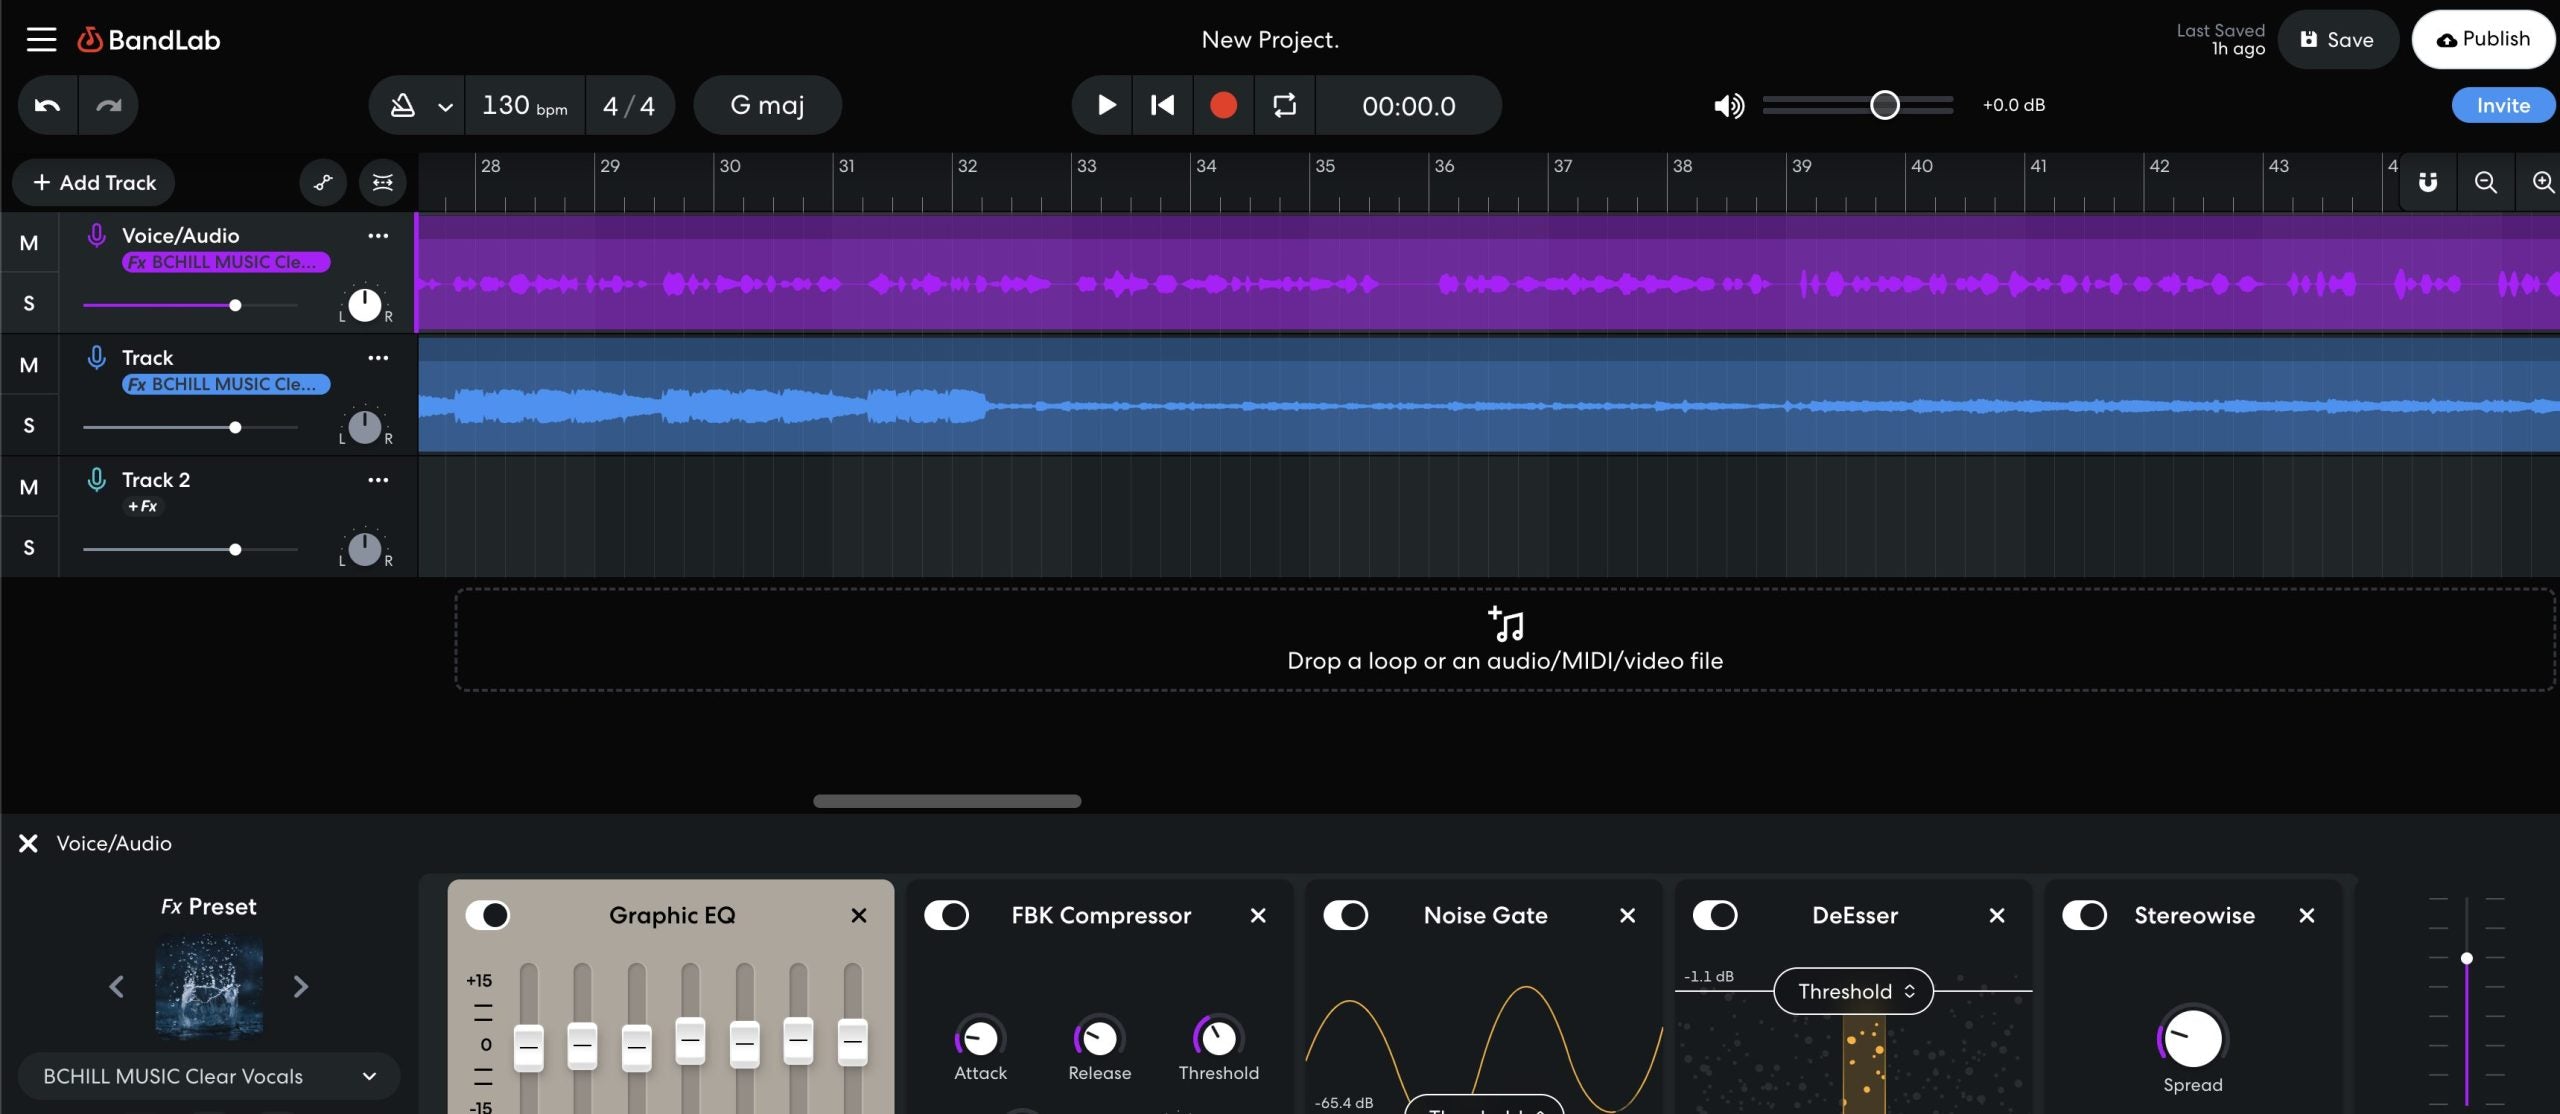
4Precision Trimming Techniques
Millisecond-precision timing matters for musical applications. A sample trimmed even slightly late will feel "behind the beat" when triggered. Professional sample libraries trim to exact transient onsets for tight rhythmic performance.
For spoken content, precision is less critical but still important. Cutting mid-word creates jarring artifacts, while leaving excessive silence wastes listener time. Find natural pause points for clean edits.
Preview your trim points before exporting. Listen to the start to ensure you're not cutting into the attack. Listen to the end to verify you're not truncating decay or reverb tails. Small adjustments make big differences.
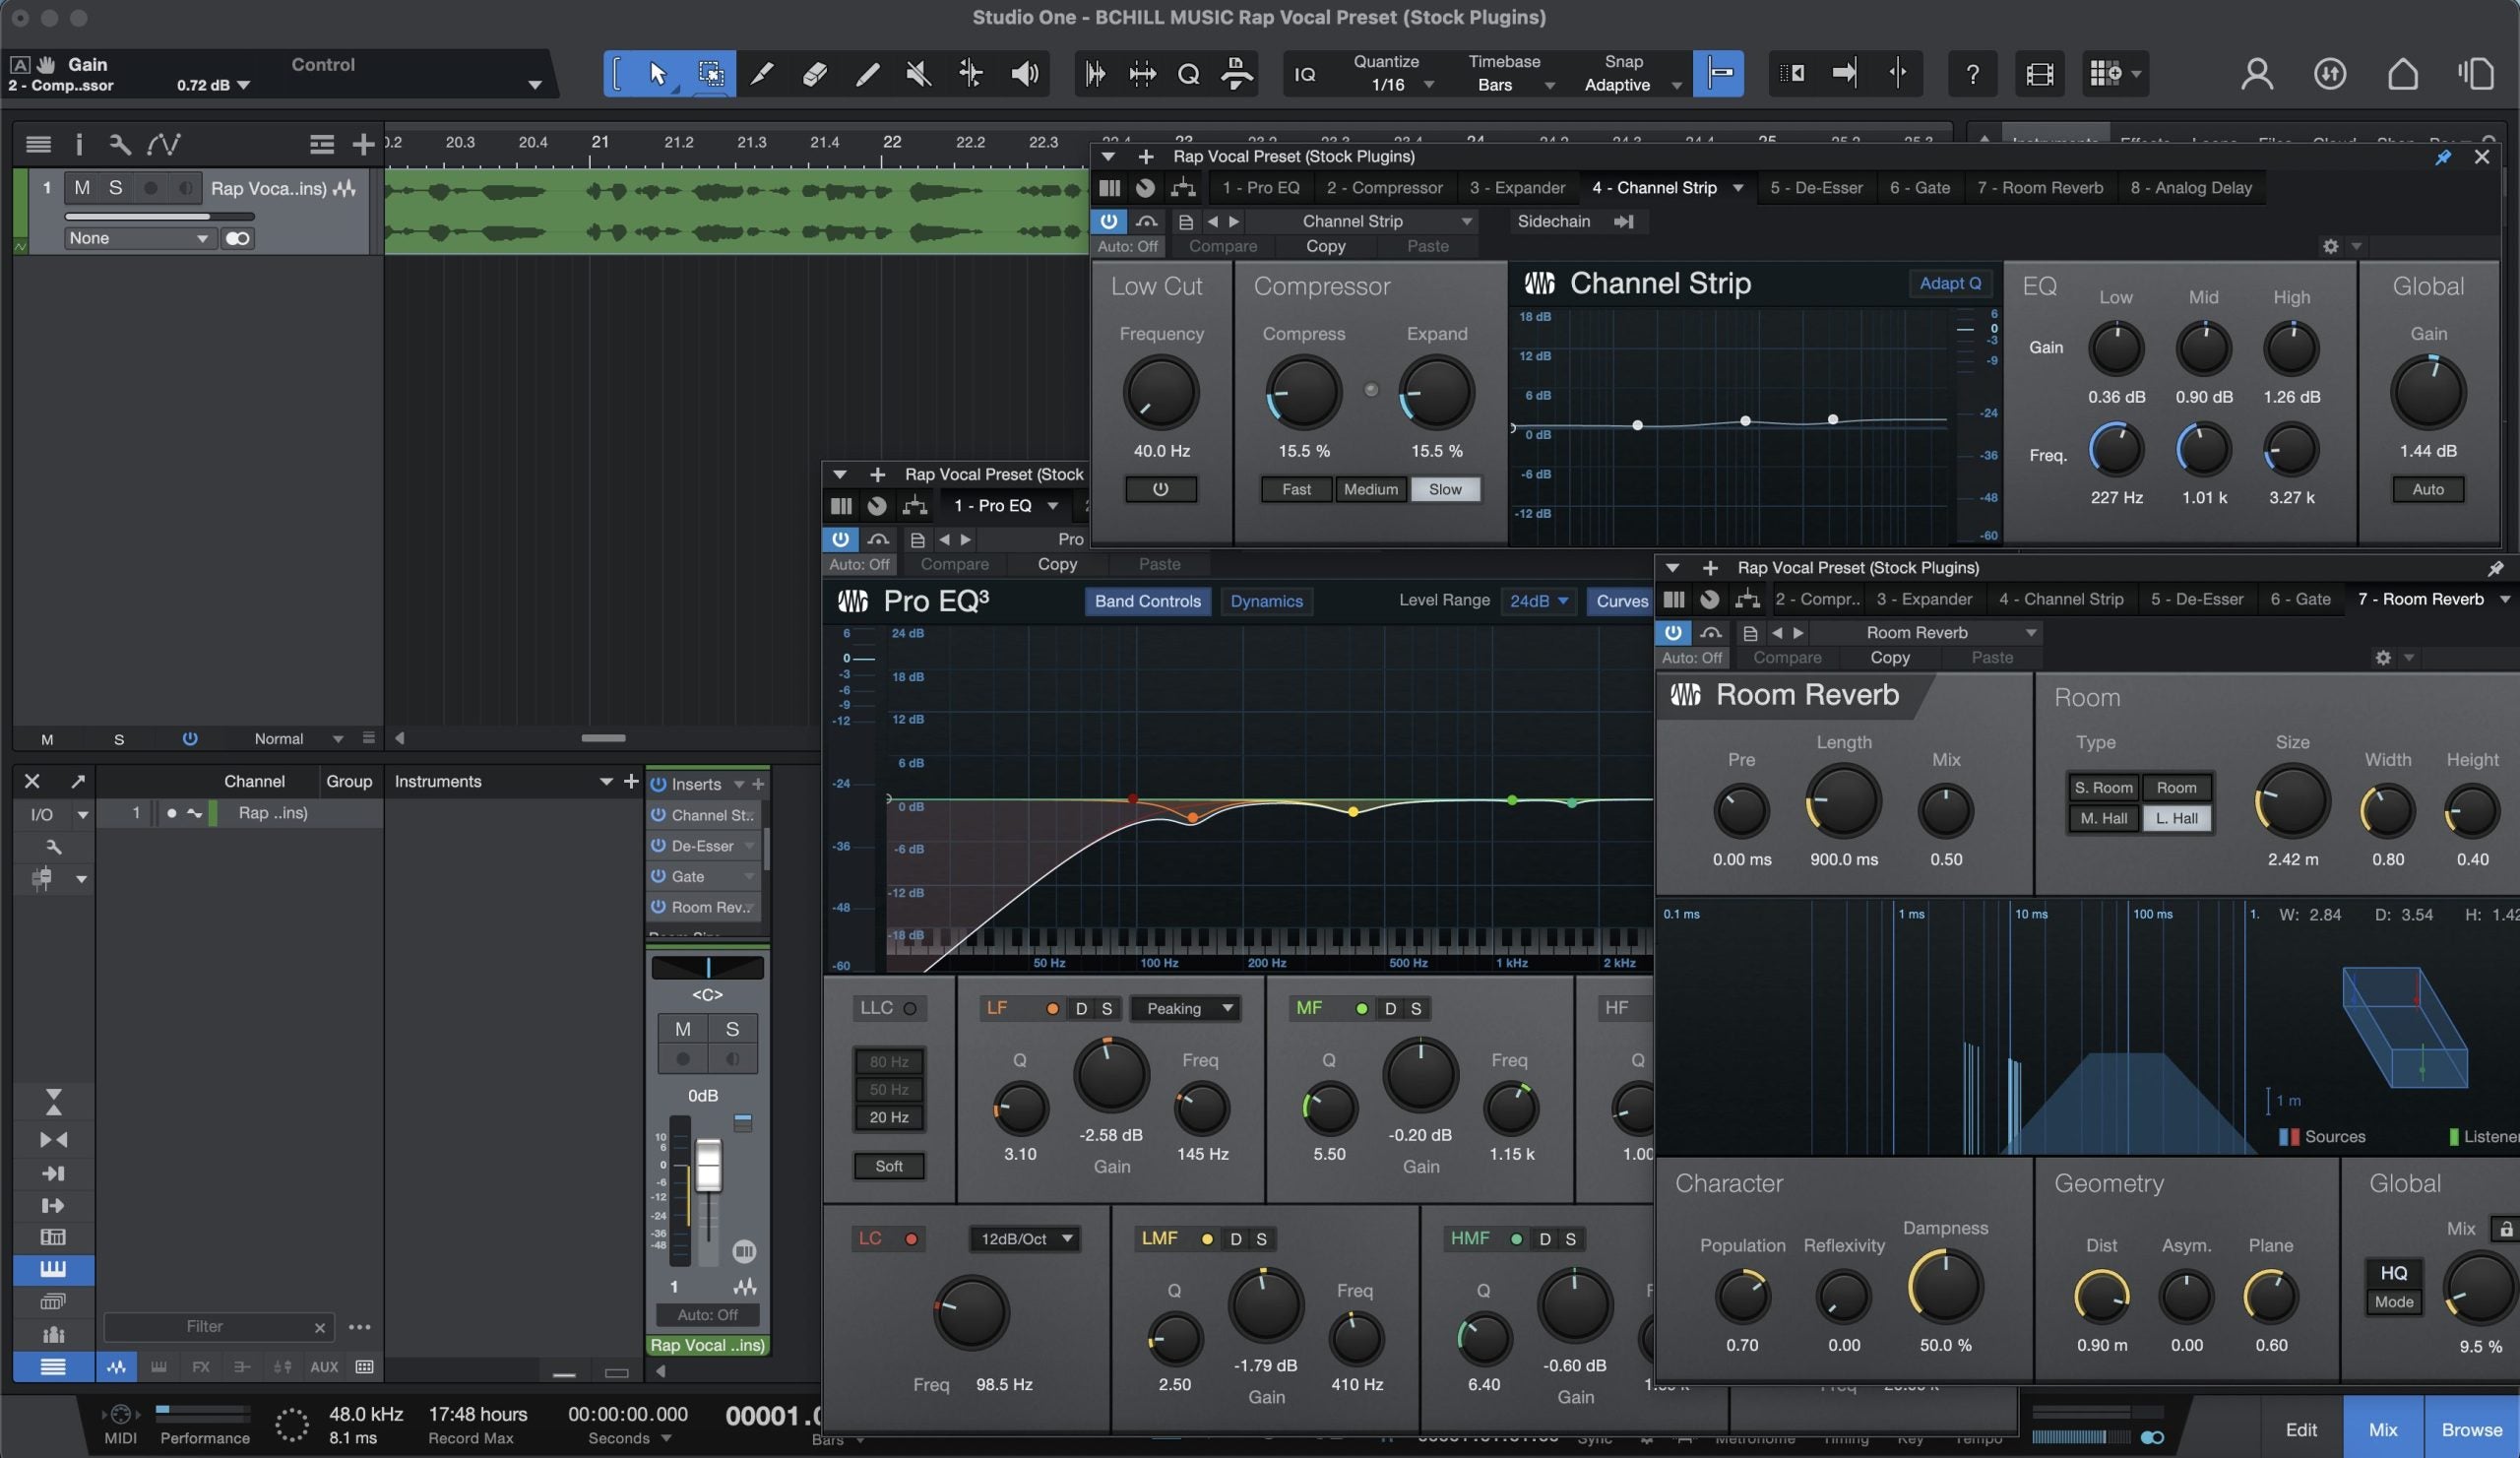
5Zero Crossings Explained
When a waveform crosses the center line (zero amplitude), it creates a natural edit point. Cutting at zero crossings eliminates clicks and pops that occur when waveforms are suddenly truncated at non-zero values.
Professional audio editors include "snap to zero crossing" features for this reason. When trimming manually, zoom in and adjust your cut points to coincide with these center-line crossings for cleanest results.
If clicks occur despite careful trimming, short fades (1-10ms) at edit points typically resolve them. These micro-fades are inaudible but smooth the transition from sound to silence.
6Format Considerations
When exporting trimmed audio, format choice affects quality. Lossless formats (WAV, AIFF, FLAC) preserve full fidelity—essential for samples destined for further processing. Lossy formats (MP3, AAC) introduce compression artifacts with each encode.
Match your export format to the intended use. Production samples should be WAV or AIFF. Podcast clips for web distribution can be MP3. Reference listening or archival copies benefit from FLAC's lossless compression.
Sample rate and bit depth also matter. Maintain original quality when possible—downsampling and bit reduction are one-way operations that cannot be reversed.
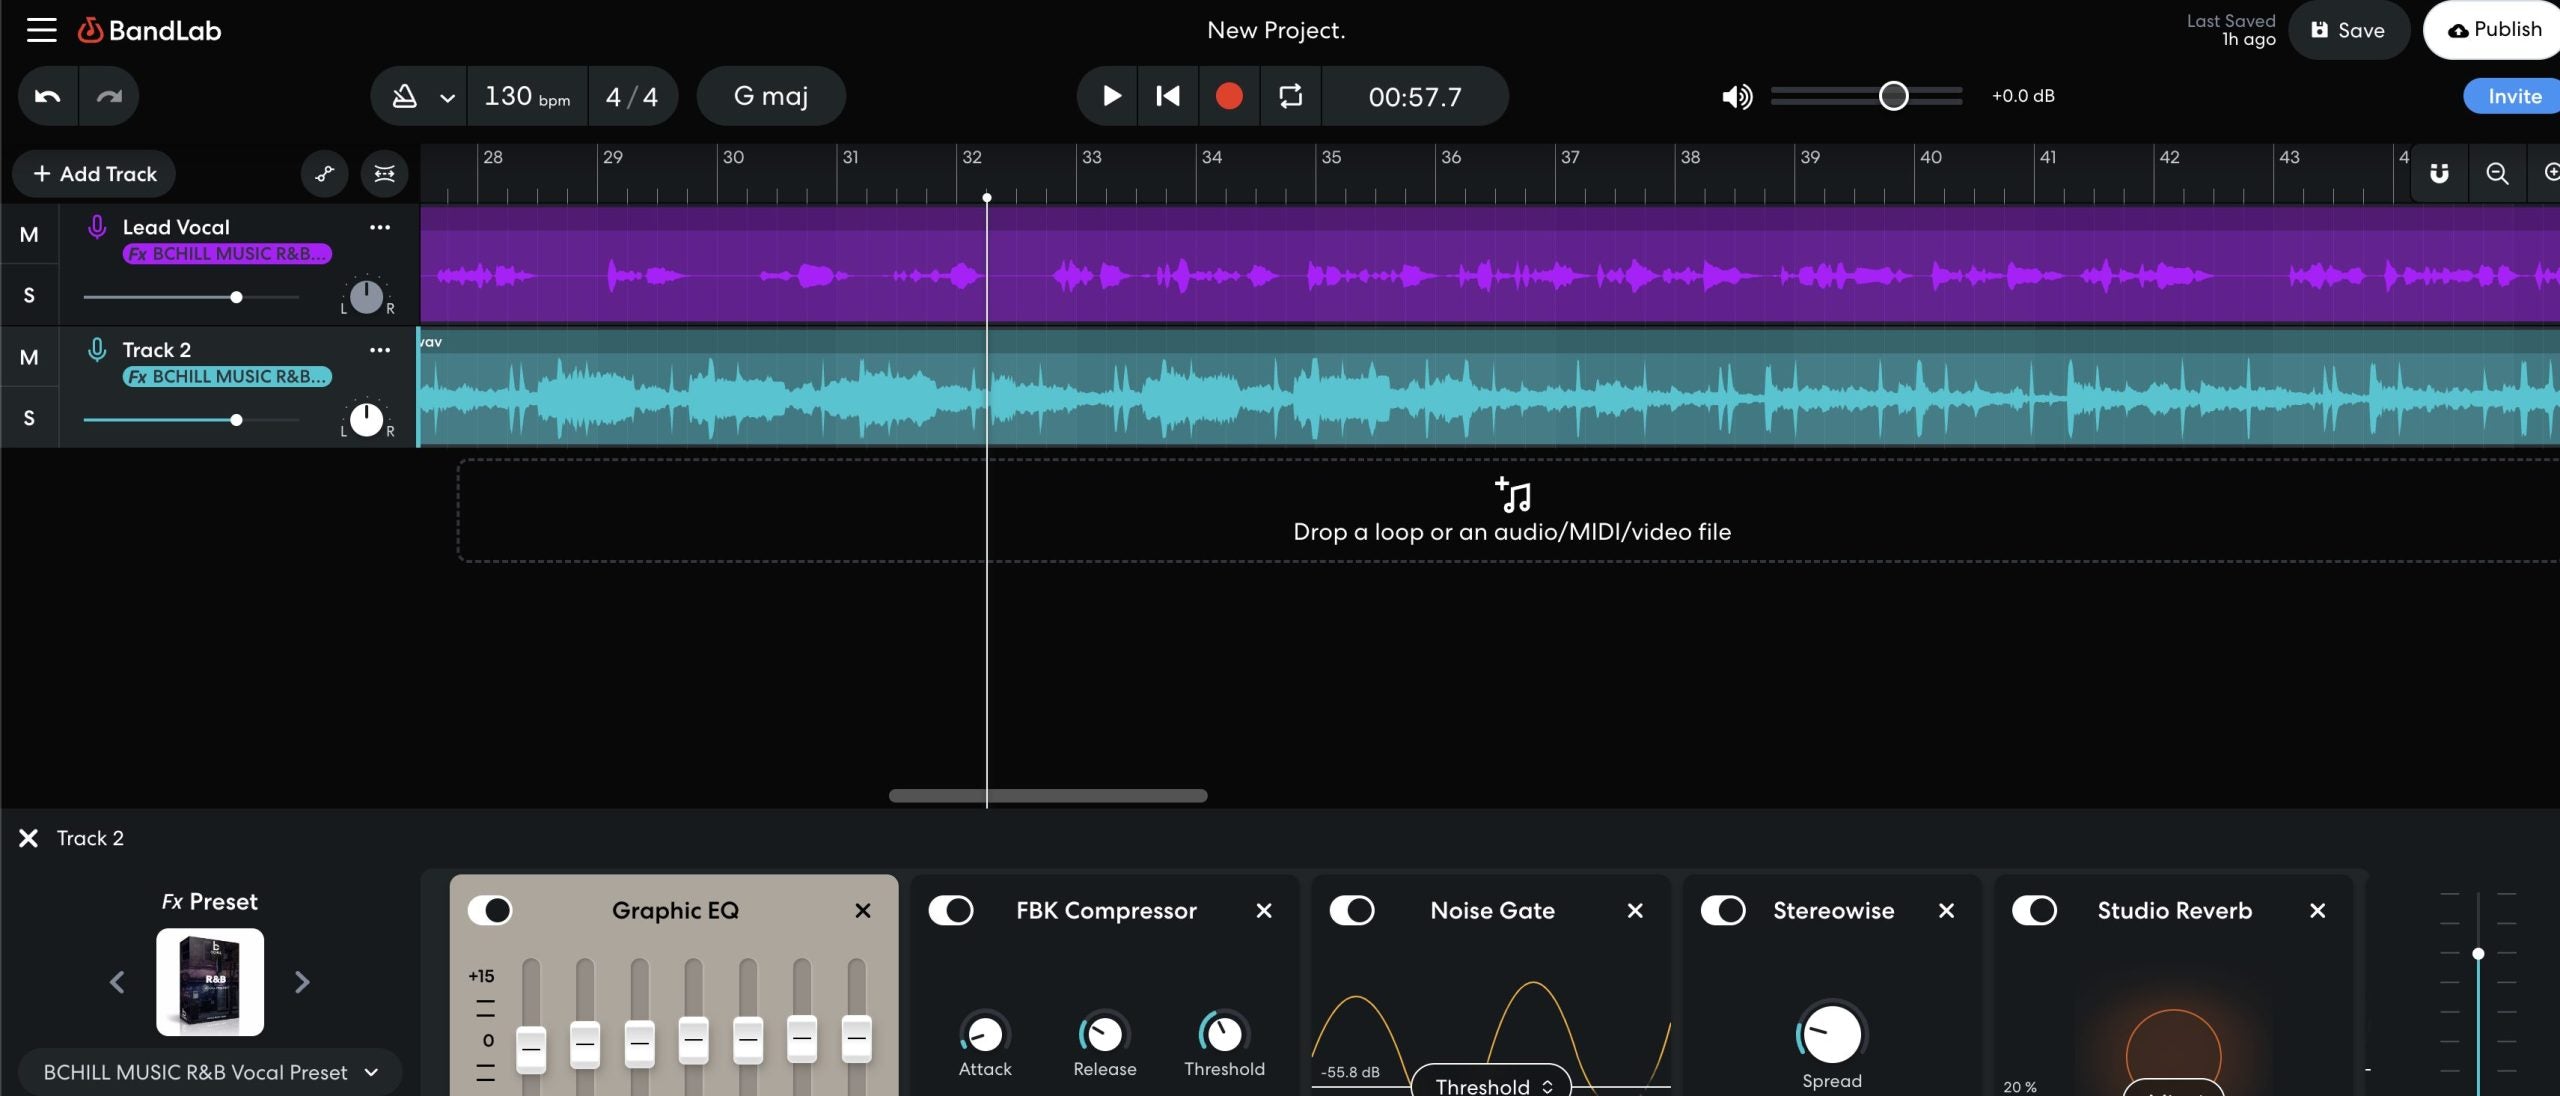
7Professional Workflows
Studio engineers often trim during the comping process—selecting the best portions from multiple takes to create a composite performance. Quick trimming identifies usable sections before detailed editing begins.
Sample library creators develop systematic trimming workflows. Batch processing tools handle large numbers of files, while consistent naming conventions keep libraries organized. Metadata embedding preserves information about original sources.
For loop creation, trimming must align with musical divisions. A 4-bar loop at 120 BPM is exactly 8 seconds. Precise length ensures seamless looping without tempo drift or rhythmic hiccups.
8Tips & Best Practices
Leave a small buffer before transients when trimming samples. A few milliseconds of silence before the attack gives samplers time to trigger without cutting into the sound's initial burst.
For reverb tails and sustained sounds, include the full decay. Truncated reverb sounds unnatural—let it fade completely or apply a manual fade if length is constrained.
Keep your original files. Trimming is non-destructive, but having untouched sources allows re-trimming with different boundaries later. Storage is cheap; original recordings are irreplaceable.
Use descriptive file names for trimmed exports. "Snare_hit_01.wav" is more useful than "trim_export.wav" when building a sample library with hundreds of files.