


High-Pass Filter Calculator: Complete Guide to HPF in Audio Mixing
Learn how to use high-pass filters effectively in your audio mixing and mastering
1 What Is a High-Pass Filter?
A high-pass filter (HPF), also known as a low-cut filter, is one of the most essential tools in audio mixing and mastering. It allows high frequencies to pass through while attenuating (reducing) frequencies below a specified cutoff point. The name describes what passes through: high frequencies.
High-pass filters are used in virtually every professional mix to remove unwanted low-frequency content such as rumble, handling noise, air conditioning hum, and subsonic energy that consumes headroom without contributing to the audible sound. Learning to use HPF effectively is one of the most important skills for any audio engineer.
Key Principle: A high-pass filter removes everything below a certain frequency. Setting an HPF at 80Hz means all frequencies below 80Hz will be reduced according to the filter's slope (steepness).
2 Understanding HPF Parameters
Cutoff Frequency
The cutoff frequency is the point where attenuation begins. At the cutoff frequency, the signal is typically reduced by 3dB (the "-3dB point"). Frequencies below this point are progressively reduced based on the filter slope. Choosing the right cutoff frequency is critical—too low and you don't clean up enough, too high and you thin out your source.
Filter Slope (dB per Octave)
The slope determines how aggressively frequencies are attenuated below the cutoff:
- 6 dB/octave (1st order): Very gentle slope, transparent sound, minimal phase shift
- 12 dB/octave (2nd order): Standard slope for most mixing applications, good balance of effectiveness and naturalness
- 18 dB/octave (3rd order): Steeper filtering, more aggressive low-end removal
- 24 dB/octave (4th order): Very steep, often called "brick wall," maximum effectiveness but can introduce phase artifacts
| Source | Recommended HPF | Notes |
|---|---|---|
| Lead Vocals | 80-100 Hz | Remove proximity effect and rumble while preserving chest |
| Background Vocals | 100-150 Hz | Higher HPF helps BGVs sit behind lead |
| Acoustic Guitar | 80-120 Hz | Context dependent—solo needs more body |
| Electric Guitar | 80-100 Hz | Rarely needs content below 80Hz |
| Drum Overheads | 80-120 Hz | Let close mics handle the low end |
| Snare Mic | 80-120 Hz | Reduces kick bleed |
| Hi-Hat | 300-500 Hz | Aggressive HPF acceptable for hi-hats |
| Piano | 30-50 Hz | Full-range instrument—filter gently |
| Synth Lead | 100-200 Hz | Make room for bass and kick |
| Strings | 50-80 Hz | Preserve warmth while removing rumble |
3 Why High-Pass Filtering Matters
Headroom Management
Low frequencies contain significantly more energy than high frequencies. Subsonic content (below 20Hz) and low rumble may be inaudible but still consume valuable headroom in your mix. By removing unnecessary low frequencies from sources that don't need them, you create more space for the elements that do—typically bass and kick drum.
Reducing Mud and Buildup
When multiple tracks accumulate low-frequency content, the result is a muddy, undefined low end. High-pass filtering individual tracks prevents this buildup before it becomes a problem. It's much easier to prevent mud than to fix it later with corrective EQ.
Tighter, More Defined Mixes
Professional mixes have clarity and definition across all frequency ranges. Proper HPF usage contributes significantly to this clarity by ensuring each element occupies only the frequency space it needs. The result is a mix where you can hear every instrument clearly.
4 High-Pass Filter Techniques
The "Sweep Until Thin" Method
The most reliable way to set HPF frequency is to sweep it while listening:
- Start with the HPF at its lowest setting (20-30 Hz)
- Slowly increase the frequency while playing the track
- Listen for when the sound starts to thin out or lose body
- Back off the frequency slightly from that point
- A/B bypass to confirm you haven't changed the tone negatively
Context-Based Filtering
The right HPF setting often depends on what else is in the mix. A vocal that sounds thin when soloed might sit perfectly when the bass and drums fill in the low end. Always check your HPF settings in context of the full mix, not just in solo.
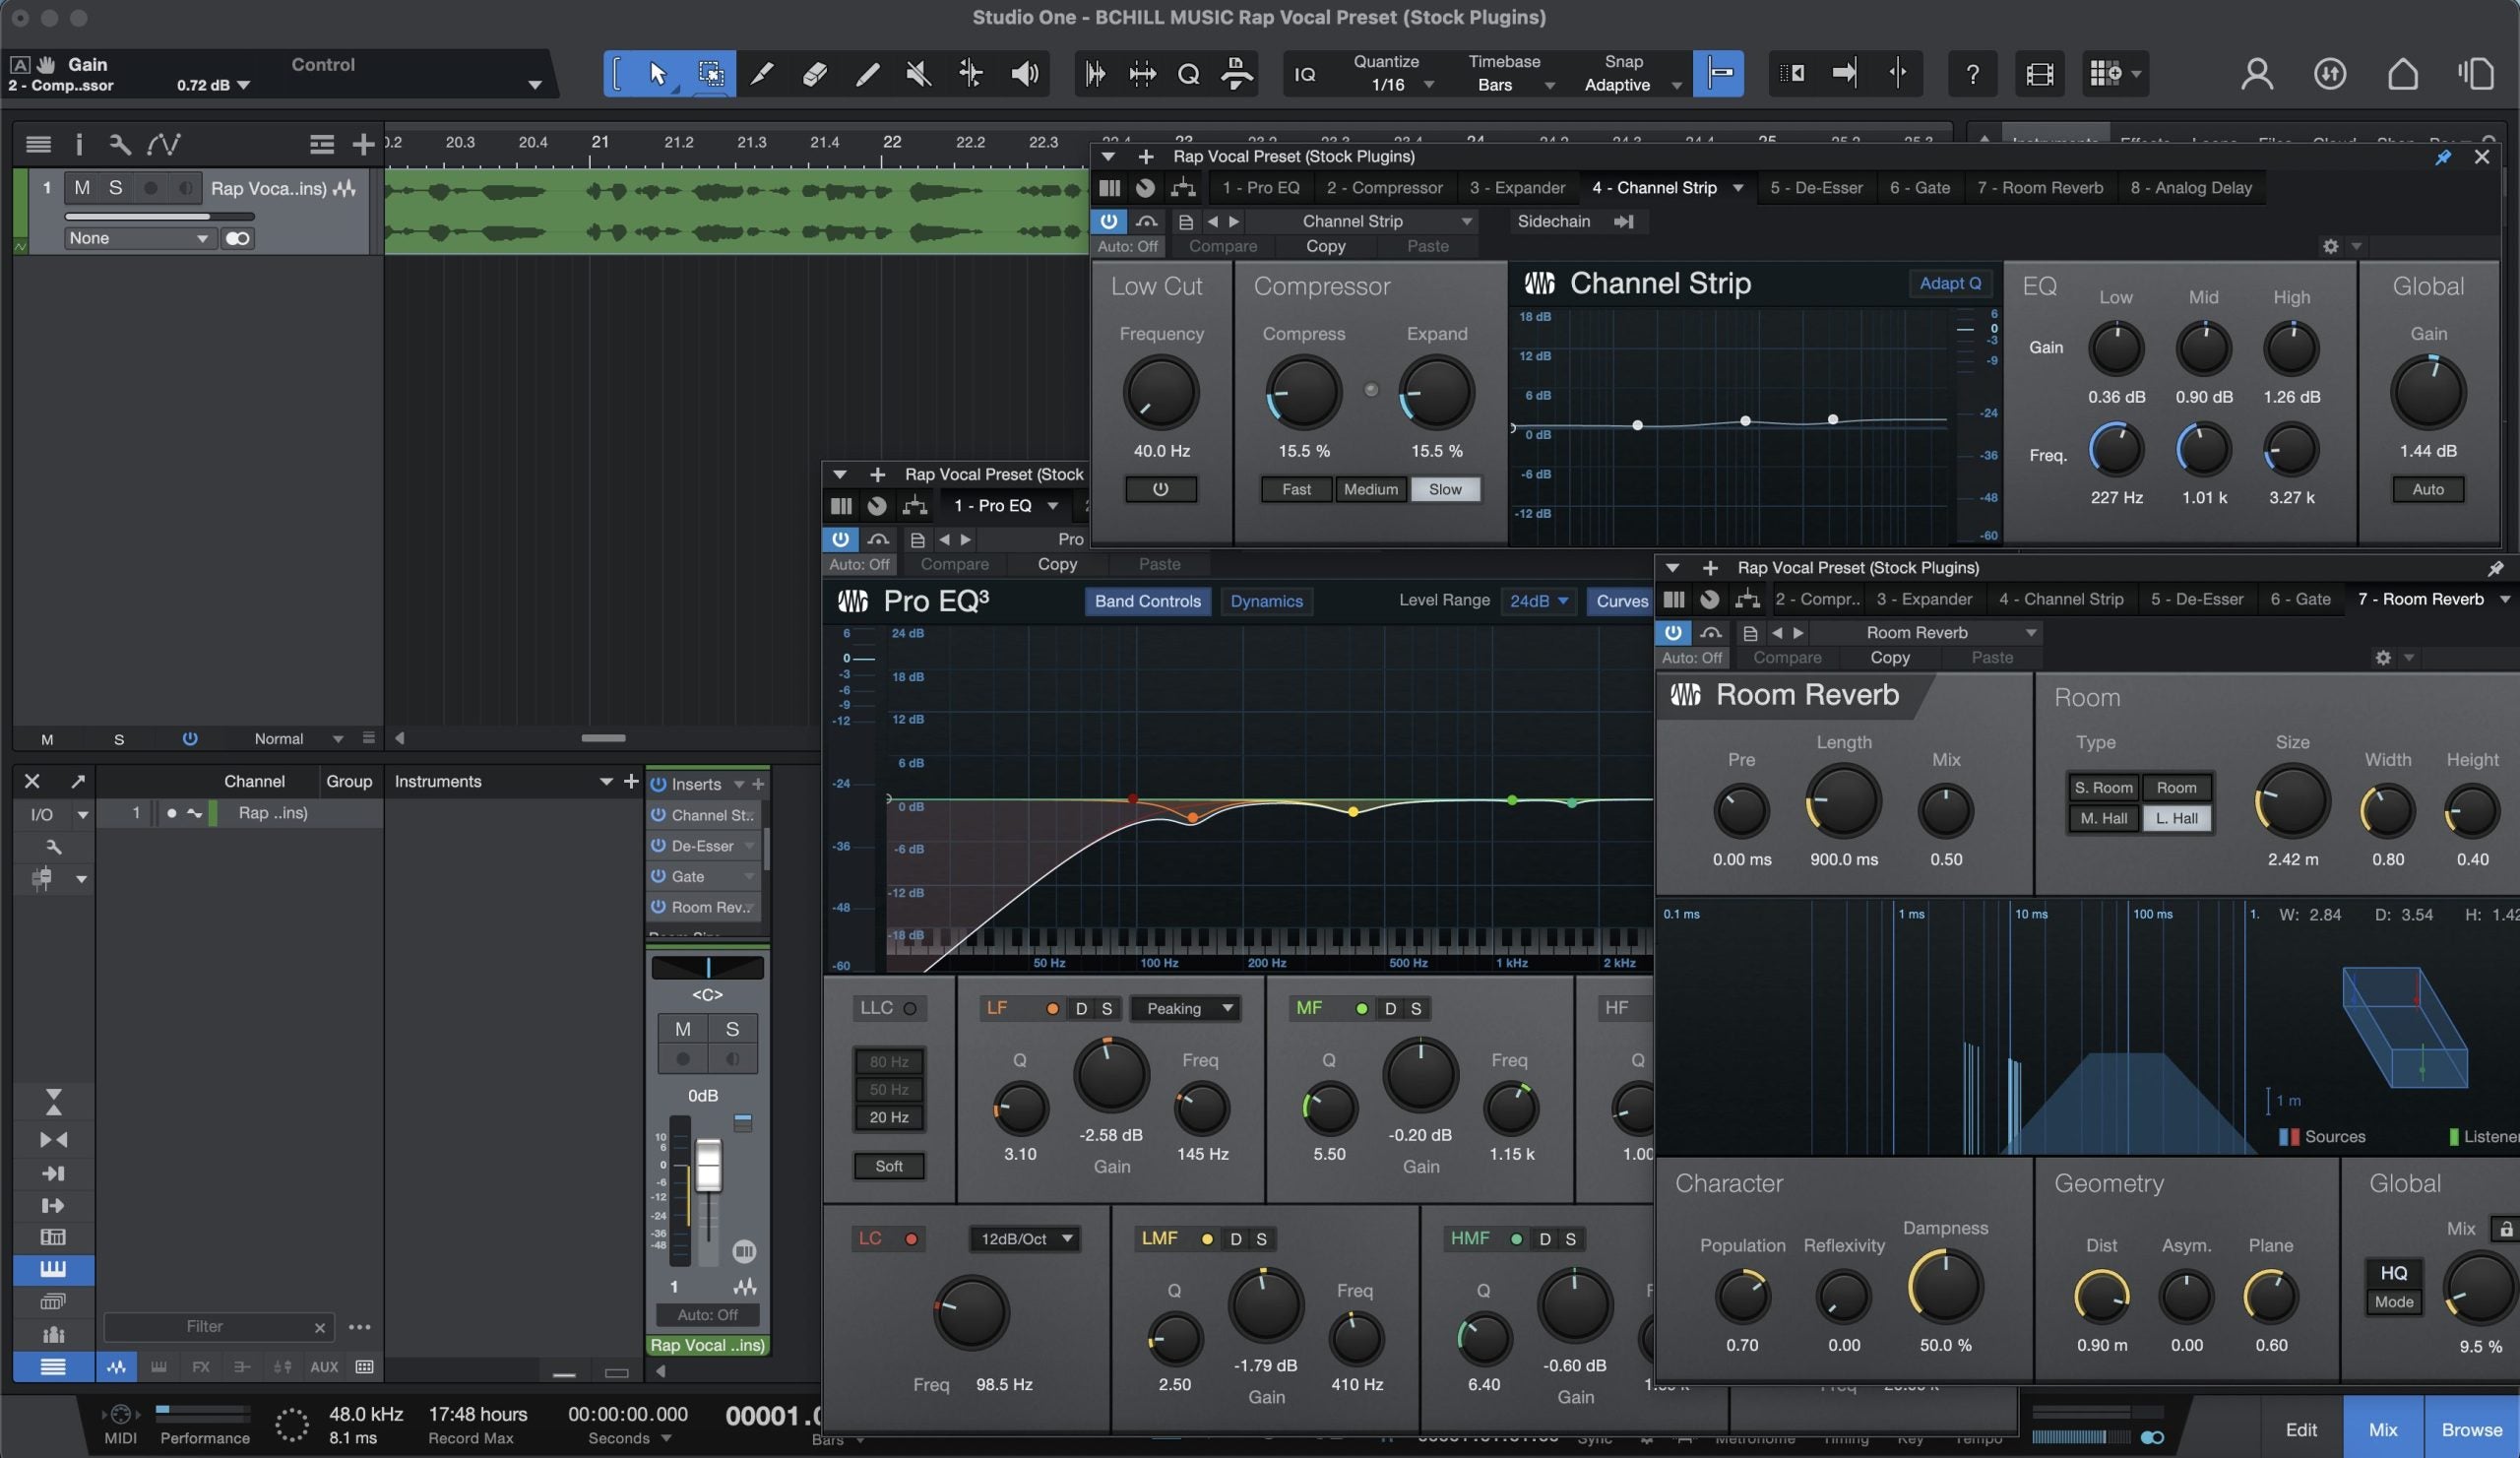
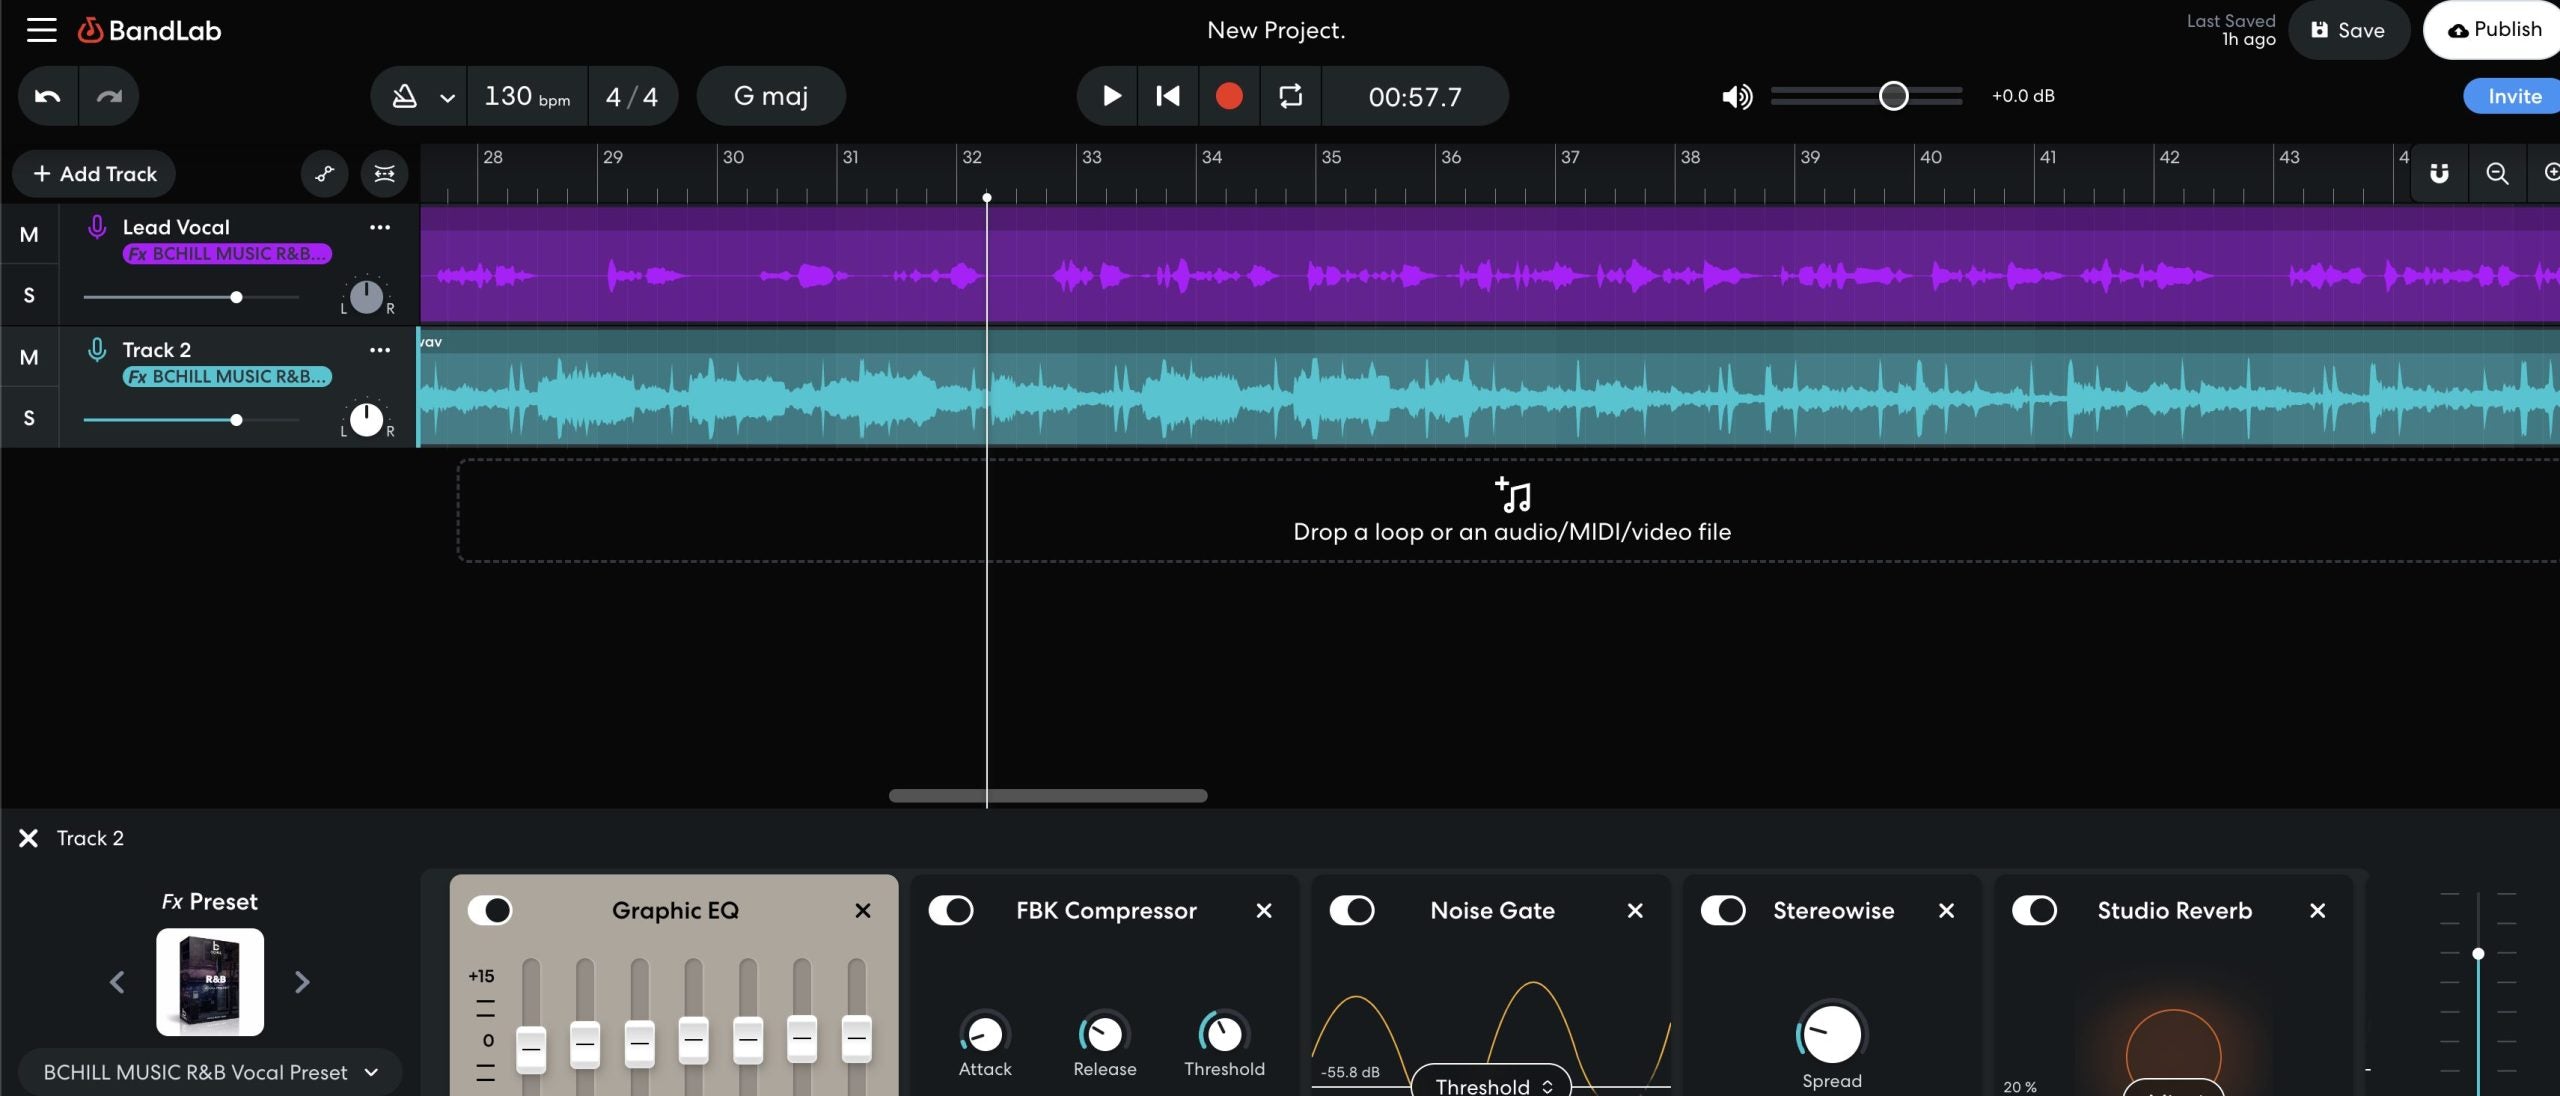
HPF in the Signal Chain
Place your high-pass filter early in the processing chain—ideally first. This ensures that compression and saturation plugins receive a clean signal without unwanted low-frequency energy. HPF before compression prevents the compressor from reacting to rumble and subsonic content.
Pro Tip: Many preamps and channel strips have built-in HPF. Using the HPF at the recording stage eliminates problems before they reach your DAW, resulting in cleaner recordings that require less processing.
5 Common High-Pass Filter Mistakes
Over-Filtering
The most common mistake is setting HPF too high, removing frequencies that contribute to warmth and body. If your mix sounds thin or lacks weight, check your HPF settings—you may have been too aggressive.
Not Listening in Context
A sound that seems to need aggressive HPF when soloed might sound fine in the mix. Conversely, something that sounds warm and full solo might be contributing mud when combined with other tracks. Always make final decisions with the full mix playing.
Using the Same Setting on Everything
Each source has different low-frequency content. A blanket "HPF at 80Hz on everything" approach ignores the unique characteristics of each sound. Take time to find the right frequency for each track.
6 Linear Phase vs. Minimum Phase HPF
Digital high-pass filters come in two main types:
- Minimum Phase: Traditional filter type with some phase shift near the cutoff frequency. Lower latency, more natural sound for most applications.
- Linear Phase: No phase shift but adds latency. Useful when phase coherence is critical, such as parallel processing or mastering.
For most mixing scenarios, minimum phase HPF works well. Consider linear phase when you're processing parallel signals that will be summed together, or when working on the master bus.
7 Common Problem Frequencies
Muddiness (200-400Hz)
When multiple instruments have strong energy in this range, the mix becomes unclear and boomy. The solution isn't always cutting—sometimes it's choosing which instrument "owns" this range and cutting others to make room.
Boxiness (300-600Hz)
Recorded in small rooms or with poor mic placement, vocals and acoustic instruments can sound "boxy" or "cardboard-like." A narrow cut in this range often solves the problem without affecting overall tone.
Honkiness (500-1000Hz)
Nasal, honky quality in vocals and guitars. Often caused by room acoustics or microphone choice. A gentle dip around 800Hz-1kHz can reduce nasality while maintaining warmth.
Harshness (2-4kHz)
Ear fatigue zone. Overemphasis here makes mixes painful to listen to at volume. The problem is often that too many elements are competing for presence in this range. Rather than cutting the problem source, try cutting this range in competing elements.
Sibilance (5-8kHz)
Harsh "S," "T," and "F" sounds in vocals. Best addressed with a de-esser (dynamic EQ) rather than static cuts, which would dull the entire vocal. The exact frequency varies by singer—sweep to find your specific problem area.
8 Conclusion
The high-pass filter is one of the most powerful and frequently used tools in audio production. Mastering its use will immediately improve your mixes by creating clarity, managing headroom, and preventing low-end buildup. Remember: the goal isn't to remove as much low end as possible, but to remove only what's unnecessary while preserving the natural character of each sound.
Use our High-Pass Filter Calculator above to find optimal starting points for any source, then fine-tune by ear in the context of your mix.