Ableton Live can deliver stems that drop into any mix session without drift or surprises. This walkthrough focuses on Live-specific details—Arrangement vs Session, Returns, Groups, warp behavior, and sidechain—so your files sound like the rough and line up bar-for-bar. Build it once, reuse it forever.
I. Why Live stems need a plan
Great stems feel invisible: import, press play, and the record appears. In Live, that reliability comes from clean grouping, one shared start time, and a deliberate choice about whether to bake bus tone and returns into each file. We’ll set up a repeatable layout, print what mixers expect, and avoid the classic Ableton gotchas.
Use this as your house workflow for singles, remixes, and collaboration. The same template also prints instrumentals, a cappellas, and show tracks with only minor toggles.
II. Live concepts you must lock
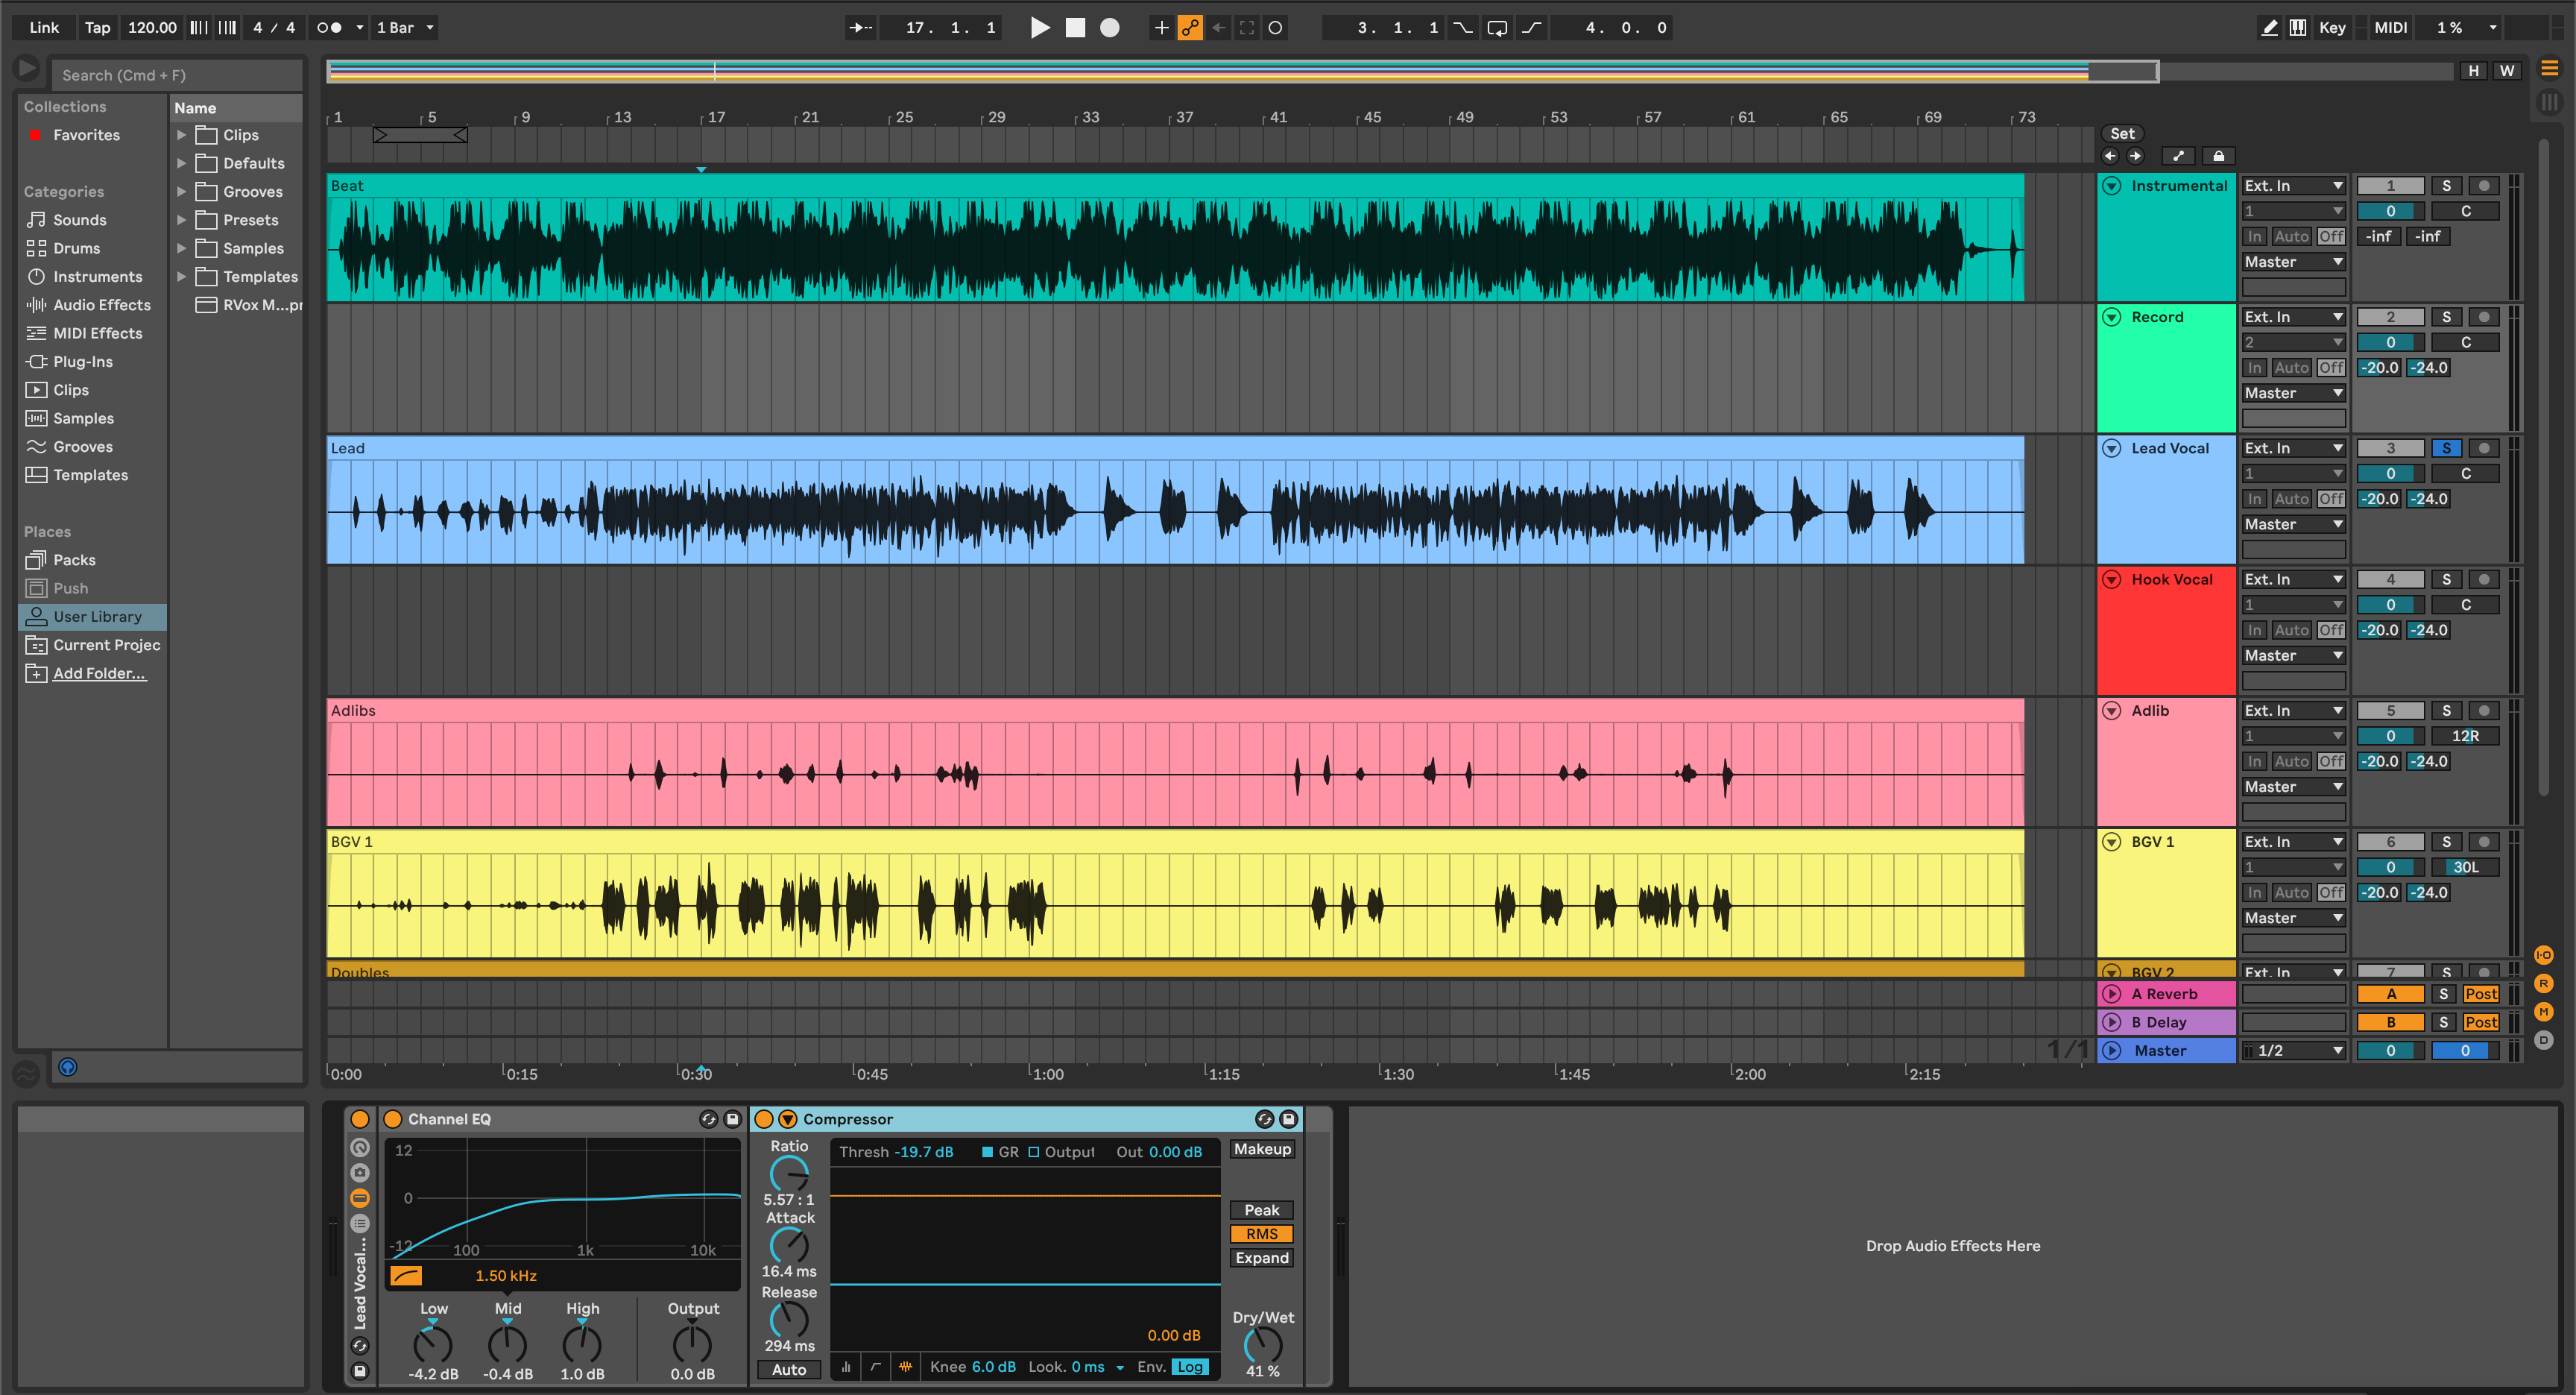
Arrangement over Session. Export from Arrangement View for deterministic results. Consolidate clips so nothing starts before bar 1|1|1. Session is for writing; stems should come from a fixed timeline.
Groups & Returns. Put sources into Groups (DRUMS, BASS, MUSIC, LEAD VOX, BGV). Use Return tracks for time-based FX. Decide per project whether to bake returns into stems or print a separate FX stem.
Warping. Warp affects playback feel. If audio was cut to grid while warped, keep it; if artifacts appear, consolidate and pick a sensible mode (e.g., Complex Pro for vocals) before printing.
Sidechain. A compressor ducking MUSIC from the vocal can be committed (baked into MUSIC) or disabled for flexibility. Label whichever path you choose so no one is surprised.
Level language. dBFS is digital headroom (0 dBFS clips). LUFS is perceived loudness. True peak (dBTP) estimates inter-sample peaks. For stems, use 24-bit WAV, normalization off.
| Render goal | Include Return & Master FX | Result |
|---|---|---|
| Match the rough mix vibe | On | Each stem carries sends and bus tone; quick mix start |
| Maximum mix flexibility | Off | Dryer stems; mixer rebuilds space and glue |
| Hybrid space control | Off + separate FX stem | Ambience on its own fader; blend to taste |
Need a head start that mirrors this routing? Try our recording templates for faster Ableton exports and rename buses to match your session.
III. The render path in seven steps
- Group with intent. Create DRUMS, BASS, MUSIC, LEAD VOX, BGV groups. Put tone-defining processing on the group if you want that character available as a single stem.
- Route returns deliberately. Send vocal ambience to VoxVerb/VoxDelay returns. For a separate FX stem, route all returns to an FX GROUP and set its audio to the Master (not “Sends Only”).
- Fix the timeline. Switch to Arrangement, start everything at bar 1|1|1, and extend the end marker 2–4 bars past the last tail. Consolidate scattered clips.
-
Name for sorting. Prefix tracks:
01_Kick,02_Snare,10_Bass,20_LeadVox,21_BGV,30_FX. Files will sort musically in any DAW. - Choose Rendered Track mode. File → Export Audio/Video → set Rendered Track to All Individual Tracks for a full set, or highlight only the groups you want and choose Selected Tracks Only for a tidy stem pack.
- Set formats. WAV, session sample rate (44.1 kHz music / 48 kHz video), 24-bit, Dither Off (unless going to 16-bit), Normalize Off. Decide on Include Return & Master FX using the matrix above.
- Sanity import. Drop the stems into a blank Live Set (or another DAW). Check bar-line alignment and that stems re-create the rough within a dB or two when summed.
When your folder is ready, finish strong—organize stems with clear folders, filenames, and a README so collaborators move fast.
IV. Project patterns that print clean
2-track beat + vocals. Put the stereo beat in MUSIC. Route all vocals to LEAD VOX/BGV groups. If the beat ducks from the vocal, either disable the sidechain for a clean MUSIC stem, or leave it active and label the file MUSIC_ducked. Export LEAD VOX, BGV, MUSIC, and optional FX.
Pop stacks with bus glue. Chorus width lives on a BGV group widener and glue comp. Print the BGV group as one stem (Selected Tracks Only) and also export individual parts if your producer wants edit room.
EDM drops with long returns. Route risers/throws/impacts to an FX GROUP and print as its own stem. Keep DRUMS/BASS/MUSIC clean so the mixer can ride space independently into drops.
Hybrid live set → studio mix. Freeze/Flatten CPU-heavy instruments. Label the printed audio 15_PluckSerum_PRINT. Then export Groups + FX. You’ll avoid recalled-plugin surprises later.
V. Stem integrity checks & quick repairs
- Tails got chopped. Extend the render length and reprint. Don’t rely on auto-tails.
- Space disappeared. You exported with returns off. Reprint with Include Return & Master FX on, or provide a separate FX stem.
- Sidechain feel vanished. The key wasn’t present. Commit the duck on MUSIC, or print a DUCK BUS stem to blend later.
- Files misalign in another DAW. Some clips started before bar one. Consolidate to 1|1|1 and re-export; keep sample rate consistent.
- Clicks at region edges. Add tiny 2–10 ms fades on consolidated clips before export.
- Level jumps between passes. Normalize was on. Re-export with Normalize Off; keep balances intact.
Before zipping and sending, finish with good housekeeping—zip stems correctly and include checksums so teams can verify integrity on download.
VI. Live-native shortcuts that save time
Wet/Dry racks. Build an Audio Effect Rack on groups with a PRINT WET / PRINT DRY macro (serial chain: dry path vs FX-baked path). Switch once, export both sets if needed.
Two-pass coverage. Run All Individual Tracks once for multitracks, then highlight groups and run Selected Tracks Only for stems. Two passes cover almost every request.
Master tone reference. If your vibe relies on master color, print a low-ceiling “MIXBUS_REF” (e.g., −1 dBTP). Don’t replace stems with it—use it so the mixer hears intent.
Safety archive. “Collect All and Save” before sending, even if you’re shipping audio only.
Naming discipline. Stick to underscores and versions: Artist_Song_v1-DRUMS.wav, ..._LEADVOX.wav, ..._FX.wav. Avoid special characters.
VII. FAQs
Q1. Can I export from Session View?
You can, but fixed stems should come from Arrangement so timing is locked. Consolidate and export from bar 1|1|1.
Q2. Should I include return and master effects?
If you want the stems to sound like the rough, yes. If the mixer prefers flexibility, export clean stems and a separate FX stem or a MIXBUS_REF.
Q3. 24-bit or 32-bit float?
24-bit WAV is standard for stems. Use 32-bit float only if agreed; it increases file size and isn’t necessary for most mix workflows.
Q4. What about tempo automation?
Stems follow the timeline’s tempo map automatically. Include BPM and any tempo changes in your README.
Q5. Do I need to turn Warp off before export?
Not by default. If a clip sounds right while warped, export it as-is. If you hear artifacts, pick a better Warp mode or consolidate to commit edits.
Q6. How do I handle vocal throws?
Route them to an FX group and print as a separate stem. It gives editors control without touching your BGV balance.
Conclusion
Live’s stem export is predictable once your routing and timeline are tidy. Decide how much space and bus tone to bake in, lock everything to bar 1|1|1, and print 24-bit WAV with normalization off. You’ll deliver stems that import cleanly, mix quickly, and keep the song’s character intact.
If you want a head start on layout and routing, our Ableton vocal presets mirror this workflow so exports are two decisions and a bounce.


