


This guide shows the exact FL Studio workflow for stem exports that import cleanly in any DAW. You’ll learn routing, export settings, file names, and headroom targets so your mix or master starts fast—with zero detective work.
I. Intro
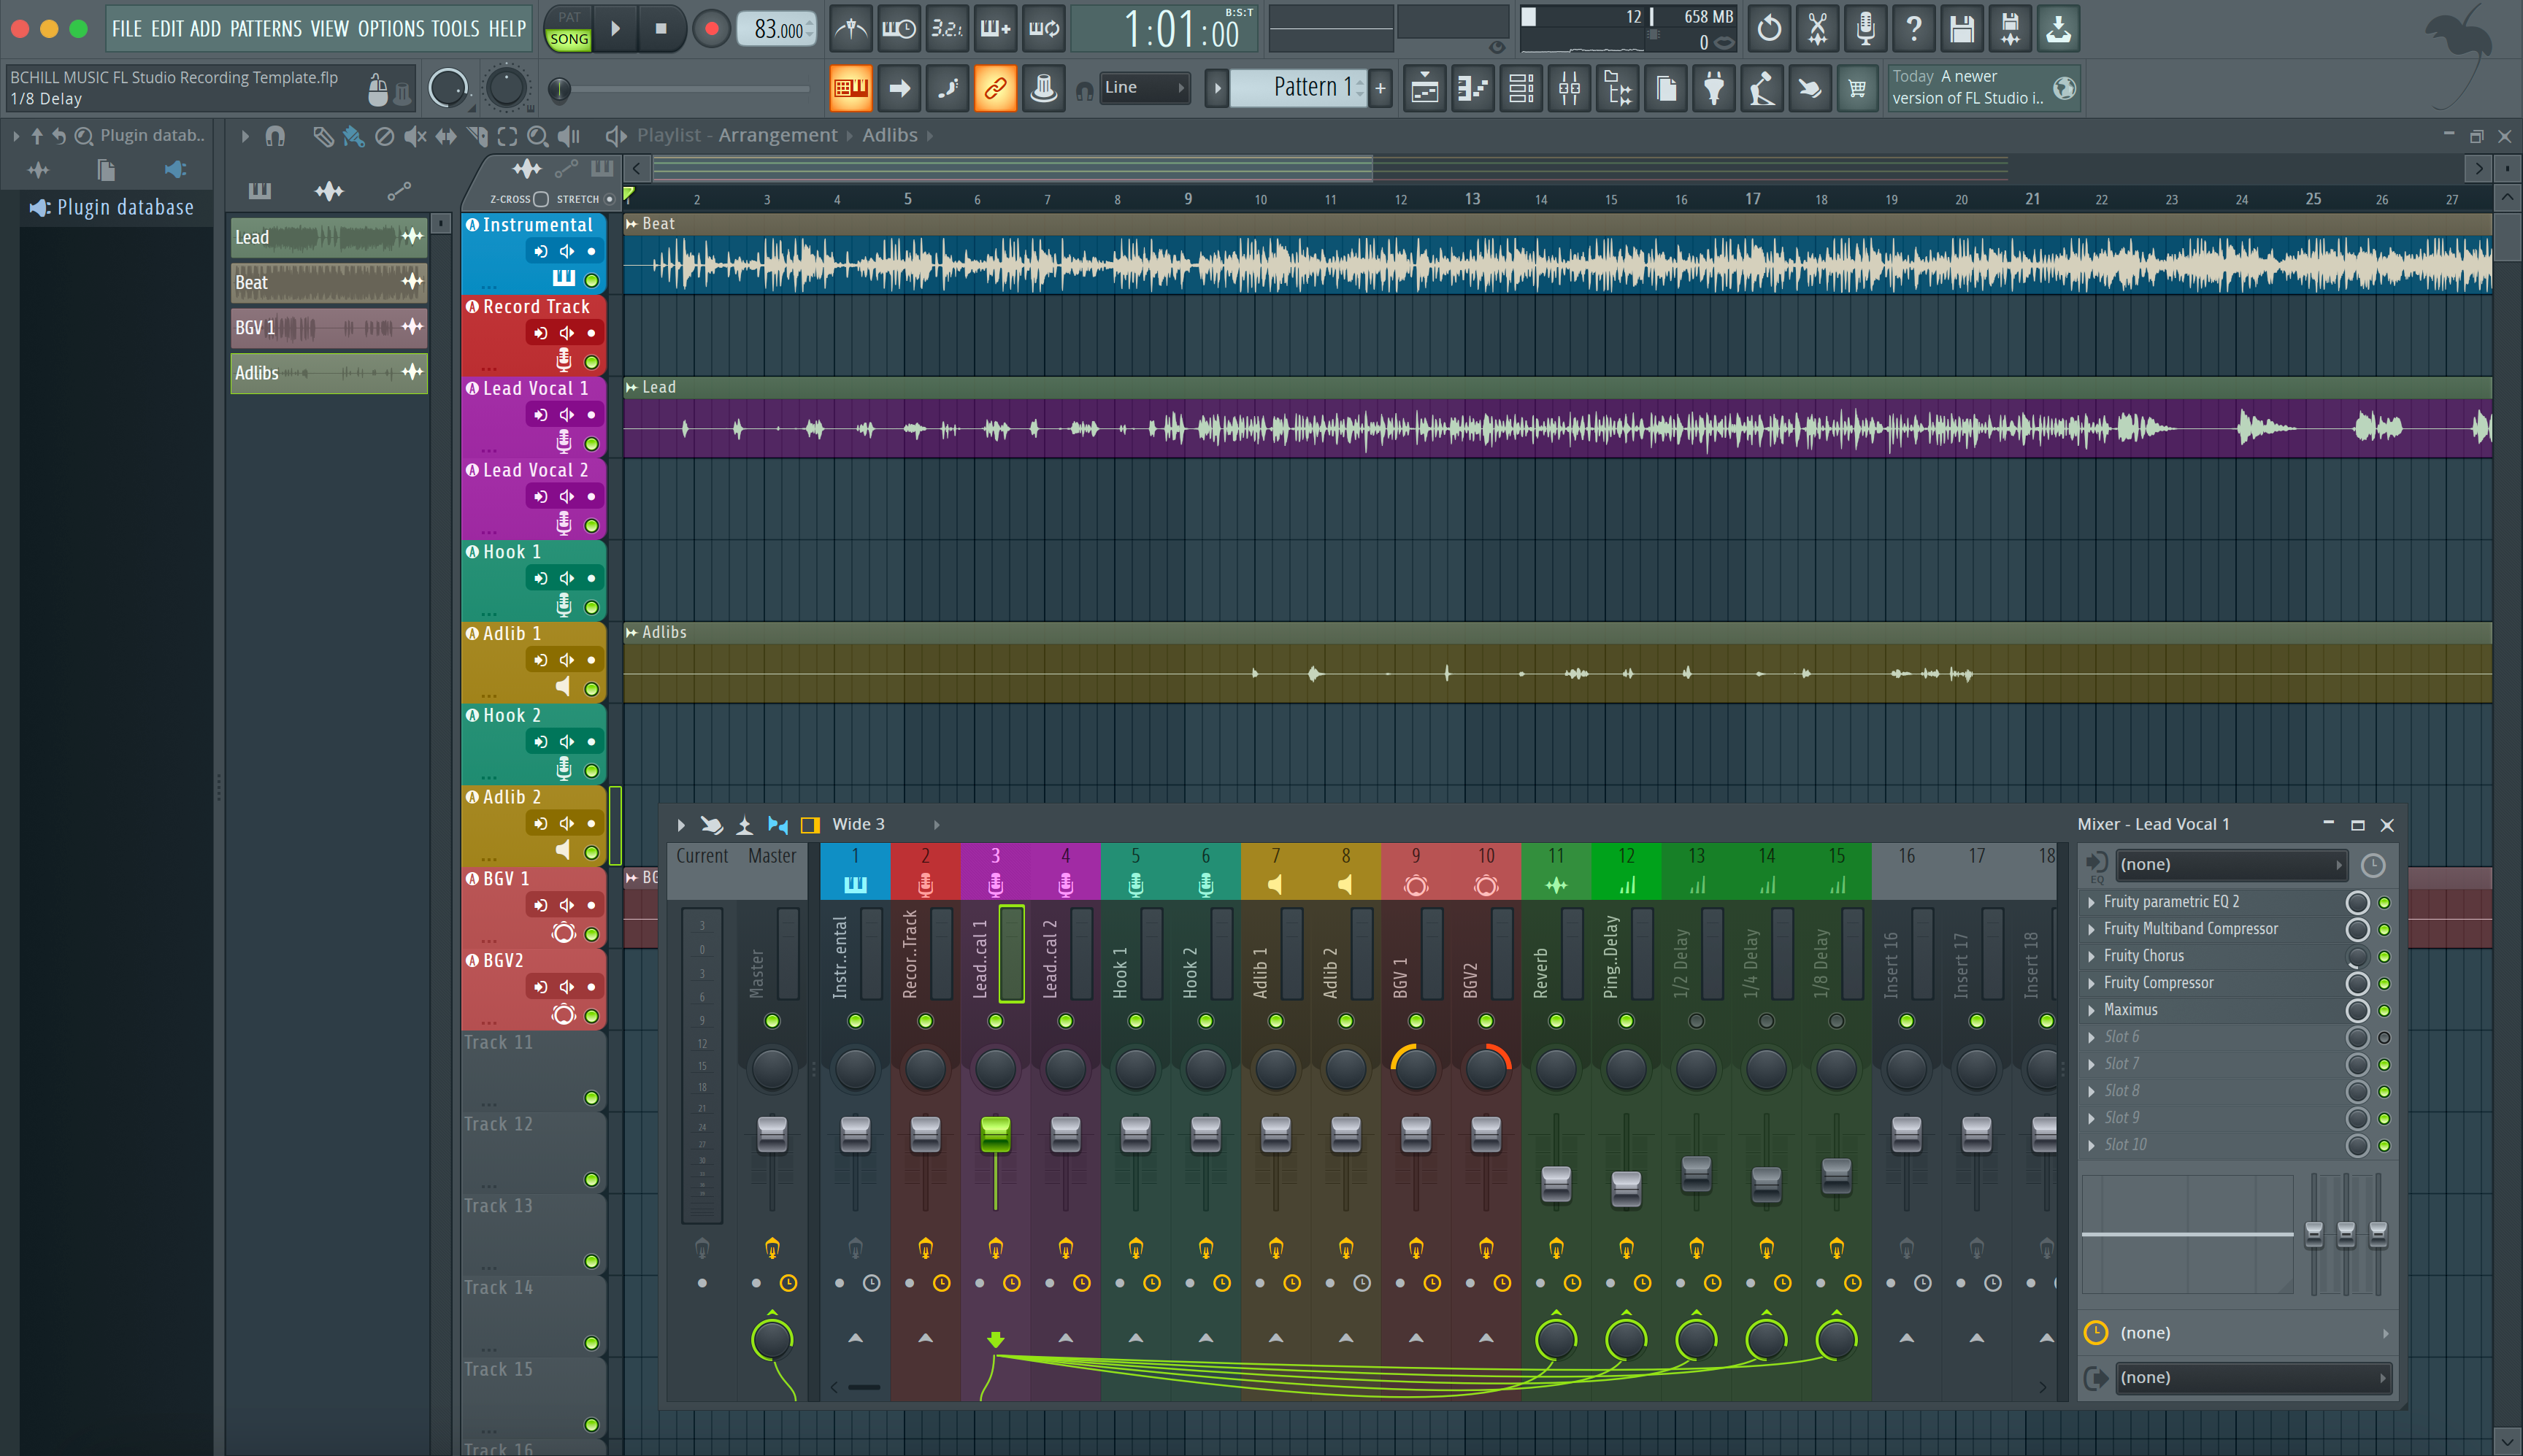
Great mixes begin with great handoffs. In FL Studio, stems are printed from the Mixer—so organization and routing decide whether your files line up, include FX tails, and avoid clipping. Follow the steps below once, save a template, and reuse it for every project.
II. Core concepts
What “stems” mean here: Self-contained WAV files for grouped parts—Drums, Bass, Music, Lead Vox, BGVs, FX—starting at the same bar and running the full song length. Unlike “multitracks,” stems are consolidated groups that speed up downstream work.
Where exports come from: FL Studio prints from Mixer tracks. “Split mixer tracks” renders one file per Mixer insert (and separate files for your send/FX buses). That’s why naming and routing the Mixer—not just the Playlist—matters.
Levels & terminology: Keep peaks around −6 to −3 dBFS for mix latitude. dBFS = digital level to full-scale clip; LUFS = perceived loudness; true peak (dBTP) = inter-sample peak estimate. Stems are not masters—headroom beats loudness here.
FX policy: Print track-defining FX (chorus throws, special delays) on their stems; omit master bus limiting/clipping. If a vocal relies on tuning or surgical EQ to be usable, keep those on the vocal stem.
III. Quick-start (4–6 steps)
- Duplicate the project. Save a copy named Song_Stems. This protects your original mix while you flatten and organize.
- Name & color Mixer buses. Create Mixer groups: 10 DRUMS, 20 BASS, 30 MUSIC, 40 LEAD VOX, 41 BGVs, 50 FX. Rename inserts so export files inherit clear names.
- Route “to this track only.” For each source insert, right-click a bus (e.g., DRUMS) → Route to this track only. This keeps stems controlled at the bus while avoiding master clutter.
- Bypass master loudness. Disable clippers/limiters (Soft Clipper, Maximus, Fruity Limiter) on the Master so stems have headroom. Leave utility HPF or gentle corrective EQ if it prevents problems.
- Set the render range. In the Playlist, set the start at bar 1. Extend the end 1–2 seconds past the last hit so reverb/delay tails print.
- Export with split mixer tracks. File → Export → WAV. Choose Full song; Tail: Leave remainder; format 24-bit WAV at 44.1 kHz for music or 48 kHz for video. Turn Normalize OFF, Dither OFF. Enable HQ for all plugins if needed. Check Split mixer tracks and click Start.
IV. Use-case recipes / examples
Hip-hop 808 focus: Keep a dedicated BASS/808 stem separate from KICK if the kick is a different sound source. If the 808 sidechains to kick, include a BASS_NoSC alternate for mastering flexibility.
Pop vocals with throws: Print a VOX FX stem that holds timed throws and widener moments. Also export LEAD VOX (Processed) and, if requested, a LEAD VOX (Dry) alternate.
EDM with builds & impacts: Separate BUILD FX from MUSIC so transitions can be shaped without touching the core instruments. If you used sidechain pumping, include the sidechain key as a muted click file or MIDI note list.
Afrobeats / Amapiano arrangements: Group log drums and low synths under BASS; shakers/hats under DRUMS. Keep piano or guitar loops in MUSIC; export vocal ad-libs to BGVs for easy rides live.
Working on vocals after export? This companion shows how to mix vocals in FL Studio step-by-step for clear, modern tone.
V. Troubleshooting & fast fixes
- Stems don’t line up: Re-export from bar 1. Avoid “Pattern” mode unless you intend pattern-only prints.
- FX tails cut short: Set Tail to Leave remainder. Extend the Playlist end marker 1–2 seconds past the last event.
- Clipping on import: A limiter or clipper was active on Master or a bus. Re-export with peaks around −6 to −3 dBFS.
- Missing parts in stems: Sources not routed to any bus that reaches Master won’t render audibly. Confirm each insert ultimately routes to the Master path.
- Too many files (duplicates): “Split mixer tracks” renders every insert. For clean “group stems,” feed sources into buses and keep only the bus files when you deliver.
- Playlist shows audio, no stem prints: If instruments never touched the Mixer (common with dragged audio), assign each to inserts first; then re-export.
If your song started as a stereo beat, here’s how to mix vocals over a 2-track beat so stems translate later.
VI. Advanced / pro tips
- One-pass capture: Route buses to unique inserts and rely on “Split mixer tracks” for grouped stems in a single export.
- Dual vocal prints: Deliver LeadVox_Processed and LeadVox_Dry. The mixer can blend vibe with flexibility.
- Parallel safety: If you used parallel compression on drums or vocals, print a separate PAR stem to preserve your feel.
- Sample-rate sanity: Keep session rate until delivery, then SRC once using the render dialog. Avoid multiple conversions.
- Naming that sorts right: Numeric prefixes (10_DRUMS, 20_BASS, 30_MUSIC, 40_LEADVOX, 41_BGVs, 50_FX) keep folders readable on any OS.
- Zip with a README: Include BPM, key, sample rate, and any non-obvious wet FX you chose to keep.
Want to track into a pre-routed layout you can reuse? Grab our recording templates for faster session prep and print stems with zero setup.
VII. FAQs
Do I include the master limiter?
No. Remove limiting/clipping so stems keep headroom and transit properly into mixing or mastering.
24-bit or 32-float?
Deliver 24-bit WAV. 32-float is fine inside FL Studio, but 24-bit is the common delivery standard.
44.1 vs 48 kHz?
Music releases use 44.1 kHz. Choose 48 kHz for video/broadcast jobs.
Dry vs processed vocals?
Print the processed vocal if it defines the sound, and include a dry alternate if requested.
Can I export per-track from the Playlist instead?
Yes—“All Playlist tracks” works for pure audio arrangements. For flexible mixing, Mixer-based stems remain the safest route.
Conclusion
Organize your Mixer, route clean buses, and export with “Split mixer tracks.” Do that with safe peaks and clear names, and your stems will import perfectly the first time.
Save this as your FL Studio stem template and you’ll hand off projects faster—with fewer revisions and no technical surprises.


