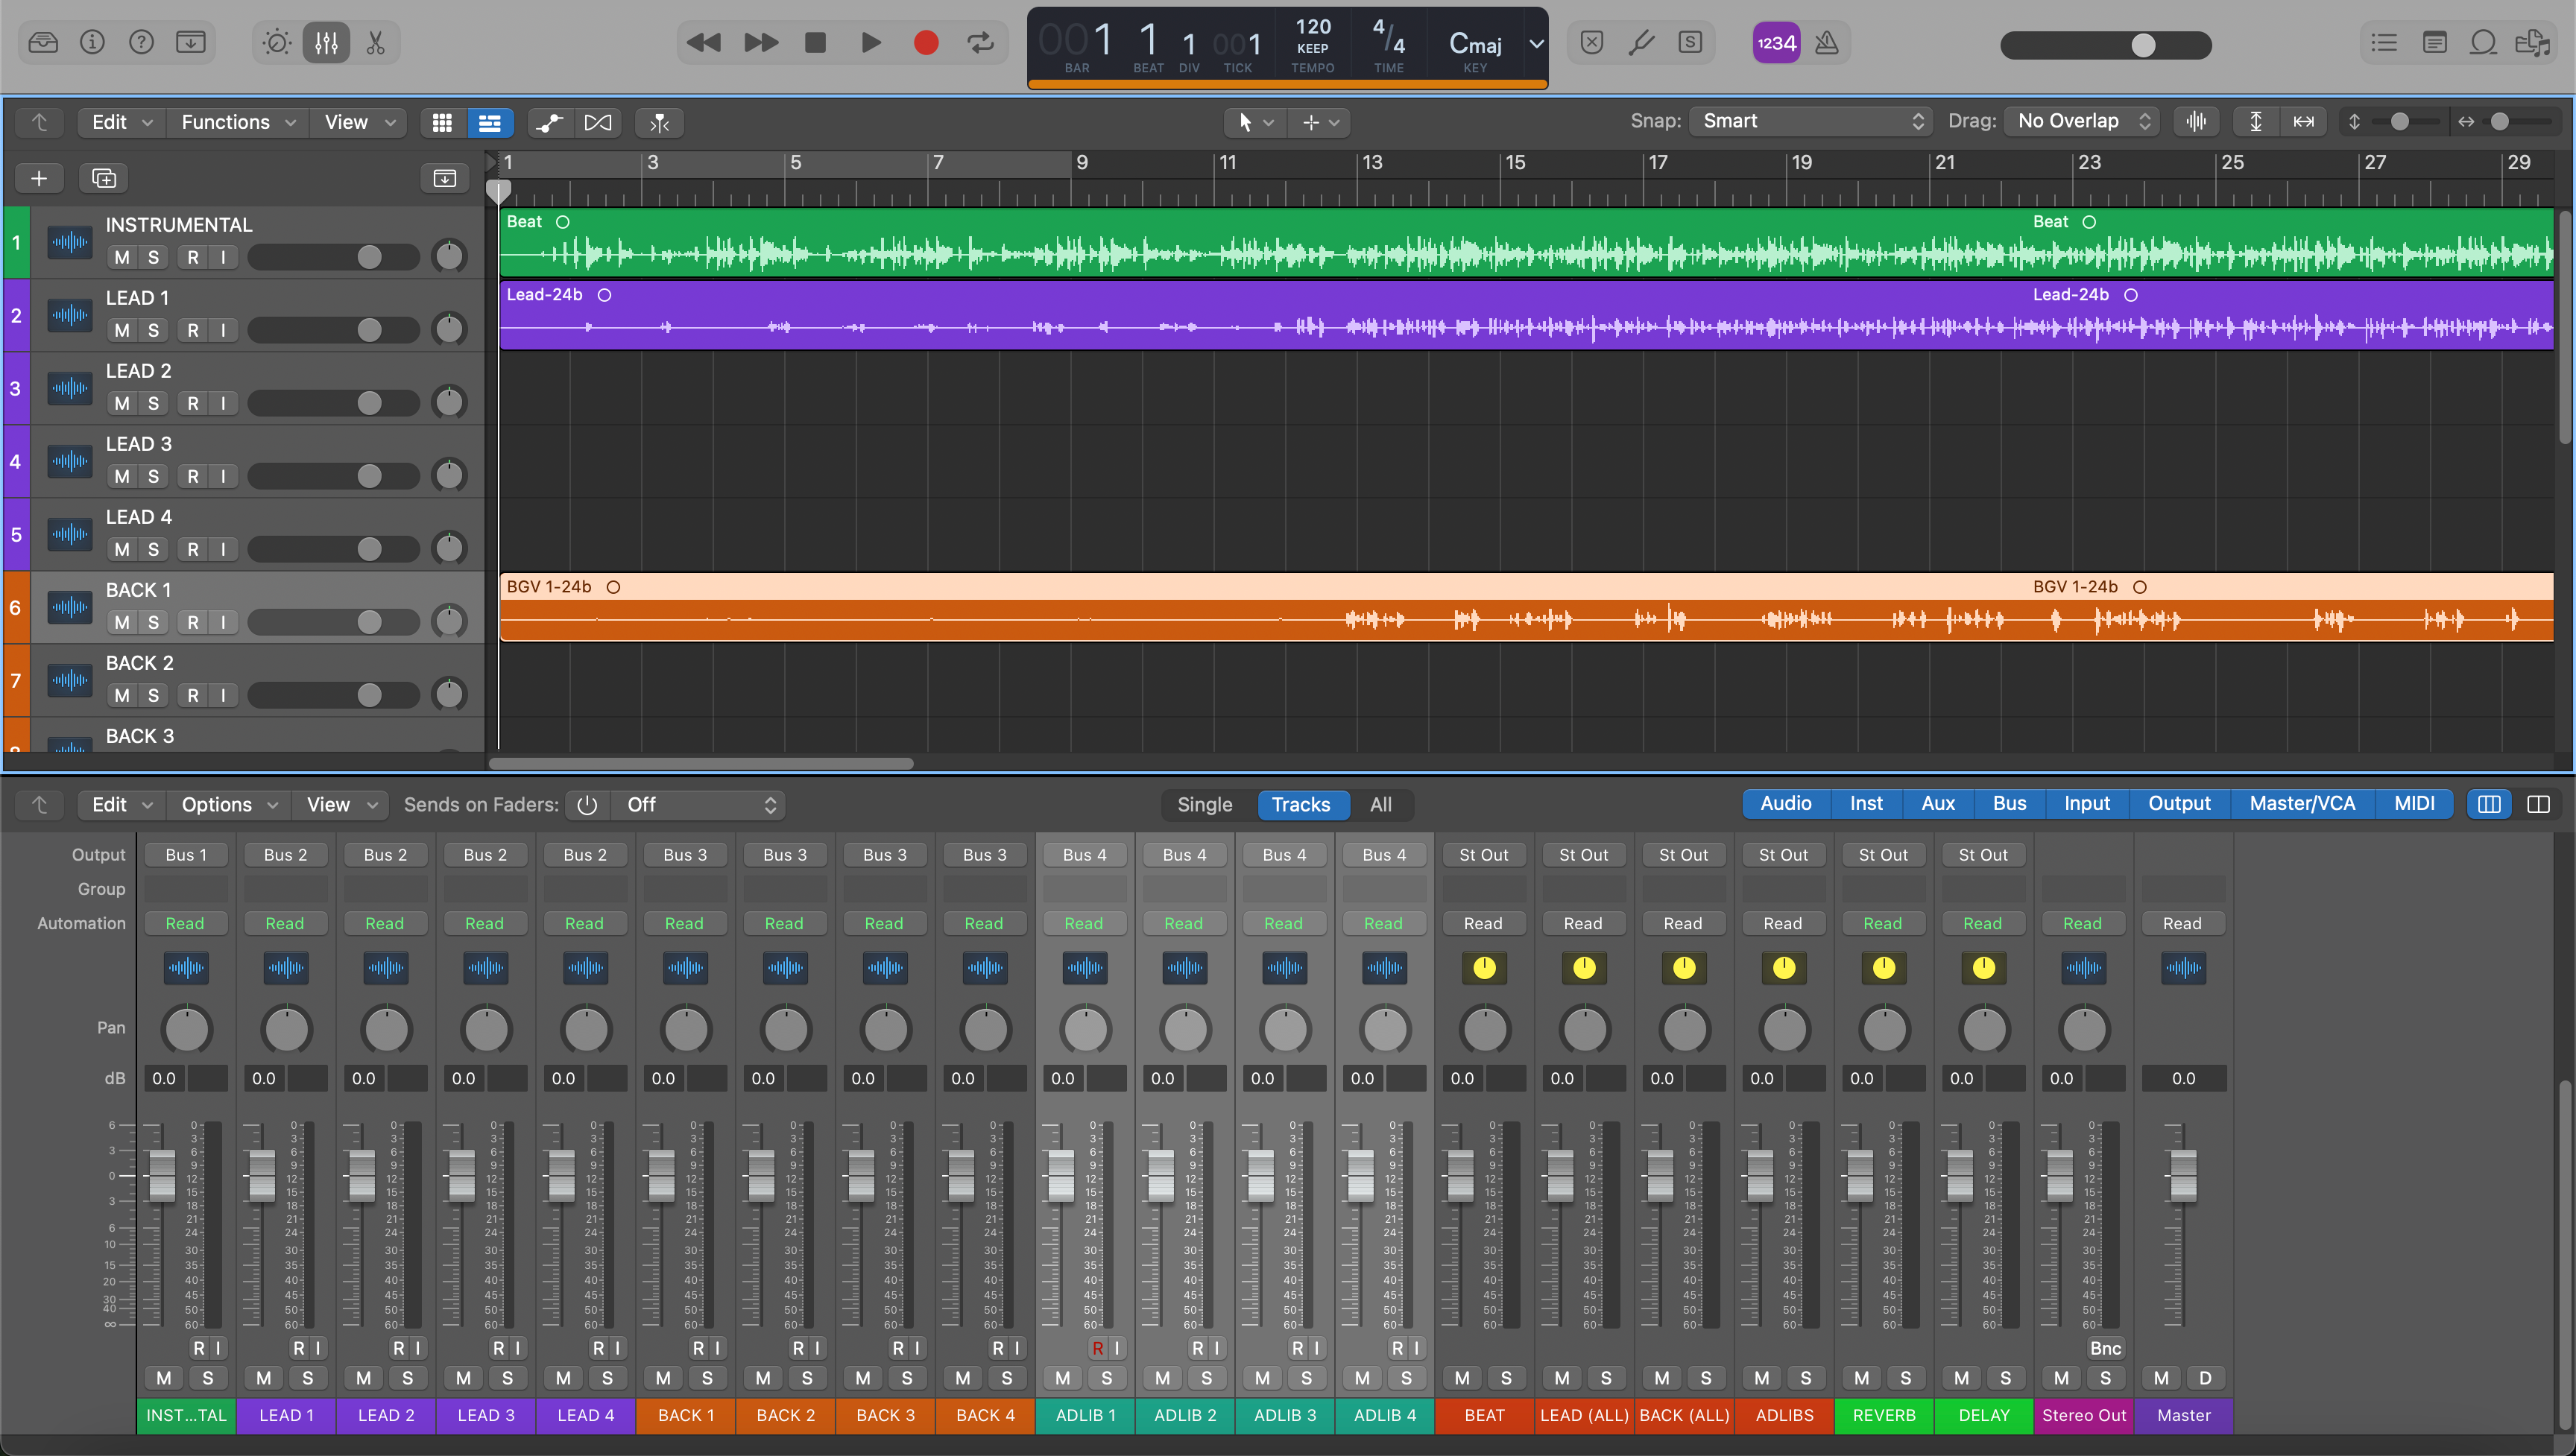
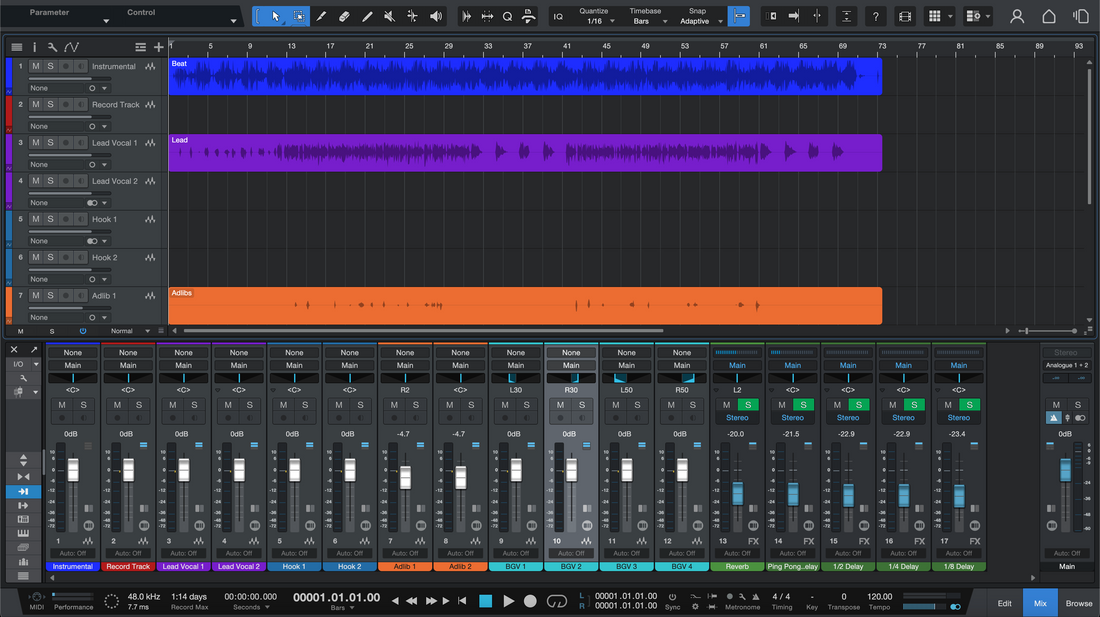
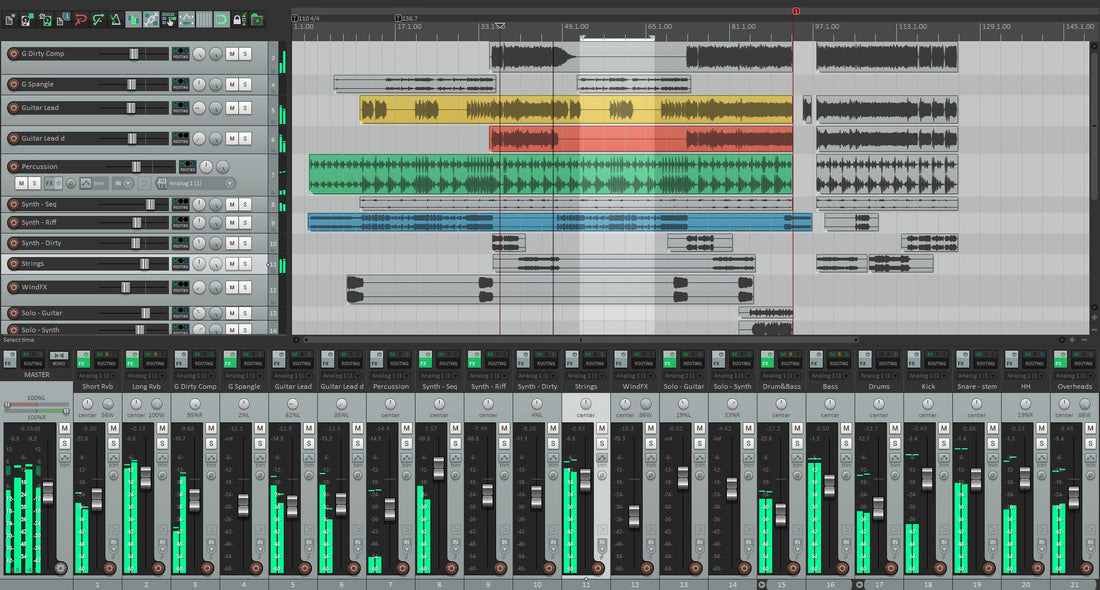
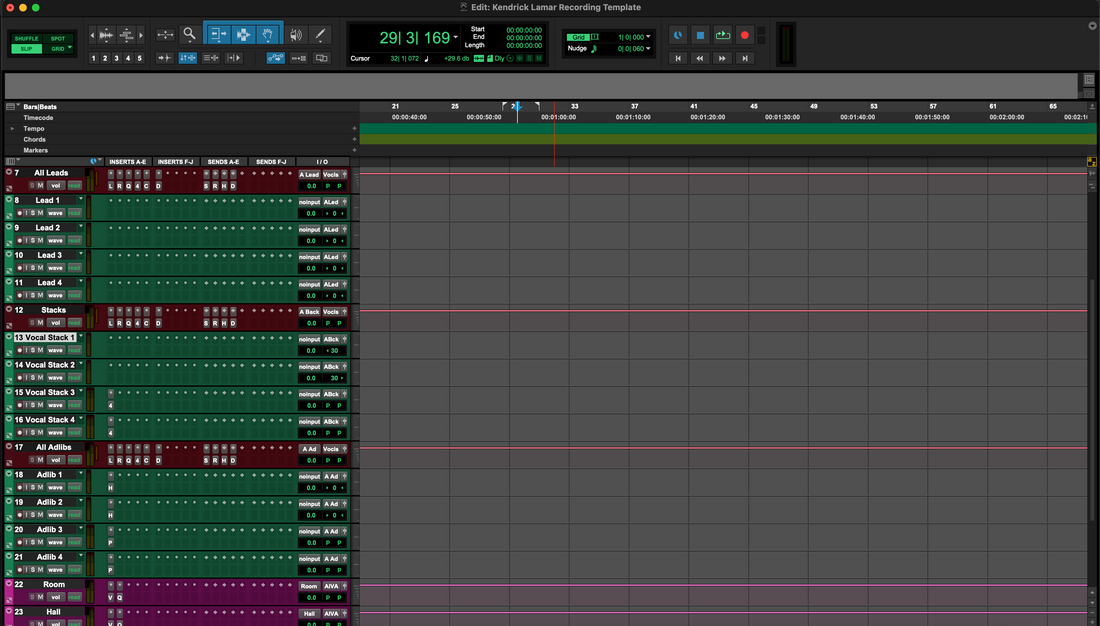
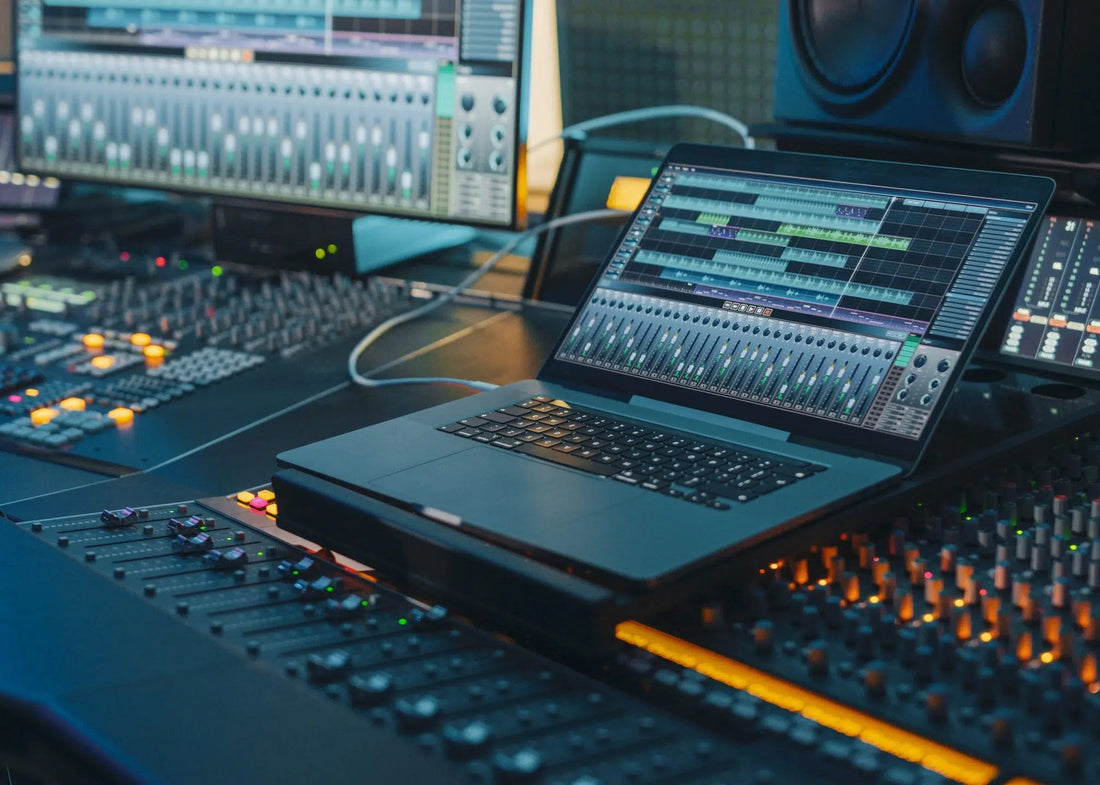
Sending clean, well-labeled stems from Logic Pro is the fastest way to get a great mix back. Do it right and your engineer drops the files in, hits play, and starts making decisions—not fixing exports. This guide shows a repeatable, professional process for preparing, exporting, and packaging stems that line up perfectly in any DAW.
I. Stems vs. multitracks (and what your engineer expects)
Multitracks are one file per instrument or mic source (Kick, Snare, Bass DI, Lead Vox, etc.). Stems are grouped submixes (DRUMS, BASS, MUSIC, LEAD VOX, BGV, FX), useful when you want fewer files or when your session relies on bussing/printing. For external mixing, multitracks are usually best; stems are great for deliverables (TV Mix, Instrumental, A Cappella) and for producers who’ve built complex stacks they want to keep together.
Ask yourself: will the mixer benefit from access to each element (multitracks), or from a few controlled groups (stems)? When in doubt, deliver multitracks; add a small set of bonus stems (e.g., DRUMS, MUSIC, FX) for convenience.
II. Why proper exports matter
- Instant alignment: Every file starts at 1|1|1 (bar one) and shares sample rate/bit depth, so nothing drifts or truncates tails.
- Cleaner decisions: Raw or lightly processed tracks keep headroom for EQ and compression choices that fit the song.
- Less back-and-forth: Clear names, organized folders, and a printed guide track answer most questions before they’re asked.
- Future-proofing: Years from now, you can open the folder and rebuild the song in any DAW without hunting down plug-ins.
III. Quick-start: Export All Tracks as Audio Files (the reliable way)
- Prep your timeline. Set the project tempo correctly. Move the entire arrangement so the first sound begins after 1|1|1. Extend the end locator so reverb and delays ring out naturally; add two bars of count-in if you like.
- Decide “dry vs. printed”. For external mixing, export dry tracks (no mix-bus processing, no heavy inserts). If a sound is the production (e.g., a special guitar pedal, a vocal throw), print a second, clearly labeled “FX” track alongside the dry track.
- Consolidate region edits. Clean pops/clicks, crossfade tight edits, and ensure each track plays the part you intend. (You don’t have to bounce in place—Export All Tracks handles silence and region gaps.)
-
Name everything clearly. Use a numeric prefix so files sort in musical order. Example:
01_Kick,02_SnareTop,03_SnareBottom,10_BassDI,20_LeadVox,21_DoubleL,22_DoubleR,30_VoxFXThrow. - Open the export dialog. Choose File → Export → All Tracks as Audio Files… (or “Selected Tracks…” if you’re exporting a subset).
- Set the format. Format: WAV. Bit depth: 24-bit. Sample rate: match your project—typically 44.1 kHz for music releases or 48 kHz for video projects.
- Set processing options. Normalize: Off. Include Audio Tail: On (capture reverb/delay). Bypass Effect Plug-ins: On for dry exports (turn Off only on tracks you want printed). Include Volume/Pan Automation: usually Off for raw tracks; if you have essential sound-design rides, print a second “printed” version and keep the raw one too.
- Range to export. Choose the entire song length (from 1|1|1 to a safe bar beyond the last tail). If you prefer, set a Cycle range that covers the full song plus tail and enable “Export Cycle Range Only”.
- Choose interleaved stereo. Keep stereo sources interleaved and mono sources as mono; avoid forcing everything to stereo—it doubles file size and confuses panning later.
- Add a guide mix. After exporting tracks, also bounce a quick “Rough Mix” (File → Bounce → Project or Section) and include it in the delivery so the mixer hears your intent immediately.
That’s the dependable, one-click-per-project method. For bus-based sessions or film/game deliverables, you can also export Track Stacks or route submix buses to their own Aux tracks and export those too, labeled clearly as stems (DRUMS, MUSIC, FX).
IV. Recommended folder structure and naming (copy this)
Deliver stems in a tidy folder so your mixer can drag-drop and start. A proven structure:
Song_Title_YYYYMMDD/
├─ 00_README.txt
├─ 01_Rough-Mix/
│   └─ Song_Title_RoughMix.wav
├─ 02_Stems/
│   ├─ 01_Kick.wav
│   ├─ 02_SnareTop.wav
│   ├─ 03_SnareBottom.wav
│   ├─ 10_BassDI.wav
│   ├─ 11_BassAmp.wav
│   ├─ 20_LeadVox.wav
│   ├─ 21_DoubleL.wav
│   ├─ 22_DoubleR.wav
│   ├─ 23_VoxAdlib.wav
│   ├─ 30_VoxFXThrow_PRINT.wav
│   └─ 99_Reference.wav  (if applicable)
└─ 03_Session-Info/
    ├─ BPM_Key.txt
    └─ Notes.txt  (any arrangement cues, comp notes, special FX info)
Inside 00_README.txt, include the BPM, musical key, sample rate/bit depth, and any special requests. Zip the entire folder to preserve order and reduce transfer errors.
V. Special cases (what to print, what to keep dry)
-
Software instruments and samplers. If a plugin sound is the production, export the instrument’s audio (dry) and also supply a printed version with its key insert FX (label it
PRINT). Do not rely on the recipient owning your virtual instrument. - Guitars with pedals or amps. Provide the amp/pedal print and a DI. The mixer can re-amp the DI later if needed.
-
Vocal throws and ear-candy. If a delay throw or stutter defines a moment, print it on its own track (
VoxFXThrow_PRINT) and also include the dry vocal. -
Drum buses and parallel chains. If your drum glue is essential to the vibe, print a
DRUMS_BUS_PRINTalongside the individual drums so the mixer can blend in your tone. -
Two-track beat. If you only have a stereo beat file, trim to exact song length, set the correct tempo, and export it as
00_BeatStereo.wavfrom bar one so timing aligns. If you sidechained the beat from the vocal in production, print a second “beat ducked” version for reference but keep the plain stereo file too.
VI. Troubleshooting & fast fixes
- Files don’t line up in another DAW. Make sure every stem starts at bar one and that you exported the full song length (or set Cycle to full length + tail). If you trimmed regions to content, Logic will still export silence at the start of each file, so alignment holds.
- Tails get cut off. Enable Include Audio Tail in the export dialog, and place your end locator beyond the final reverb/delay. If a plugin uses a long “infinite” tail, briefly automate its mix down near the end or print that effect to its own track.
- Exported files are too quiet or too loud. Keep Normalize set to Off so levels remain true. If a track is clipping pre-export, lower the track or Clip Gain before exporting rather than relying on normalization.
- Mono tracks come out stereo. Don’t force a stereo export for mono sources. Let Logic write mono files where appropriate; your mixer will thank you when panning behaves as expected.
- Printed effects when you meant dry. In the export dialog, enable Bypass Effect Plug-ins. For tracks that need a printed effect, temporarily disable Bypass and export those tracks again with “PRINT” in the name.
- Wrong sample rate. Check Project Settings → Audio to confirm the session sample rate before exporting. Do not SRC on export unless specifically requested.
- CPU dropouts during export. Close other apps, bounce heavy virtual instruments to audio first, and export in smaller batches (Selected Tracks) if necessary.
- Time-shifted files after adding a heavy plugin. If latency-inducing processors live on a track, export with them bypassed for the dry version. If you want the effect printed, export that track alone so compensation stays consistent.
VII. Advanced / pro tips (save these as your template)
- Track Stacks for stem families. Use Summing Stacks for DRUMS, BASS, MUSIC, LEAD VOX, BGV. Route each Stack to its own Aux and label those Auxes clearly. You can export all tracks and those Auxes as “bonus stems.”
- Pre-flight checklist inside Logic. Create a marker called “EXPORT START” at 1|1|1 and “EXPORT END” a few bars past the last tail. Solo each track for a second to confirm audio path and naming before exporting.
-
Clip Gain first, automation second. Use region-based gain to tame big level swings before compression. If you include any critical volume rides, document them in
Notes.txtand also provide a raw version. - Bit depth, dither, and delivery. Export 24-bit WAV for stems. If you later deliver 16-bit versions for legacy systems, dither at that final reduction step—not during stems export.
-
Embed the tempo. Logic can include tempo information in exported files; it’s useful for loopers and some workflows. Still include a simple
BPM_Key.txtso no one has to guess. - Print a safety click. Export a muted “Click” track (count-in only) if the arrangement has complex pickups; it’s a handy sanity check when importing to another DAW.
-
Deliver options without bloat. If in doubt, deliver both a raw track and a clearly labeled print (
PRINT), but keep only the few prints that define the record. Fewer, better choices = faster mixing.
VIII. FAQs
Should I export dry or with plugins?
For external mixing, export dry. If a sound is inseparable from the production, include a second “PRINT” version alongside the dry track.
What sample rate and bit depth should I use?
Use the project’s native sample rate (typically 44.1 kHz for music, 48 kHz for video) and 24-bit WAV.
Do I include volume/pan automation?
Usually no—send raw tracks. If you have essential rides that shape the feel, either include them in a printed version or share a quick note in Notes.txt.
Is normalization okay?
Leave it Off. Normalization alters relationships between tracks and can surprise the mixer.
How do I keep long reverb tails?
Turn on Include Audio Tail and extend the end locator a few bars beyond the last hit.
Mono or stereo?
Export in the native channel format: mono mics as mono, stereo sources as stereo. Don’t force stereo for everything.
Can I send a two-track beat with vocals?
Yes—export the beat from bar one at full length as 00_BeatStereo.wav and supply vocals as separate tracks. If you did creative ducking, include a printed “ducked” beat as a reference.
What else should I include?
A rough mix, BPM/key info, and short notes. Zip the folder before you upload.
Ready for a pro mix? Send your folder and notes through our mixing services. If you’re also curious about fast starting points inside your own sessions, this overview of what vocal presets are is a helpful next read.


