


Adobe Audition vocal presets are saved chains that load EQ, compression, de-essing, saturation, delays, and reverb in one click. This guide shows three safe install methods, how to route the mic, where presets live on disk, and how to save your custom versions—so your first session loads with a polished chain instead of an empty rack. If you prefer ready-made chains that drop in and translate on earbuds, car, and club systems, browse curated Adobe Audition vocal presets and adapt to your voice in minutes.
I. What Audition “vocal presets” actually are
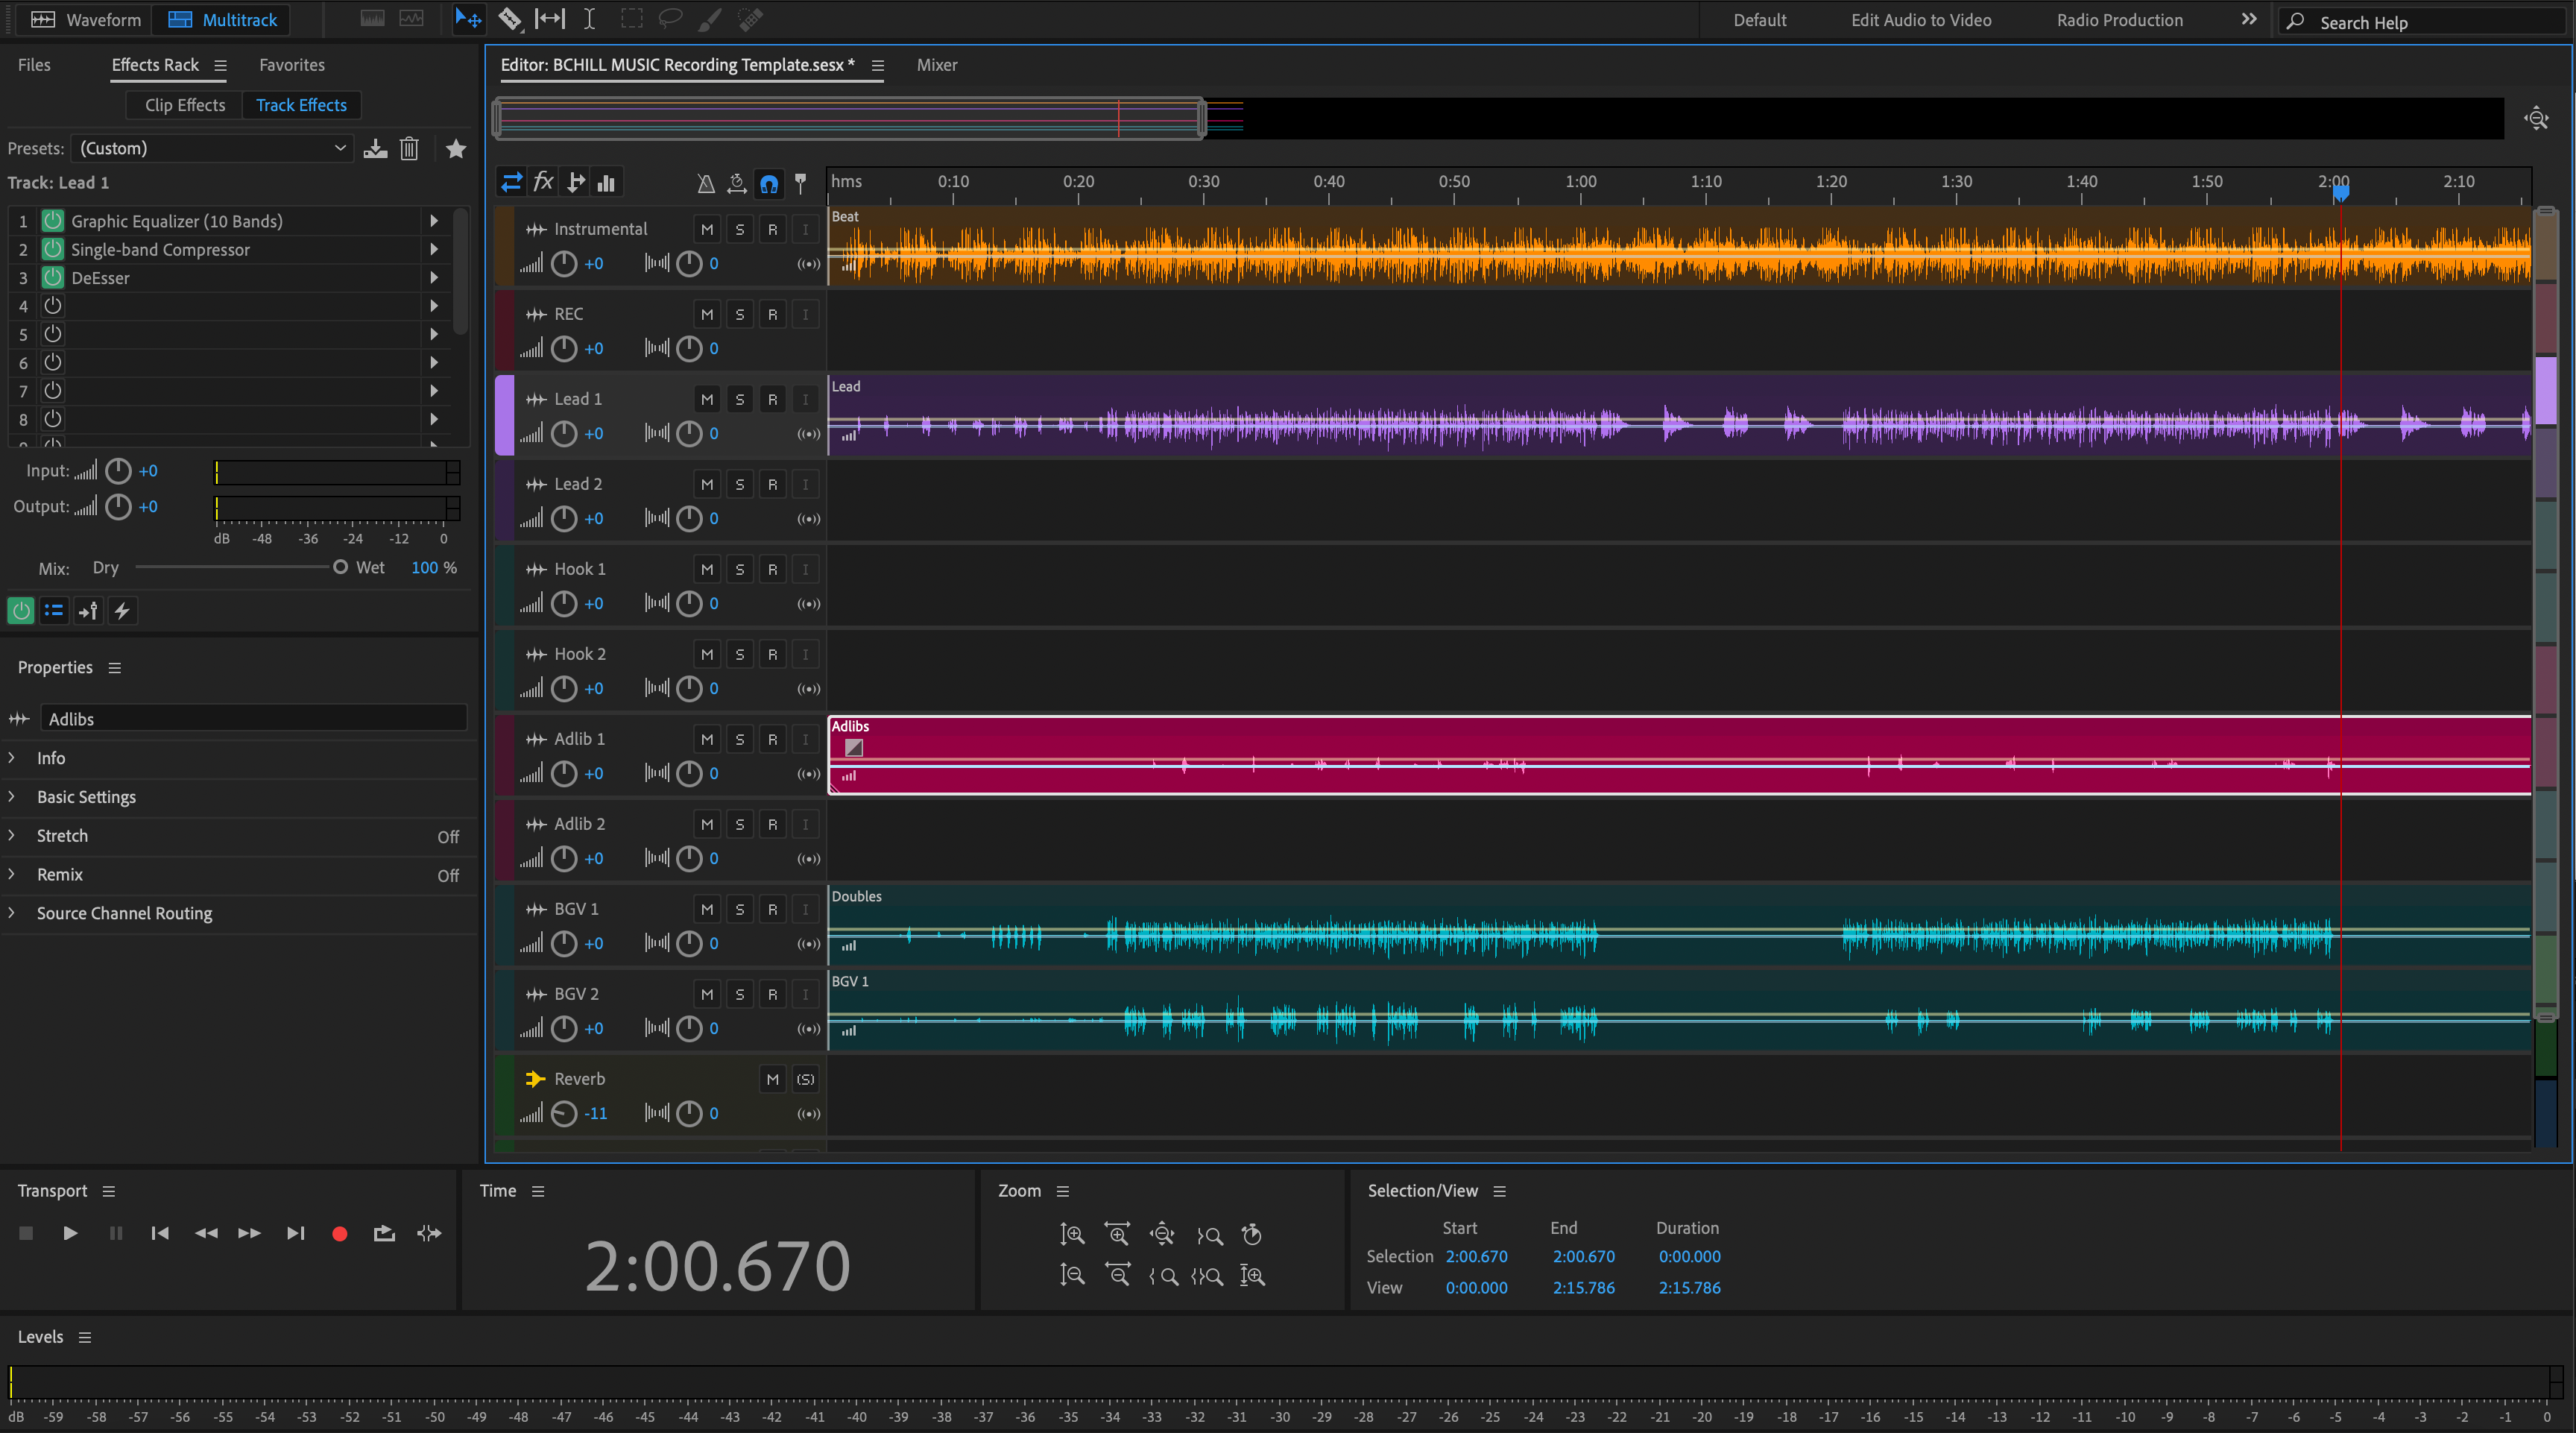
In Audition, a vocal preset is usually an Effects Rack chain saved to your user settings. Packs may also ship as session templates so you can open a multitrack with a prebuilt vocal track. You’ll encounter a few common formats during install:
- Rack chains saved into Audition’s user settings (no visible file per preset; they live inside a settings file).
-
Session templates (
.sesx) that include a vocal track; you open, then save the rack as your own preset. - Favorites (macro sequences) some creators include; useful for batch actions, less common for full vocal chains.
II. Pre-install checklist (do this once)
- Update Audition to the latest major version.
- Note your audio device input (mic preamp or interface channel).
- If the preset uses third-party plug-ins, install and license them first.
- Open Effects → Audio Plug-In Manager and scan so Audition sees new plug-ins.
- Close any heavy apps to keep CPU free while testing latency.
III. Three installation methods (pick one)
Method A — Open a template, then save the rack (safest & universal)
-
Unzip the download. If you see a
.sesxtemplate, double-click to open it in Audition. - In Multitrack, select the vocal track. The Effects Rack shows the full chain.
- Click the rack’s preset menu and choose Save Rack Preset…. Give it a clear name (e.g., “Pop Lead — Smooth Air”).
- Open a new session and confirm the preset appears in your rack preset list.
Why choose this: you aren’t touching system files; you just promote a chain to your personal rack list.
Method B — Install into Audition’s settings (advanced, fastest once you know it)
Some packs provide ready-to-merge settings. Always back up before changes.
- Back up settings: In Audition, go to Help → Reveal Log Files, then go one folder up to the Audition settings folder. Copy the whole folder to a safe place (this captures your presets and favorites).
-
Replace or merge: If the pack includes a full settings file for rack presets, follow its readme. The quick route is replacing
EffectPresets.xml(Windows:%APPDATA%\Adobe\Audition\version\; macOS:~/Library/Preferences/Adobe/Audition/version/) with the provided one after your backup. Advanced users can open both files and merge the preset blocks. - Restart Audition. Your new rack names should appear in the preset menu.
Why choose this: instant access if you’re comfortable backing up and restoring settings.
Method C — Load an individual chain file from the pack (if provided)
- Unzip the pack. If you see a “Rack Presets” or “Audition Presets” folder with install notes, open it.
- With a vocal track selected, open the rack menu and use the Load/Import option if shown (varies by version). If unavailable, fall back to Method A or B.
- Once loaded, use Save Rack Preset… to store it under your name.
Why choose this: quick when the pack is built for your exact Audition version and exposes an import entry point.
IV. Where your presets live (and how to find them)
Audition stores user rack presets inside a single settings file in a hidden preferences folder. Typical paths:
-
Windows —
%APPDATA%\Adobe\Audition\version\EffectPresets.xml -
macOS —
~/Library/Preferences/Adobe/Audition/version/EffectPresets.xml
Quickest locator: Help → Reveal Log Files → go one folder up to reach the preferences directory containing your preset files. Back up this folder before making changes or migrating to a new machine.
V. First-time setup: route, monitor, and test
- Create a track. In Multitrack, add an Audio track and select your interface input under Track Input.
- Load your rack. Choose your installed rack preset from the Effects Rack preset menu.
- Set input gain. Speak/sing at performance level; aim raw peaks around −12 to −8 dBFS before processing.
- Check latency. If monitoring feels delayed, reduce your buffer in the audio device settings. For heavy chains, increase buffer while tracking dry and monitor through a lighter cue rack.
- Record a test phrase and A/B the bypass button to ensure processing helps rather than hides diction.
VI. Making the preset yours (smart tweaks that translate)
Any good chain should respond to small, decisive moves. Start here:
- Input trim: equalize level across different mics or distance changes without smashing a compressor.
- De-ess: aim for “soft-bright,” not dull. Stop when earbuds stop complaining.
- Body: fill 120–200 Hz for warmth; avoid 250–350 Hz haze that fights guitars/pads.
- Presence: small, wide lift near 3–4 kHz if diction hides; cut if cymbals/hi-hats crowd.
- Air: add 10–12 kHz only after S’s are calm; 0.5–1 dB goes a long way.
- FX sends: keep verses drier; open the hook by riding plate/echo 1–2 dB, not by doubling every line.
VII. Stock-only vs third-party chains (what to expect)
Stock-only chains load on any machine with Audition installed. They’re CPU-efficient, reliable, and great for collaboration. Third-party chains can add character but require identical plug-ins and versions on each computer. If a plug-in is missing, Audition will skip that stage—so always confirm with an A/B test.
VIII. Organize your library so you can find things fast
Presets help only if you can recall them in seconds. Use a naming scheme that sorts by use and vibe:
-
Lead — Clean Pop,Lead — Airy R&B,Lead — Aggressive Rap -
Harmony — Wide Soft,Harmony — Dark Pad -
Ad-Lib — Phone Band,Ad-Lib — Throw Echo
Save a few Track Presets (track header menu → save) so a vocal lane opens with your chain, color, and sends preconfigured.
IX. Workflow patterns that keep sessions clean
- Two-track capture: Record a clean track (dry) and a second “print” track with the rack engaged. Mute one for monitoring, keep the other for safety.
- Return FX: Put time-based effects (plate, echo) on Bus/Send returns. You’ll automate sends instead of juggling multiple inserts.
- Section markers: Use markers (Verse/Pre/Hook) so comping and automation rides stay organized.
- Version notes: Save small notes in the Marker/Metadata panel so collaborators know which preset and tweak you used.
X. Troubleshooting (problem → focused fix)
- Preset appears but sounds incomplete. A referenced plug-in is missing or disabled. Install/enable in Effects → Audio Plug-In Manager and rescan.
- No new presets after install. You replaced the wrong version folder. Confirm the exact version directory (e.g., 24.0 vs 23.0). Restart Audition after changes.
- Favorites disappeared or reset. Restore your backup of the settings folder. Avoid mixing files from different major versions without a full backup.
- Too bright/harsh. Reduce the air shelf and push de-ess slightly. Filter reverb/delay returns around 6–8 kHz.
- Too dull/boxy. Trim 250–350 Hz gently; raise presence 0.5–1 dB; verify the instrumental isn’t masking 2–4 kHz.
- Crackles/drops when monitoring. Increase buffer or freeze CPU-heavy tracks. Use a lighter tracking rack and switch to the full chain for mixing.
- Session opens with “Missing Media/Settings.” Keep presets and sessions on the same drive or restore from your settings backup before opening old projects.
XI. Migration & backup (future-proof your setup)
- Backup now: Copy the entire Audition preferences folder (paths in Section IV) to cloud or a USB drive.
- New computer: Install Audition and plug-ins first, then paste your preferences folder into the same path (close Audition while doing this).
-
New version of Audition: Launch once so it creates a fresh folder, close it, then selectively copy
EffectPresets.xmlfrom the old version folder into the new one (keep a backup).
XII. Fast demo: build a “singer-ready” session in 5 minutes
- Create a multitrack session at your song’s sample rate (44.1 kHz for music unless video needs 48 kHz).
- Add Lead Vox track → load your installed rack preset → set input → arm.
- Add two sends: A = Slap (90–120 ms) and B = Plate (0.7–1.0 s with 20–40 ms pre-delay). Filter returns to keep clarity.
- Record a verse and hook. Ride sends up 1–2 dB into the hook; automate down in fast runs.
- Save your track as a preset and your session as a template for the next song.
XIII. FAQ (quick answers)
Do I need the exact mic listed in a preset ad?
No. Treat presets as starting points. Adjust input/trim, de-ess, body, and presence to fit your mic and voice.
Can I share my custom rack with a collaborator?
Yes—export your whole preferences folder or send a session template that includes the rack. Ensure they have the same plug-ins if your chain uses third-party effects.
Is there a way to import just one rack without replacing my file?
Yes—open a supplied .sesx with the chain, then use Save Rack Preset… in your own library (Method A).
Where do I turn on plug-ins so Audition finds them?
Effects → Audio Plug-In Manager. Enable VST3 (and AU on macOS), set scan folders, and rescAN.
XIV. After install: clean handoffs and deliverables
Once your vocal chain is working, printing clean deliverables keeps collabs simple. If your project is moving to another DAW for mixing, this focused walkthrough on how to export stems from Adobe Audition helps you prepare consistent files that open anywhere.
XV. Quick install recap (copyable)
- Unzip the pack.
-
Safest: open the included
.sesx, then Save Rack Preset…. -
Fastest: back up your preferences folder, replace or merge
EffectPresets.xml, restart Audition. - Scan plug-ins, set input peaks around −12 to −8 dBFS, and make small tone moves.
- Save a track preset and a session template to reuse the chain on every song.
You now have a repeatable, low-friction way to install and tailor chains in Audition. Build one dependable starting point, save it with smart names, and you’ll move faster on every session you open.


