


How to Install Recording Templates in BandLab (Mobile & Web)
BandLab doesn’t use “templates” the same way desktop DAWs do, but you can get the same benefit: open a project that’s already wired for recording and save a copy in seconds. This guide shows exactly how to build, duplicate, and share reusable recording setups on the web and on mobile. We’ll set up inputs, returns, role-based vocal lanes, and low-latency chains, then keep everything organized for fast sessions and clean exports.
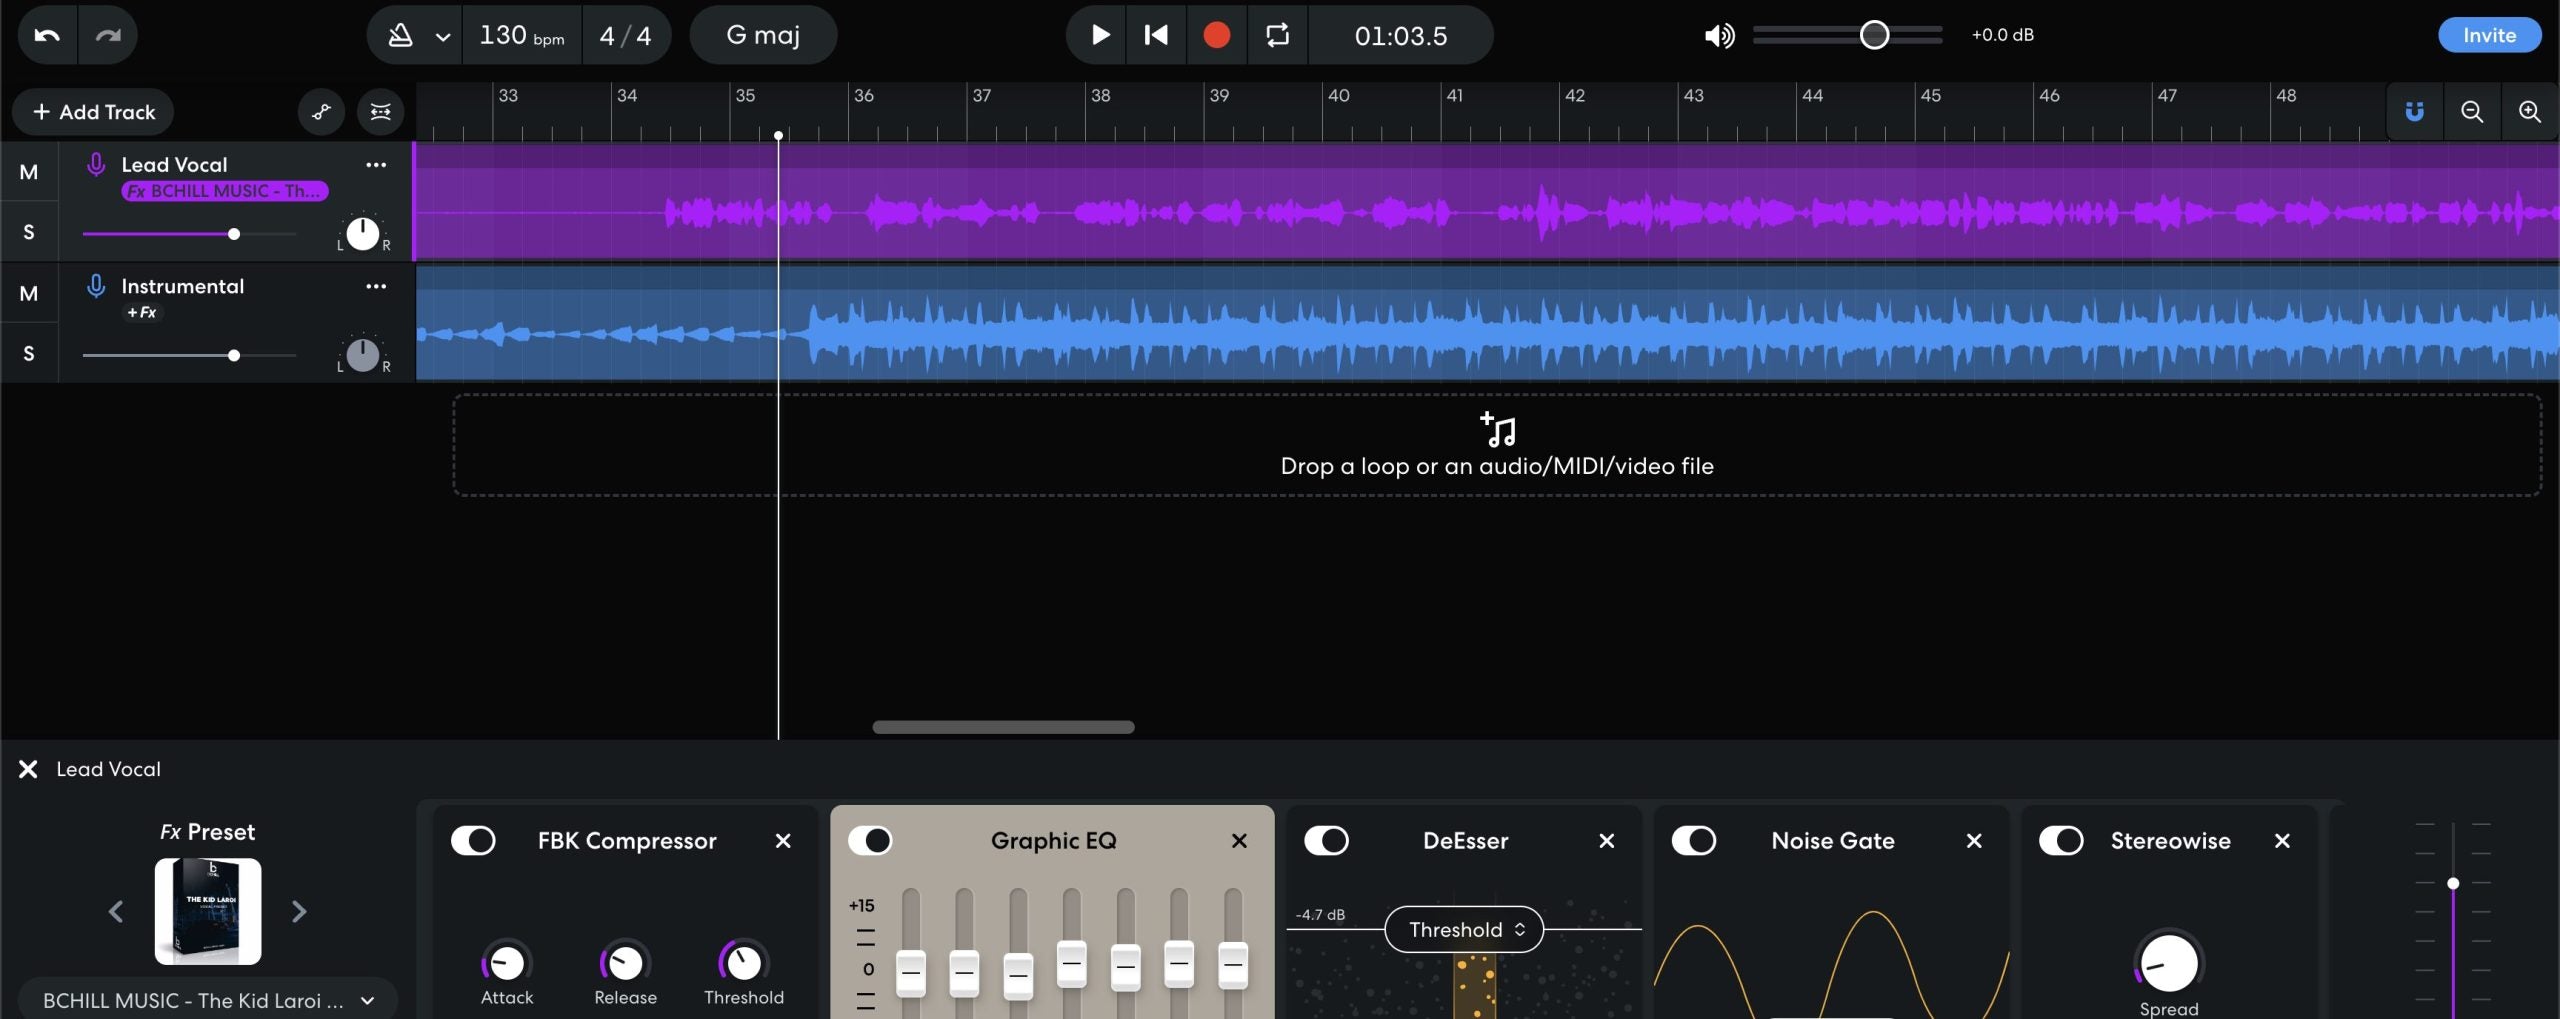
If you also want a tone starting point that drops into your template, browse the genre-ready BandLab vocal presets and tweak thresholds and sends to your mic and room.
I. “Template” in BandLab: what it really means
In BandLab, a recording template is simply a project you copy whenever you start a new song. You’ll create one or more “master” projects with your tracks, names, colors, inputs, and FX. When it’s time to record, you open the master and duplicate it—no rebuilding channels, returns, or headphone mixes.
- Personal copy: keep a private “Template — Vocal Record” project and duplicate it for each song.
- Forkable link: publish a template project you can fork (or let collaborators fork) to generate a clean working copy.
- Band workflow: store shared templates inside a BandLab “Band” so your team pulls identical setups.
II. Three routes to a reusable template (pick one)
- Library → Duplicate. Build a master project once. In your Library, choose the project options and make a copy whenever you start a new track. Rename the copy immediately.
- Fork. Publish a “Template — <Purpose>” project with a clear description and allow forks. Open the public link yourself and fork a fresh copy each session.
- Band shared project. Inside a Band, create a “Templates” folder. Your vocalist, producer, and engineer all duplicate from the same master files.
All three methods achieve the same thing: a clean starting point that stays untouched while you work from copies.
III. Web Studio: build the master once
1) Start clean. Create a new project and name it “Template — Vocal Record — 48k” (or your preferred rate). Set BPM and key if you want them pre-loaded.
2) Create role-based vocal lanes. Add tracks and rename:
- Lead Vox (mono)
- Boost Lines (mono, for emphasis words)
- Ad-libs (mono, panned later)
- Harmonies (stereo or dual mono)
- Vocal Bus (stereo subgroup routed from all vocal lanes)
3) Returns you’ll reuse. Add two or three FX returns you like: Room (0.4–0.8 s), Slap (90–120 ms), and a Tempo Echo (1/8 or dotted-eighth). High-pass returns around ~150 Hz and low-pass near ~6–7 kHz so monitoring stays clean.
4) Low-latency tracking chain. On Lead Vox, keep it lean while recording: HPF → light compressor (2–3 dB on phrases) → de-ess. Save brightening or heavy FX for mixdown. Duplicate a slightly tighter chain on Boost Lines and a more filtered, band-limited chain on Ad-libs.
5) Sends pre-staged. On Lead, add low sends to Room and Slap. On Boost Lines, a touch more Slap. On Ad-libs, a bit more Room/Phone-style band-pass if you use that effect.
6) Color code and order. Make vocal lanes one color family, returns another, and the Vocal Bus a third. Your eyes will find parts fast when sessions get big.
7) Save and lock the master. Don’t record into this file. Use it only to create copies (duplicate or fork) and keep it pristine.
IV. Mobile Studio: a pocket-friendly template
1) Create a project called “Template — Mobile Vox.” Add a Voice/Audio track for Lead, then add tracks for Boost Lines and Ad-libs. Add a stereo Vocal Bus if your device and version support bus routing; otherwise keep track-level FX simple.
2) Tracking chain that won’t lag. Use a gentle compressor and de-ess only. If the device struggles, track dry and enable FX while comping or mixing.
3) Returns. Add a short Reverb and a Slap Delay; keep sends low. Bright FX can mislead while monitoring—trust midrange clarity first.
4) Save a clean master. Immediately duplicate the project for each new song so the master never changes.
V. Names, colors, and revision hygiene
Templates work because they’re easy to find and hard to break. Use strict naming and simple rules.
-
File names:
Template — Vocal Record — 48k,Template — Dubs over 2-Track,Template — Podcast DualMic. -
Session names: when you duplicate, rename to
Artist_Song_YYYY-MMso files sort chronologically. - Revisions: BandLab keeps revisions; add notes like “Comp pass v1,” “Ad-libs pass,” “Mix print.”
- Colors: keep Lead, Boost, Ad-libs, and Returns consistent across all templates.
VI. Input sanity and monitoring you can trust
Input level. Do a short test line. Keep peaks below clipping; aim around the middle of the meter. If a word is much louder, trim the clip later; don’t slam the compressor to hide it.
Monitoring choices. Some devices add latency with heavy chains. Prefer a lean chain while tracking. If you hear a doubled or flanged voice, you’re monitoring through hardware and software at once—mute one path.
De-ess before “air.” If you brighten, revisit the de-esser so S’s stay smooth on phones.
VII. Two-track beat template (vocals over a stereo instrumental)
Many BandLab sessions start with a stereo beat. Build a specific template for this case:
- Tracks: Beat (stereo), Lead Vox, Boost Lines, Ad-libs, Vocal Bus.
- Beat management: keep a simple clip gain handle on the Beat track so you can ride intros and hooks without crushing the Maximizer later.
- Space: smaller rooms and lower FX returns than you’d use with full stems—clarity wins.
- Hook lift: automate a little extra delay send on the final phrase into a chorus; reset it for verses.
VIII. Collaboration without chaos
Band shared template. Inside your Band, keep a “Templates” folder. Only admins update the master. Everyone else duplicates for sessions.
Public fork template. Publish a clearly labeled template with the word Template in the title and a description that explains what’s inside (tracks, returns, suggested gain staging). Anyone can fork a clean copy.
Roles and notes. Add a text note at the top of the Arrangement with mic distance, typical HPF points, and send levels. Your collaborators will move faster and make fewer mistakes.
IX. Troubleshooting (symptom → fast move)
- Project won’t save or sync: check your connection; save again; if stuck, download tracks and start a new project, then re-import.
- Hearing a doubled voice: disable either hardware monitoring or software monitoring so you don’t hear both paths.
- FX lag during tracking: simplify the chain (HPF → comp → de-ess). Add polish after takes are captured.
- Beat is too loud for vocals: lower beat clip gain 1–2 dB and raise Lead +0.5 dB; avoid over-compressing the vocal just to keep up.
- S’s sound sharp on earbuds: widen de-ess band slightly; back off any air boost; low-pass delay returns to ~6–7 kHz.
- Hook collapses in mono: center the Lead; keep width in Ad-libs; avoid aggressive stereo FX on the main lane.
- Template gets overwritten: never record into the master. Duplicate first, then rename.
- Wrong input after device swap: reselect your interface input in the track settings; save the updated copy, not the master.
- Bleed or room boom: tighten mic distance and angle slightly off-axis; raise HPF a few Hz in your tracking chain.
- Too much “verb selfie” in cans: lower reverb send and increase slap delay a touch—energy without haze.
- Delay repeats step on words: reduce feedback and enable light ducking if available; or automate send down during dense lines.
- Export includes the click: mute the metronome before mixdown; don’t route it to Master.
- Clipped print: trim the Beat or Vocal Bus by 1 dB and re-export—don’t just throw a limiter on at the last second.
- Mobile session sounds different from web: compare FX lists; match the chain order and output trims; small differences add up.
X. A 10-minute template you can recreate now
- Create project: “Template — Vocal Record — 48k”.
- Add tracks: Lead (mono), Boost (mono), Ad-libs (mono), Harmonies (stereo), Beat (stereo, muted by default), and a stereo Vocal Bus.
- Route: send all vocal tracks to the Vocal Bus; Master stays clean.
- Lead chain: HPF ~90 Hz → Comp (2–3 dB on phrases) → De-ess. No air shelf yet.
- Boost chain: slightly higher HPF; a touch more de-ess; tucked −6 to −9 dB under Lead.
- Ad-libs chain: band-limit (HPF ~200 Hz, LPF ~8–10 kHz) and a bit more Slap; pan off-center by section.
- Returns: Room (0.5–0.8 s), Slap (90–110 ms), Tempo Echo (low feedback). Filter all returns.
- Markers: add Verse/Hook/Bridge locators and a 1-bar count-in.
- Save master: close without recording. Duplicate this file for every new song.
XI. Organize multiple templates without confusion
Keep small, focused masters instead of one giant file. Examples:
- By mic: “SM7B_Vox_48k,” “Condenser_Bright_48k.”
- By genre: “Rap_Dry_Punch,” “R&B_Airy,” “Pop_Stack_Wide.”
- By workflow: “Dubs_2-Track,” “Podcast_DualMic,” “Songwriting_ScratchVox.”
Each master contains only what you need for that job. Faster loads, fewer mistakes.
XII. Where templates meet tone
Templates handle routing and speed; tone comes from your chain choices. If you want a proven FX starting point designed for BandLab’s stock tools, explore the curated BandLab presets and save a customized version inside your master project. That way, every duplicate opens with your sound ready to track.
XIII. Next read: preset install specifics for BandLab
Once your template structure is set, loading and organizing FX presets is your next unlock. This walkthrough shows mobile and web installs, plus quick-fix chains for different voices: install BandLab vocal presets.
XIV. Final notes
Keep your master files clean. Duplicate before recording. Use lean tracking chains so monitoring stays honest. Document small choices and save variants when a template evolves. With this approach, BandLab becomes a “one-tap studio”—consistent sessions, faster takes, and mixes that translate.


