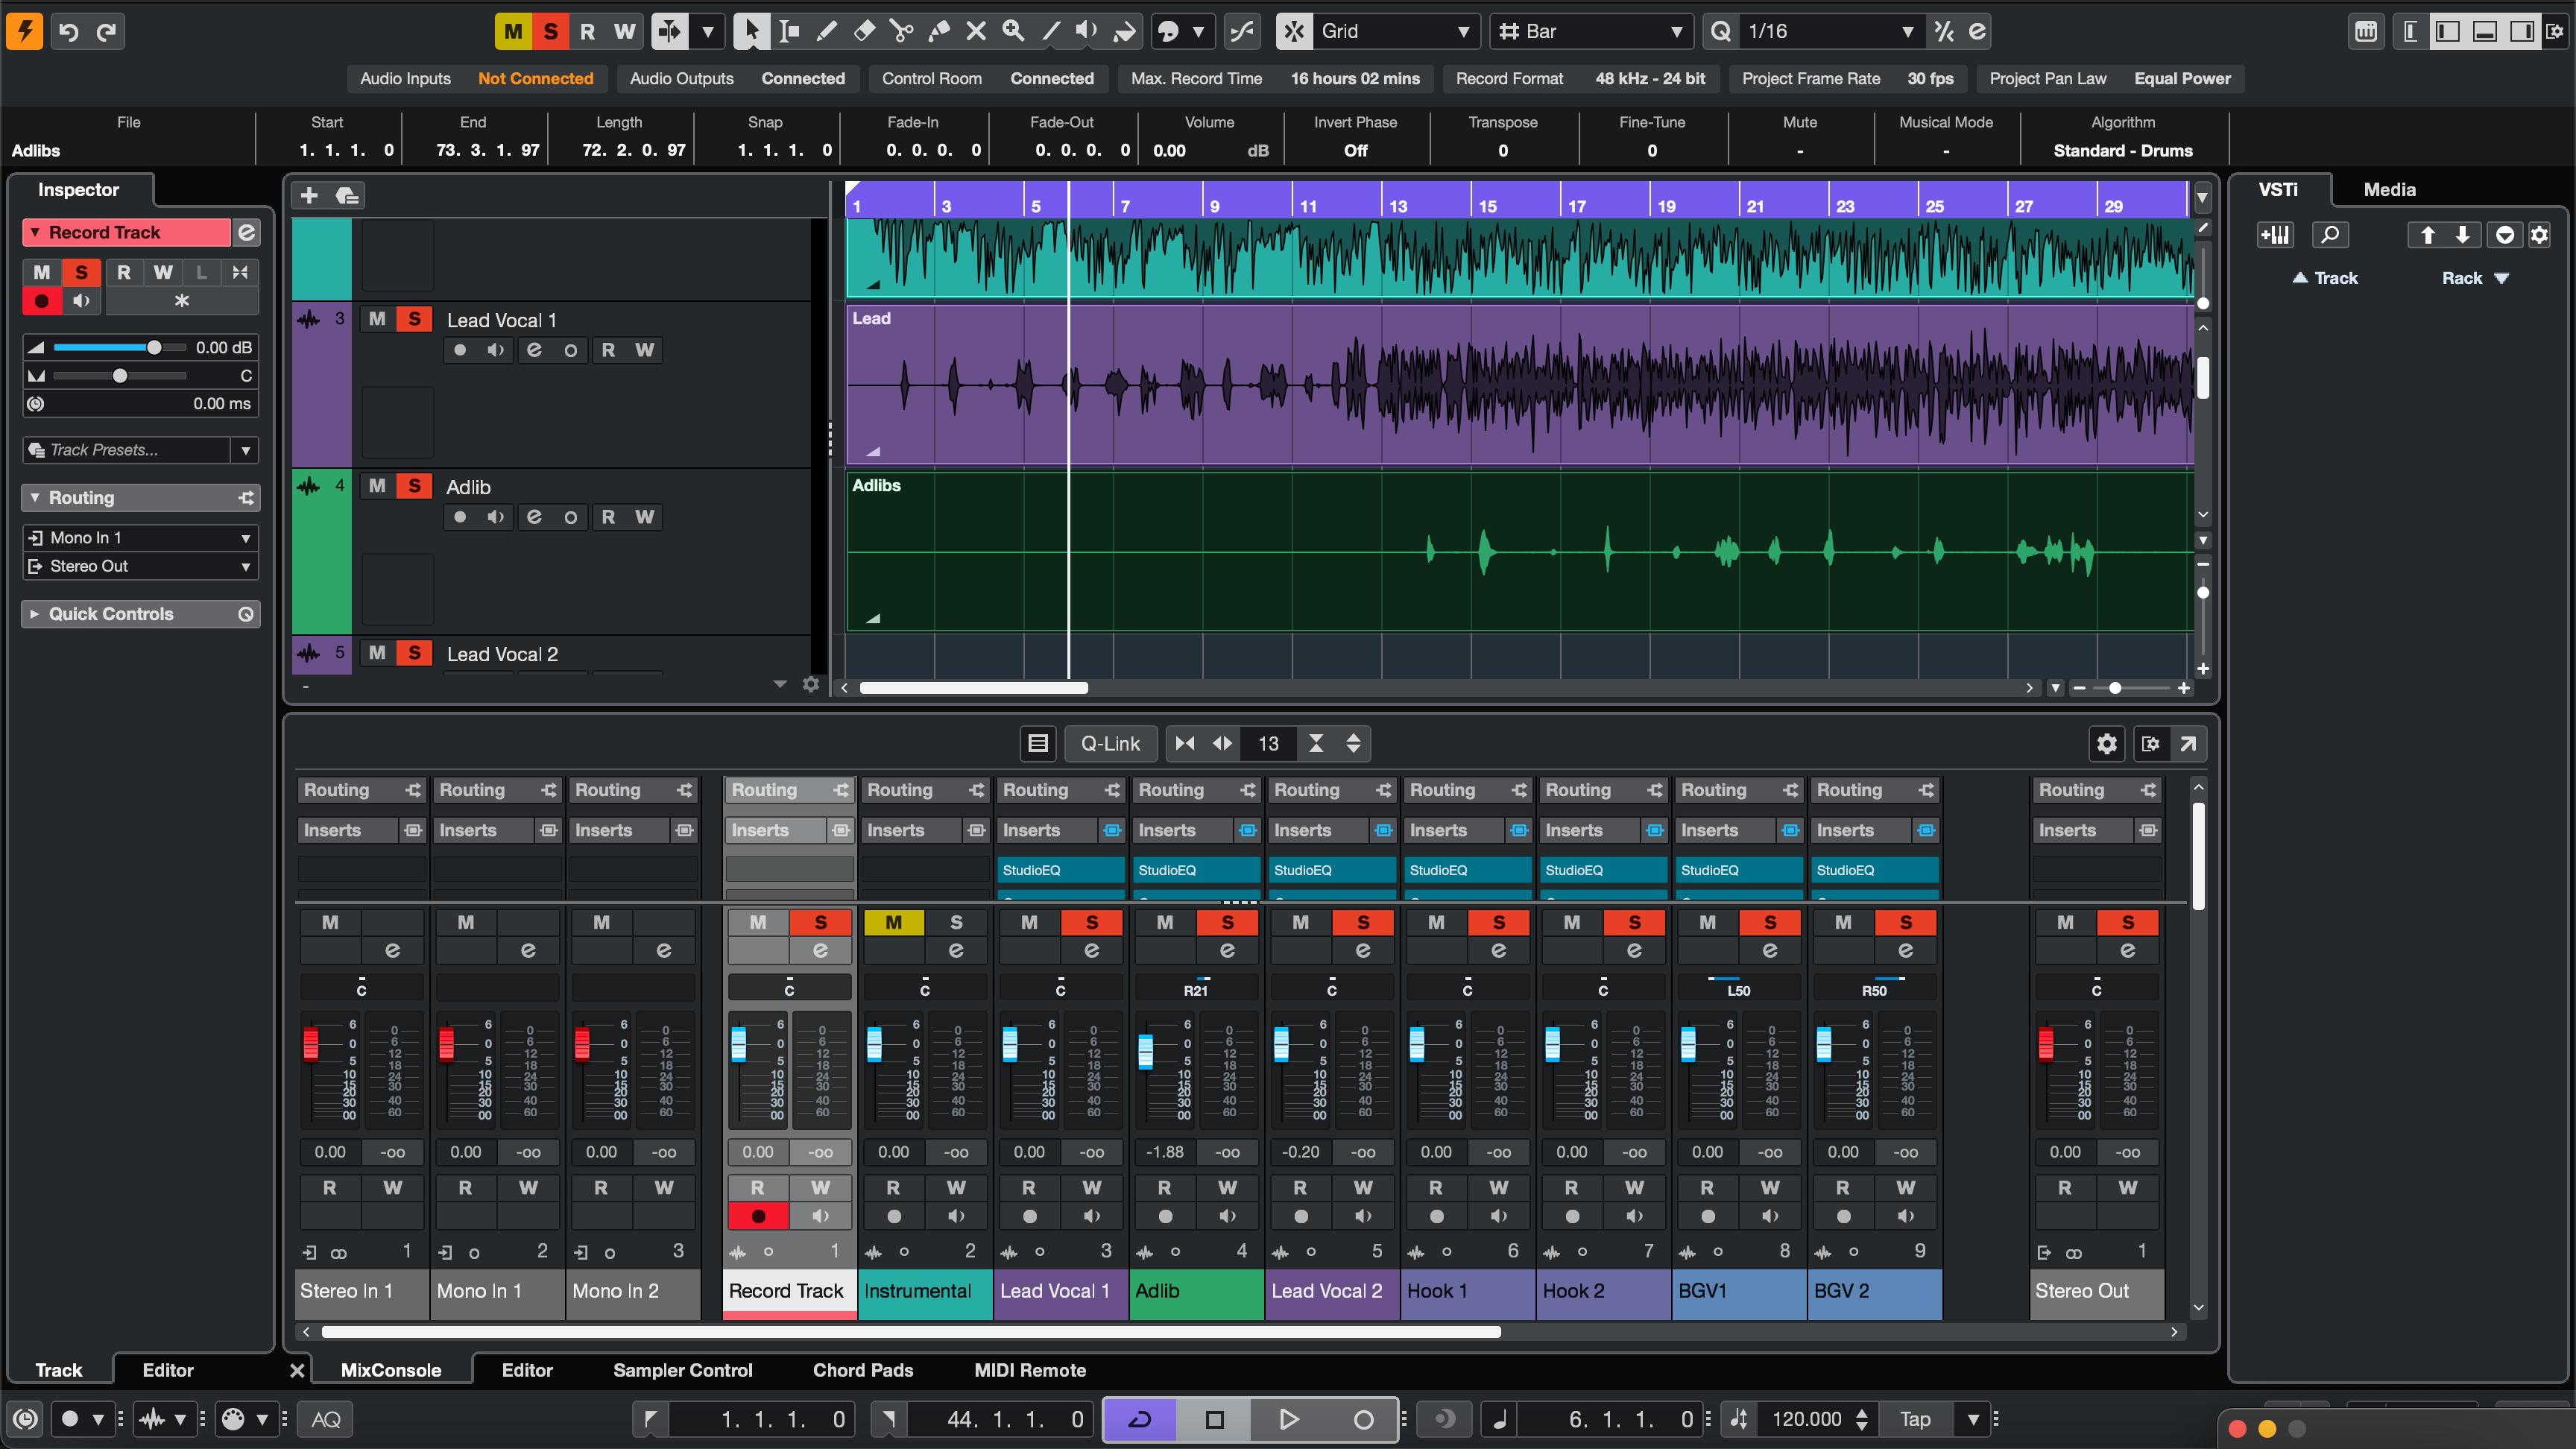
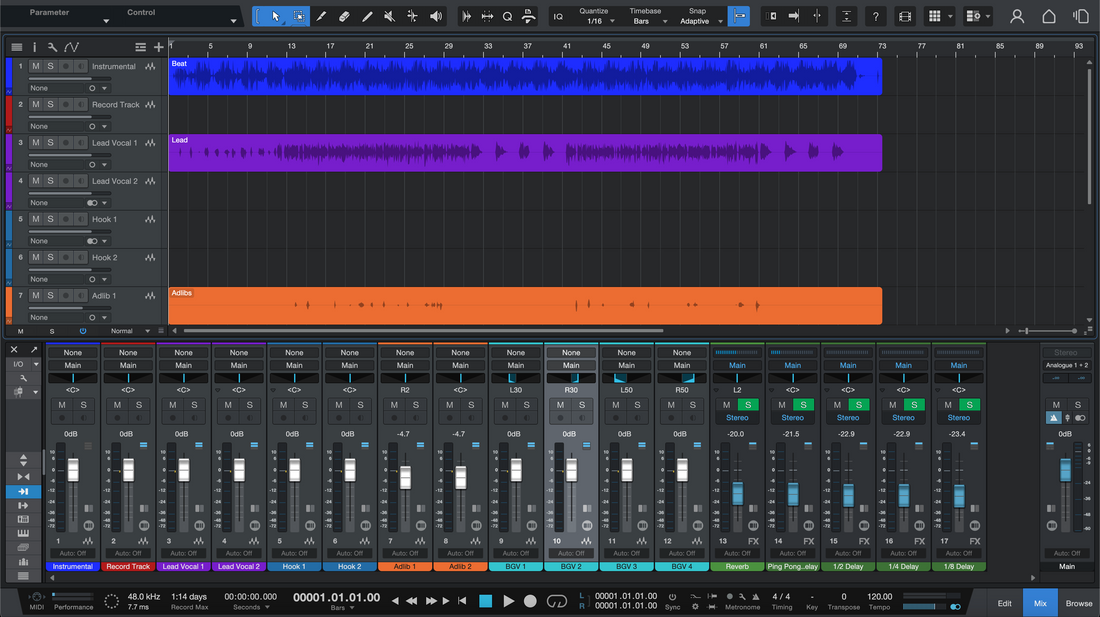
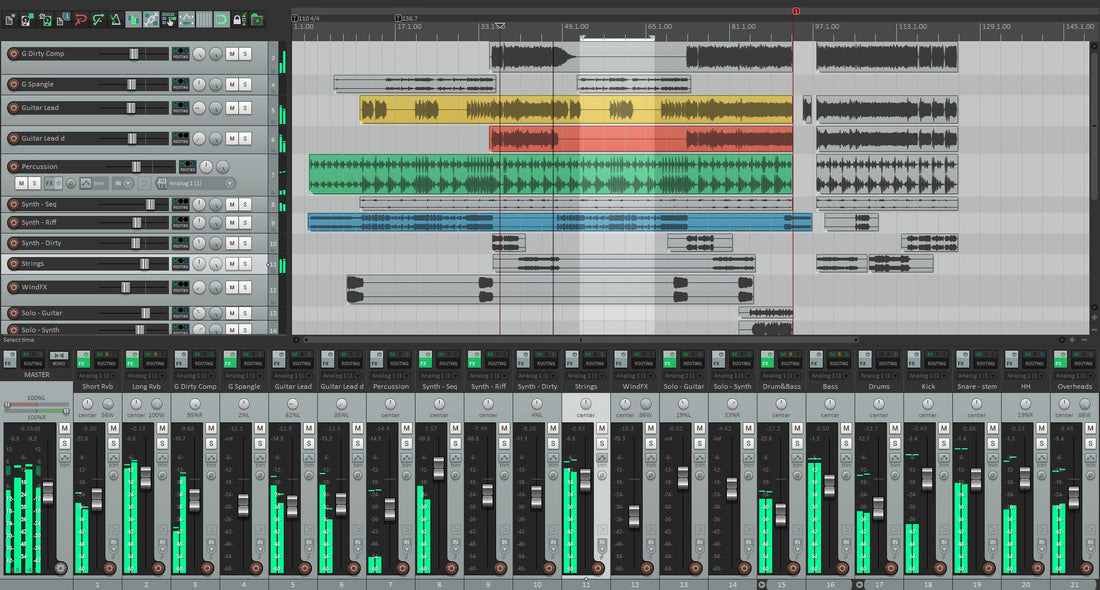
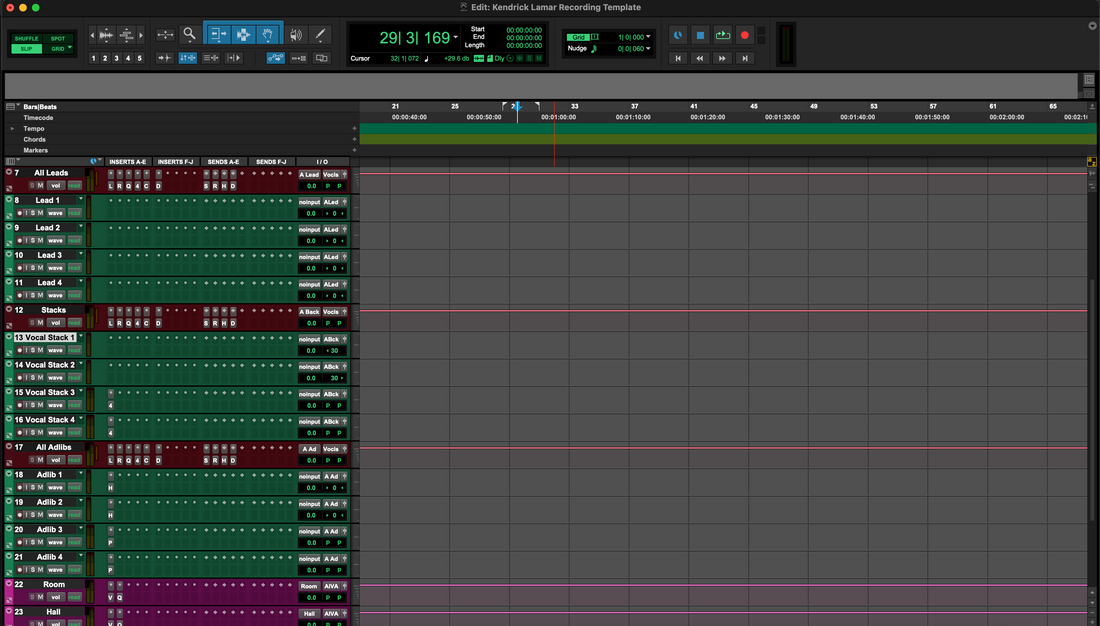
Recording templates let Cubase open straight into a record-ready studio—tracks, routing, FX returns, colors, and markers waiting for you. This guide shows every reliable way to “install” a template (Project Templates, Track Archives, and MediaBay favorites), how to wire a vocal-first session, and how to keep things organized so you never rebuild the same layout twice. If you also want a tone starting point that drops into those lanes, browse purpose-built Cubase vocal presets and tweak thresholds and sends to match your mic and room.
1) Template, Track Archive, or Preset? Read This First
In Cubase you’ll encounter three different “reusable” concepts. They complement each other:
- Project Template (.cpr saved as a Template): a complete project shell that appears when you choose New Project → My Templates. Includes tracks, groups, FX channels, markers, colors, and Control Room choices.
- Track Archive (Export/Import Selected Tracks): a curated set of tracks you can inject into any existing session. Great for adding a full vocal stack to a song in progress.
- Track Presets (MediaBay): saved channel settings for a single track (inserts, EQ, sends). These are not full templates, but they’re perfect for loading a “Lead Vox” chain on demand.
2) Zero-Confusion Setup (One-Time Preferences Worth Doing)
Templates live or die on predictable I/O and monitoring. Spend five minutes here and save hours later:
- Audio Connections (F4): label your input buses (e.g., “Vocal In 1”) and outputs. If you use Control Room, enable it and name Cue mixes clearly.
- Sample rate & bit depth: choose the rate you actually deliver (44.1 kHz for music, 48 kHz for video). Record at 24-bit.
- Click & pre-roll: set a 1-bar count-in and route the metronome to Control Room/Cue—not the print path.
- Colors & Track Types: pick a color palette you’ll repeat: Lead (gold), Doubles (orange), Ad-libs (blue), Returns (purple), Groups (teal).
3) Install Path A — Save a Project Template (Shows in the Hub)
- Open a clean project and build your layout (tracks, groups, FX channels, markers, tempo, Control Room).
- Go to File → Save as Template…, give it a clear name (e.g., Vocal_Record_48k), and save.
- Next time choose File → New Project → My Templates and select it. Immediately Save As… a new song folder so you never overwrite the template.
Why it’s great: fastest “new song” workflow; your template is one click away in the Hub.
4) Install Path B — Track Archives (Drop a Vocal Stack into Any Song)
- In your master project, select only the vocal tracks, groups, and FX channels you want to reuse.
- File → Export → Selected Tracks… (Track Archive). Save the archive in a “Cubase/Archives/Vocals” folder.
- Open any existing song → File → Import → Track Archive… and pick your archive. Choose options to maintain routing and groups.
Why it’s great: inject a complete vocal rig—including sends and groups—into a production that already exists.
5) Install Path C — MediaBay + Track Presets (Favorite Your Chains)
- On a finished “Lead Vox” channel, right-click the track header → Save Track Preset…
- Open MediaBay, tag the preset (Genre, Character, “LeadVox_StockDeEss” etc.), and add it to Favorites.
- Later, on any audio track, load that Track Preset from the Inspector or MediaBay. Your chain and sends return instantly.
Why it’s great: one-click chains for Lead, Doubles, Ad-libs—no hunting through plug-ins.
6) Build the Master Once (What to Include for Vocals)
Use this checklist to design a reliable vocal-first template:
- Tracks by role: Lead Vox (mono), Boost Lines (mono for emphasis words), Ad-libs (mono, panned per section), Harmonies (stereo or dual mono).
- Groups: a Vocal Group bus with gentle glue and a final broad de-ess; a Beat Bus (if you use stems) for music control; keep a clean Master.
- FX channels: Room (0.4–0.8 s), Slap (90–120 ms mono), and Tempo Echo (1/8 or dotted-eighth). Filter returns: HPF ~150 Hz, LPF ~6–7 kHz.
- Sidechain ducking: duck Slap/Echo from Lead so repeats bloom in gaps, not on syllables.
- Markers: Verse/Pre/Hook/Bridge plus a count-in locator. Loop ranges ready for punch-ins.
- Metering & control: add a Level meter on the Vocal Group; keep loudness decisions for mastering.
7) 10-Minute First-Run (From Blank to Record-Ready)
- Create buses: Audio Connections—name inputs/outputs; enable Control Room; create one Cue mix.
- Add tracks: Lead, Boost, Ad-libs, Harmonies; route all to Vocal Group.
- Add FX channels: Room, Slap, Tempo Echo; set sensible default sends (Lead low Room/Slap; Ad-libs slightly more).
- Set chains for tracking: Lead HPF → light comp (2–3 dB on phrases) → broad de-ess. Keep it lean while recording.
- Color & order: apply your palette; store a Visibility Configuration that shows only vocal stuff while tracking.
- Save: File → Save as Template… named “Vocal_Record_48k”. Done.
8) Two-Track Beat Template (When You Only Have a Stereo Instrumental)
Common in rap/pop sessions. Make a dedicated template:
- Tracks: Beat (stereo), Lead, Boost, Ad-libs, Harmonies, Vocal Group.
- Beat control: put a simple trim plugin or gain handle on Beat so you can ride intros/hooks without smashing the mix bus.
- Presence without harshness: keep returns modest; dry-leaning verses read better over dense two-tracks.
- Hook lift: automate +1 dB on Tempo Echo send for the final bar into each chorus.
9) Names, Colors, and Sorting (So You Grab the Right File)
Templates work because they’re easy to find and hard to break. Use strict labels:
-
Templates:
Vocal_Record_48k,Dubs_2Track_48k,Podcast_DualMic_48k. -
Archives:
Archive_VocalStack_Rap,Archive_VocalStack_RnB. -
Presets:
LeadVox_Stock_DeEss,AdLib_Bandpass_Slap.
When starting a new song, open the Template and immediately Save As… Artist_Song_YYYY-MM. You’ll never overwrite the master.
10) Control Room & Cue Confidence (Monitor Like a Pro)
- Talkback: assign a talkback input; keep it routed to Cue only, not to the Master.
- Click routing: metronome to Cue, not to Master, so exports never include the click.
- Cue mix balancing: singers track better with a little mono slap and a small room—less haze, more pitch confidence.
11) Portable = Reliable (Keep Media Together)
Templates and archives travel best when assets live in the project folder:
- Save new projects with Prepare Archive habits—keep samples and presets local.
-
Versioning: suffix updates with
_v1.1,_v1.2. Keep v1 safe for recall, evolve forward in copies. - Backups: mirror your “Cubase/Templates” and “Cubase/Archives” folders weekly.
12) Symptom → One-Move Fix (Troubleshooting You’ll Actually Use)
- Wrong inputs after interface swap: Audio Connections—reassign named buses → re-save Template on that rig.
- Flam/latency while tracking: disable software monitoring if hardware monitoring is on, or vice versa. Keep tracking chains light.
- Template prints the click: metronome routed to Cue only; confirm no “Click” channel feeds Master.
- FX smear clarity: lower Room return; filter returns again (HPF/LPF); use more Slap, less reverb.
- Hook collapses in mono: keep Lead centered and mostly dry; push width into doubles/ad-libs, not the lead lane.
- Overbright S’s on earbuds: broaden de-ess band; reduce any air shelf by 0.5 dB; low-pass delay returns ~6–7 kHz.
- Archive imports with odd routing: import with the “map to existing buses” option, then re-save a corrected archive.
13) Keep a Small Library, Not a Junk Drawer
Have a few focused Project Templates by purpose, a handful of Track Archives by genre, and a short list of Track Presets by role. You’ll load faster, make fewer mistakes, and keep your sound consistent across projects.
14) Where Structure Meets Sound (Tie-In with Chains)
The template is your room and wiring; the Track Preset is your chain. Use one to load instantly; use the other to shape tone. For detailed install steps and search/tagging in MediaBay, this step-by-step article pairs perfectly with your new template: install Cubase vocal presets.
15) FAQ (Short, Clear Answers)
Do I need third-party plug-ins to use templates?
No. Build stock and third-party variants. If a collaborator lacks a plug-in, swap to a stock chain and re-save a “stock” template.
Is a Track Archive the same as a Template?
No. A Template is a full project starting point; an Archive is a modular track package you import into an existing project.
Can I keep multiple “default” templates?
Yes—store several in My Templates (e.g., 44.1k and 48k, or Vocal vs. Two-Track). Pick the right one at project creation.
How do I share with a collaborator?
Zip a project created from the Template (so it includes media), or export a Track Archive of the vocal stack. Include a short README with input names and session rate.
What’s the fastest path for beginners?
Start with one Project Template (Vocal_Record_48k) and one Track Archive (VocalStack_Rap). Add Track Presets later for speed.
16) Closing Thoughts (Build Once, Record Faster Forever)
Install a Cubase recording template so a new song opens in seconds. Keep Track Archives to drop a full vocal stack into any session. Favorite your Track Presets in MediaBay so chains load with one click. Label buses, filter returns, and route the metronome to Cue—not print. With that foundation, every session starts calm, focused, and ready to capture a great performance.


