


Clean, well-named stems save hours and prevent mix delays. In the next sections you’ll learn the exact specs, naming, and export steps that import perfectly in any DAW. By the end, you’ll have a repeatable checklist you can use for every project.
I. Intro
Engineers judge a project the minute they open the files. Tidy stems that line up from bar one—without clipped peaks, missing FX tails, or mystery tracks—let your mix start fast and stay focused. This guide shows the studio-proven way to print stems that load, play, and translate on the first pass.
II. Core concepts
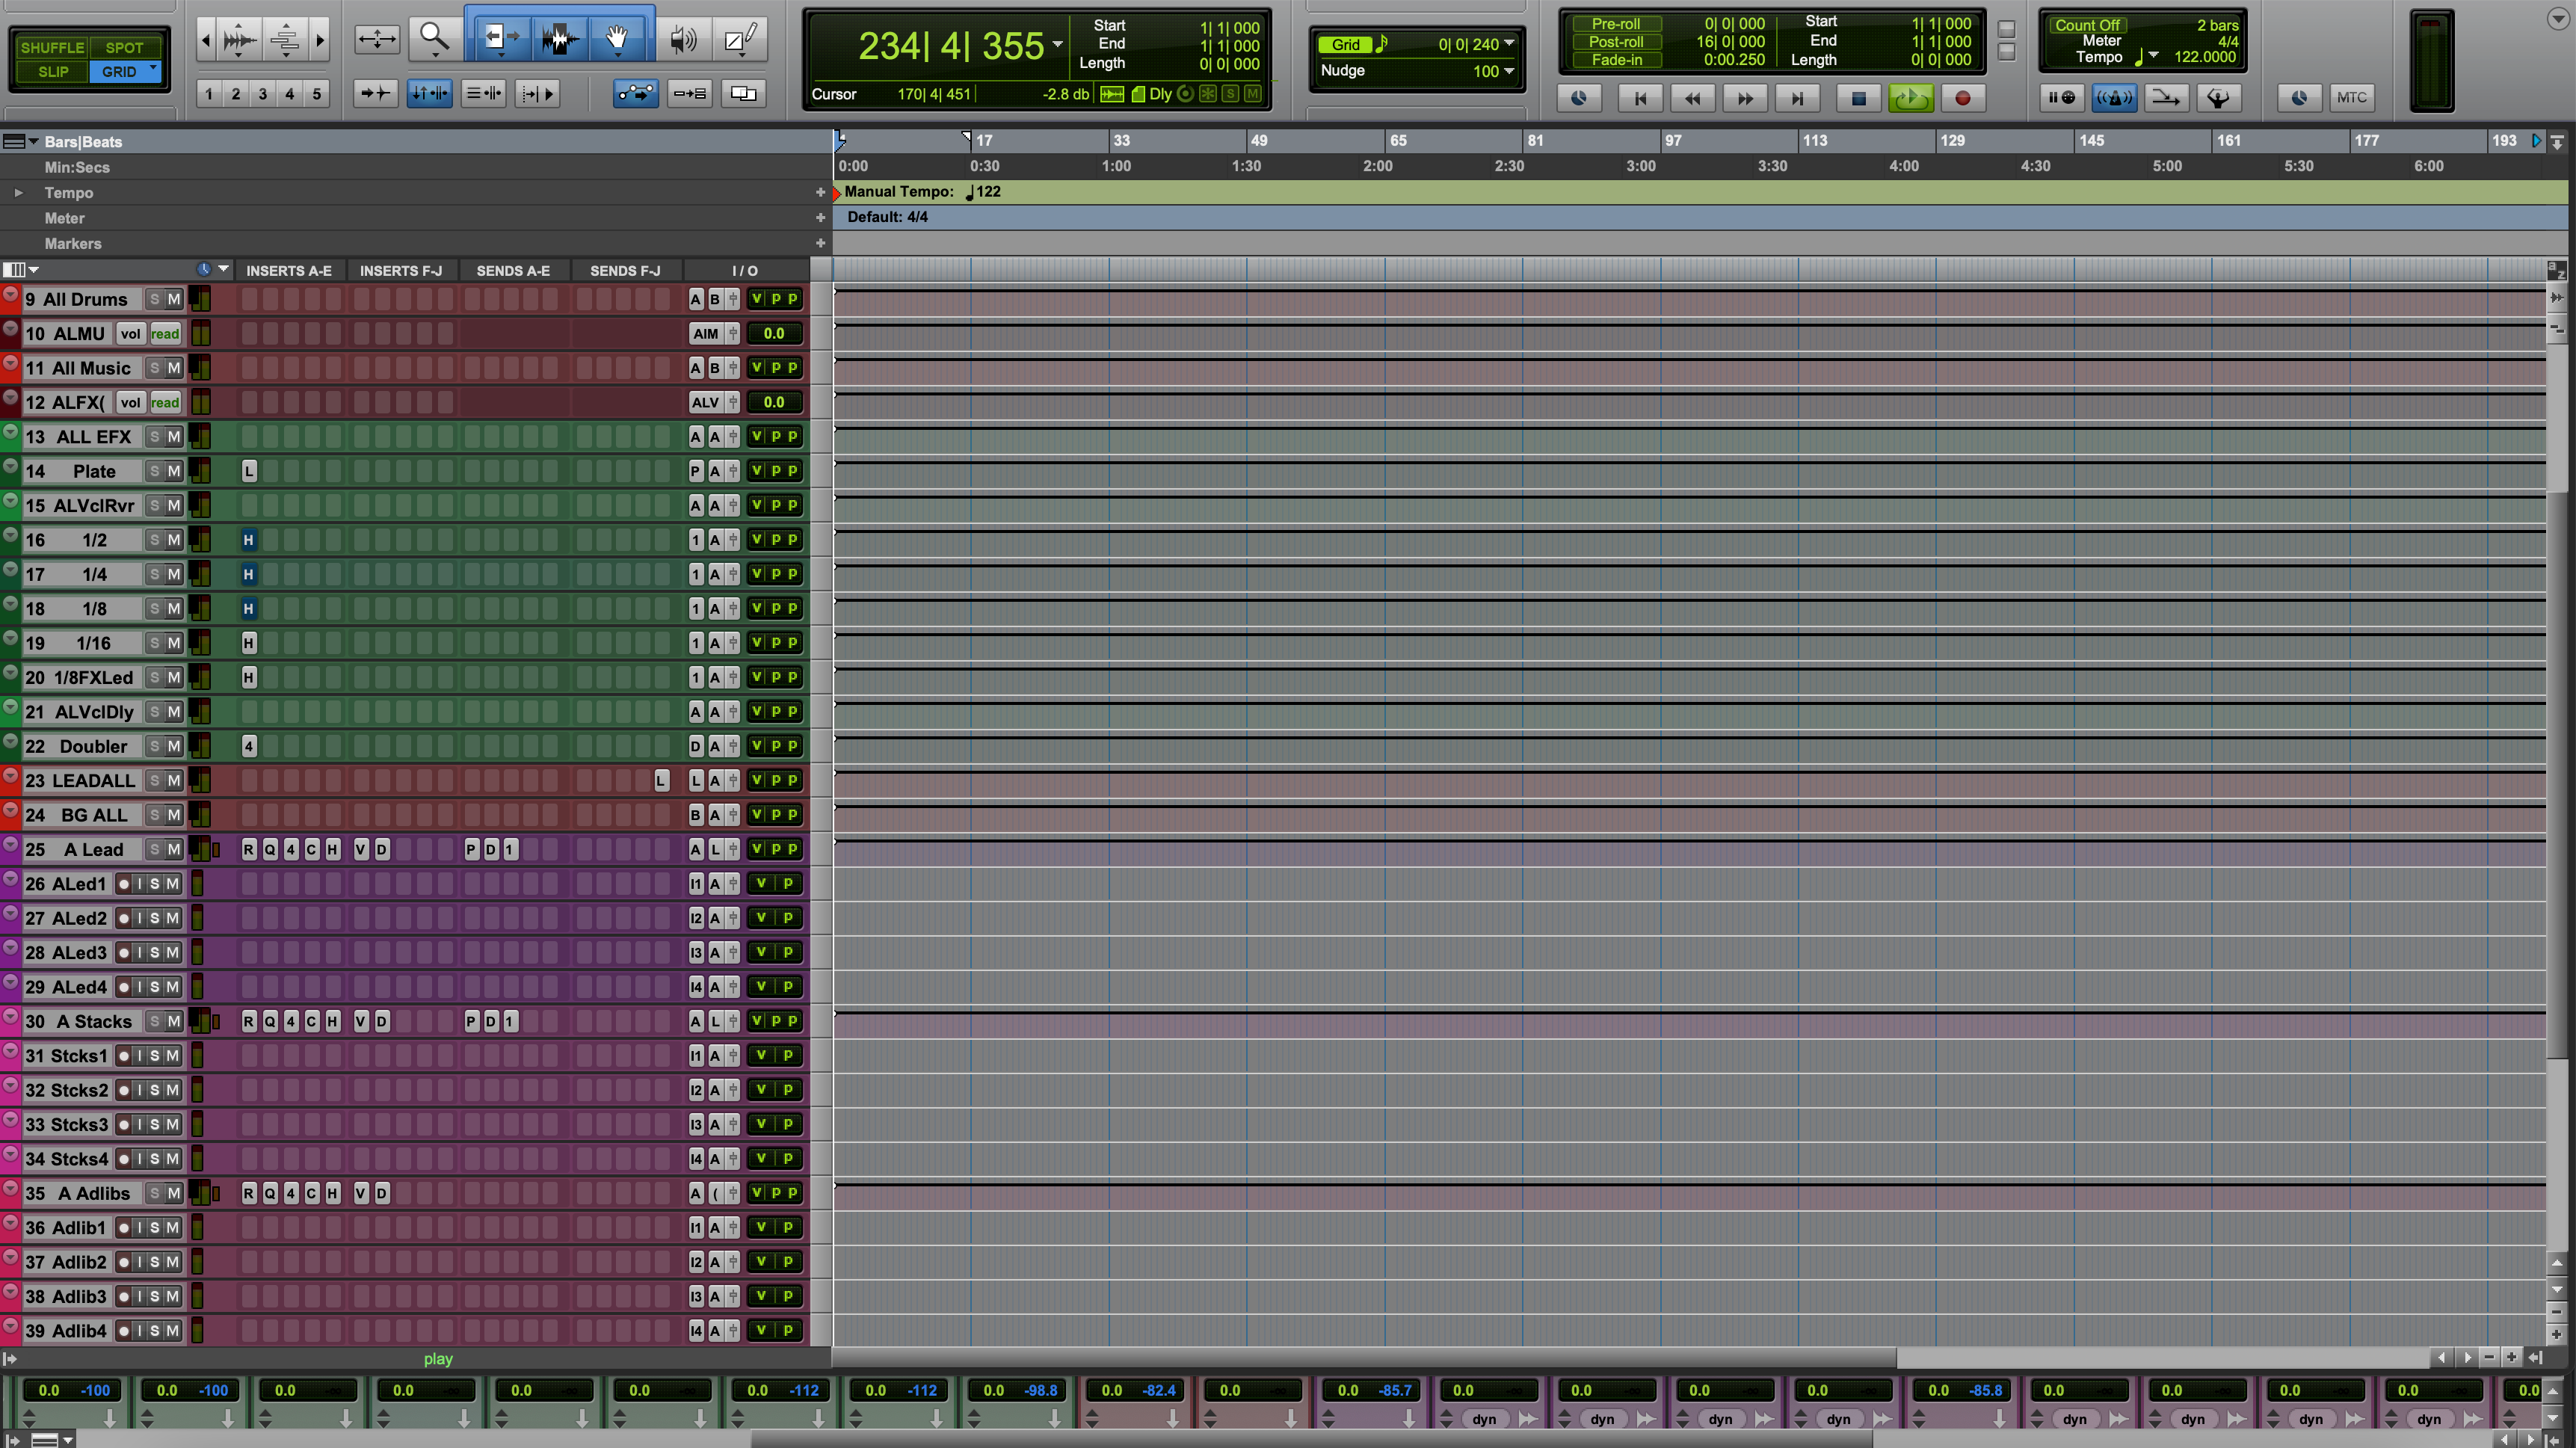
What are stems? Stems are grouped audio exports—e.g., Drums, Bass, Guitars, Lead Vox, BGVs—printed as separate WAV files that all start at the same time and run the full song length. They are not your DAW project; they are renders that any engineer can import.
Bit depth & sample rate: Use 24-bit WAV for headroom and quieter noise floor. Choose 44.1 kHz for music releases and 48 kHz when delivering for video, broadcast, or post houses. If your session is higher (88.2/96), keep it until final delivery, then SRC (sample-rate convert) once with high-quality settings.
Headroom: Keep peaks between −6 dBFS and −3 dBFS. Do not normalize, clip, or limit stems. Headroom preserves transient shape and mix latitude.
Dry vs wet: Unless requested otherwise, print musical FX that define the sound (delays, special chorus throws) and omit global master-bus processing (limiters, clippers). For vocals, include corrective processing (tuning, surgical EQ, noise reduction) and provide a dry vocal alongside if the engineer asks.
Loudness terms (for reference): dBFS = digital level relative to clip; LUFS = perceived loudness over time; true peak (dBTP) = inter-sample peak estimate. Stems aren’t masters, so target healthy peaks and ignore integrated LUFS here.
Working in Logic? Follow this focused companion: step-by-step Logic Pro stem export.
III. Quick-start (4–6 steps)
- Duplicate your session. Save a copy named Song_Stems so you can flatten safely.
- Consolidate and commit edits. Render comps, freeze heavy instruments, and bounce MIDI to audio where appropriate.
- Route groups. Send related tracks to printable buses (Drums, Bass, Music, Lead Vox, BGVs, FX).
- Bypass the limiter. Disable master-bus limiting/clipping. Keep corrective bus EQ/HPF if it prevents crud.
- Export stems. WAV, 24-bit, sample rate matches delivery (44.1 or 48). Start at bar 1; include tails.
- Name and package. Use numeric prefixes so files sort in musical order and zip the delivery.
- Limiter/clipper on the mix bus is off; peaks land between −6 and −3 dBFS.
- All stems start at bar 1 and include reverb/delay tails.
- Format: WAV, 24-bit; Sample rate: 44.1 kHz (music) or 48 kHz (video).
- Track names are clear with numeric prefixes (e.g., 10_Drums, 20_Bass, 30_LeadVox).
- No normalization; no dithering unless reducing to 16-bit for a special case.
IV. Use-case recipes / examples
Hip-hop with heavy 808: Print Bass/808 as its own stem and a separate Kick stem. If the 808 sidechains to kick, provide both the “with SC” version and a “no SC” alternate so the mixer can choose.
Pop vocals with creative throws: Keep throws/widener FX that define arrangements on the Vox FX stem, not baked into the dry lead. Also export a LeadVox_Dry stem if tuning or de-essing might change.
Rock guitars: Group doubles by function (Rhythm L/R, Lead, Textures). If a part is amp-sim based, include a DI Gtr stem for re-amping.
EDM with buses & sidechains: Render Sidechain Key click (or MIDI) if drops rely on pumping. Provide a Build FX stem separate from Music for flexible transitions.
Live instruments + overdubs: If bleed is musical, leave it. If not, gate/edit before export. Align any external prints to the session grid so all stems share identical start and length.
Tracking for a Pro Tools session? This companion piece helps with capture quality before export: recording vocals in Pro Tools guide.
V. Troubleshooting & fast fixes
- Stems don’t line up: Export from bar 1 with the same pre-roll. Avoid “export selection” mismatches.
- FX tails are cut: Extend locators 1–2 seconds past the last hit and disable “cut tails.”
- Clipping on import: A bus or print track had a limiter. Re-export with headroom; check post-fader sends.
- Missing vocal doubles: A subgroup mute or solo-safe issue dropped them. Solo buses, not individual tracks, during printing.
- Noisy vocal prints: Commit noise reduction or a gentle gate before export, then also provide an unaltered safety stem if requested.
- Wrong sample rate: Re-SRC the original session, not the rendered stems, or reprint from the correct rate.
VI. Advanced / pro tips
- One pass, many stems: In DAWs that allow it, route named buses to discrete outputs and capture them simultaneously in a print folder. Consistent lengths guaranteed.
- Dual-print vocals: Deliver LeadVox_Dry and LeadVox_Processed. The mixer can blend clarity with vibe.
- Parallel safety: If you used parallel comp on drums or vocals, print a separate Par stem so the balance is adjustable.
- Versioning: Add a short README listing DAW, sample rate, tempo, and any non-obvious FX you kept wet.
- Archive format: Zip the stem folder with checksums (MD5) for tour managers or labels who require verification.
Ready for release-quality loudness after a clean stem handoff? Consider professional mastering with label-ready stem specs.
VII. FAQs
Do stems need the master limiter?
No. Remove clippers/limiters so the mixer has headroom. Keep corrective EQ or utility HPFs if they prevent problems.
24-bit or 32-bit float?
24-bit WAV is the delivery standard. 32-float is fine inside your DAW, but many facilities expect 24-bit files.
44.1 or 48 kHz?
Music releases: 44.1 kHz. Video/broadcast: 48 kHz. If your session is 96 kHz, export at session rate or do a high-quality SRC once.
How should I name files?
Use numeric prefixes and clear roles: 10_Drums, 20_Bass, 30_Music, 40_LeadVox, 41_BGVs, 50_FX.
What about wet vs dry vocals?
Provide the processed vocal that defines the vibe plus a dry alternate if the mixer requests flexibility.
Can I send individual tracks instead?
Yes—when requested. Stems are a fast starting point; some mixes still prefer full multitracks for maximum control.
Conclusion
Great mixes start with great handoffs. When your stems are 24-bit, correctly sampled, clearly named, and printed with space to work, the engineer can focus on sound—not file rescue.
Save this process, reuse it for every song, and your projects will move faster with fewer revisions.


