


You can build a home studio that records release-ready vocals without overspending. This guide walks you through room treatment, essential gear, gain staging, and a repeatable workflow—so your takes sound clean, consistent, and ready to mix.
I. What “home recording” really means today
Home recording is capturing clean, controlled audio in a small space and doing it predictably across songs. The room and workflow matter as much as the mic. Get the space under control, aim for healthy input levels, and keep your chain simple enough to repeat.
Key terms: dBFS is your digital level; 0 dBFS clips. LUFS measures perceived loudness over time (useful for full mixes, not for raw takes). True peak (dBTP) estimates inter-sample spikes; avoid hitting 0 dBTP on prints. We’ll use practical targets as guides—not numbers to chase.
II. Core concepts that anchor any session
Room first. Reflections smear diction and exaggerate sibilance. Treat first reflections (side walls, ceiling above the mic) and tame the rear wall with absorption; a rug underfoot helps. Dead isn’t the goal—controlled is.
Mic technique. One fist from the pop filter, off-axis by 10–20° if you’re sibilant. Maintain the same stance each take to keep tone stable.
Gain staging. Record loudest phrases and trim so peaks land between −12 and −8 dBFS. Leave headroom. You’ll mix louder later.
| Use case | Sample rate / bit depth | Input peaks | Noise floor | Notes |
|---|---|---|---|---|
| Rap / R&B lead | 48 kHz / 24-bit | −12 to −8 dBFS | ≤ −60 dBFS | Short plate; 20–40 ms pre-delay later |
| Pop stacks | 48 kHz / 24-bit | −14 to −10 dBFS | ≤ −60 dBFS | Higher HPF on doubles/harmonies |
| Podcast / VO | 48 kHz / 24-bit | −12 to −8 dBFS | ≤ −55 dBFS | Minimal reverb; light gate optional |
| Acoustic + vocal | 48 kHz / 24-bit | −16 to −10 dBFS | ≤ −60 dBFS | Angle mic off axis to the guitar |
III. Quick-start (6 steps to your first clean take)
- Treat the hotspot. Place the mic so the singer faces into an absorptive area, not a bare wall. Hang two panels at head height on side walls and one overhead. A closet full of clothes works in a pinch.
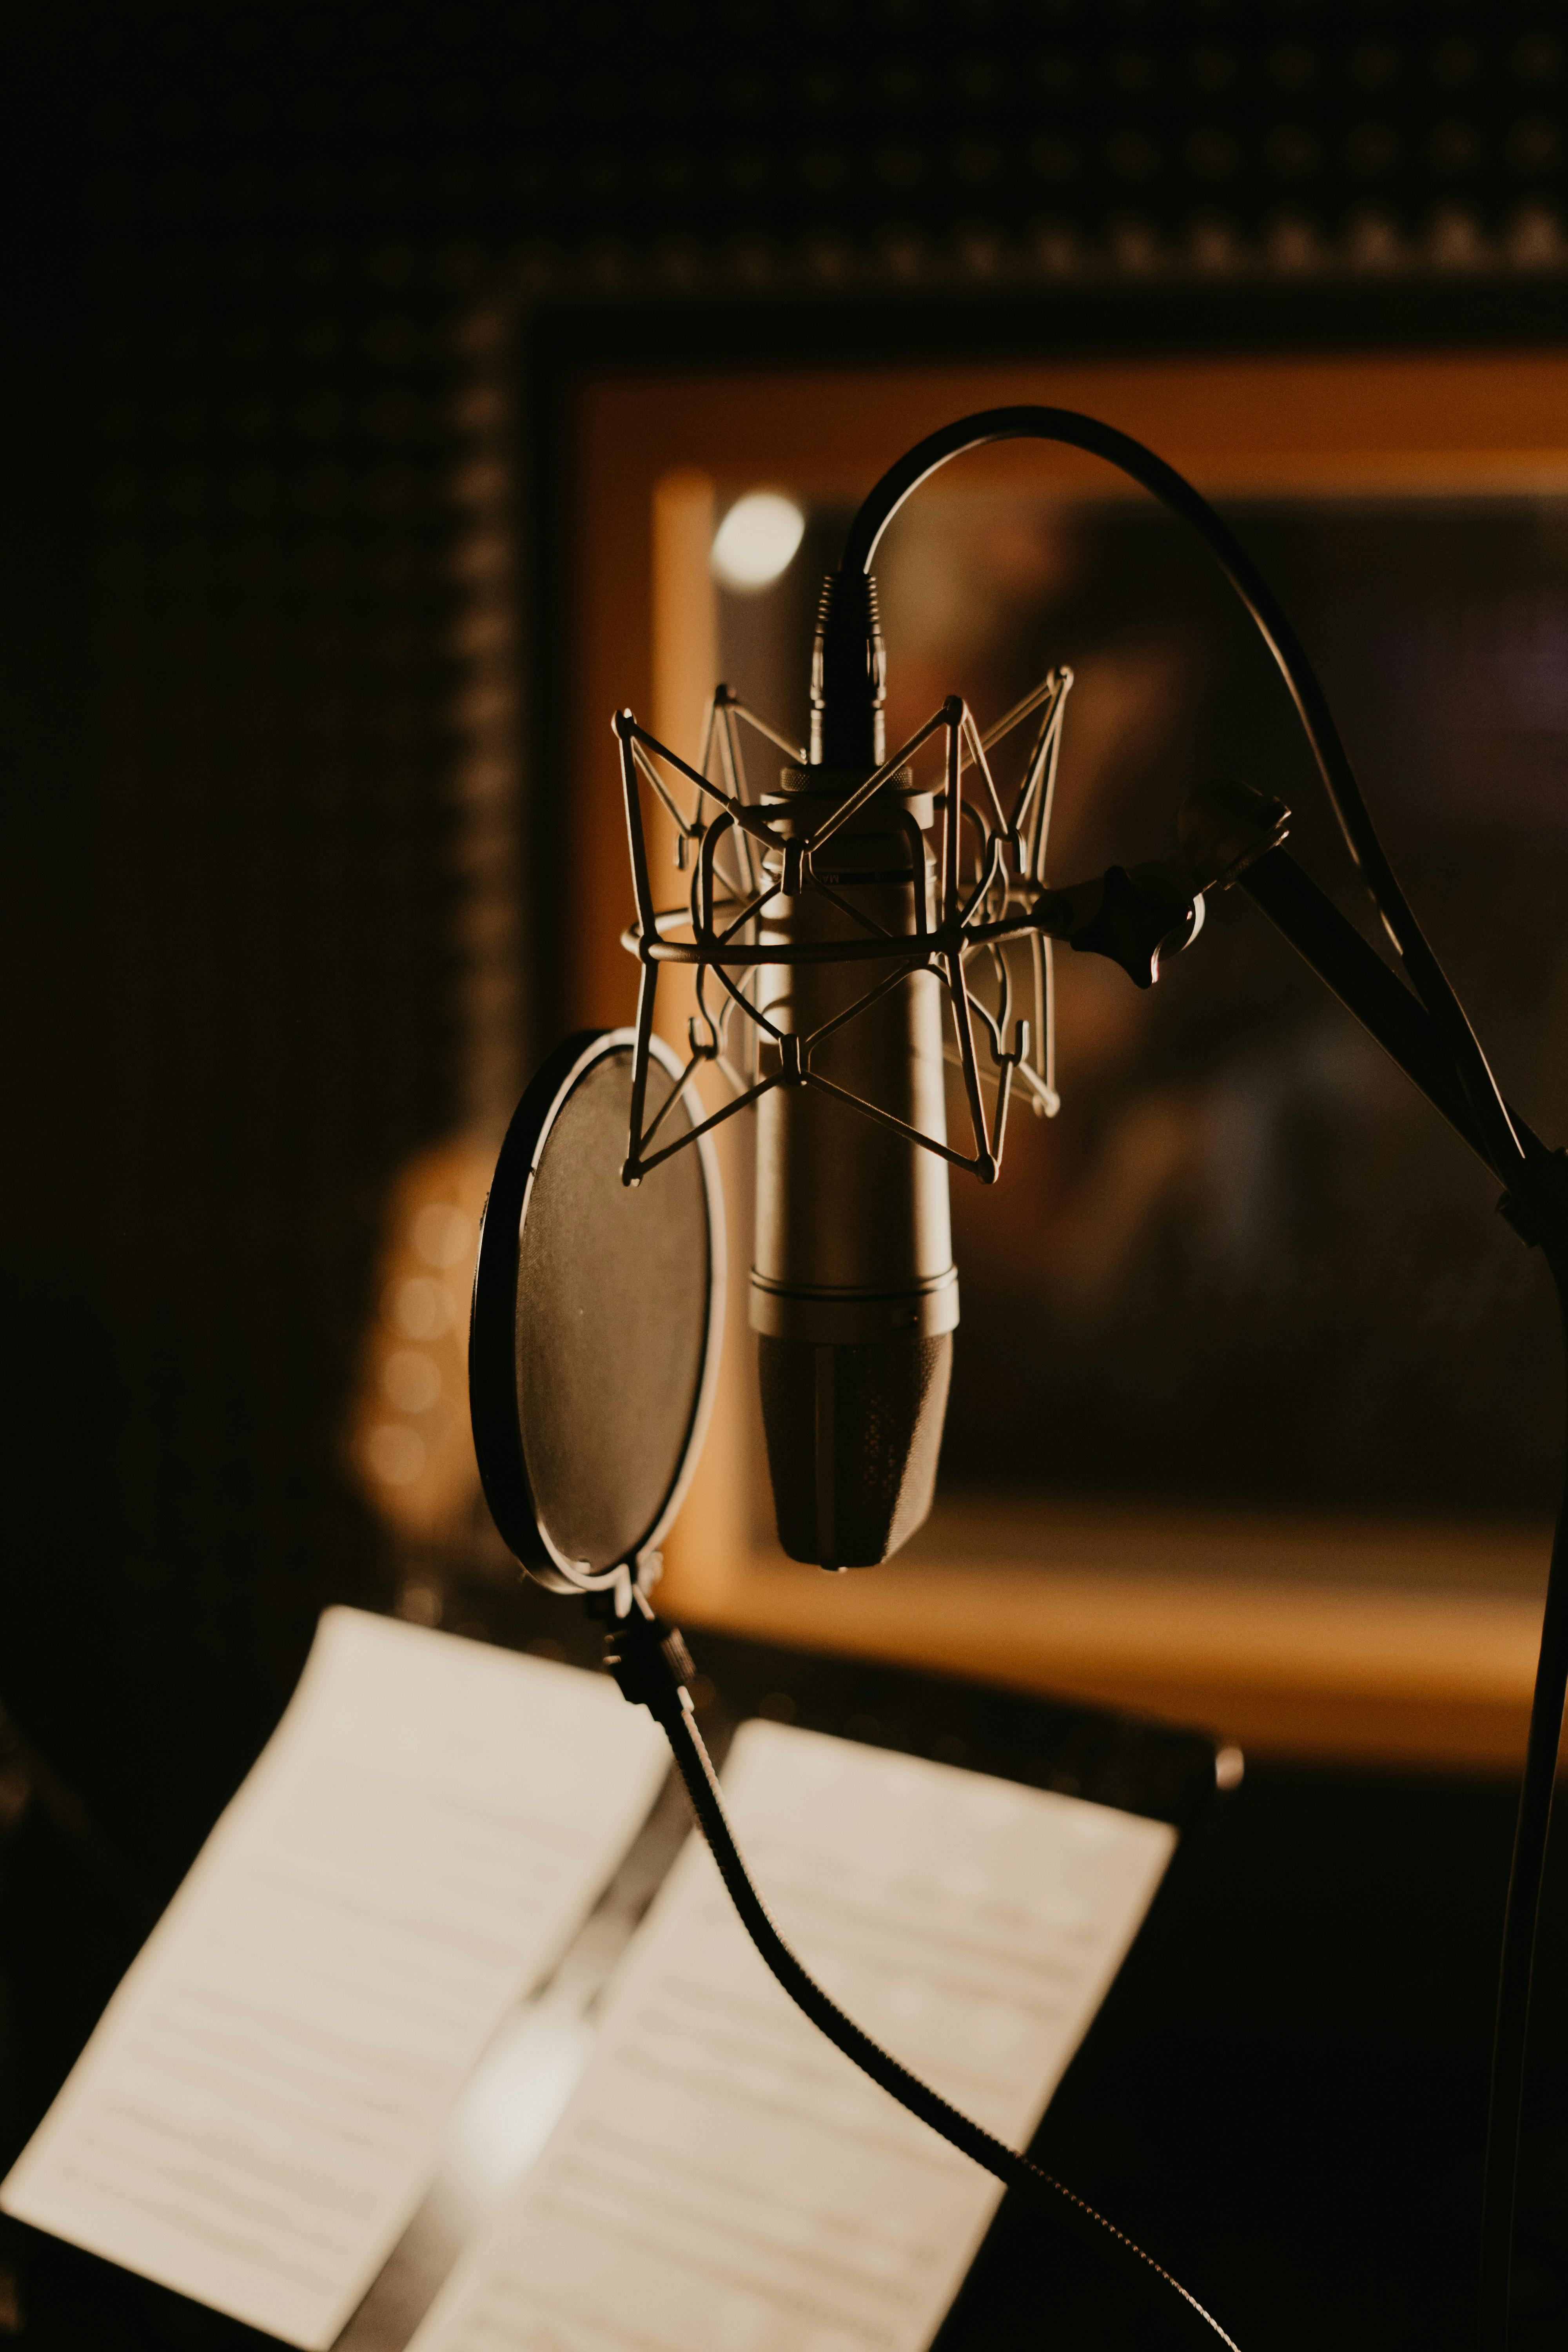
- Assemble a simple chain. Interface preamp → mic (cardioid) → pop filter → closed-back headphones. Disable master bus clippers/limiters for tracking.
- Set input once. Perform your loudest lines and adjust preamp so DAW peaks sit around −12 to −8 dBFS. Avoid red on hardware meters.
- Check tone, not loudness. Record a 20-second test. Listen for boxiness (200–350 Hz), room ring, and hiss. Move the mic, not the EQ, to fix room problems.
- Commit a safe monitor mix. A touch of low-latency compression and reverb in monitoring only. Print dry unless the sound is part of the production.
- Label and back up. Name takes clearly: Song_LeadVox_Take01. Keep a “keeper” playlist and a “comp” playlist. Save every 10 minutes.
If you want a session that’s pre-routed with sensible buses and gain staging, start with recording templates for fast, reliable sessions and focus on the performance while the layout stays consistent.
IV. Use-case Guides (gear + settings that just work)
Small untreated room (hip-hop/R&B lead)
Use a dynamic like an SM7B/RE20 or a tight-pattern condenser. Place a thick absorber behind the singer and a panel behind the mic. High-pass around 80–90 Hz later in mix. For tracking comfort, add a low-latency comp at 2:1 kissing 2–3 dB—monitor only.
Bright room with glass
Angle the mic 15° off-axis and move 6–8 inches from the pop filter. Hang a duvet or moving blanket over the glass, leaving 2–3 inches of air gap. Check S’s; if they’re hot, switch to a darker mic or foam reflection filter plus absorption.
Pop stacks and harmonies
Keep the same mic and position for each layer. Raise the high-pass slightly (90–110 Hz) on doubles/harmonies in the mix. Track at the same input peak range; any louder and stacks get spitty.
Guitar + vocal one-room record
Point the vocal mic off the guitar by 20° and use a figure-8 or cardioid with side nulls. Place a second absorber between guitar and vocal mic if available. Keep vocal peaks around −12 dBFS; the guitar can run a little lower.
Beat-based workflow (2-track instrumental)
Put the stereo beat on its own MUSIC bus. Route all vocal tracks to a LEAD VOX bus. When it’s time to mix, learn how to mix vocals over a 2-track beat (clean & loud) so your takes stay intelligible without crushing them.
V. Troubleshooting & fast fixes
- Room ring around 300 Hz: Move away from corners; add thicker absorption behind the singer; engage a gentle HPF later.
- Harsh S’s: Rotate the mic a few degrees off-axis; lower headphone volume; swap to a darker capsule; de-ess early when mixing.
- Pops and plosives: Raise the pop filter slightly; aim your airflow under the capsule; increase mouth-to-filter distance by 1–2 inches.
- Headphone bleed: Use closed-backs; reduce click volume; low-pass the click at 2–3 kHz; angle headphones so the driver faces away from the mic.
- Clipping on shouts: Lower preamp 3 dB and re-test loudest lines; don’t rely on a limiter to save bad gain staging.
- Latency ruins timing: Use your interface’s direct-monitoring or a low-buffer session while tracking; keep heavy plugins bypassed.
- Messy exports to collaborators: When you’re done, export stems from Logic Pro the right way so files line up and tails are intact.
VI. Advanced / pro tips
- Clip-gain before compression. Even out shouty syllables with clip-gain so compressors work musically at lower ratios.
- Two-space approach. Track in the deadest zone you can make; add life later with early reflections or a short plate. Record dry, mix wet.
- Quiet chain discipline. Turn off fridges/AC for takes, coil cables neatly, and keep the mic away from computer fans. Noise adds up.
- Consistency notebook. Log mic height, distance, angle, and preamp gain for each singer. Recalling great results becomes trivial.
- Parallel safety track. Print a duplicate input at −6 dB pre-FX if your interface/DAW allows. It’s a lifesaver if a hot take clips.
- Hook scene preset. Save a mix scene with +0.5 dB output and +10% send on vocal FX for choruses. Automation becomes a toggle.
VII. FAQs
Do I need acoustic foam everywhere?
No. Prioritize first reflections and the wall behind the singer. Use broadband absorbers; small squares of foam alone rarely fix low-mid issues.
Dynamic or condenser for a bedroom?
Dynamic mics reject more room tone and often win in small, live spaces. In treated rooms, a good condenser can add air and detail.
What buffer size should I track at?
Start at 64–128 samples. If crackles appear, bump one step up and freeze heavy tracks.
Should I print compression and reverb?
Print dry unless the sound is essential to the vibe. If you print FX, also record a dry safety track.
What about vocal presets?
They’re great for speed, but track clean. Apply presets at mix time and tailor small moves rather than chasing a “one-button” chain.
Conclusion
You don’t need a perfect room or expensive gear to capture professional vocals. Treat the space you have, set honest input levels, and follow a repeatable workflow so every session starts strong.


