I. Intro
A “natural” vocal preset enhances the voice without drawing attention to processing. The goal is simple: keep the singer’s timbre intact while helping words sit clearly against the arrangement. This guide shows practical moves—gain, tone, dynamics, and space—that make factory chains feel human and believable.
II. Core concepts
Naturalism starts with a few definitions. dBFS (decibels relative to full scale) measures level inside your DAW; 0 dBFS is clipping. LUFS measures perceived loudness over time; it’s useful for full mixes, not for setting a single vocal’s level. True peak estimates inter-sample peaks that can clip converters. On tone, remember the key bands: sub–low (rumble), low–mid (body), presence (intelligibility), and air (sheen). Spatial cues—pre-delay, early reflections, decay—shape distance and depth without washing the lyric.
| Target | Typical Setting | Naturalism Rationale |
|---|---|---|
| Input peaks | ≈ −12 to −8 dBFS | Feeds compressors in their sweet spot without harshness |
| High-pass filter | 70–100 Hz (voice-dependent) | Clears rumble; frees headroom for low end in the beat |
| Presence shaping | +1–2 dB around 3–5 kHz (if needed) | Improves clarity with minimal brightness |
| De-essing | Start 5–8 kHz, wide band | Tames S’s before any enhancers or saturators |
| Reverb pre-delay | 20–60 ms | Keeps consonants up front while adding depth |
III. Quick-start (10 practical ways)
- Set Trim Levels. Record loudest phrases, then set clip/input trim so peaks land between −12 and −8 dBFS. Most presets expect that range.
- Match timbre first, genre second. Pick a preset built for a voice like yours (bright/dark, breathy/dense). Adjusting for timbre avoids over-EQ later.
- High-pass by feel, not habit. Sweep the HPF up until the voice stops pushing the kick and bass, then back off a few Hz.
- Use two compressors with small jobs. A slower stage for shape (3–5 dB GR), then a faster one to catch peaks (1–3 dB). Natural results beat single-stage heavy compression.
- De-ess before color. Put the de-esser before exciters, tape, or saturation so upper harmonics don’t magnify sibilance.
- Favor subtractive EQ. Remove 200–350 Hz boxiness or 2–4 kHz prickliness before boosting “air.” Cuts sound more like the singer and less like a filter.
- Delay > reverb for intimacy. Start with tempo-synced 1/8 or 1/4 delay at low feedback; add a short plate with 20–60 ms pre-delay if you still need space.
- Automate sends, not inserts. Keep inserts conservative and ride return levels between verse and hook. Natural vocals change with the song.
- Level-match A/B. Toggle the chain on/off within ±0.5 dB. If “better” only equals “louder,” reduce makeup gain.
- Capture clean stems. Keep instrumentals organized and noise-free so the vocal has space. If you need guidance, see how to export stems from Cubase (batch export guide) or export stems from Adobe Audition (step-by-step).
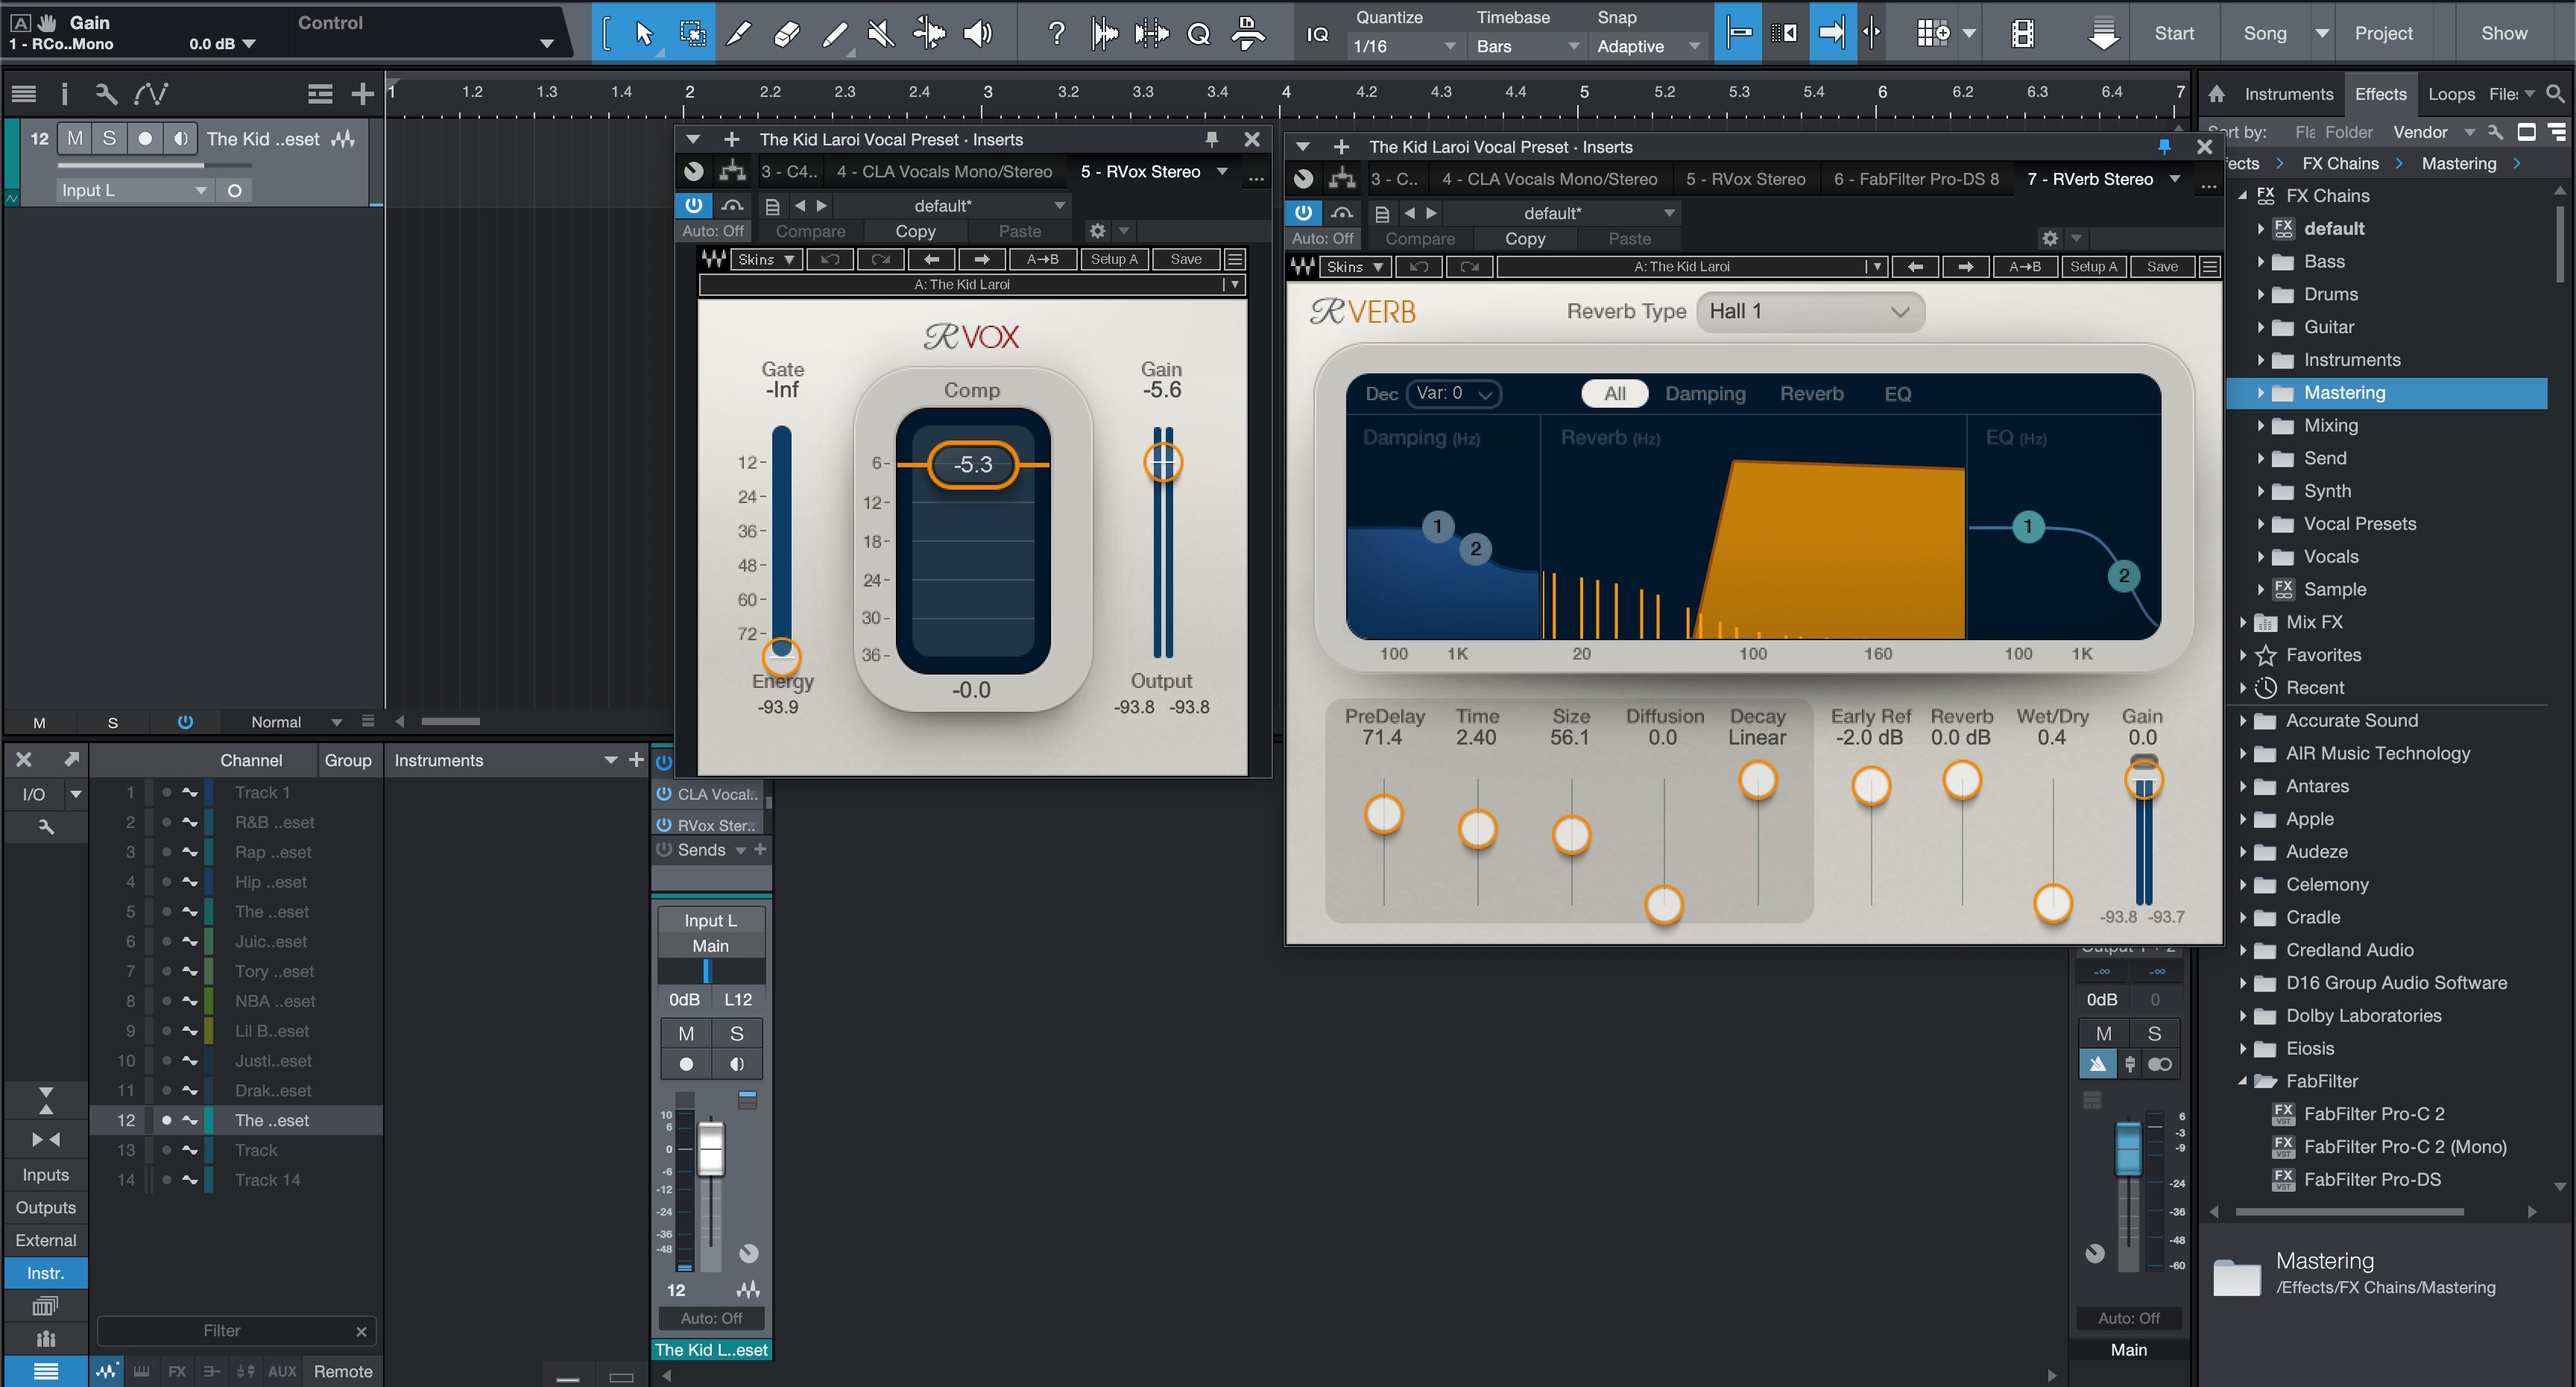
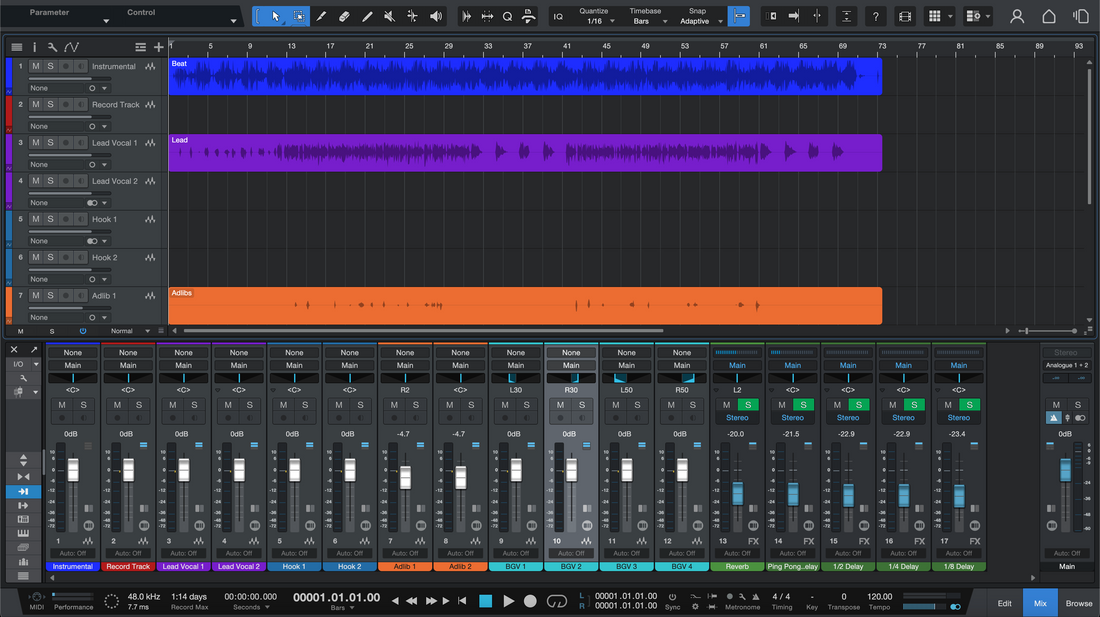
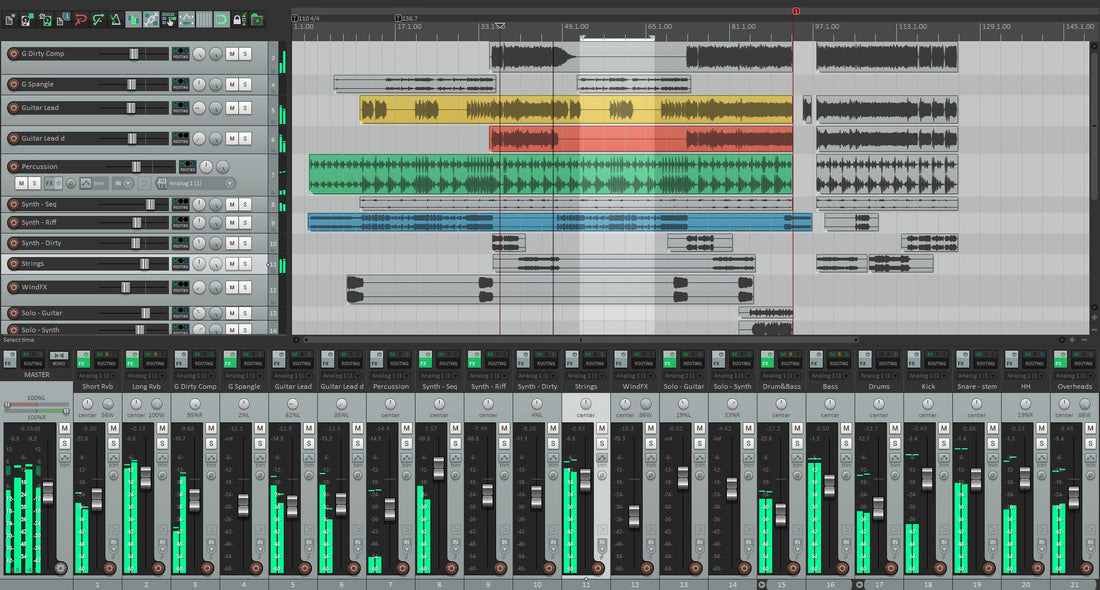
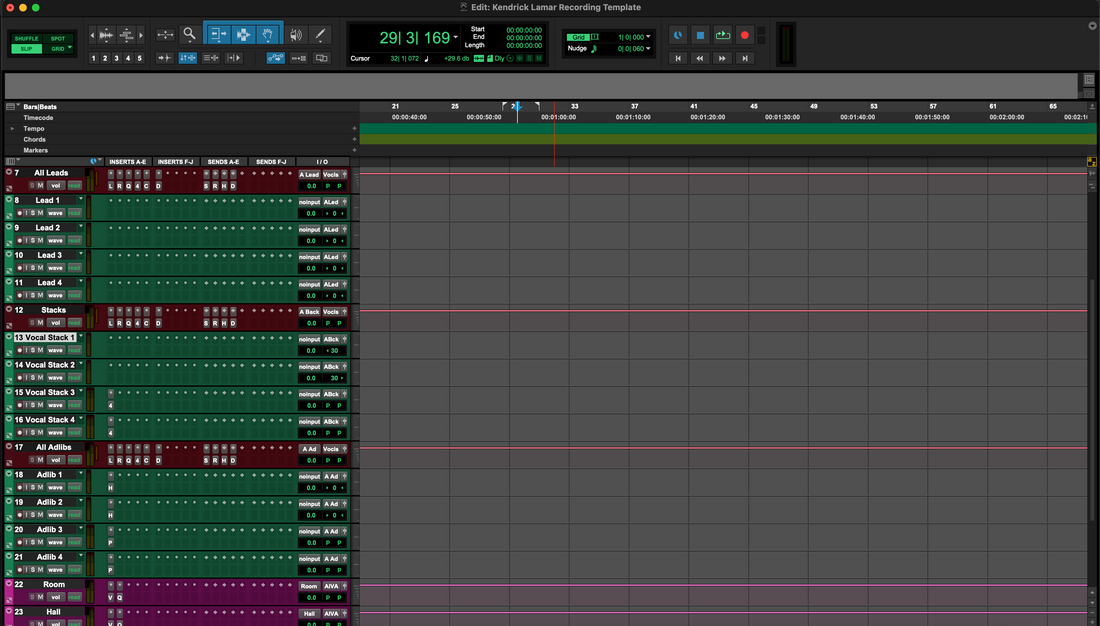
Need a head start across major DAWs? Browse curated vocal presets for natural tone across DAWs and tailor the final 10% to your voice.
IV. Use-case recipes
Bright tenor / airy alto (pop, EDM): Gentle −1 to −2 dB at 7–8 kHz post-de-esser, then add +1 dB at 12–14 kHz if air is needed. Slow attack (15–30 ms) on the first compressor to keep consonant snap. Short plate (0.8–1.2 s) with 30–40 ms pre-delay.
Dark baritone / warm contralto (hip-hop, R&B): High-pass 80–95 Hz; subtract 250 Hz by 1–2 dB if muddy. Presence lift +1 dB at 3.5 kHz. First compressor medium attack (10–20 ms), faster release to add “talk” feel. Slap delay at low mix for width.
Dense guitars (rock): Dynamic EQ dip keyed to the vocal around 2.5–3.5 kHz on guitar bus. Vocal chain gets minimal boosts; aim for 3–4 dB GR on a FET-style second stage to catch peaks.
808-heavy trap: Keep HPF conservative (70–80 Hz) to preserve weight, but carve 200–300 Hz mud. Use a ping-pong 1/8 delay tucked low; automate feedback up 5–10% for ad-libs.
Podcast / spoken word: HPF ~80 Hz, little to no reverb, and a single compressor at 3 dB GR with soft knee. Focus on de-essing and subtle presence trim for intelligibility.
V. Troubleshooting & fast fixes
- Too bright/brittle: Reduce any top-end exciter; move de-esser earlier; swap a shelf boost for a 4–6 kHz presence cut.
- Harsh S’s after the chain: Lower exciter drive; increase de-esser bandwidth; try a second, narrow de-esser at 7–8 kHz.
- Boxy / cloudy: Sweep 200–350 Hz for −2 dB cut; shorten reverb decay; add 30–40 ms pre-delay.
- Thin / papery: Ease the HPF a few Hz; add +1 dB at 150–200 Hz with a wide Q; reduce parallel high-mid saturation.
- Pumping: Lengthen release on the first compressor; reduce sidechain lows (HPF in the detector at ~120 Hz).
- Consonants splat: Lengthen attack on the first compressor to 20–30 ms.
- Reverb masks words: Increase pre-delay; lower early reflections; automate send down in verses.
- Tuning sounds robotic: Raise retune speed slightly; reduce formant shifting; put heavy tuning on a separate lane.
VI. Advanced / pro tips
- Clip-gain first, compress second. Smooth syllable spikes with clip-gain so compressors work evenly.
- Dual de-ess strategy. Wideband de-ess at 6–7 kHz early, narrow de-ess at 8–9 kHz late for polish without lisping.
- Consonant lift via expansion. A gentle multiband expander at 3–6 kHz can restore articulation after heavy compression.
- Beat-aware space. Duck reverb with a sidechain from the vocal; set 2–3 dB of gain reduction so tails breathe between phrases.
- Parallel warmth. Send a copy to a warm saturator, filter below 120 Hz and above 8 kHz, and blend at 5–15% for density.
- Hook scenes. Save a “hook scene” version of the preset with +0.5 dB output and +10% more send—automation becomes simple.
VII. FAQs
Should I normalize vocal files before using presets?
No. Set input trim by hand so peaks hit −12 to −8 dBFS. Normalizing removes useful headroom references.
Where should the de-esser sit?
Usually before any brightening or saturation. If the chain still spits, add a light second de-esser near the end.
How much compression is “natural”?
Often 3–5 dB on a slower first stage and 1–3 dB on a faster second. More is possible if you level-match carefully.
What’s a safe reverb starting point?
Short plate around 0.8–1.2 s with 20–60 ms pre-delay. Increase decay only for the hook.
Do I need an “air” boost?
Not always. Try subtractive EQ first; add +1 dB at 12–14 kHz only if the mix still feels dull.
Conclusion
Natural-sounding presets come from intention: honest gain, small subtractive moves, and space that serves the lyric. Start conservative, listen in context, and A/B at matched loudness.


