Studio One Preajustes Vocales
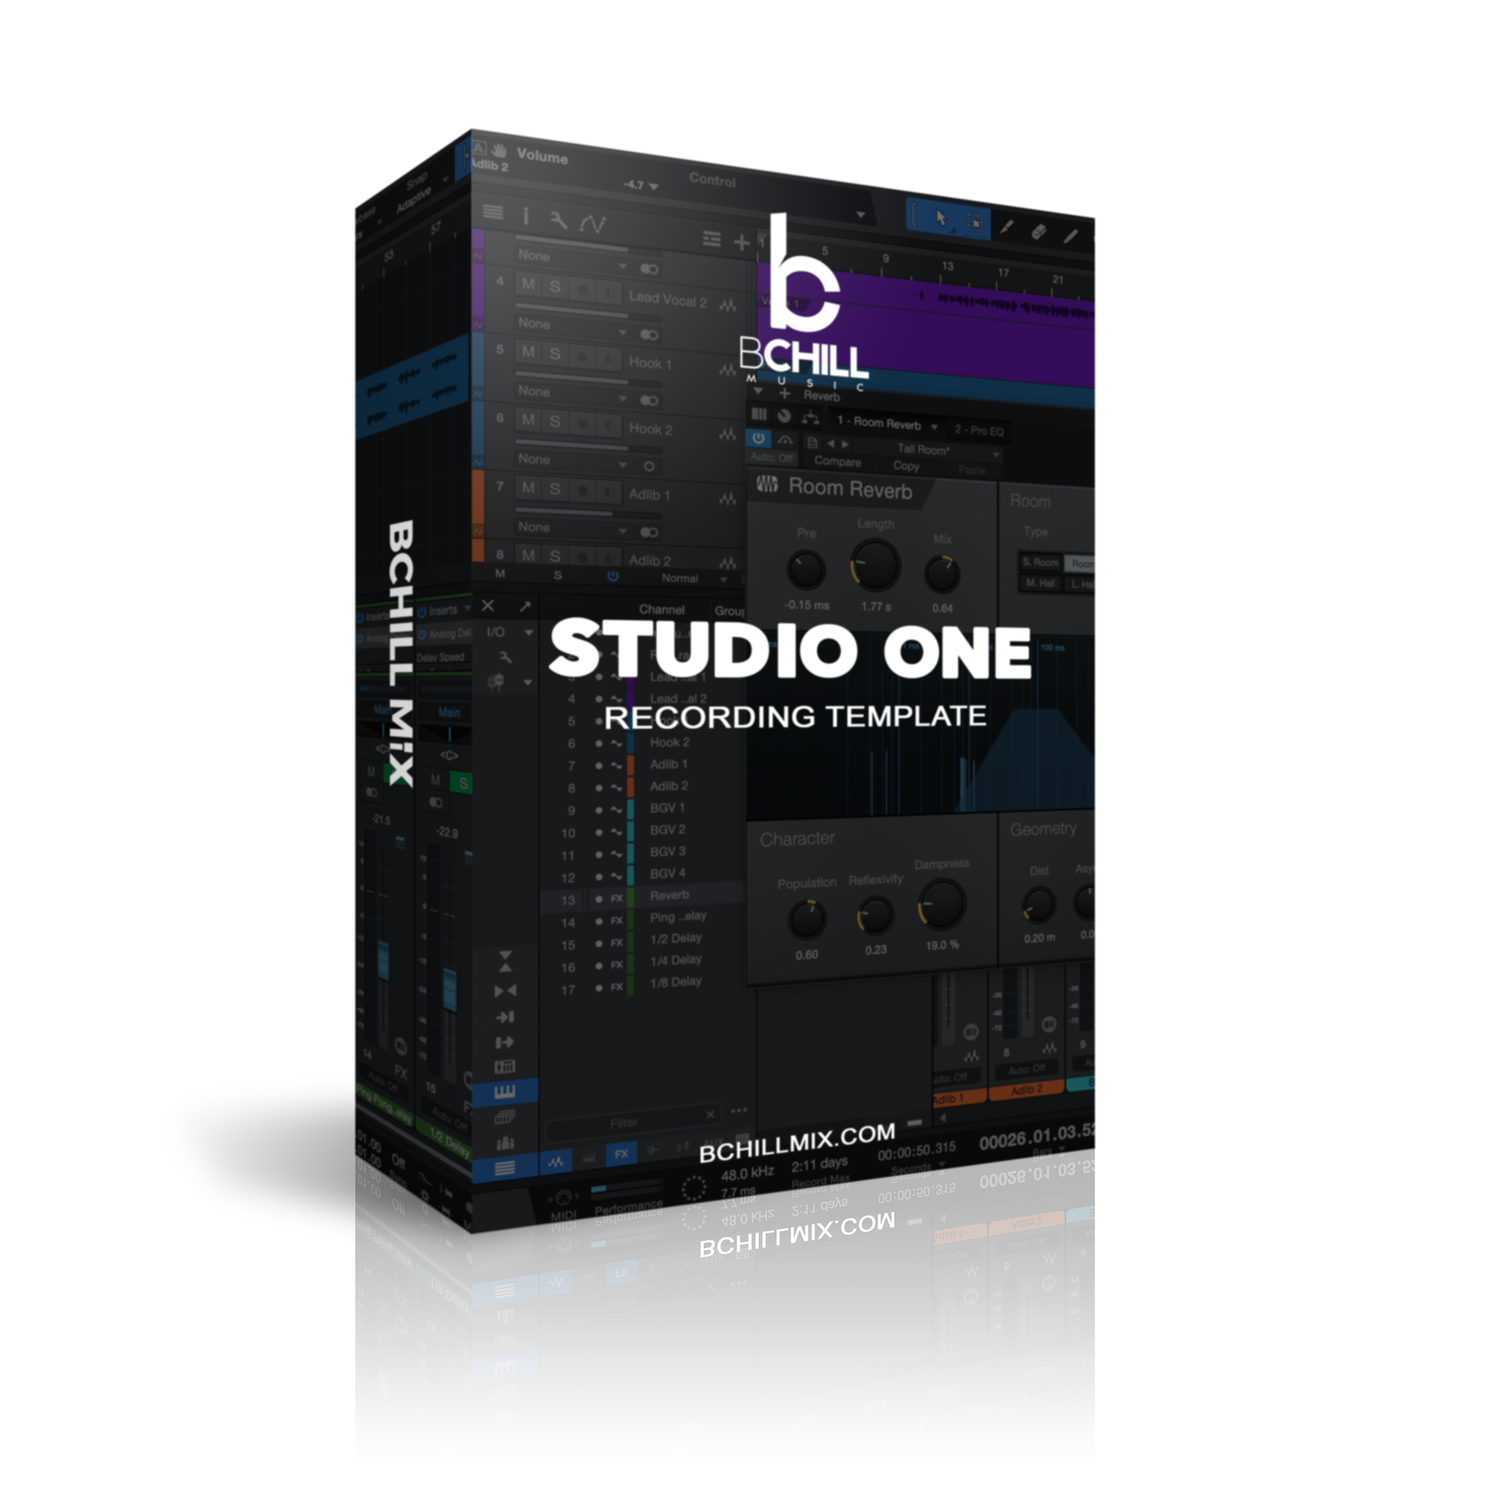
Tipo: Plantilla de Grabación
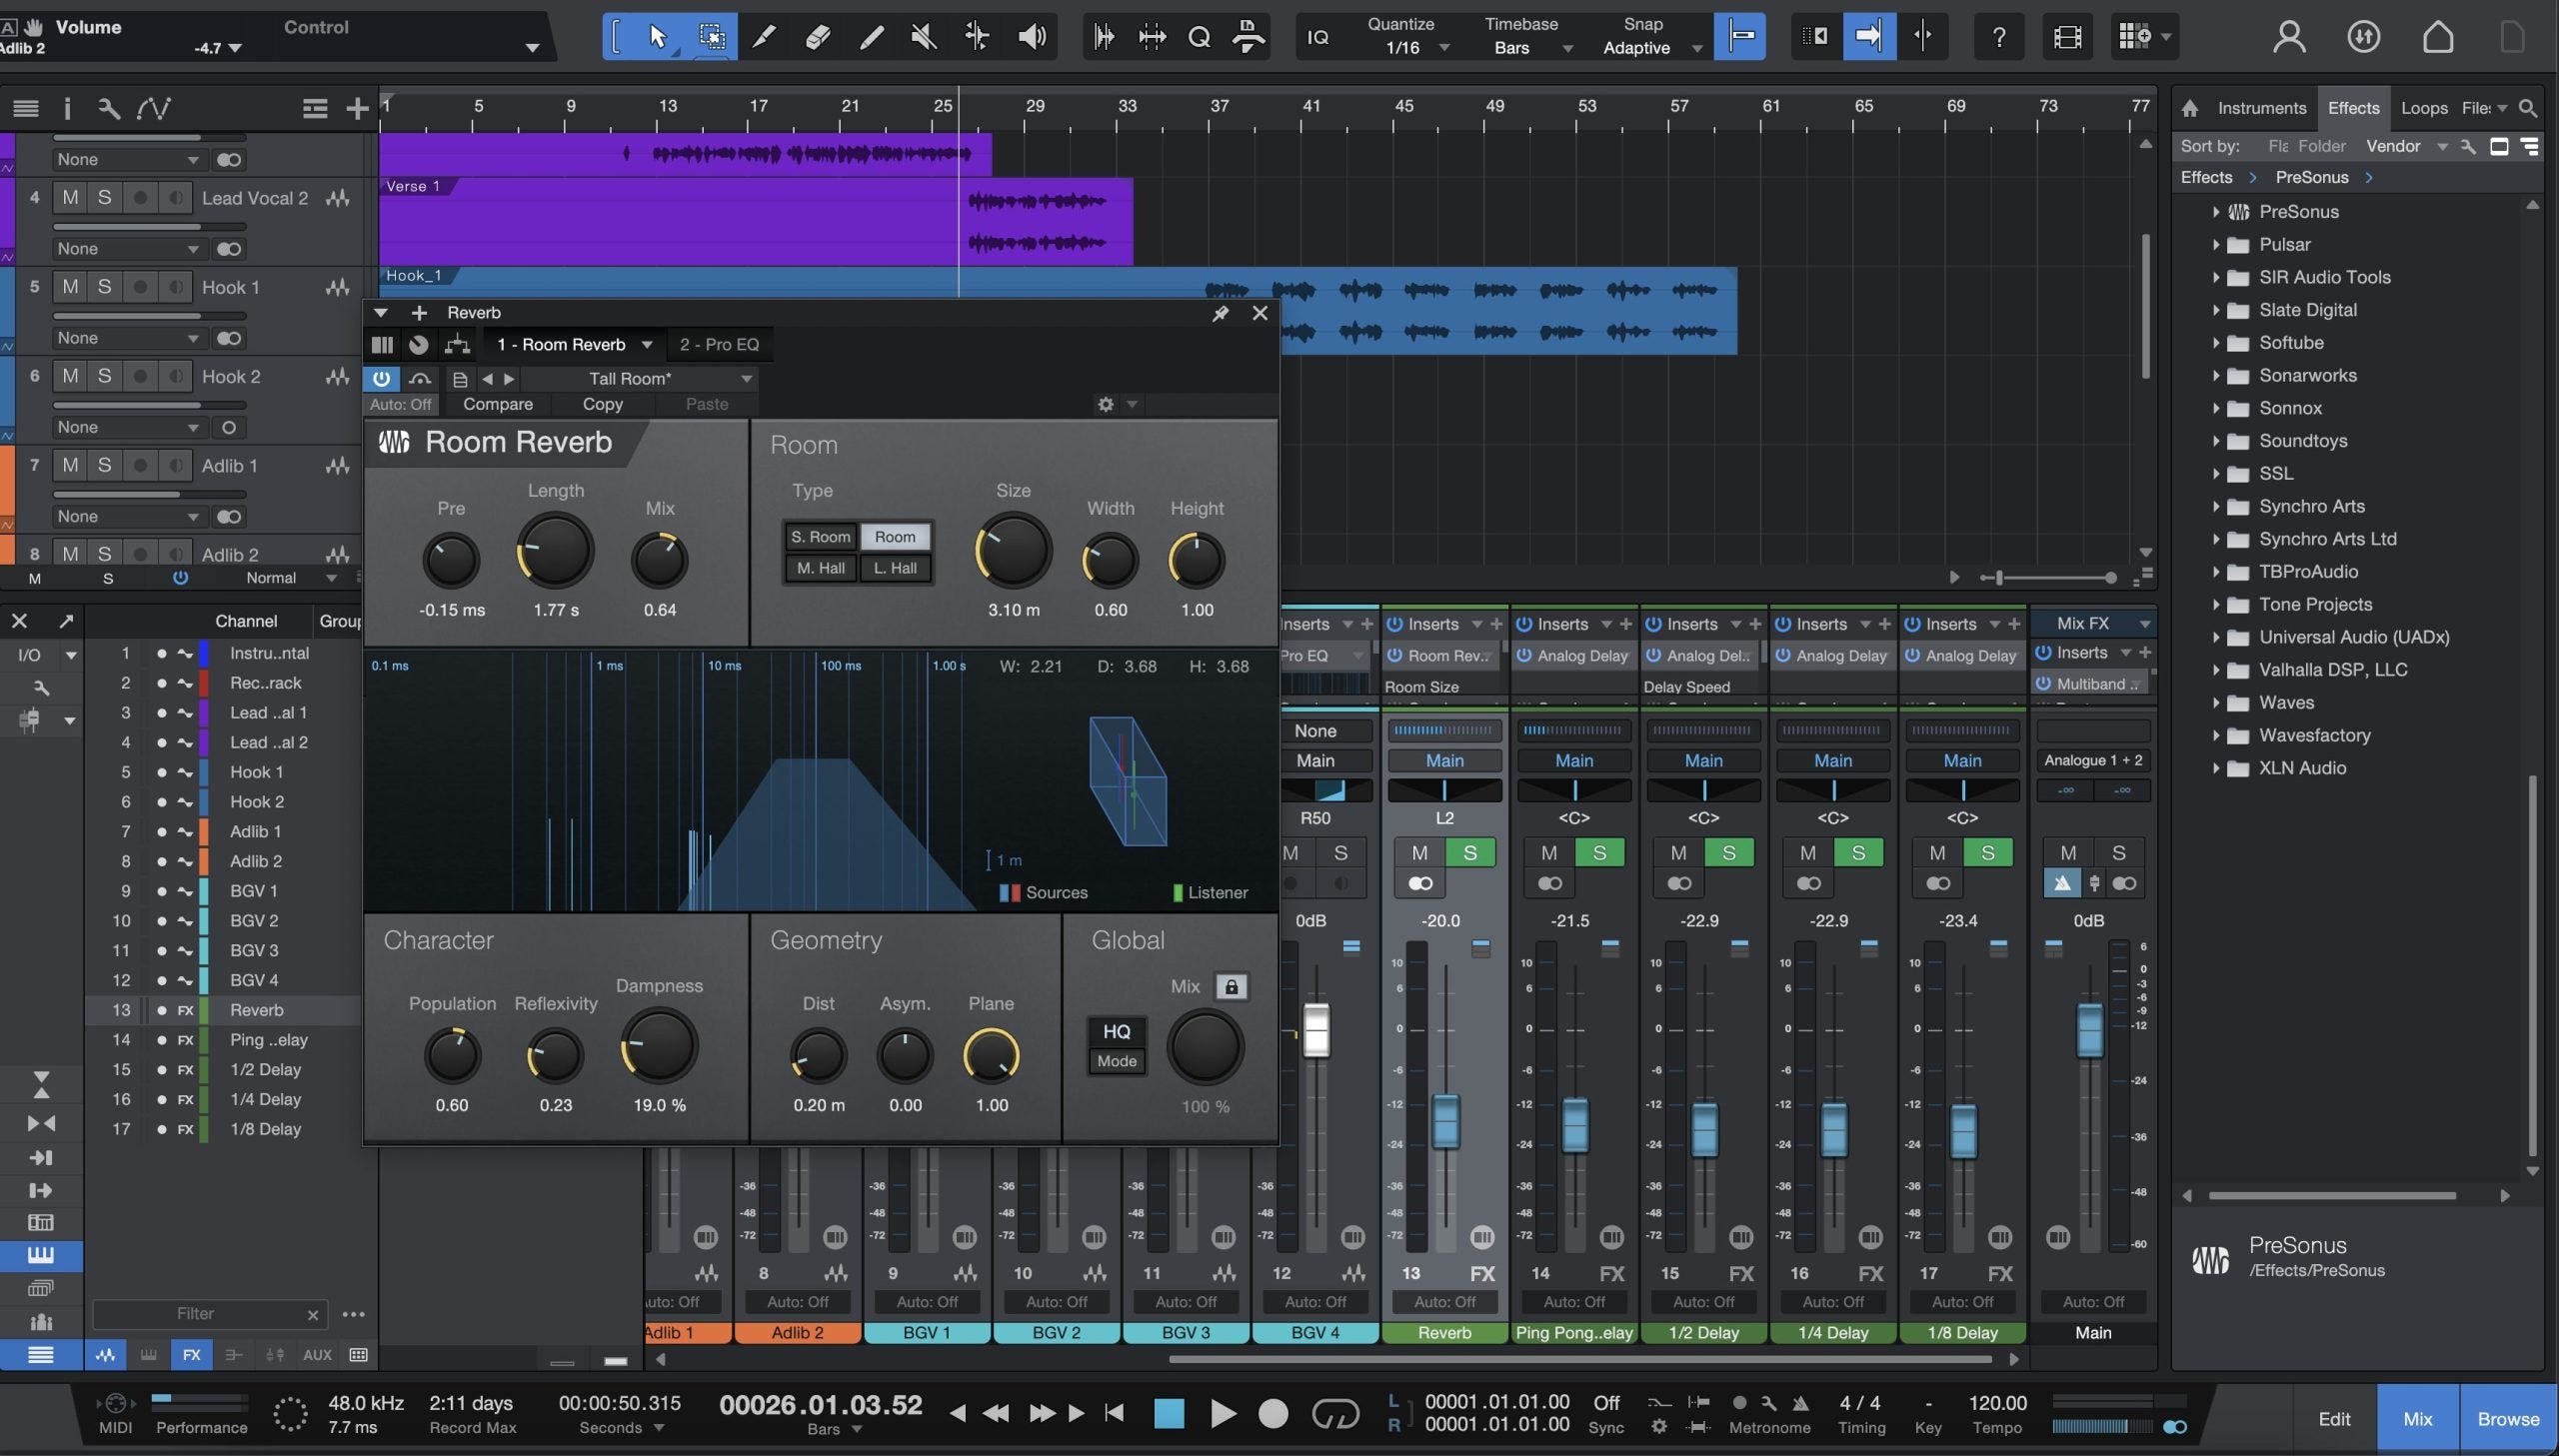
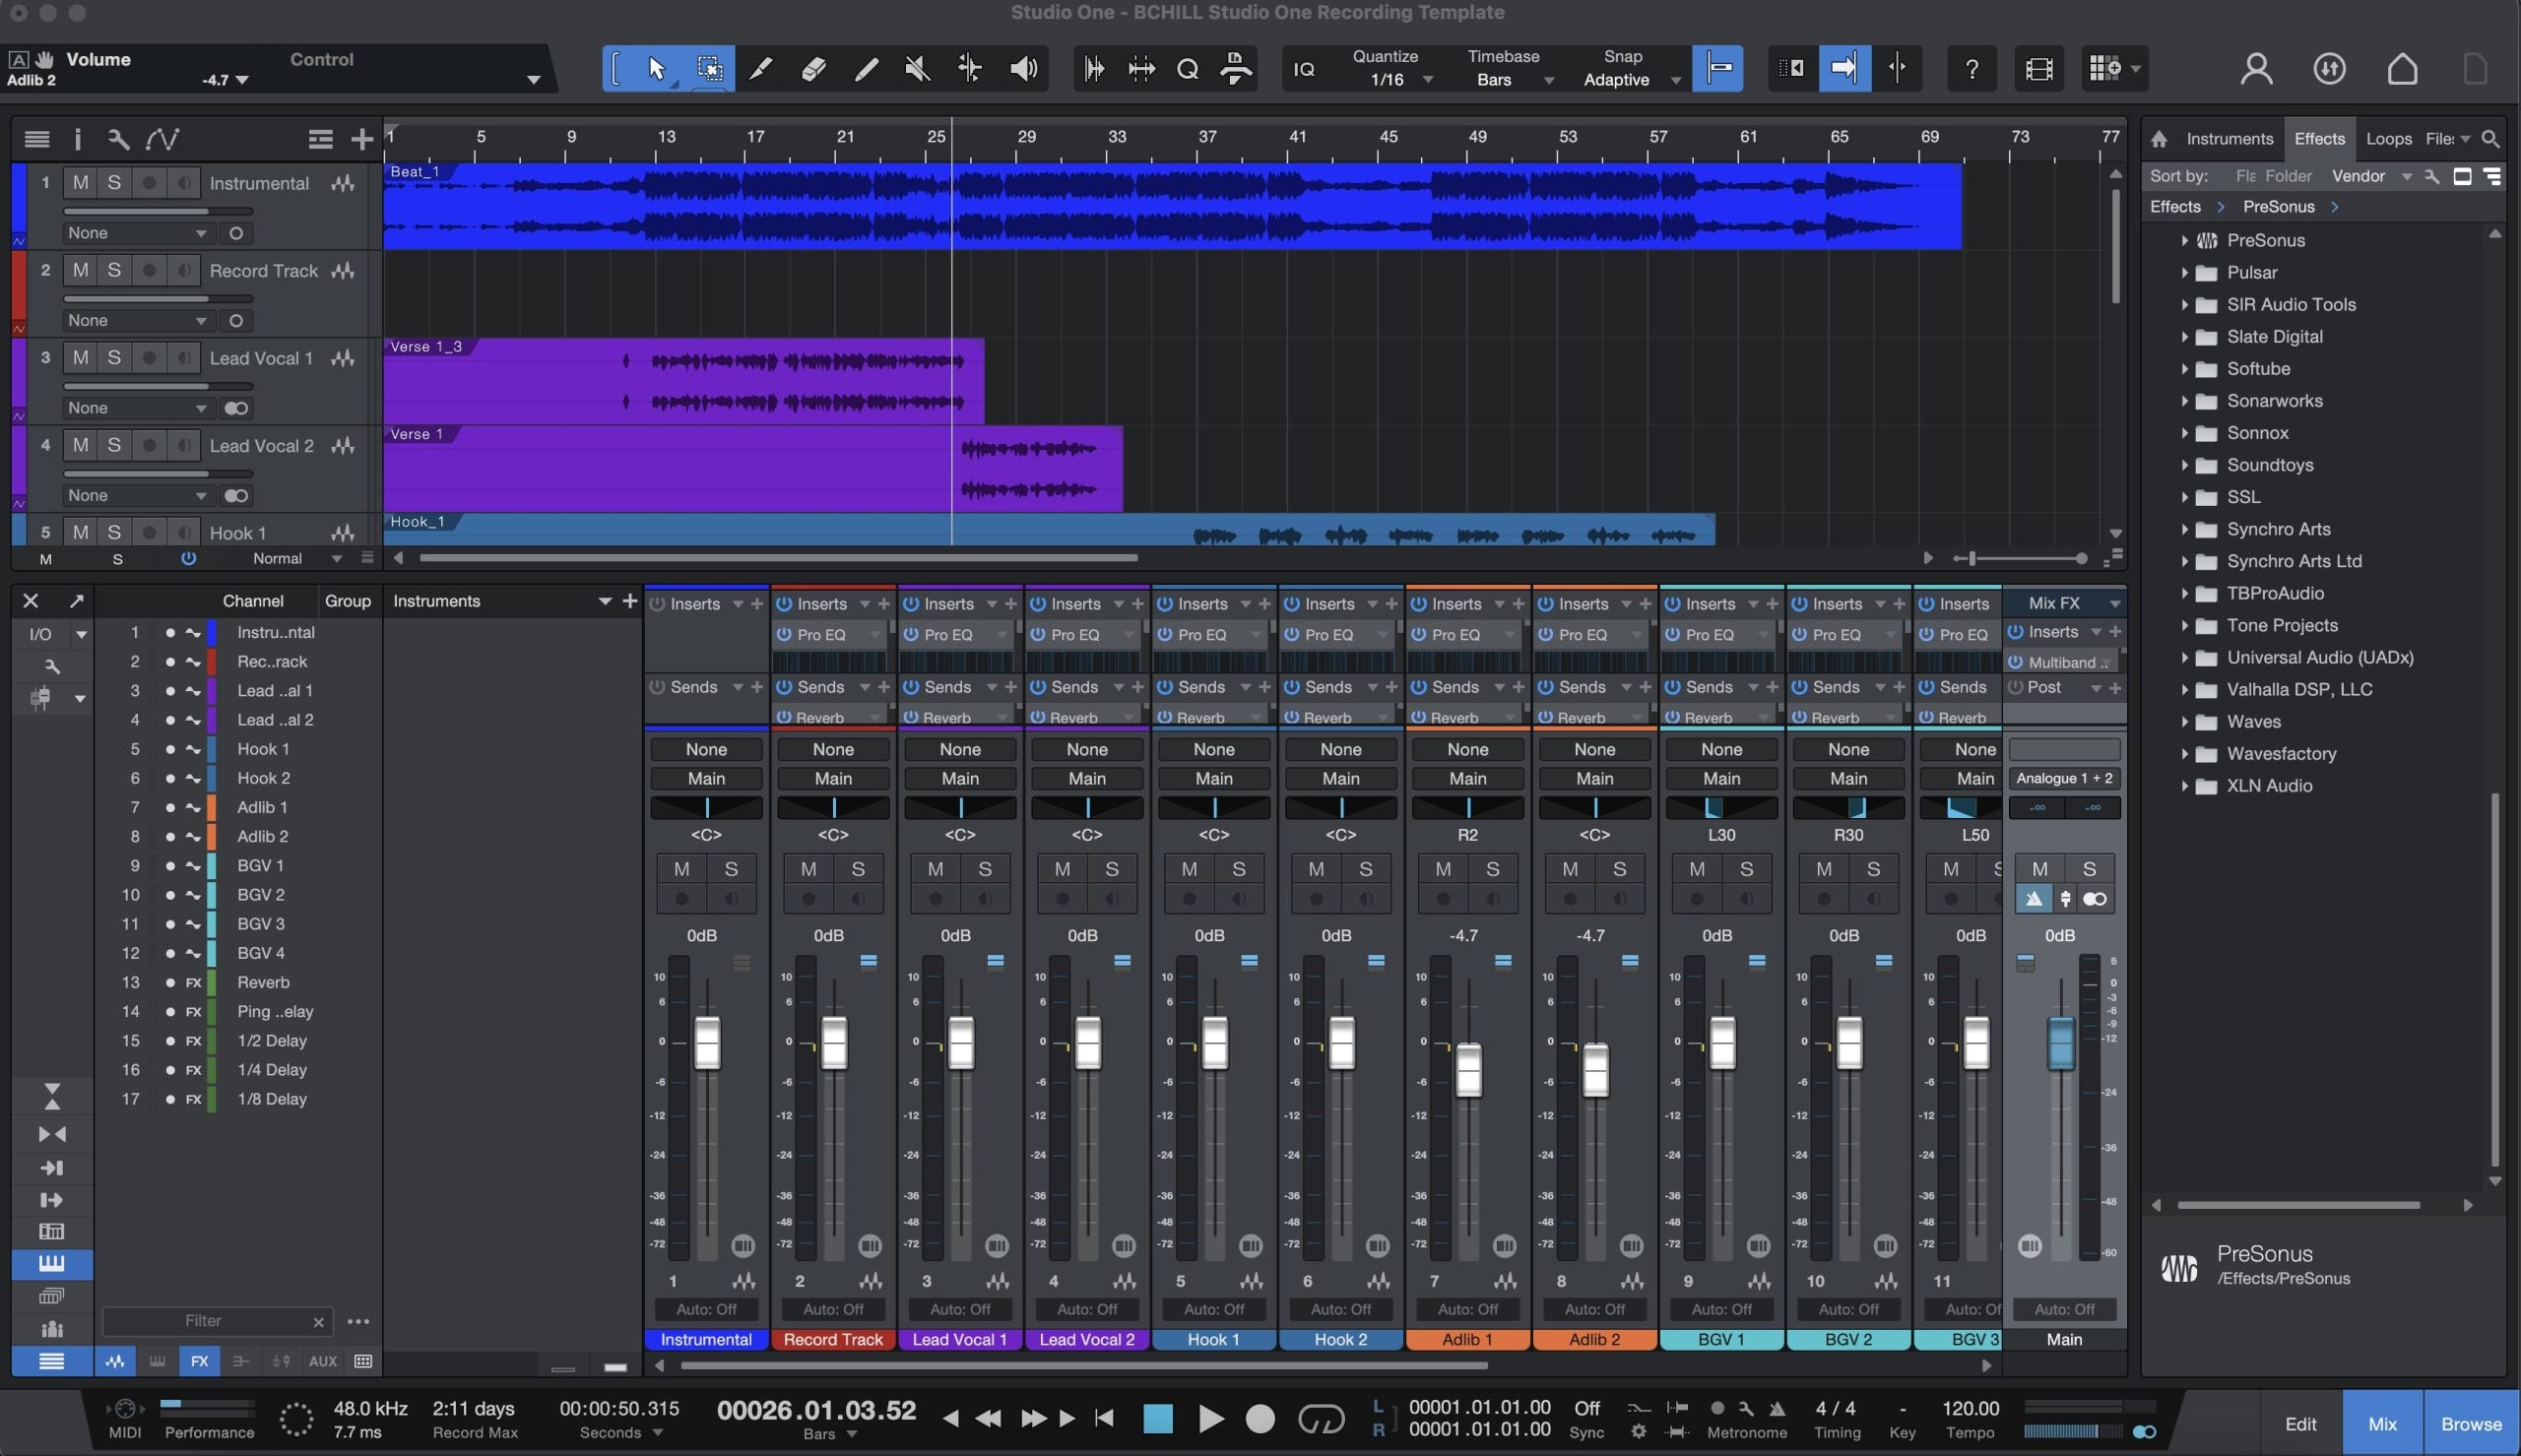
Plantilla de grabación de Studio One (Plugins de stock)
Tipo: Preset Vocal
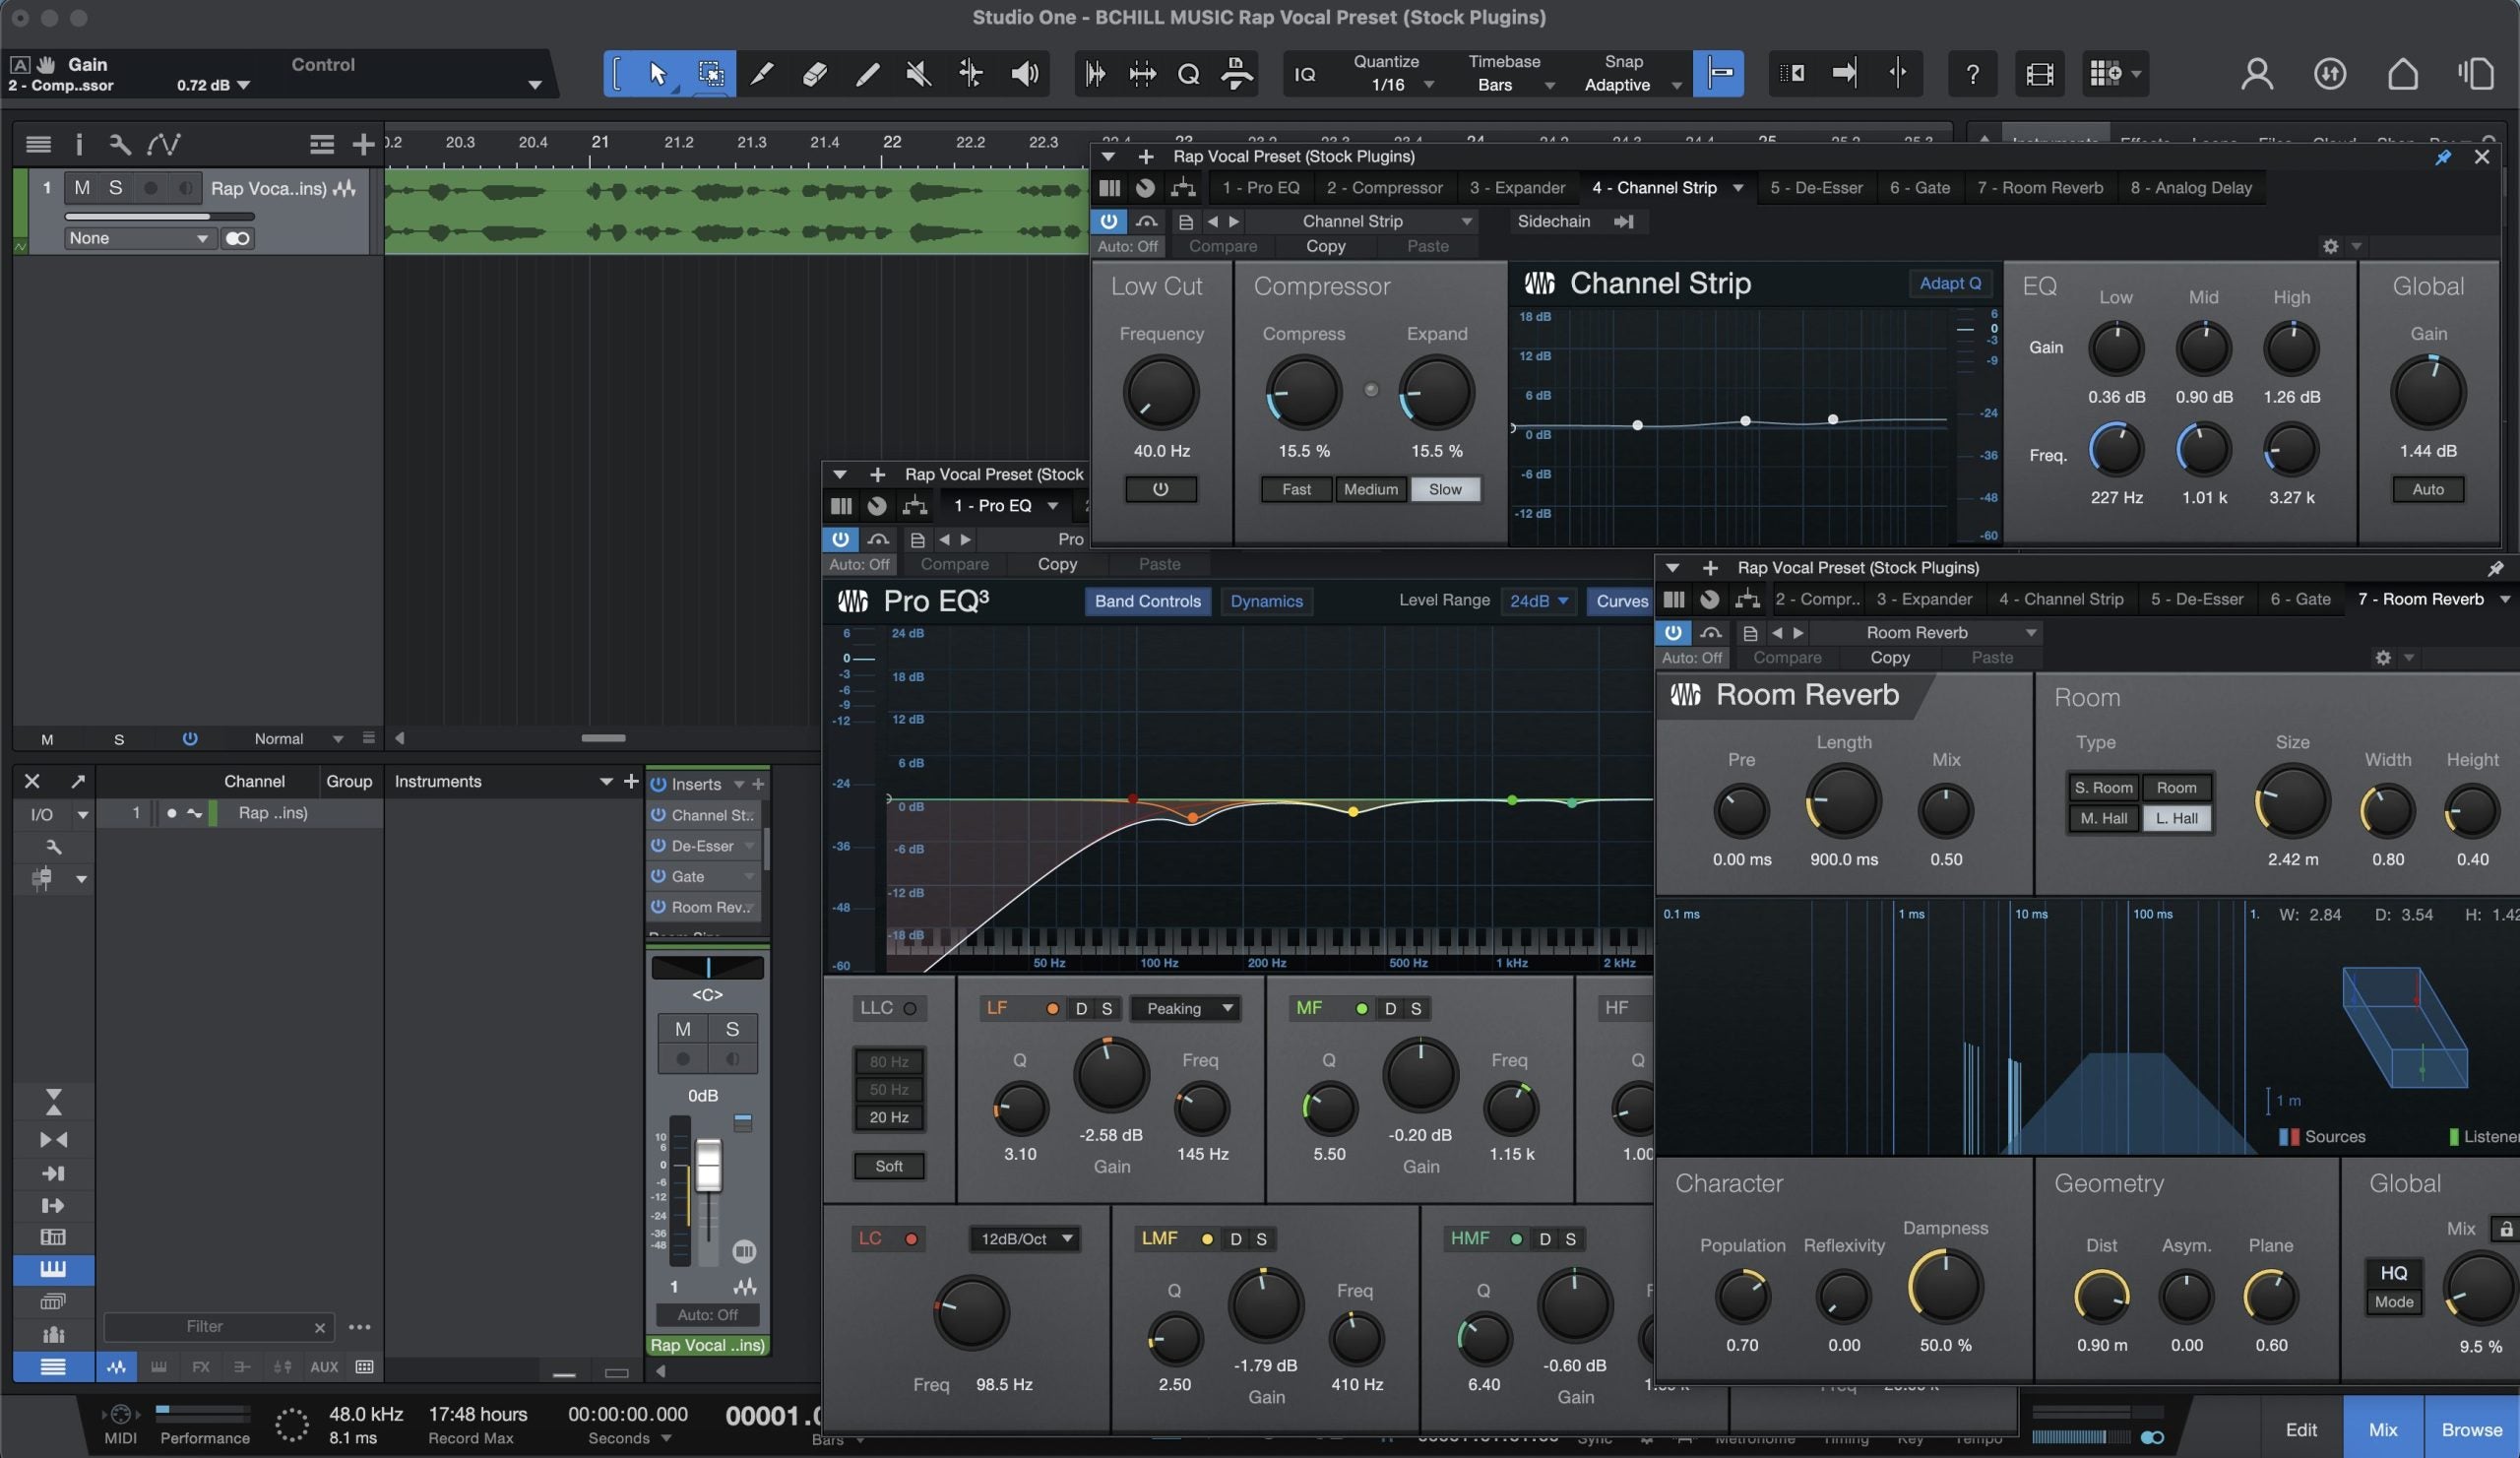
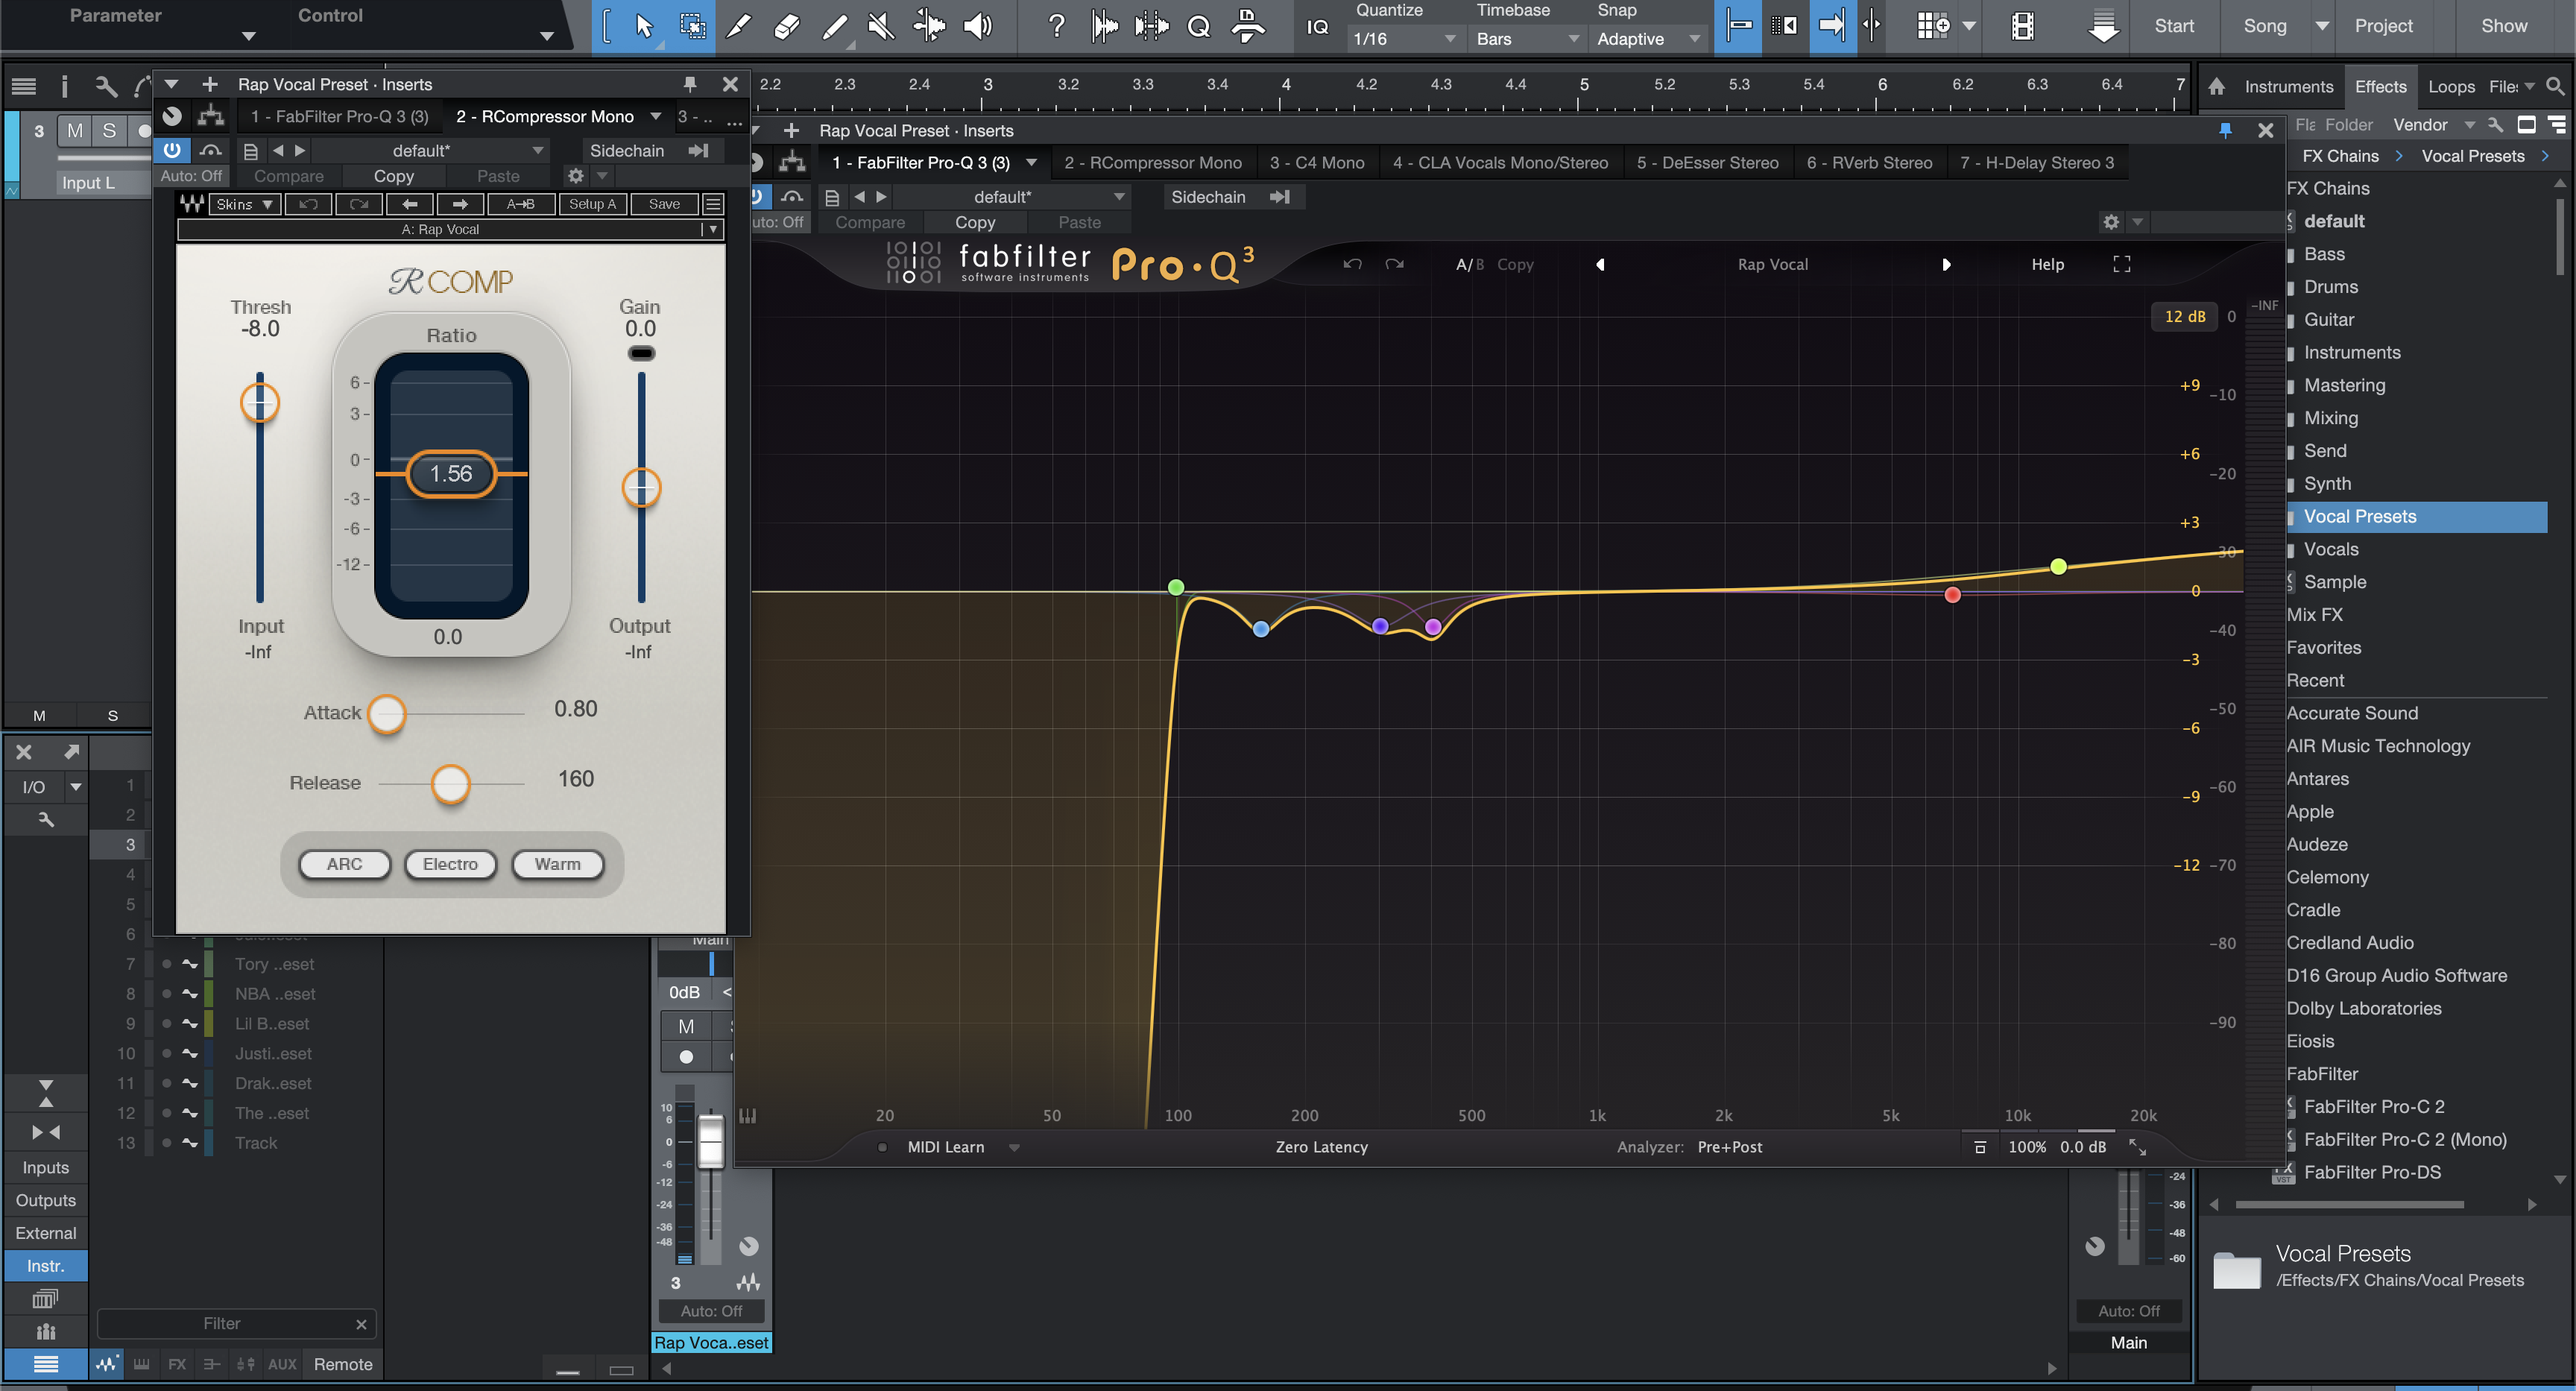
Preset de Rap Vocal para Studio One (Plugins de Stock)
Tipo: Preset Vocal
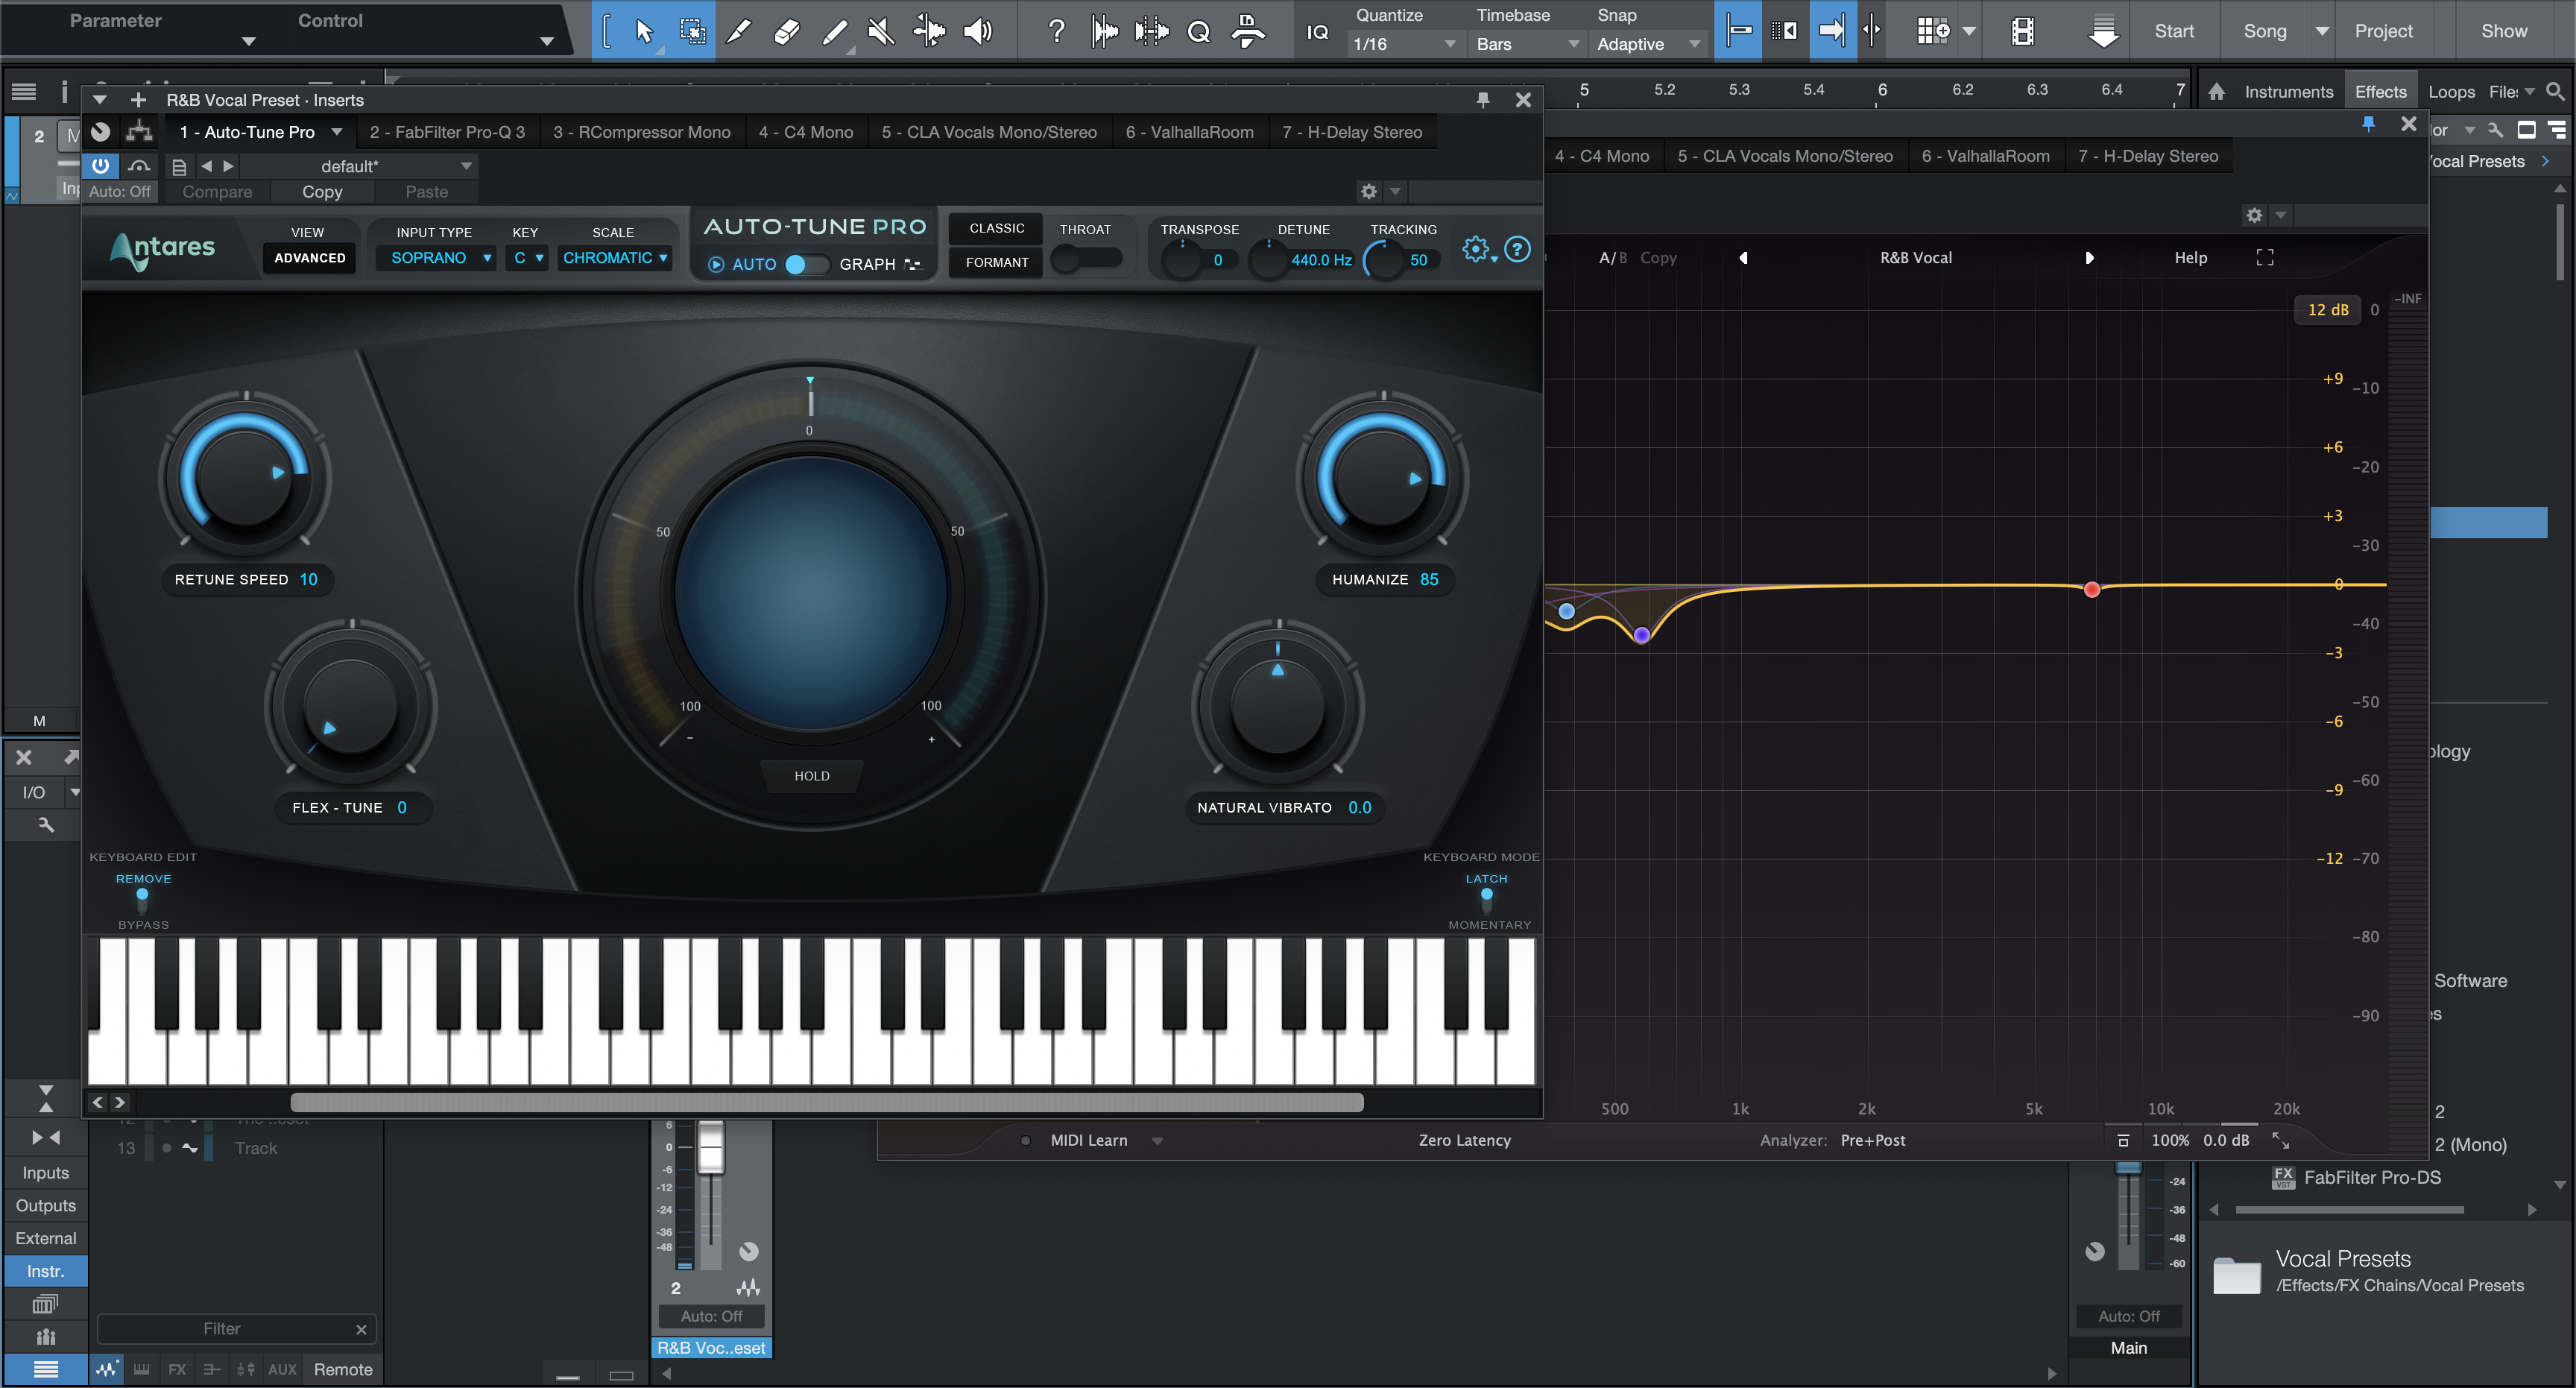
Preset Vocal R&B Studio One (Plugins de Stock)
Tipo: Preset Vocal
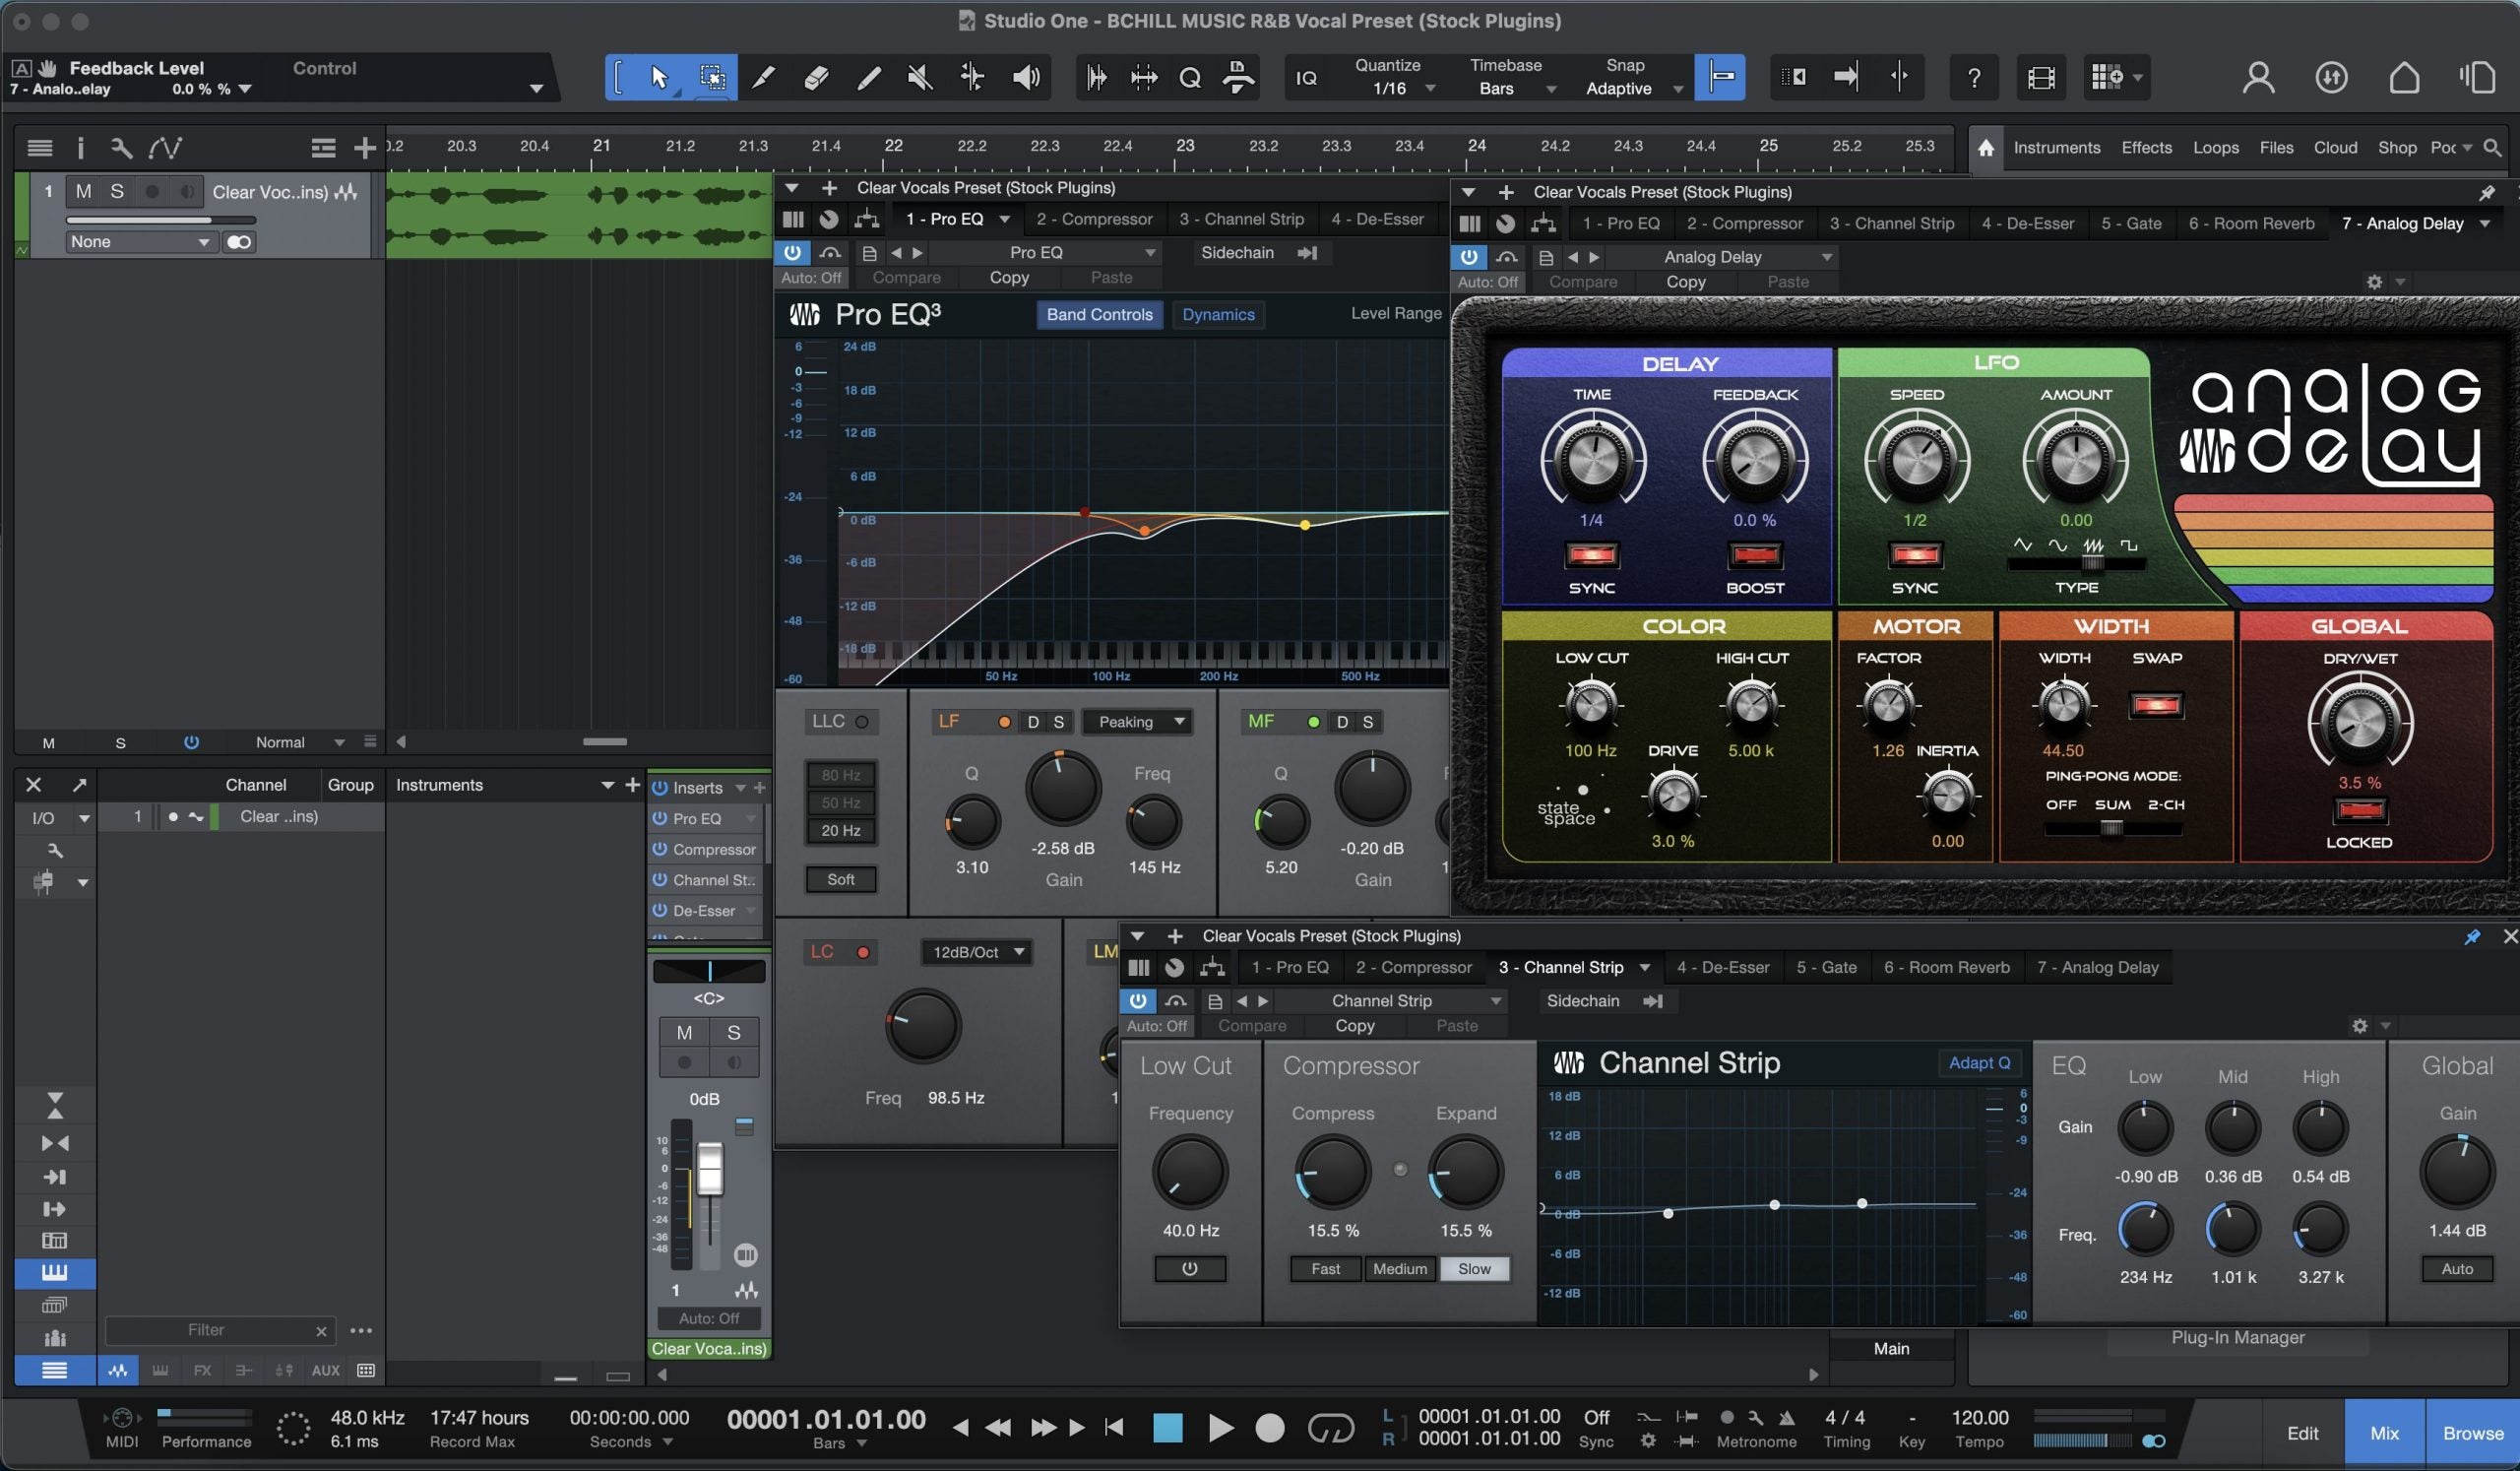
Preset de Voces Claras para Studio One (Plugins de Stock)
Premium Presets Vocales
Tipo: Preset Vocal
Preset de Vocal Trap de Atlanta para Studio One
Tipo: Preset Vocal
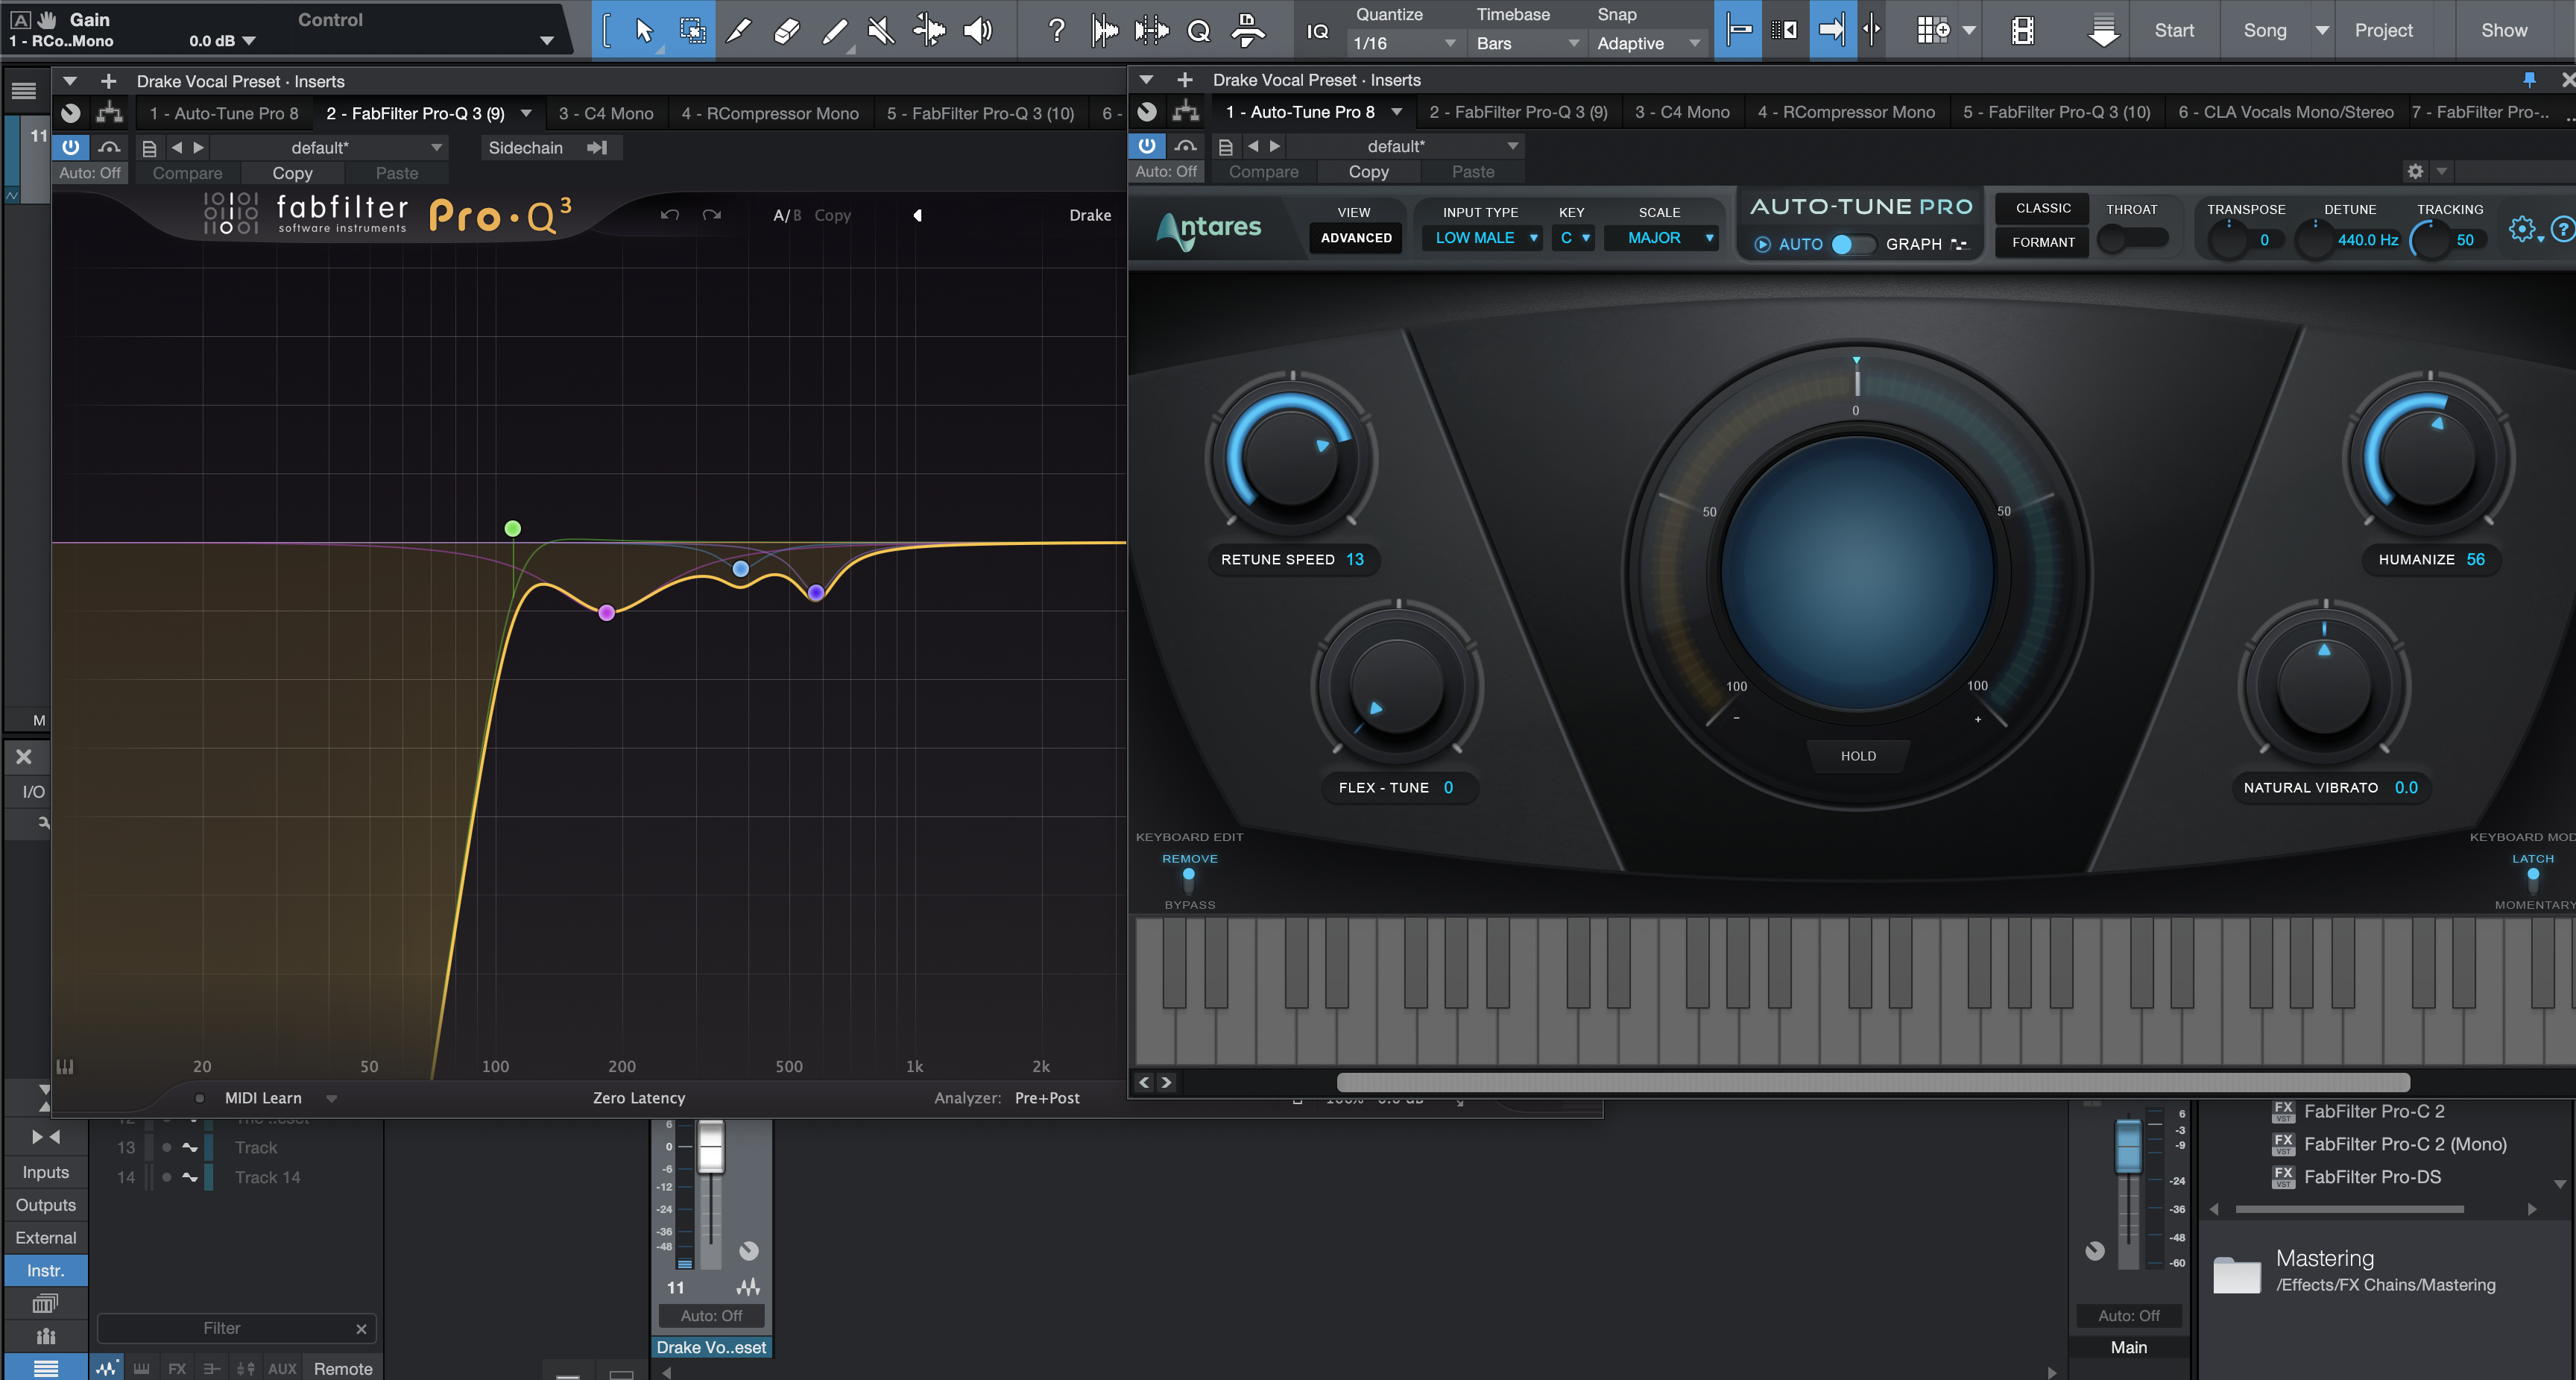
Preset de Voz de Drake para Studio One
Tipo: Preset Vocal
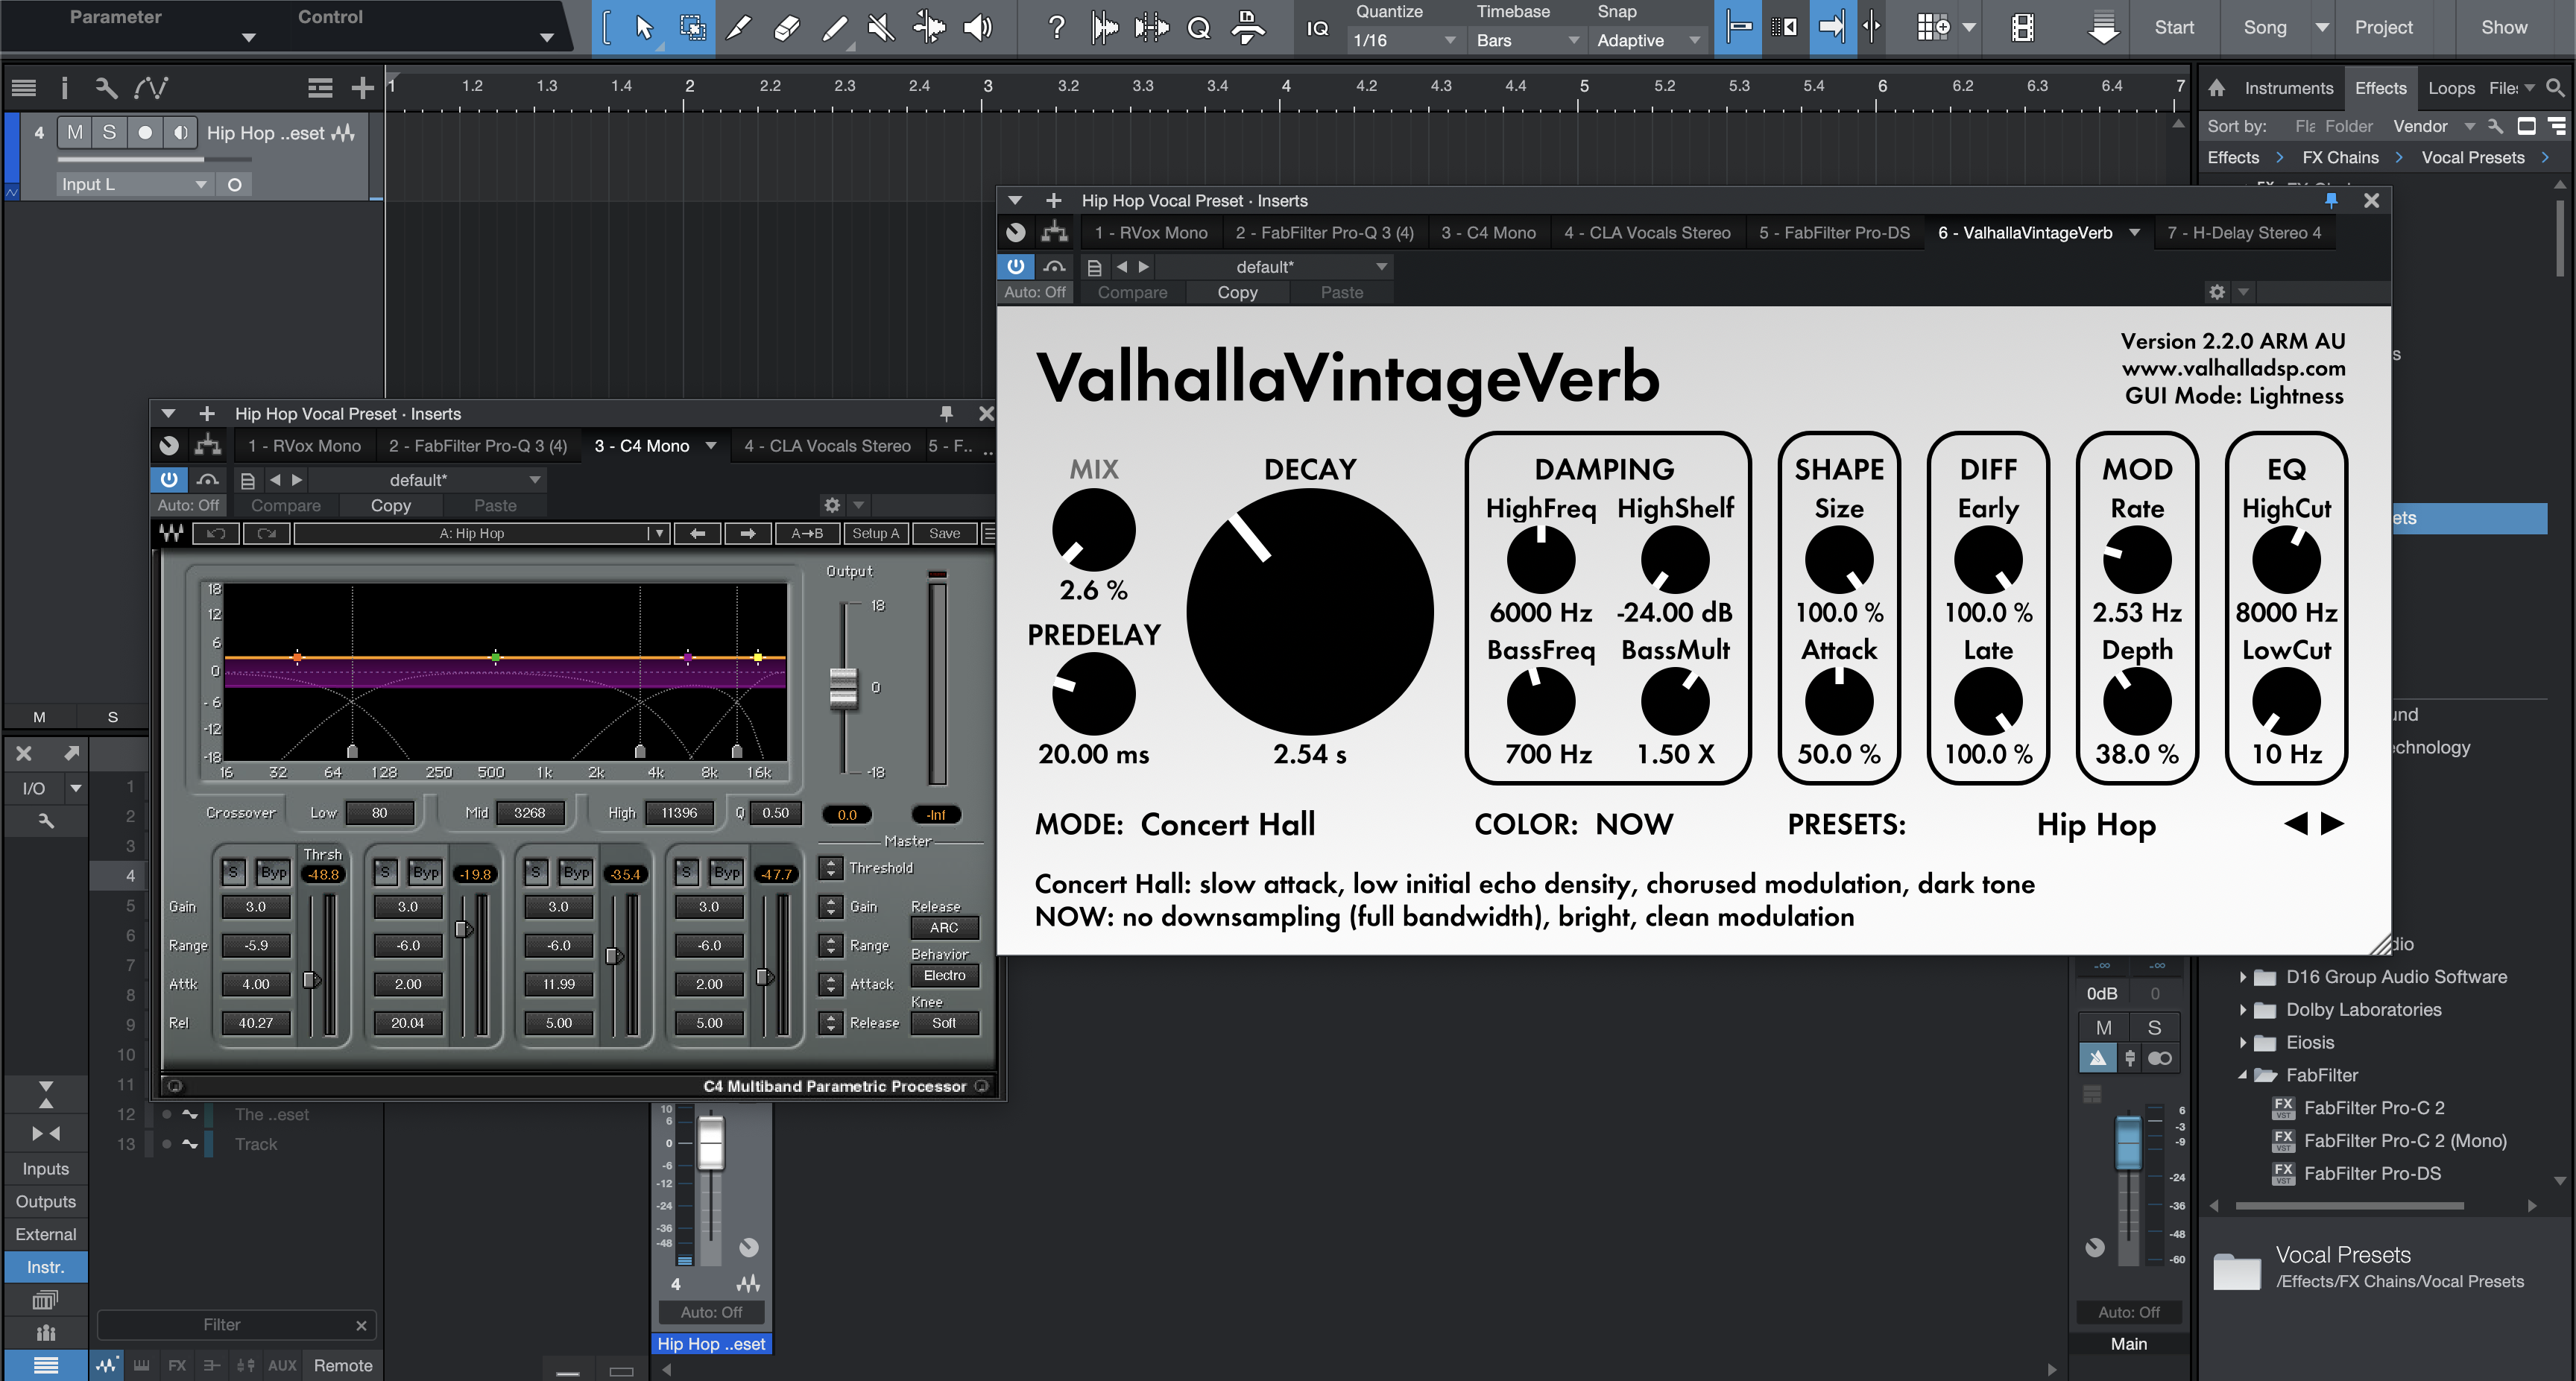
Preset Vocal de Hip Hop para Studio One
Tipo: Preset Vocal
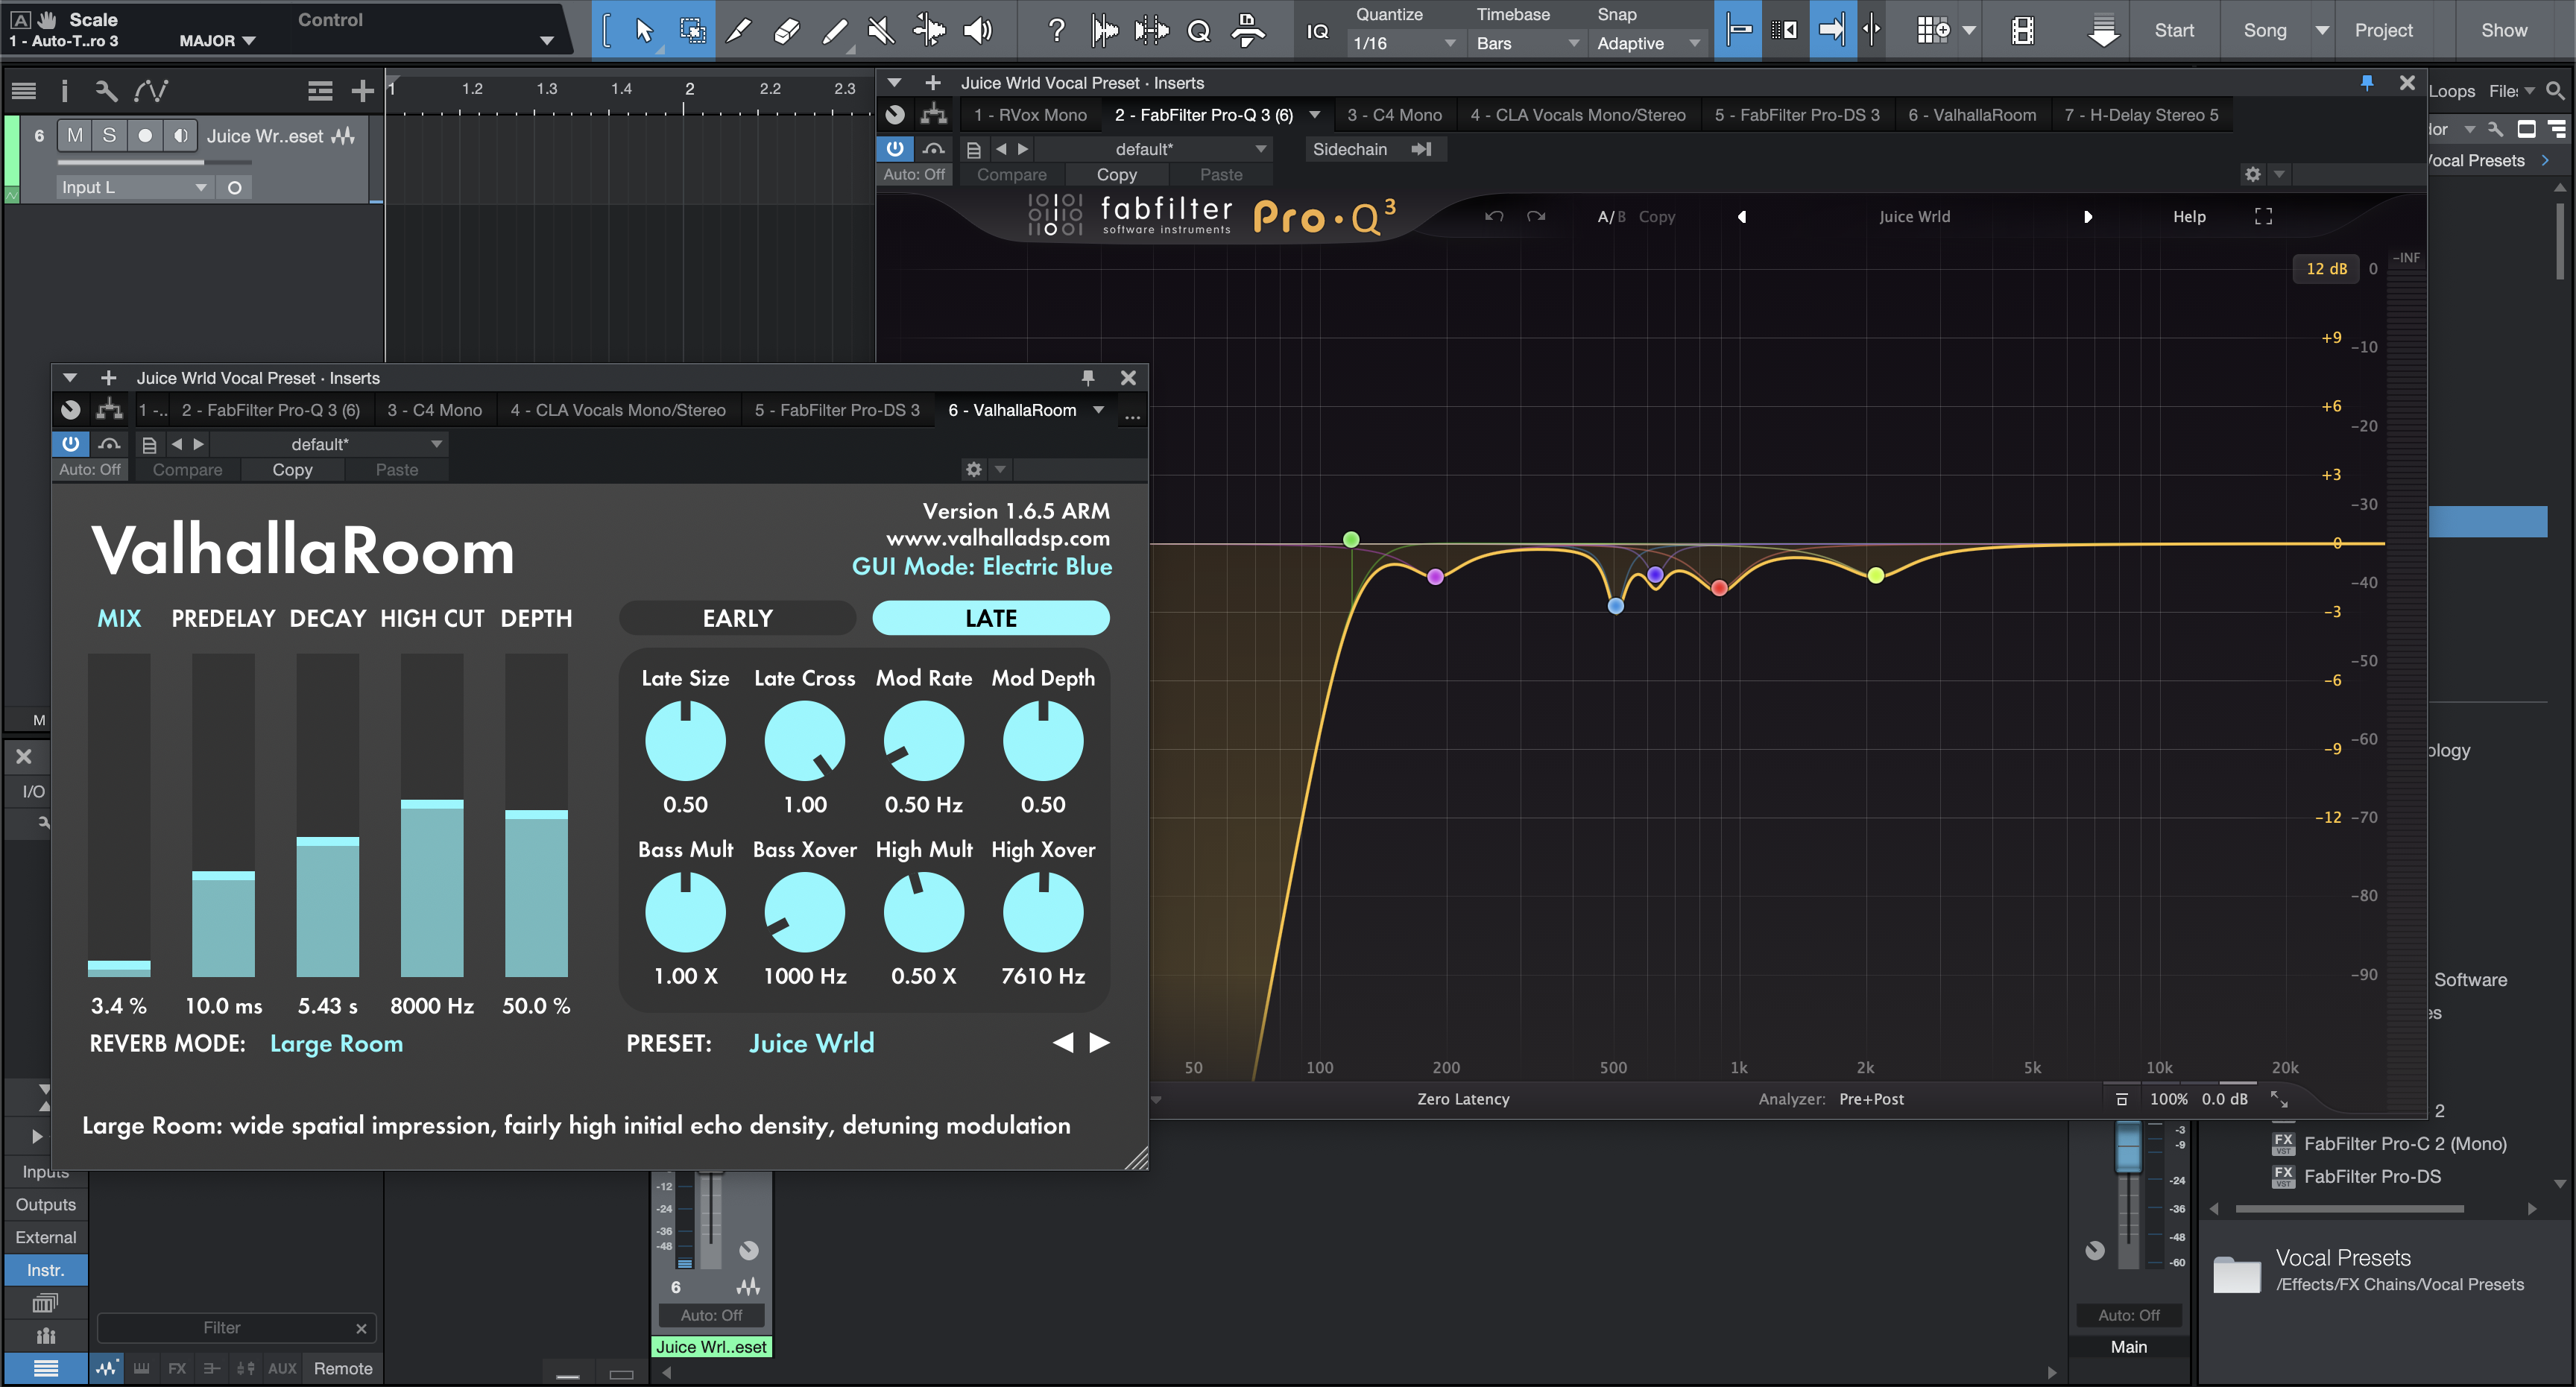
Preset Vocal de Juice Wrld para Studio One
Tipo: Preset Vocal
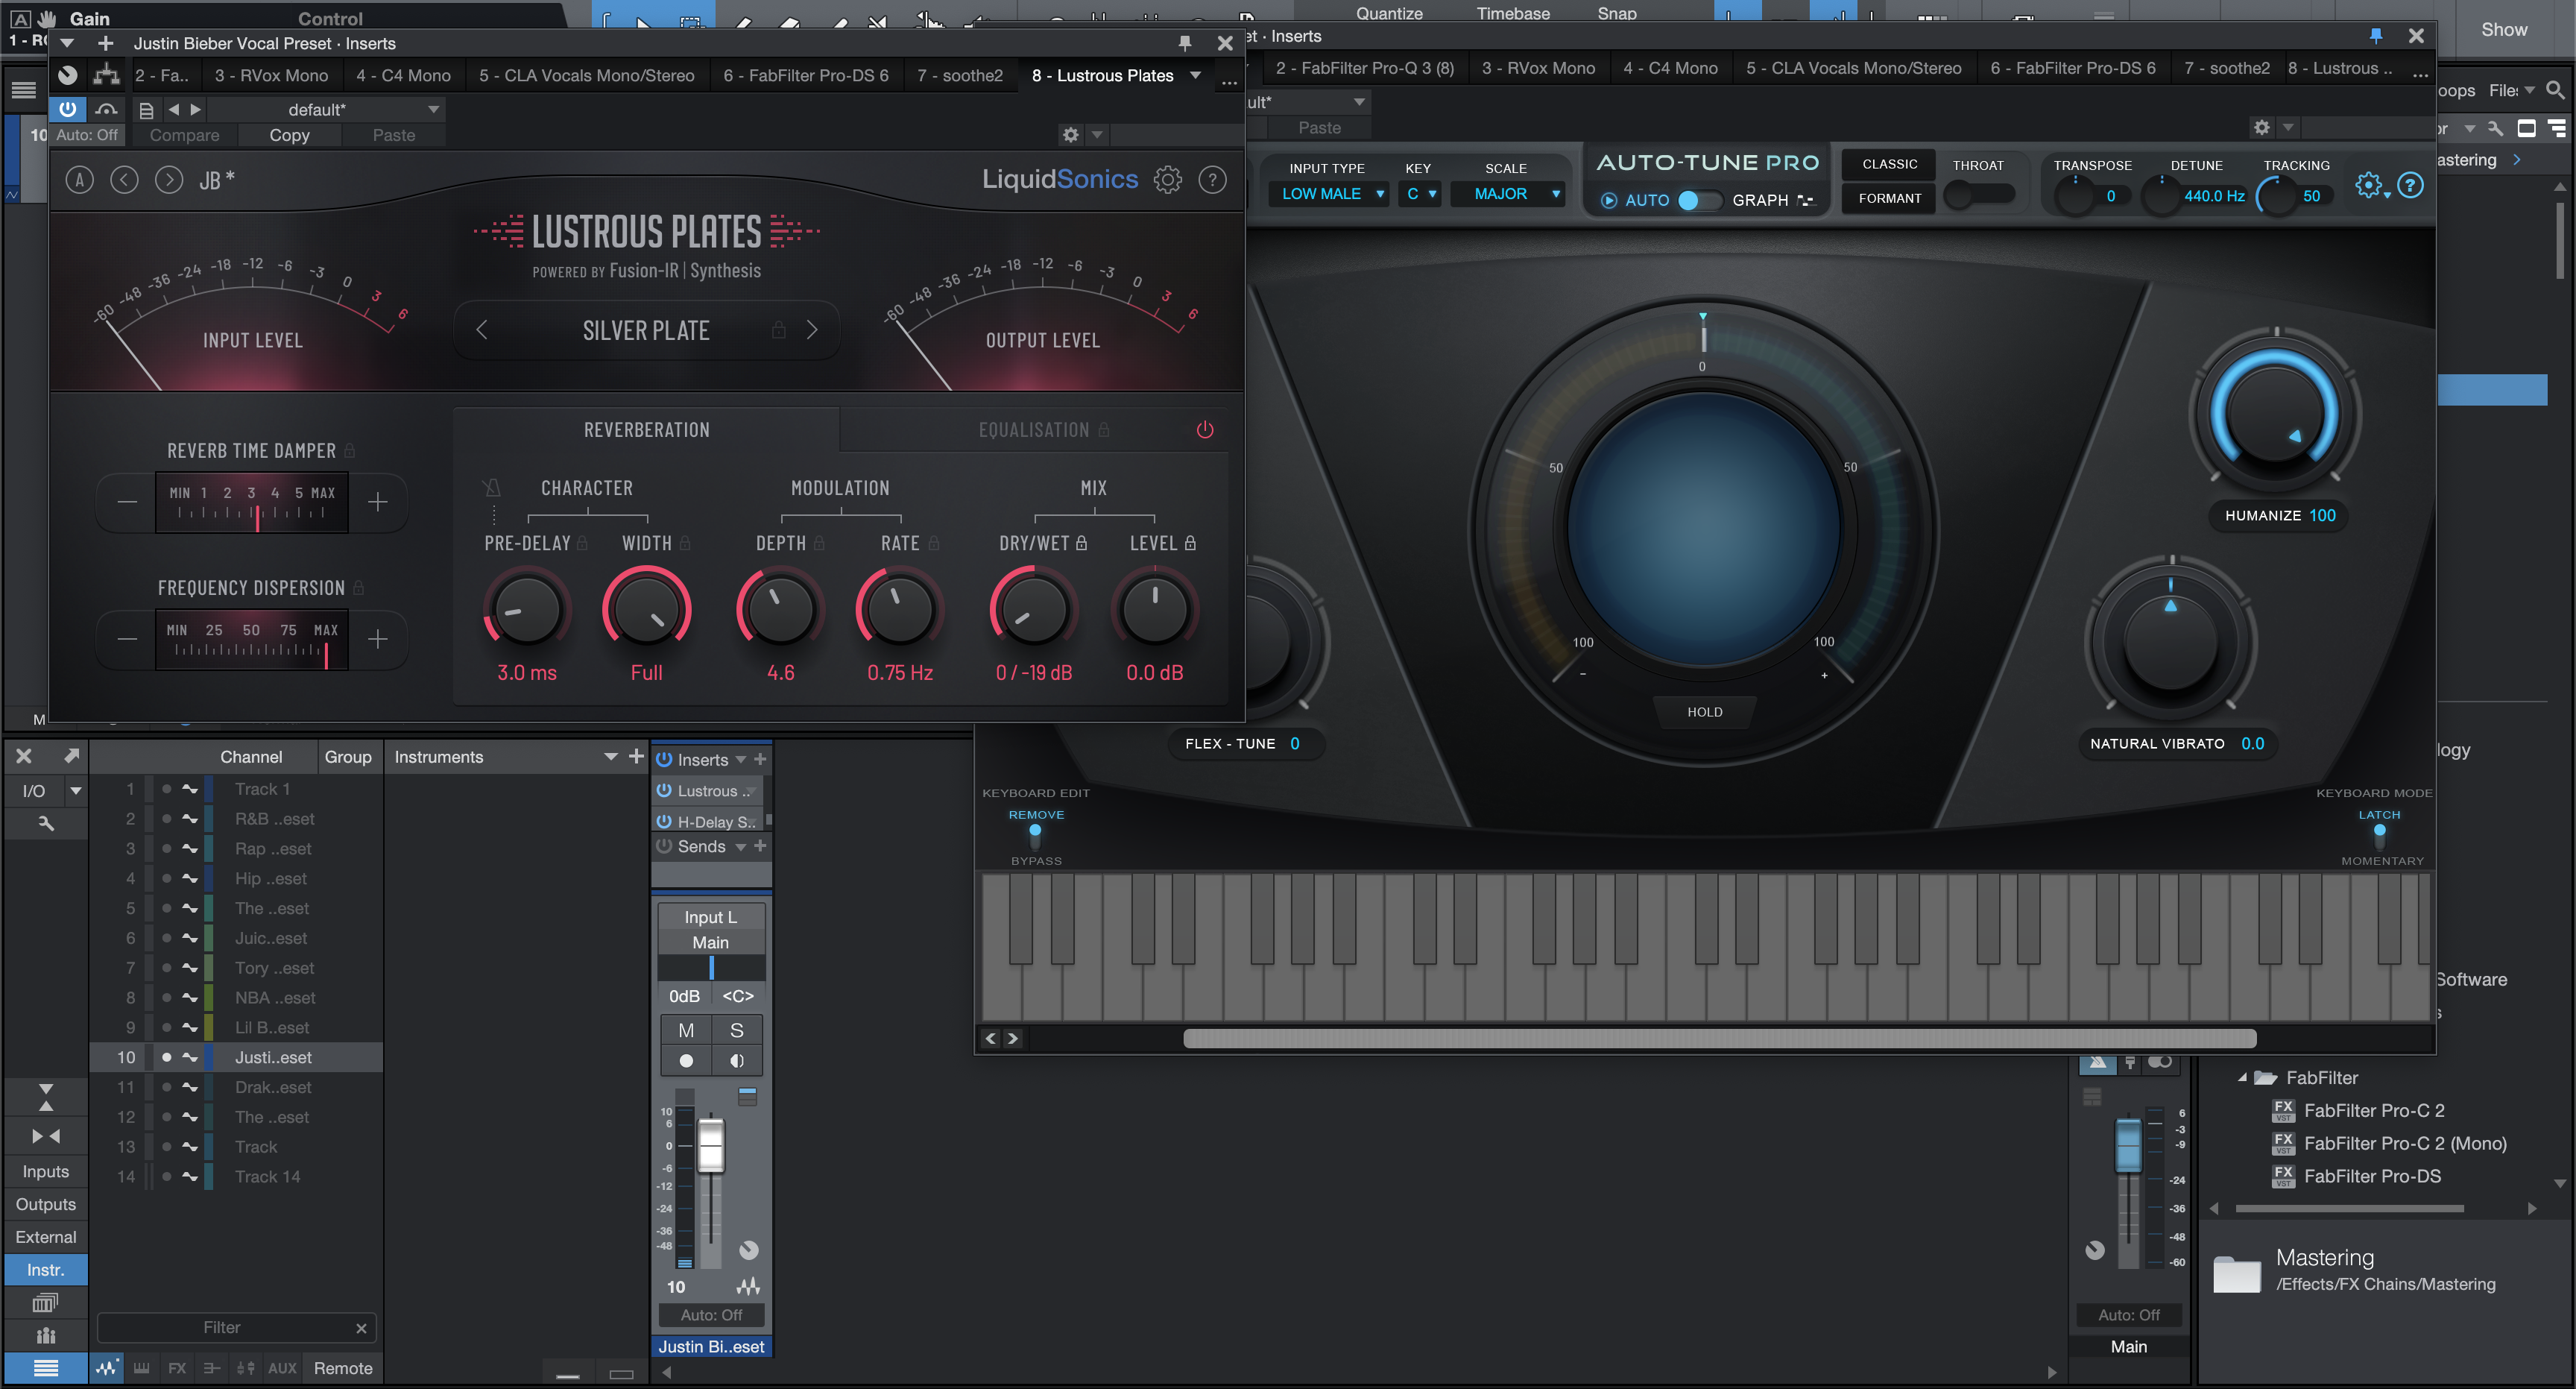
Preset Vocal de Justin Bieber para Studio One
Tipo: Preset Vocal
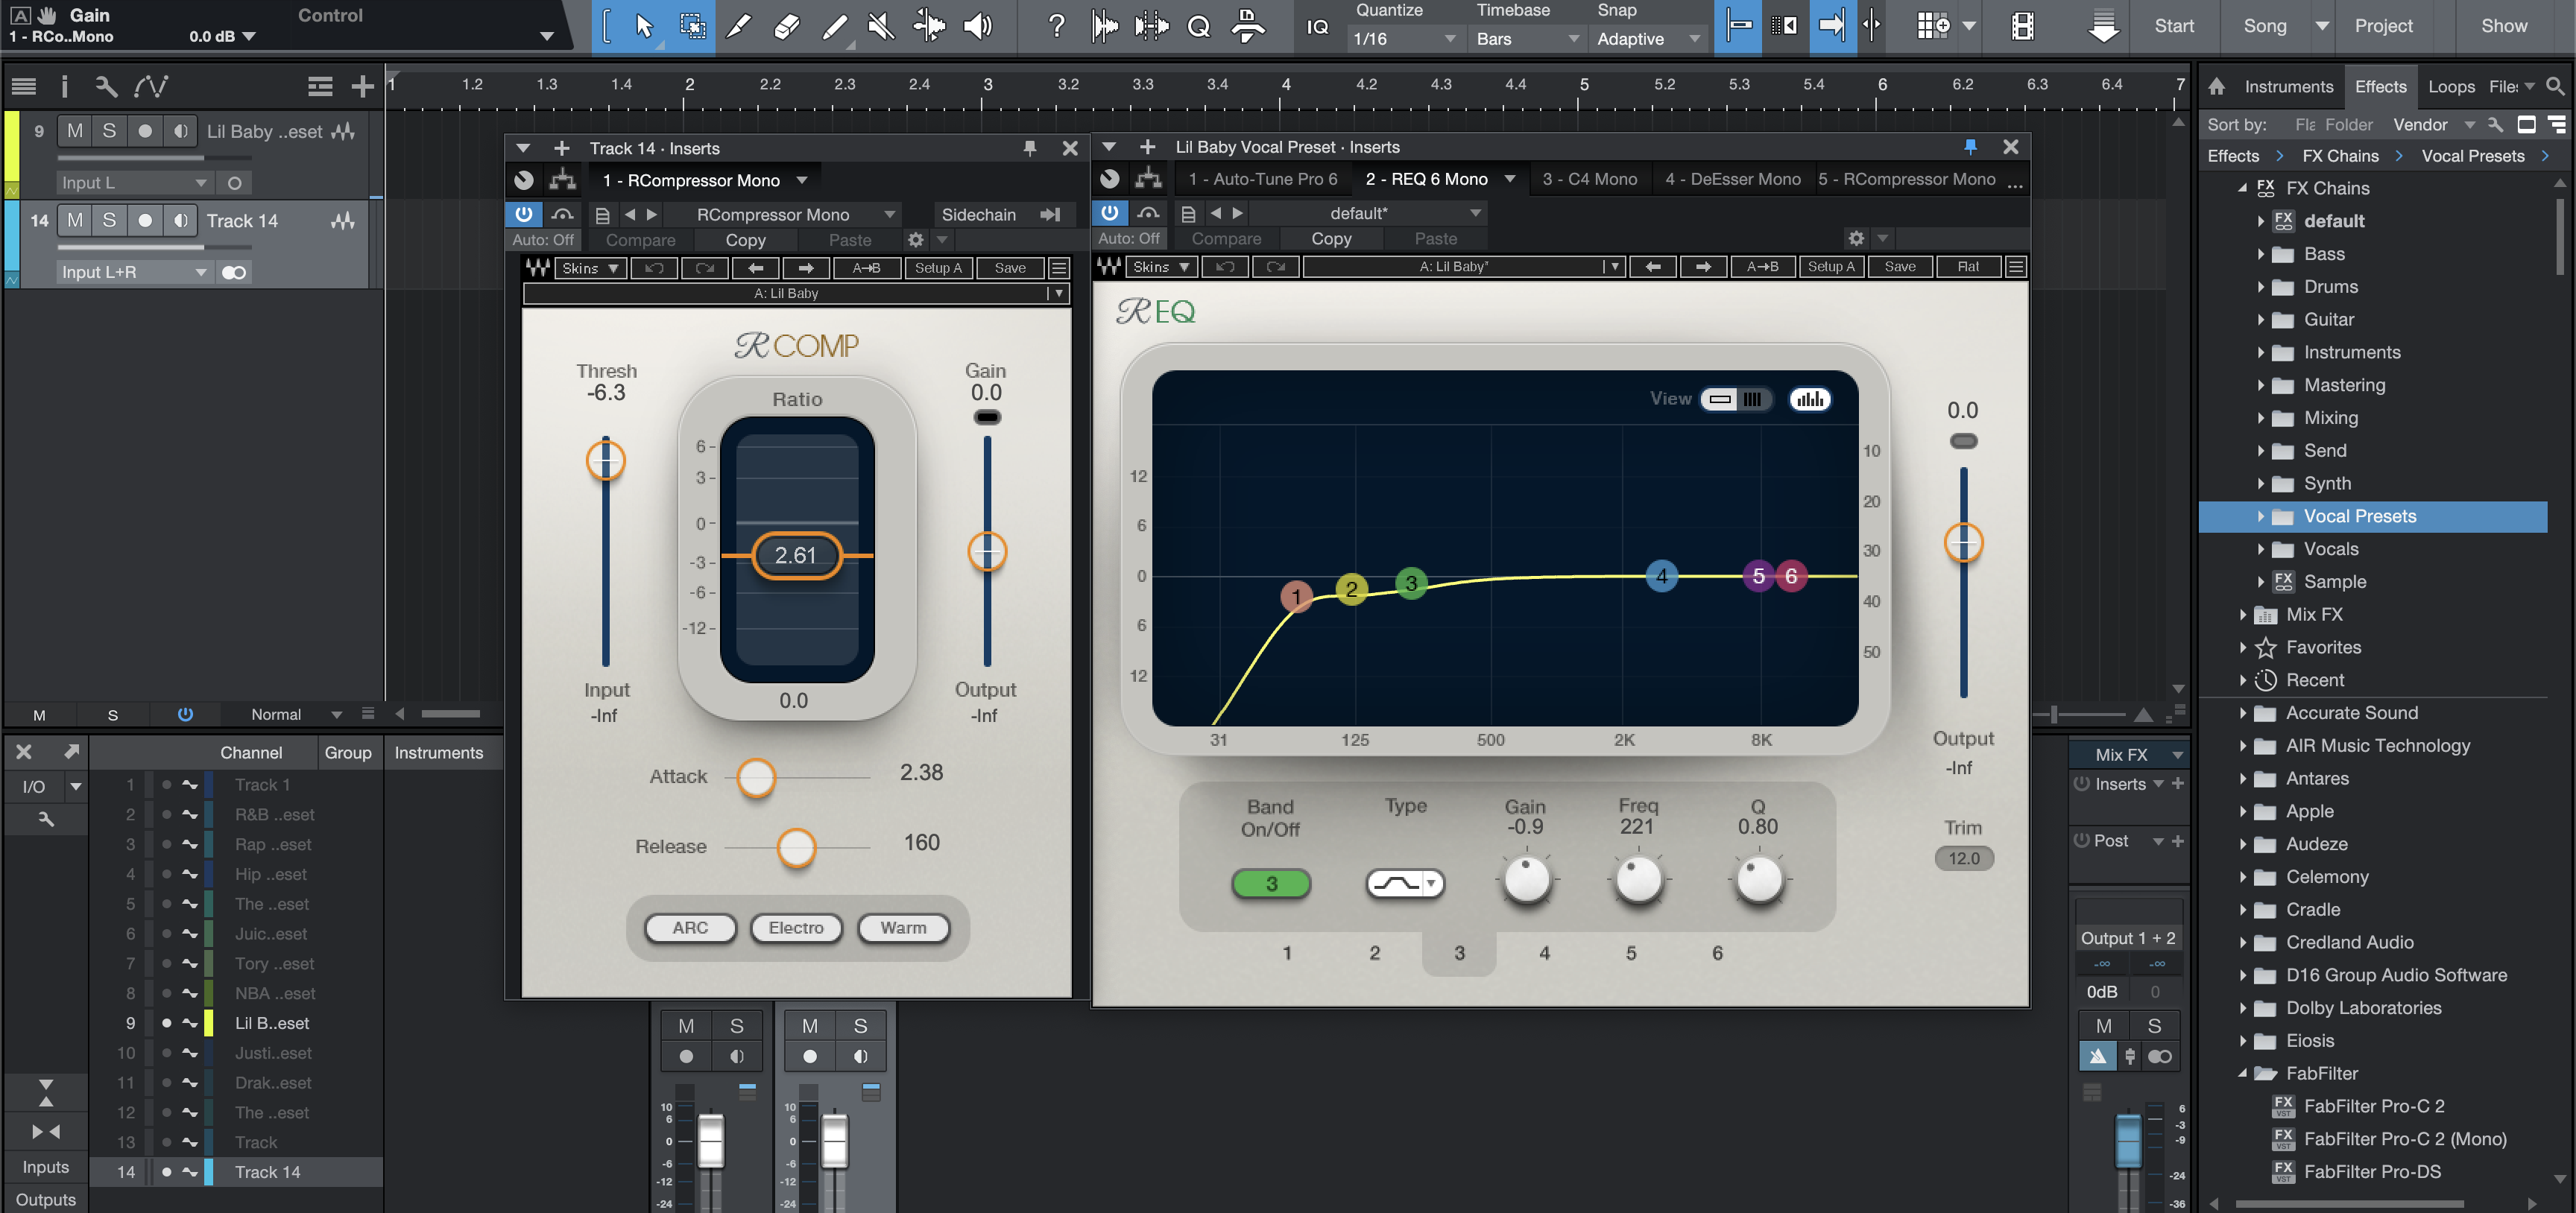
Preset Vocal de Lil Baby para Studio One
Tipo: Preset Vocal
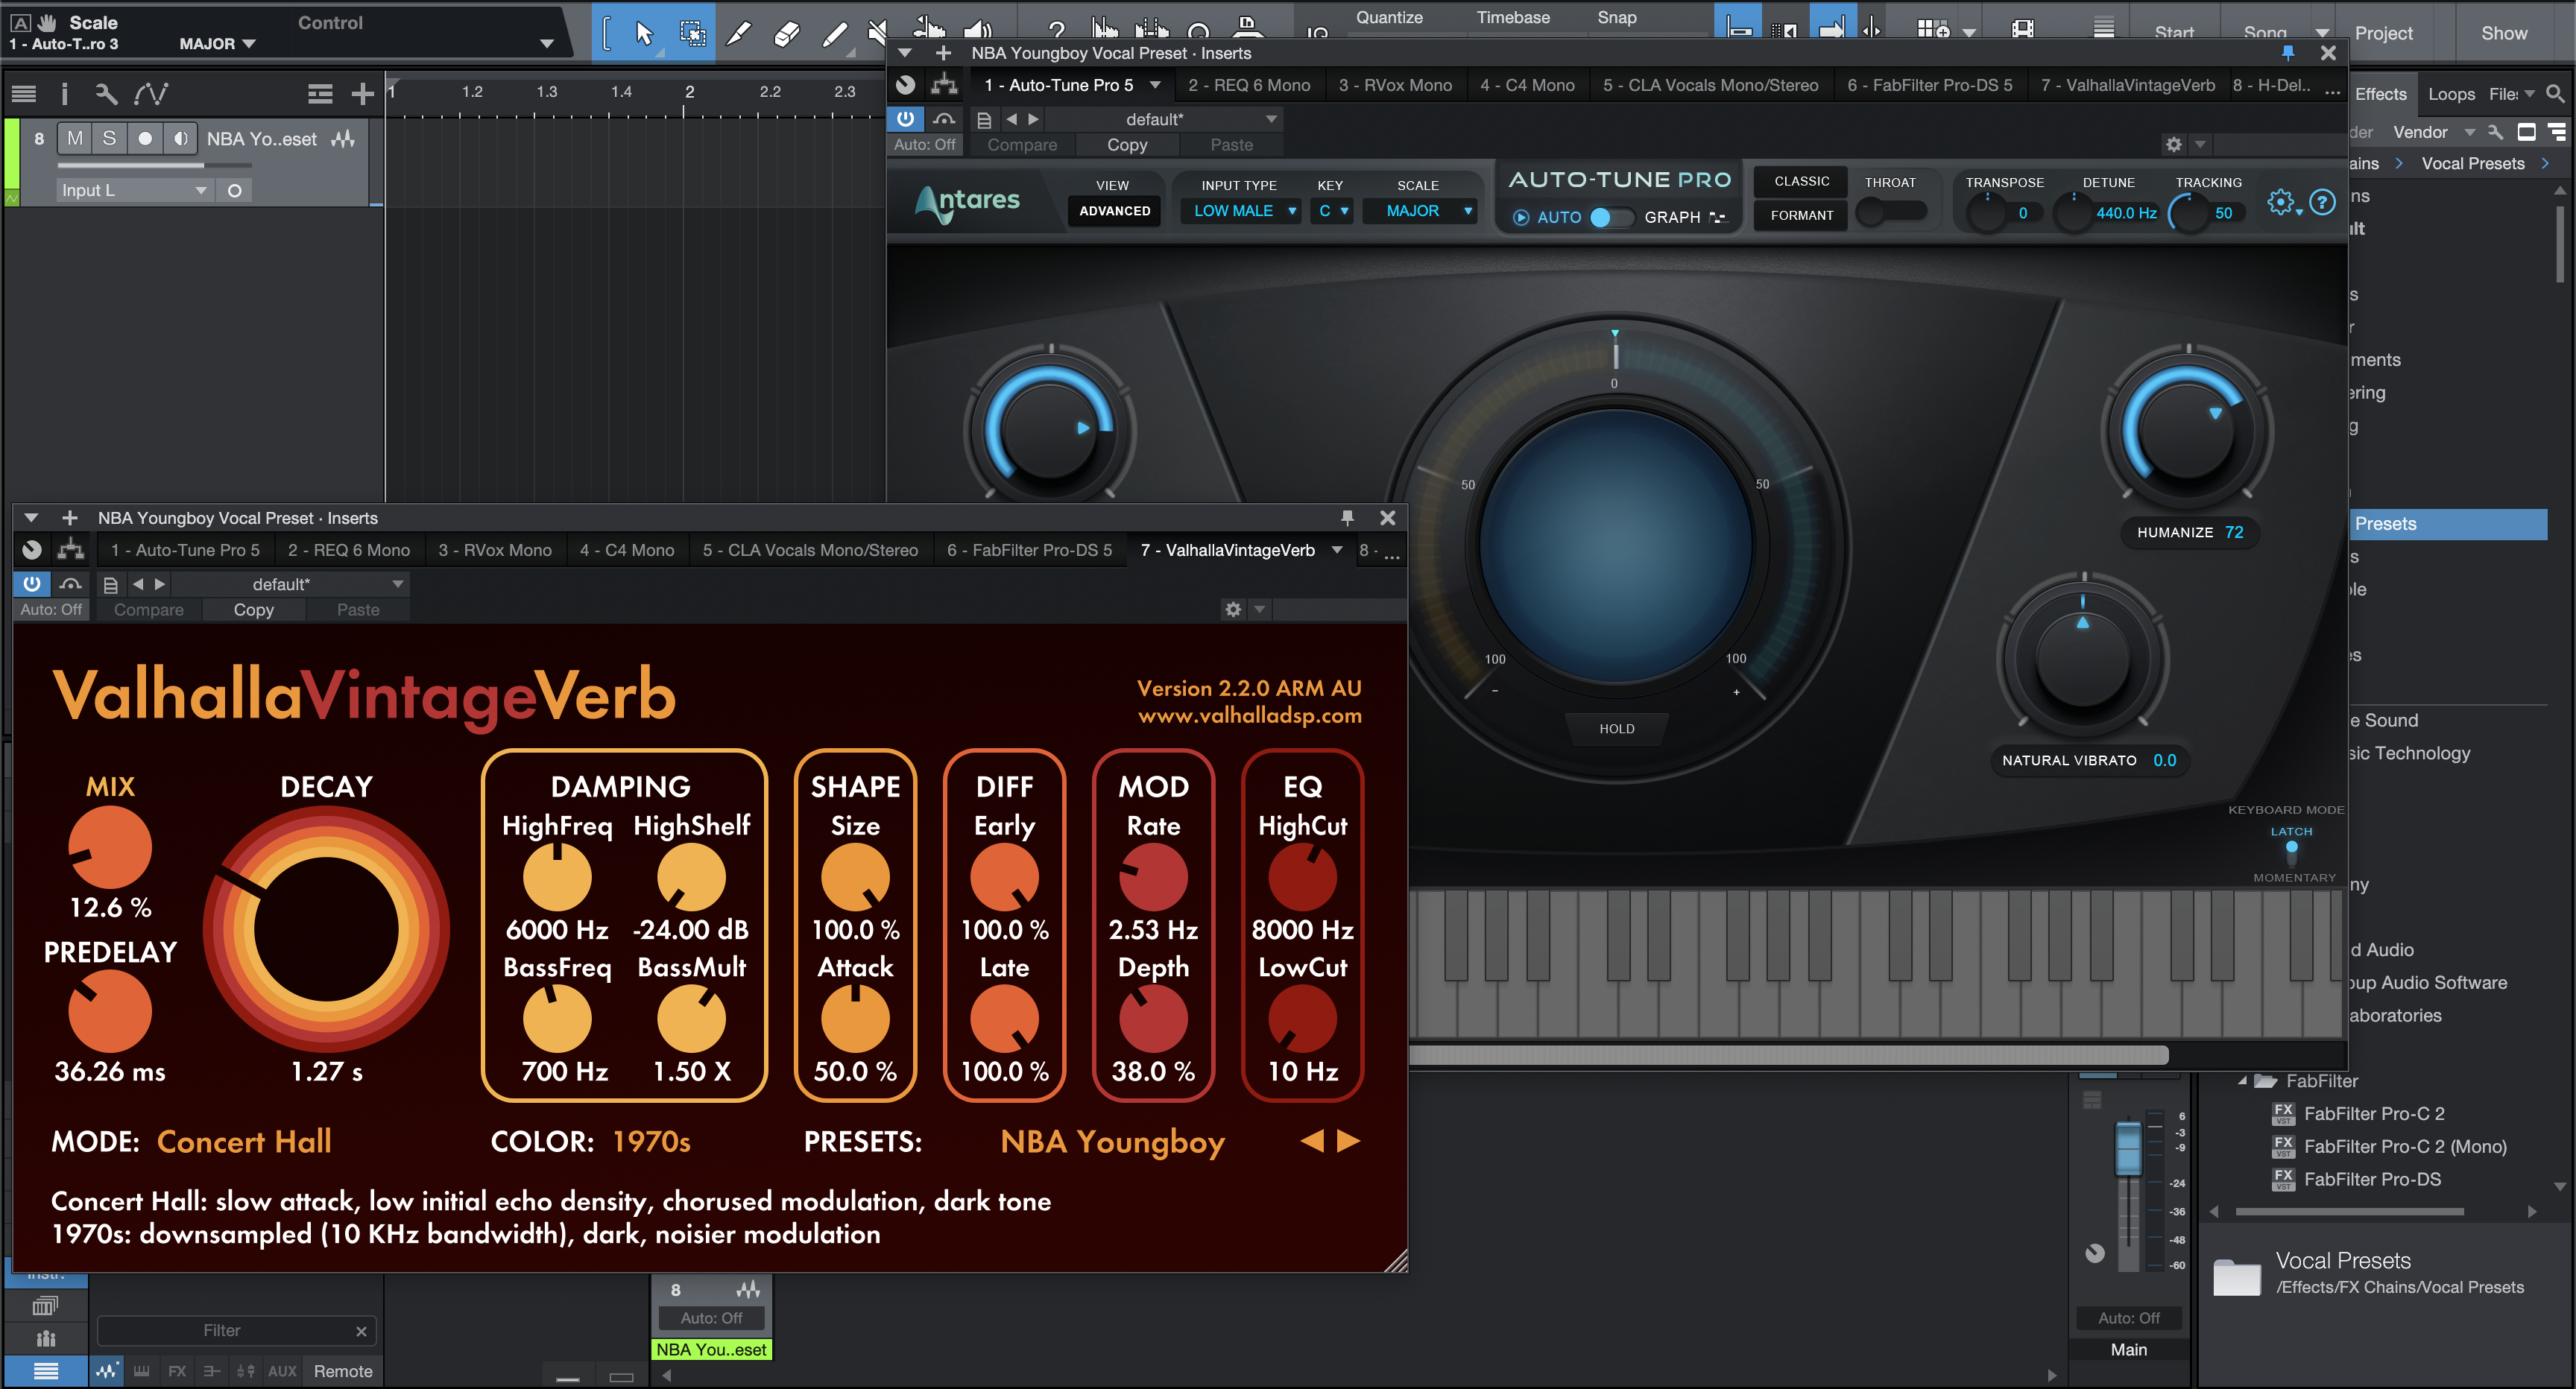
Preset Vocal de NBA YoungBoy para Studio One
Tipo:
Preset Vocal R&B Studio One
Tipo:
Preset de Voz de Rap para Studio One
Tipo: Preset Vocal
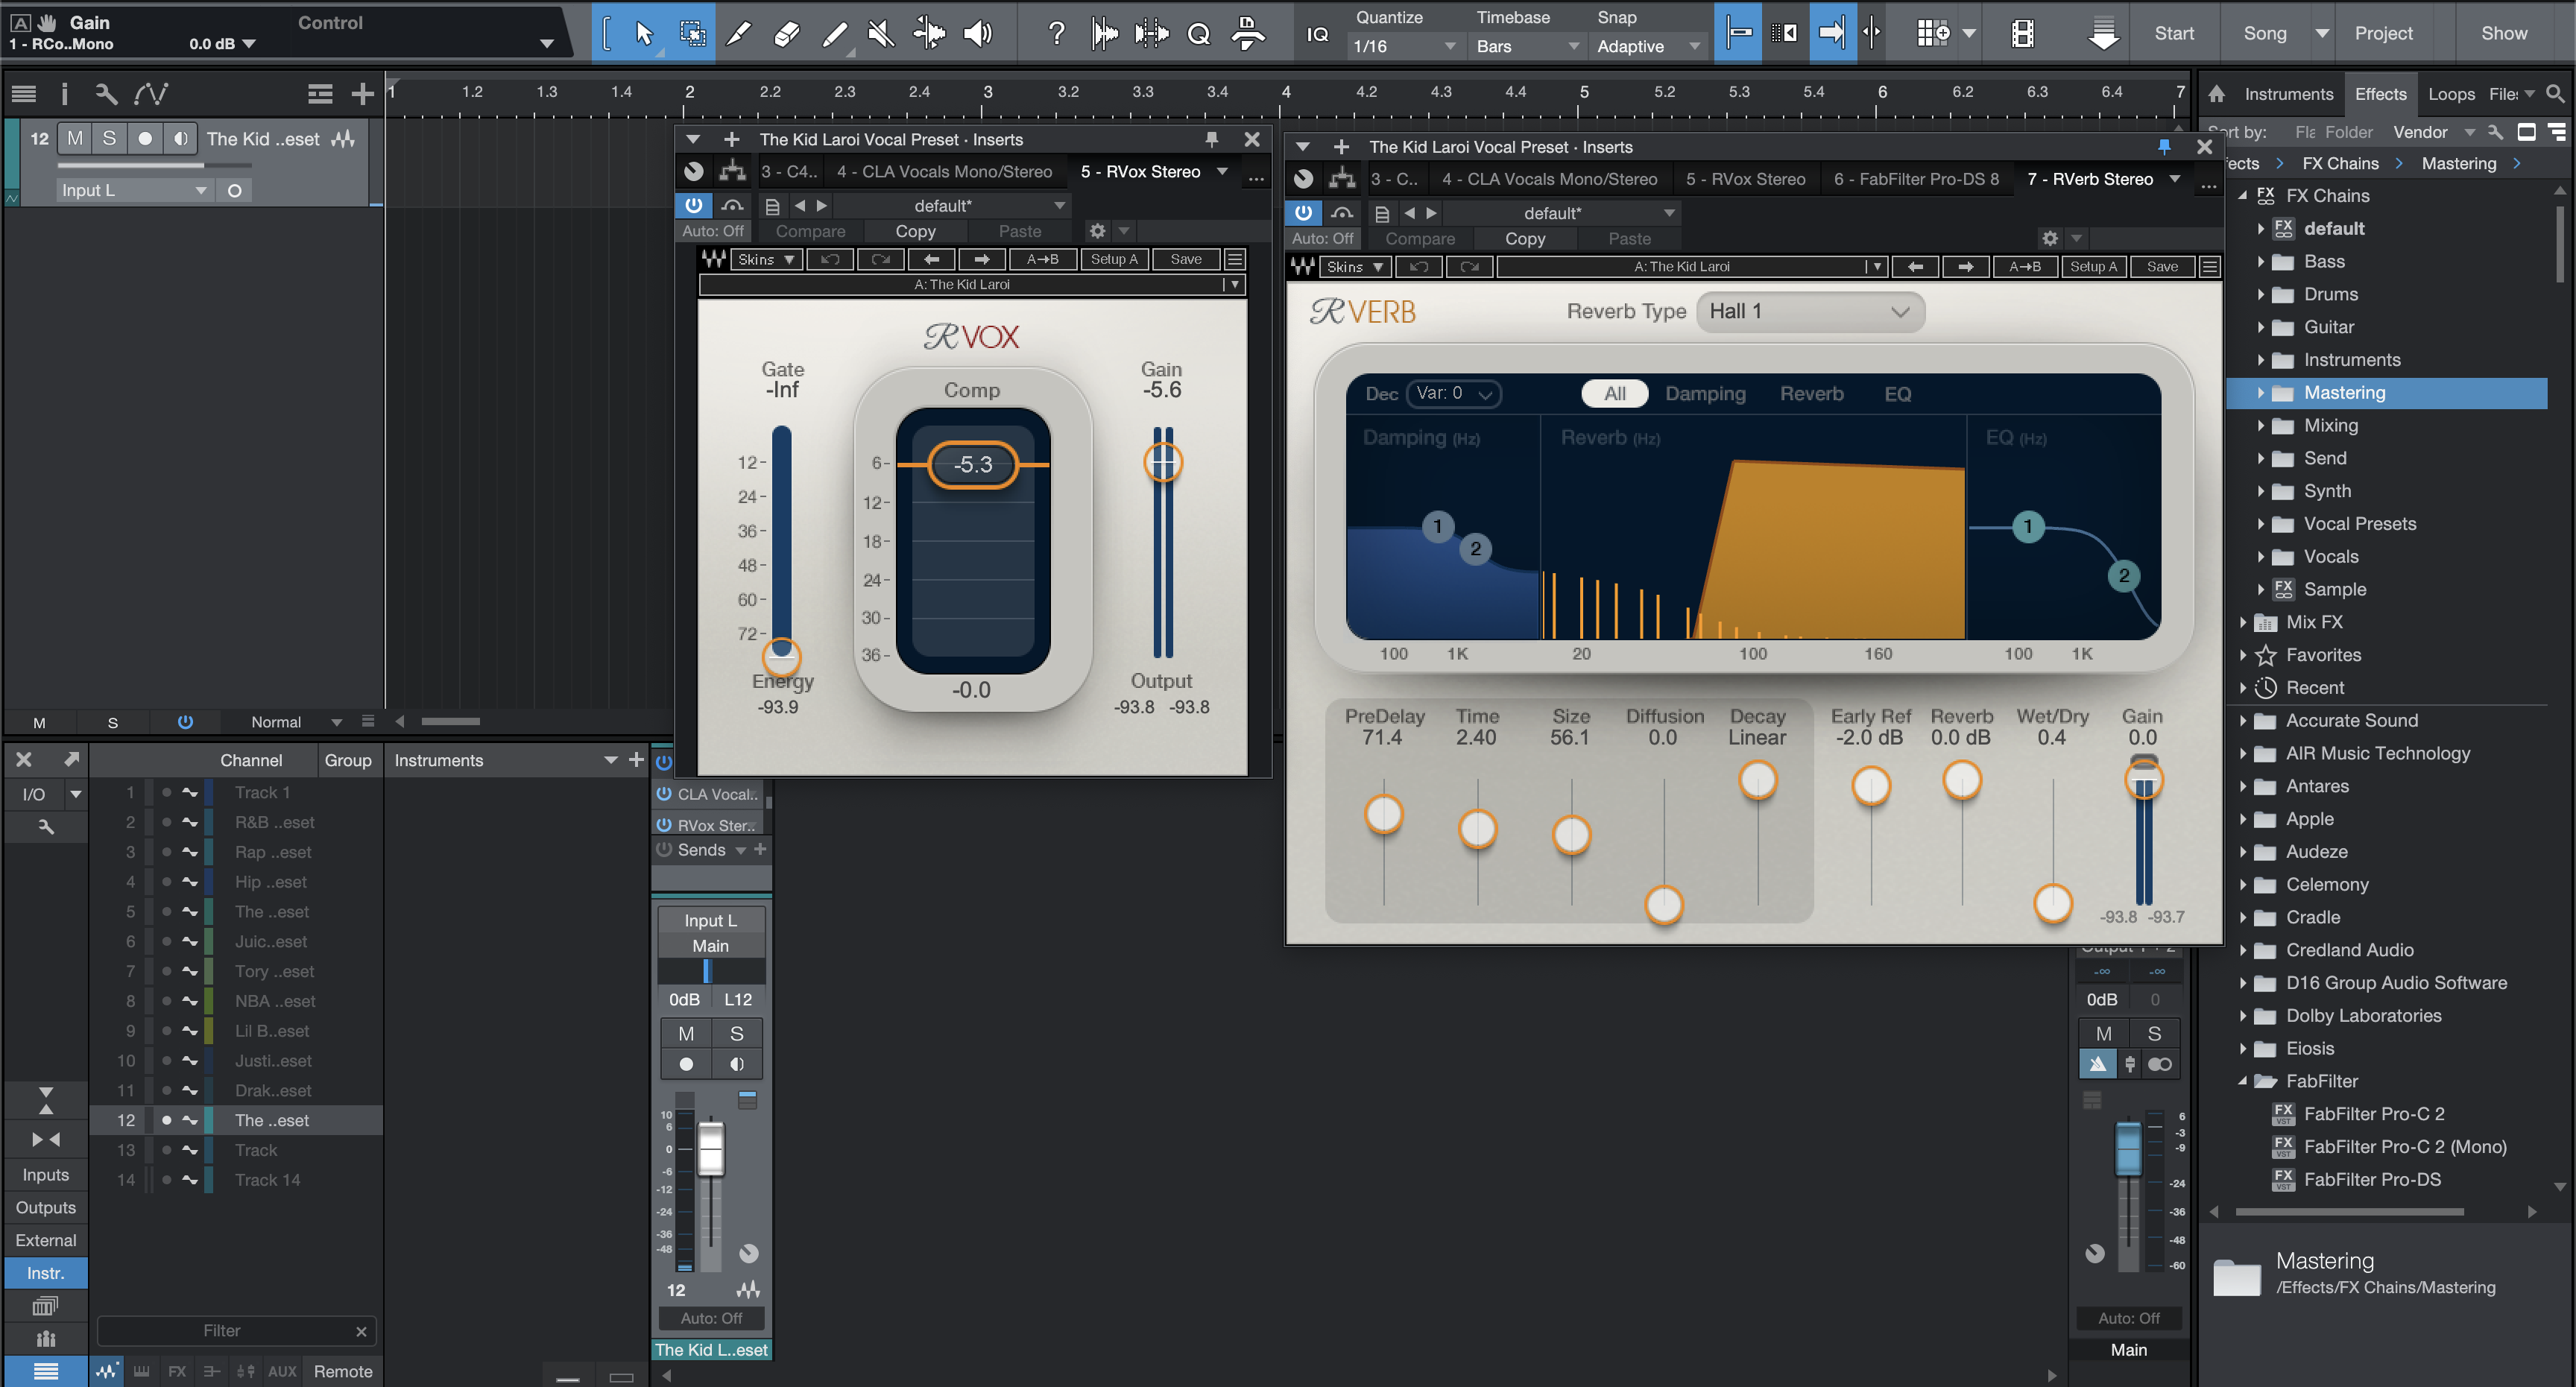
El Preset Vocal de The Kid Laroi para Studio One
Tipo: Preset Vocal
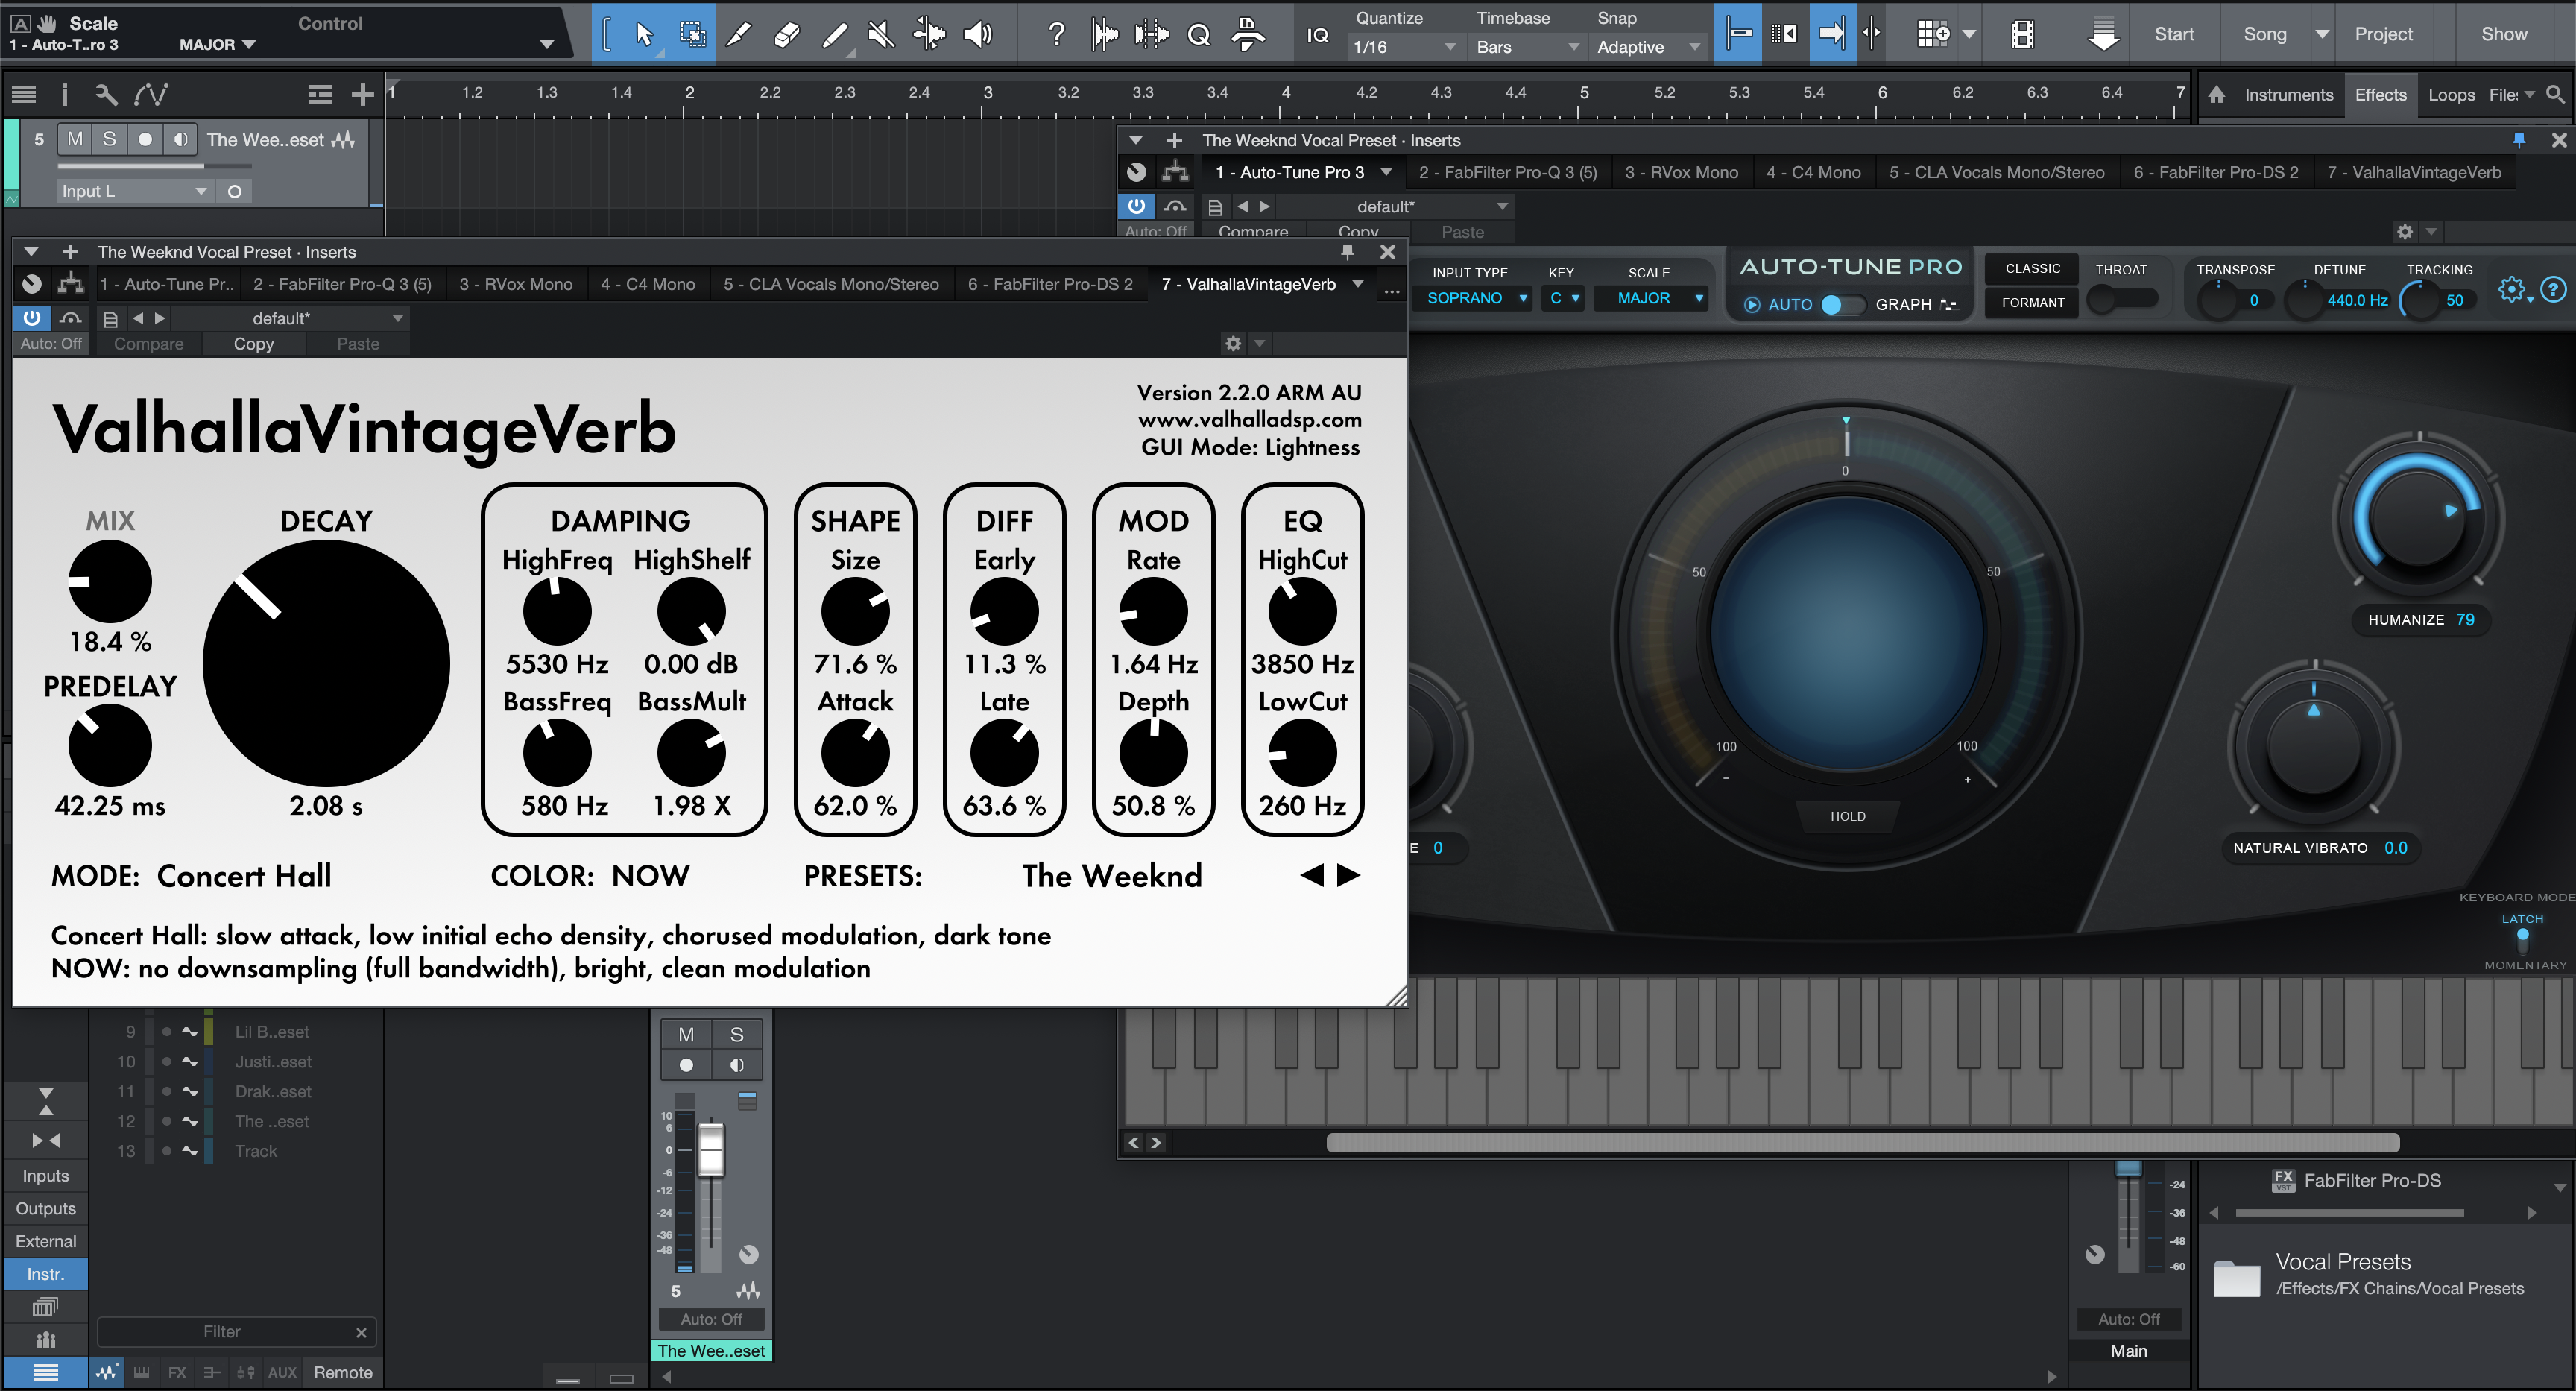
Preset Vocal de The Weeknd para Studio One
Tipo: Preset Vocal
Preset Vocal de Tory Lanez para Studio One
Construye tu propia cesta
Transforma Tu Sesión En Segundos


Créditos de la Industria

Westside Boogie

Shontelle

Jarren Benton

DJ Tunez

Vory

Caskey

Rittz

Nia Riley

Eugy

Q Parker
Acerca del Ingeniero

Acerca del Ingeniero
¡Hola! Soy Byron Hill, un productor musical profesional e ingeniero de mezcla con más de 15 años de experiencia, basado en Atlanta, GA. He trabajado con miles de clientes en todo el mundo en una amplia gama de géneros, desde artistas independientes hasta talentos de grandes sellos. Mis créditos incluyen trabajo con Westside Boogie, Vory, Shontelle, DJ Tunez, Jarren Benton y Ritz, así como creadores y marcas como Daryl Mayes, SeanDoesMagic y Chubbies Clothing.
A lo largo de los años, he desarrollado un oído entrenado para crear cadenas vocales que ofrecen un sonido limpio, equilibrado y profesional, sin importar el género o DAW. Cada preset en esta colección está construido con el mismo objetivo: ayudarte a moverte más rápido, sonar mejor y dar vida a tu voz con claridad, confianza e intención.
Escucha nuestro Trabajo
R&B
Antes de
Después de
Rap
Antes de
Después de
Popular
Antes de
Después de
Alma
Antes de
Después de
Roca
Antes de
Después de
Latino
Antes de
Después de
Preguntas frecuentes
¿Son estos ajustes amigables para principiantes?
¿Son estos ajustes amigables para principiantes?
Sí — cada preajuste está optimizado para funcionar al instante. Solo arrastra, suelta y comienza a grabar. Ya sea que estés comenzando o ya grabando regularmente, estos preajustes te ayudan a estar listo para mezclar el sonido de inmediato.
¿Necesito algún complemento de terceros para usar estos ajustes preestablecidos?
¿Necesito algún complemento de terceros para usar estos ajustes preestablecidos?
Ofrecemos tanto versiones de plugin de stock (no se requieren plugins adicionales) como versiones premium (que utilizan herramientas de terceros estándar de la industria). La descripción del producto enumera claramente cualquier plugin requerido.
¿Funcionará esto con mi DAW (Studio One, Ableton, etc.)?
¿Funcionará esto con mi DAW (Studio One, Ableton, etc.)?
Sí, cada preajuste está construido específicamente para tu DAW. Solo selecciona tu software del menú de preajustes antes de la compra. Soportamos todas las principales DAWs, incluyendo FL Studio, Logic Pro, Pro Tools, Ableton, Studio One y más.
¿Puedo usar estos para cantar, rapear o ambos?
¿Puedo usar estos para cantar, rapear o ambos?
¿Qué tan rápido recibo mis archivos después de la compra?
¿Qué tan rápido recibo mis archivos después de la compra?
Cómo usar los preajustes vocales de Studio One: instalación, recetas de mezcla y plantillas
I. Introducción a los Presets Vocales de Studio One
Si grabas o mezclas voces en Studio One, un preset bien construido te da un tono vocal moderno y repetible sin reconstruir la misma cadena en cada sesión. Un preset carga un camino equilibrado—EQ para dar forma al tono, compresión para controlar el nivel, de-essing para consonantes suaves y ambiente de buen gusto—para que puedas capturar ideas rápidamente y mantener tu sonido consistente desde la demo hasta el lanzamiento. En BCHILL MIX, nuestras cadenas de Studio One están ajustadas para traducirse en audífonos, teléfonos, estéreos de coche y monitores de estudio, mientras se mantienen lo suficientemente ligeras para un seguimiento cómodo.
Esta guía explica qué es un preset vocal de Studio One, cuándo ayuda, cómo instalarlo y ajustarlo en Studio One 6/7, y recetas prácticas para rap, R&B, pop, cantautor/voz clara, rock/alternativo y estilos orientados a la afinación. También verás cómo una plantilla de grabación mínima puede acelerar la configuración de sesiones y mantener grandes proyectos organizados. Para un diseño listo para grabar, consulta la Plantilla de Grabación de Studio One (Plugins de Stock), y para opciones entre DAWs, explora el catálogo más amplio de Presets Vocales.
II. ¿Qué son los presets vocales en Studio One?
En Studio One, un preset vocal es un preset de canal/pista guardado o Cadena FX que contiene un orden conocido de procesadores con configuraciones iniciales sensatas. Una cadena limpia y moderna generalmente incluye:
- EQ de canal con un suave paso alto y pequeños movimientos quirúrgicos para eliminar el retumbo o domar la dureza.
- Dos compresores ligeros en serie (una etapa de “nivelación” más lenta y una etapa de “captura de picos” más rápida) para estabilizar la dinámica sin bombeo.
- De-esser colocado antes de cualquier aire/brillo para que “s” y “t” permanezcan suaves.
- Saturación/excitador opcional para presencia y nitidez (úsalo sutilmente mientras grabas).
- FX basados en tiempo a través de envíos (plato corto/habitación y retardo ajustado al tempo) para que el espacio apoye la letra sin lavarla.
Carga la cadena en una pista de Lead, duplica para Dobles/Armonías con umbrales ligeramente diferentes, o coloca procesamiento correctivo en la pista y pulido creativo en un Bus Vocal. Los presets son puntos de partida—graba a través de ellos, luego ajusta umbrales, cantidades de EQ y niveles de envío para tu voz, micrófono y canción. Cuando encuentres el punto dulce, guárdalo como tu propia Cadena FX o Preset de Pista para que futuros proyectos se abran listos para grabar.
III. Por qué usar presets (Beneficios y cuándo ayudan)
- Velocidad: Abre, elige un preset, presiona grabar—no más calentamientos de 20 minutos de complementos.
- Consistencia: Una cadena calibrada mantiene el tono alineado a través de sencillos, EPs, pódcast y series de contenido.
- Enfoque creativo: Dedica tiempo a la interpretación, dobles/improvisaciones, armonías y arreglos—no a la plomería.
- Traducción: Las cadenas están ajustadas para mantenerse inteligibles en teléfonos/audífonos, así como en monitores de rango completo.
- Baja fricción: Menos decisiones en el momento—genial para equipos de laptop/móvil y sesiones de escritura rápidas.
Donde los presets ayudan más: días de demostración rápidos, colaboraciones remotas, cortos/reels, lanzamientos semanales de sencillos, voz en off/podcasts y cualquier flujo de trabajo donde quieras pasar de la idea a la toma en minutos.
IV. Cadenas de Stock vs. Premium en Studio One (Lo que realmente necesitas)
Cadenas solo de stock utilizan procesadores integrados como Pro EQ, Compresor, De-Esser, Puerta/Expansor, Delay Analógico, reverberaciones de Sala/Placa y Mix FX. Son portátiles, amigables con la CPU y se abren en cualquier sistema Studio One—ideales para colaboración y equipos amigables para viajar.
Cadenas premium añaden plug-ins de terceros seleccionados (si ya los posees) para un color o control extra—EQ dinámico, compresores de carácter, saturación avanzada, reverberaciones especiales o afinación dedicada. Muchos artistas mantienen ambos: una cadena estándar para grabar en cualquier lugar y una cadena premium para pulir en casa.
Selección rápida: ¿nuevo en presets? Comienza con una cadena limpia de “voces claras”. ¿Conoces tu estilo? Carga una cadena ajustada por estilo (rap, R&B, pop, rock) y haz pequeños ajustes en lugar de reconstruir desde cero. Para las características actuales de la plataforma y el contexto de la versión, consulta la visión general de Studio One Pro de PreSonus.
V. Instalación y Inicio Rápido (Paso a Paso)
- Crea y nombra pistas. Agrega pistas de audio para Lead, Doubles, Harmonies y Ad-libs. Códifícalas por colores y, si te gusta el control agrupado, enrútalas a un simple Vocal Bus o Canal Bus.
- Configura la entrada y la monitorización. Elige la entrada de tu interfaz en la pista Lead. Graba una breve frase de prueba y ajusta el preamplificador para que los picos se mantengan por debajo del clipping. Si la monitorización se siente lenta, reduce el tamaño del búfer de I/O mientras grabas y mantén los inserts ligeros; vuelve a habilitar cadenas completas para la mezcla.
- Carga la cadena de preset. Inserta Pro EQ → Compresor (suave) → De-Esser → Compresor (rápido/limpio) → saturación opcional → envíos a Delay/Reverb. Mantén los inserts mayormente secos mientras grabas; usa envíos para espacio para que la latencia y la dicción se mantengan limpias.
- Dial thresholds & sends. Apunta a una reducción de ganancia de unos pocos dB en las líneas más fuertes sin bombeo. Si añades aire, revisa el de-esser para que “s” se mantenga suave. Usa un retardo pequeño, sincronizado con el tempo y una placa corta; automatiza los envíos hacia arriba para los ganchos.
- Guarda tu configuración. Almacena la cadena como una Cadena FX de usuario o un Preset de Pista para que cada sesión se abra con un enrutamiento, margen y colores consistentes. Guarda una segunda versión con tus propios umbrales para sesiones realmente de un clic.
Notas de ganancia: graba con un margen saludable (picos alrededor de −10 a −6 dBFS en el medidor de pista); evita luces rojas en la interfaz—el clipping no se puede arreglar más tarde. Si la ganancia de maquillaje empuja los niveles demasiado alto, recorta el clip o la salida del efecto en lugar de forzar el siguiente procesador. Mantén los picos de la mezcla rough sensatos para que no estés persiguiendo la sonoridad mientras grabas.
Consejos de afinación: Para una corrección suave, coloca la afinación temprano en la cadena (pre-de-ess). Para ediciones quirúrgicas, toma compresiones y aplica afinación detallada después de grabar. Revisa la sibilancia si iluminas la voz más tarde.
VI. Recetas de Estilo & Soluciones Rápidas (Rap, R&B, Pop, Rock/Alt, Cantautor/Voz Clara, Tuning-Forward)
Rap Lead (punch moderno) — Dos compresores más ligeros en serie mantienen la dinámica ajustada sin matar los transitorios. Enfoca la presencia alrededor de 2–5 kHz y esculpe pequeños espacios en el instrumental en lugar de sobrepotenciar la voz. Añade un slap corto o una pequeña placa para energía sin lavado. Eleva los coros automatizando el envío de delay en lugar de aumentar los niveles húmedos de inserción.
Rap Melódico / Trap — Brillante pero suave en la parte superior. Un toque de saturación antes del de-ess añade mordida; sigue con de-ess para que las consonantes no se vuelvan espumosas. Para ad-libs, empuja un paso alto ligeramente más alto y un poco más de de-ess para mantener las capas ordenadas. Amplía los ganchos con un poco más de retroalimentación de delay y pre-delay en la placa.
R&B / Soul — Ataque/liberación suave, estante de aire suave, ambiente más amplio. Si los aumentos añaden siseo, reduce el brillo o añade un segundo de-ess más suave. Fondos de paso alto y utiliza retardos estéreo lentos que se sitúan detrás de la voz principal para que la letra se mantenga al frente. Para apilamientos exuberantes, experimenta con un pre-retardo más largo y un nivel de envío más bajo para que la cola de la reverberación no enmascare las palabras.
Pop — Altos pulidos con un de-ess cuidadoso, retrasos sincronizados con el tempo para espacio rítmico, y una sala muy corta para “pegamento.” Toma decisiones a un volumen igualado para que “más fuerte” no sesgue tus verificaciones A/B. En arreglos densos, esculpe 2–4 kHz en guitarras/sintetizadores para mantener las palabras inteligibles.
Rock / Alternativo — Mantén la voz adelante sin aspereza: compresión moderada con un pequeño toque de saturación, luego de-ess. Para energía, usa una sala/plato corto y un slap mono alrededor de 80–120 ms. Si los platillos luchan contra el brillo vocal, corta un poco de estante alto en el bus de batería en lugar de sobre-de-ess la voz.
Cantautor / Voz Clara — Prioriza la inteligibilidad y el control del ruido: compresión transparente, de-ess moderado y un toque de ambiente corto si lo seco se siente antinatural. La técnica gana: distancia constante del micrófono, filtro antipop y una habitación tranquila superan el procesamiento pesado cada vez. Si la respiración/ruido es un problema, automatiza la ganancia del clip alrededor de las respiraciones en lugar de usar un gate duro.
Enfocado en la afinación (ganchos y pop hiper limpio) — Establece primero la tonalidad/escala de la canción. Usa cantidades de reafinación modestas para una sensación natural o empuja más fuerte deliberadamente para un tono robótico. Después de aclarar, vuelve a verificar el de-ess y ajusta los umbrales para que la sibilancia se mantenga suave.
Soluciones comunes:
- “s/t” áspero: retrocede un poco la estantería de aire y/o suaviza el umbral del de-esser para que actúe solo sobre los sibilantes.
- Bajos medios boomy: cortes pequeños y estrechos alrededor de 150–350 Hz; dobles/armonías de paso alto más altos que la voz principal.
- Voz enterrada en el ritmo: esculpe pequeños espacios en los instrumentos que compiten (2–5 kHz) o sube el bus vocal ~1 dB en los coros.
- Demasiado espacio: comienza los envíos bajos; automatiza en ganchos en lugar de mantener la reverberación/delay alta durante todo el tiempo.
- Latencia al grabar: baja el búfer; graba con una cadena ligera y añade realzadores más tarde.
VII. Plantillas de Grabación vs. Presets (Flujo de Trabajo que Escala)
Los presets vocales moldean el tono y la dinámica en una pista o bus. Las plantillas de grabación te dan el diseño completo de la sesión: pistas pre-nombradas (Voz Principal, Dobles, Armonías, Ad-libs), codificación por colores, enrutamiento de buses, conceptos básicos de mezcla de referencia y envíos listos, para que puedas pasar de la idea a la toma en segundos y mantener sesiones grandes ordenadas. La mayoría de los creadores mantienen ambos:
- Abre una plantilla para garantizar que el margen, los medidores y el enrutamiento sean consistentes de canción a canción.
- Carga la cadena de presets que coincida con el estilo (Rap, R&B, Pop, Rock), luego guarda tu versión ajustada como tu punto de partida “vocal.”
- Utiliza un Bus Vocal para un pulido creativo (excitador, compresor ligero, ancho estéreo), manteniendo los movimientos correctivos en las pistas individuales.
Cuando deseas un punto de partida que esté organizado desde el primer día, utiliza la Plantilla de Grabación de Studio One (Plugins de Stock). Para cadenas cruzadas de DAW que reflejen tu sonido a través de equipos, explora la colección principal de Presets Vocales. Si también produces en Pro Tools, puedes comparar diseños con plantillas de Pro Tools para mantener tu flujo de trabajo consistente.
Última actualización: agosto de 2025 · Autor: Byron Hill (BCHILL MIX)
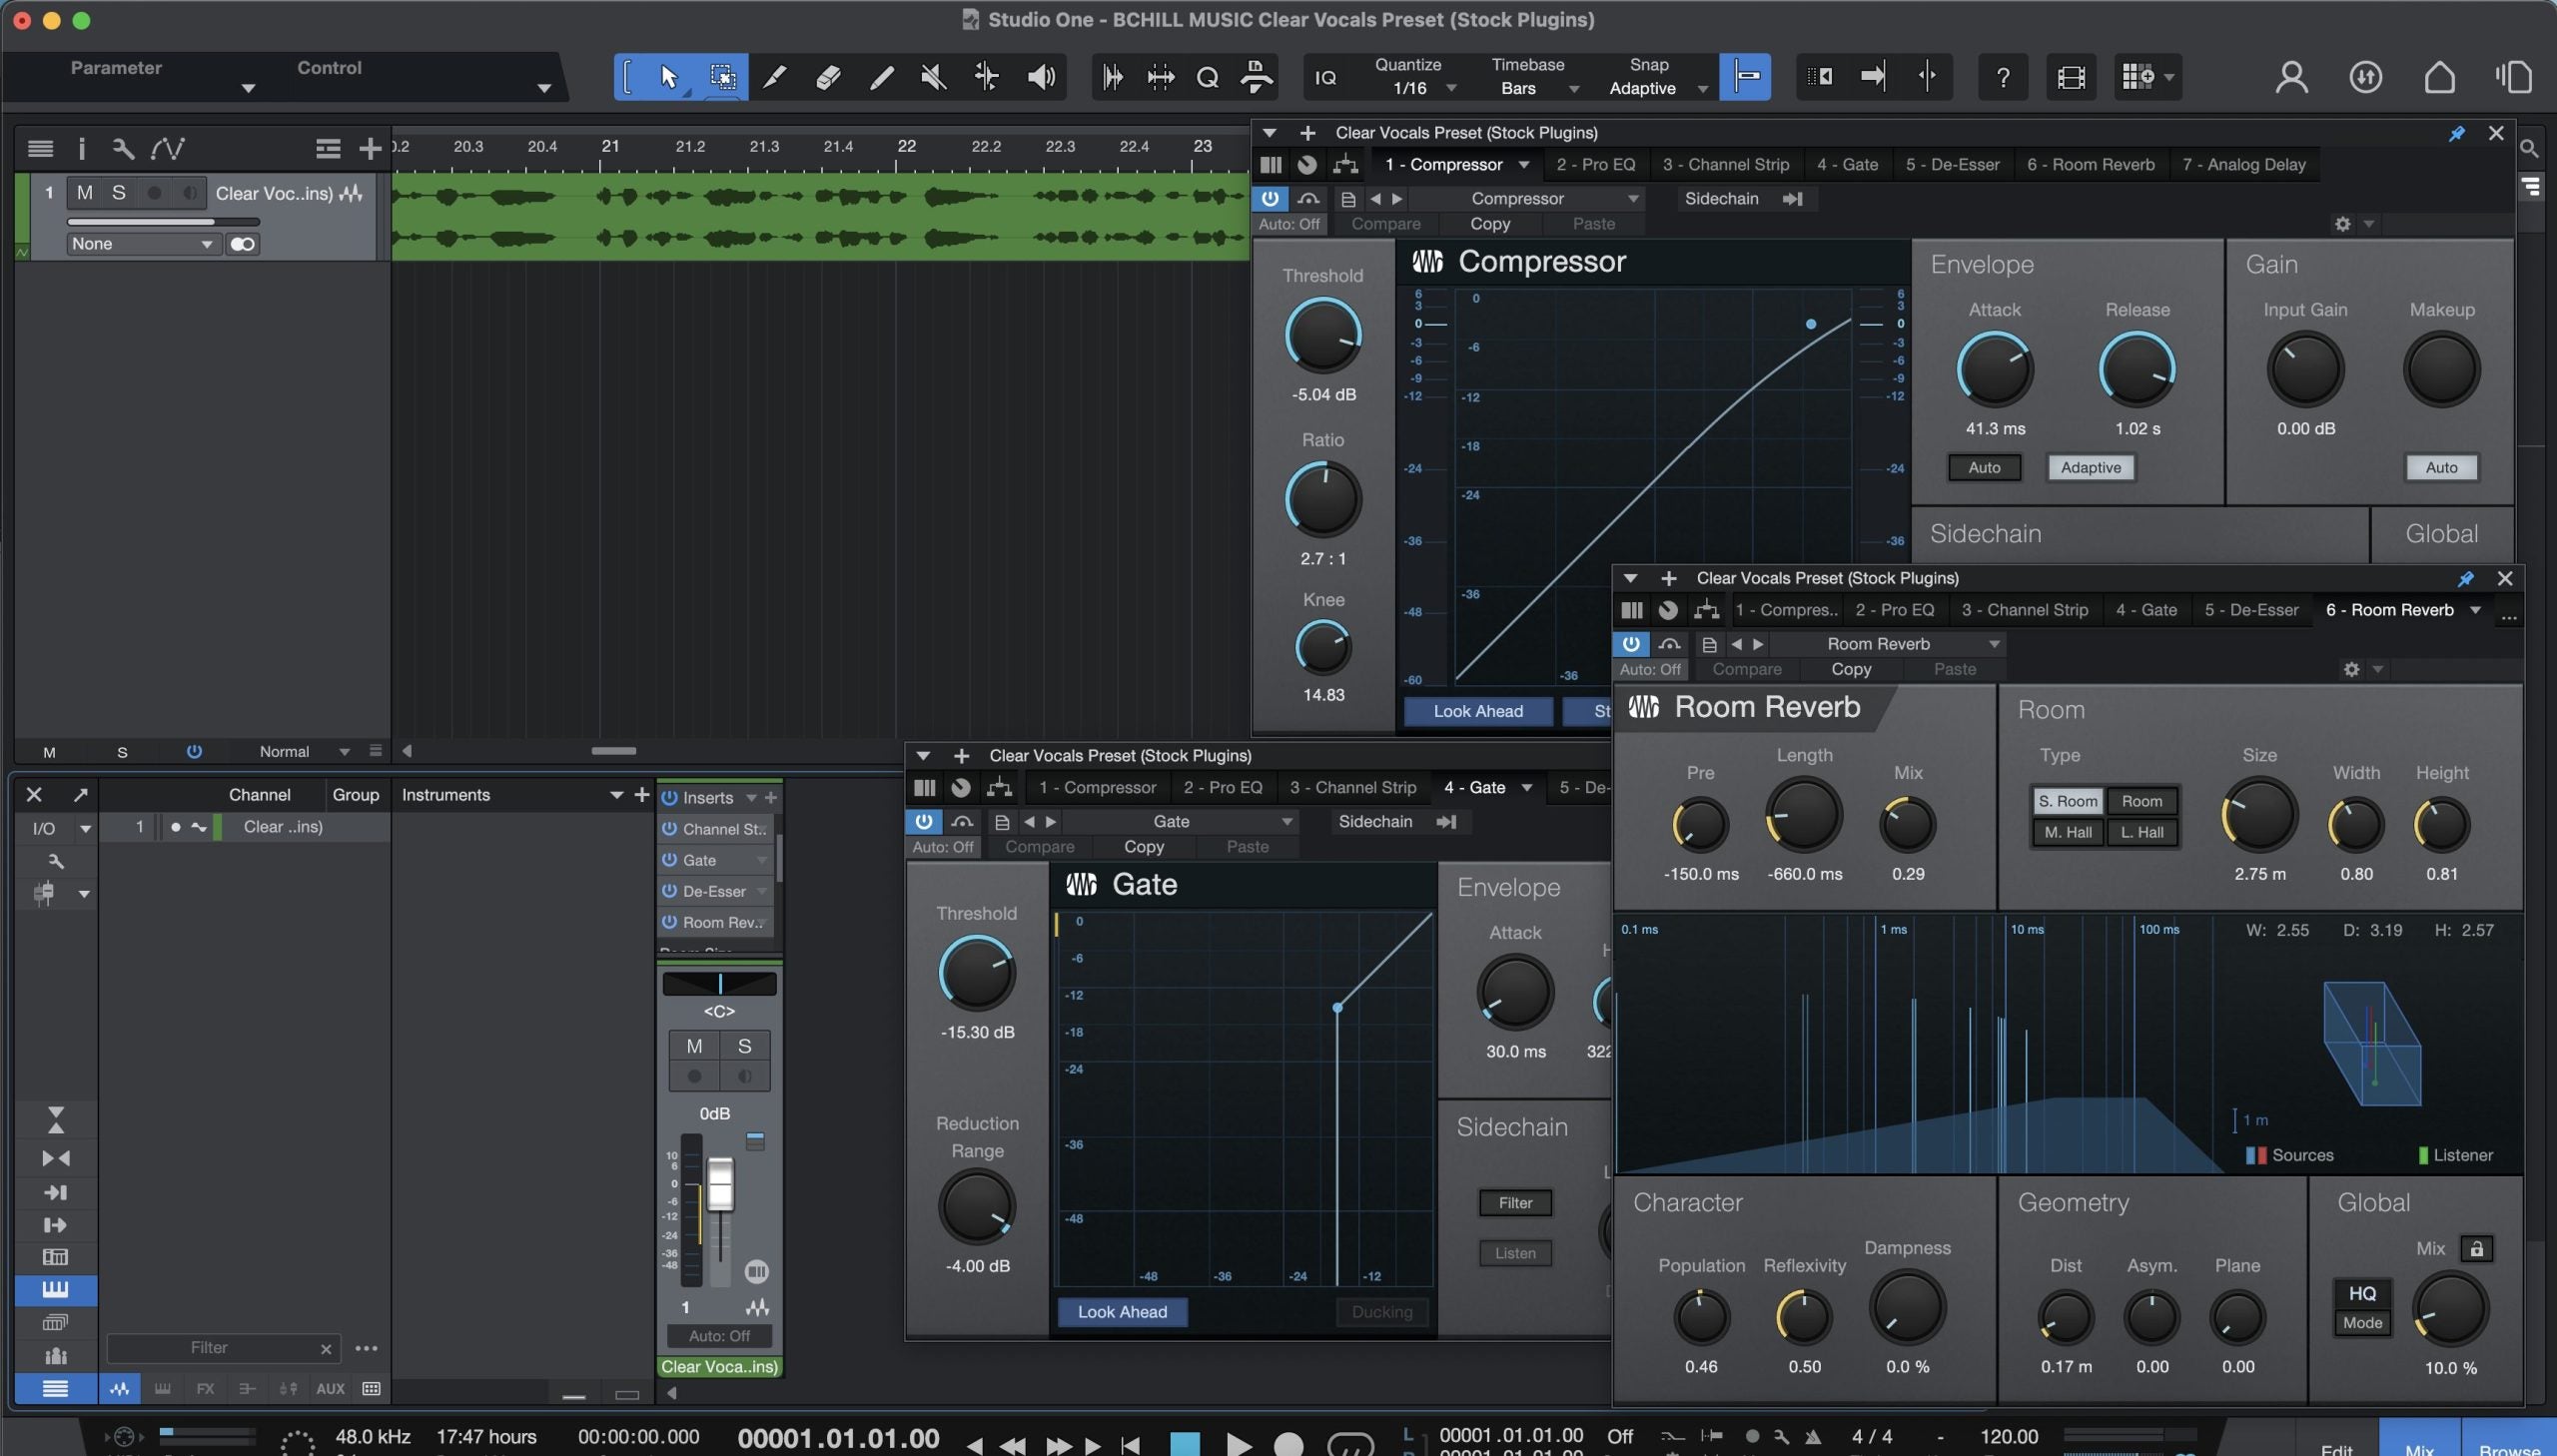
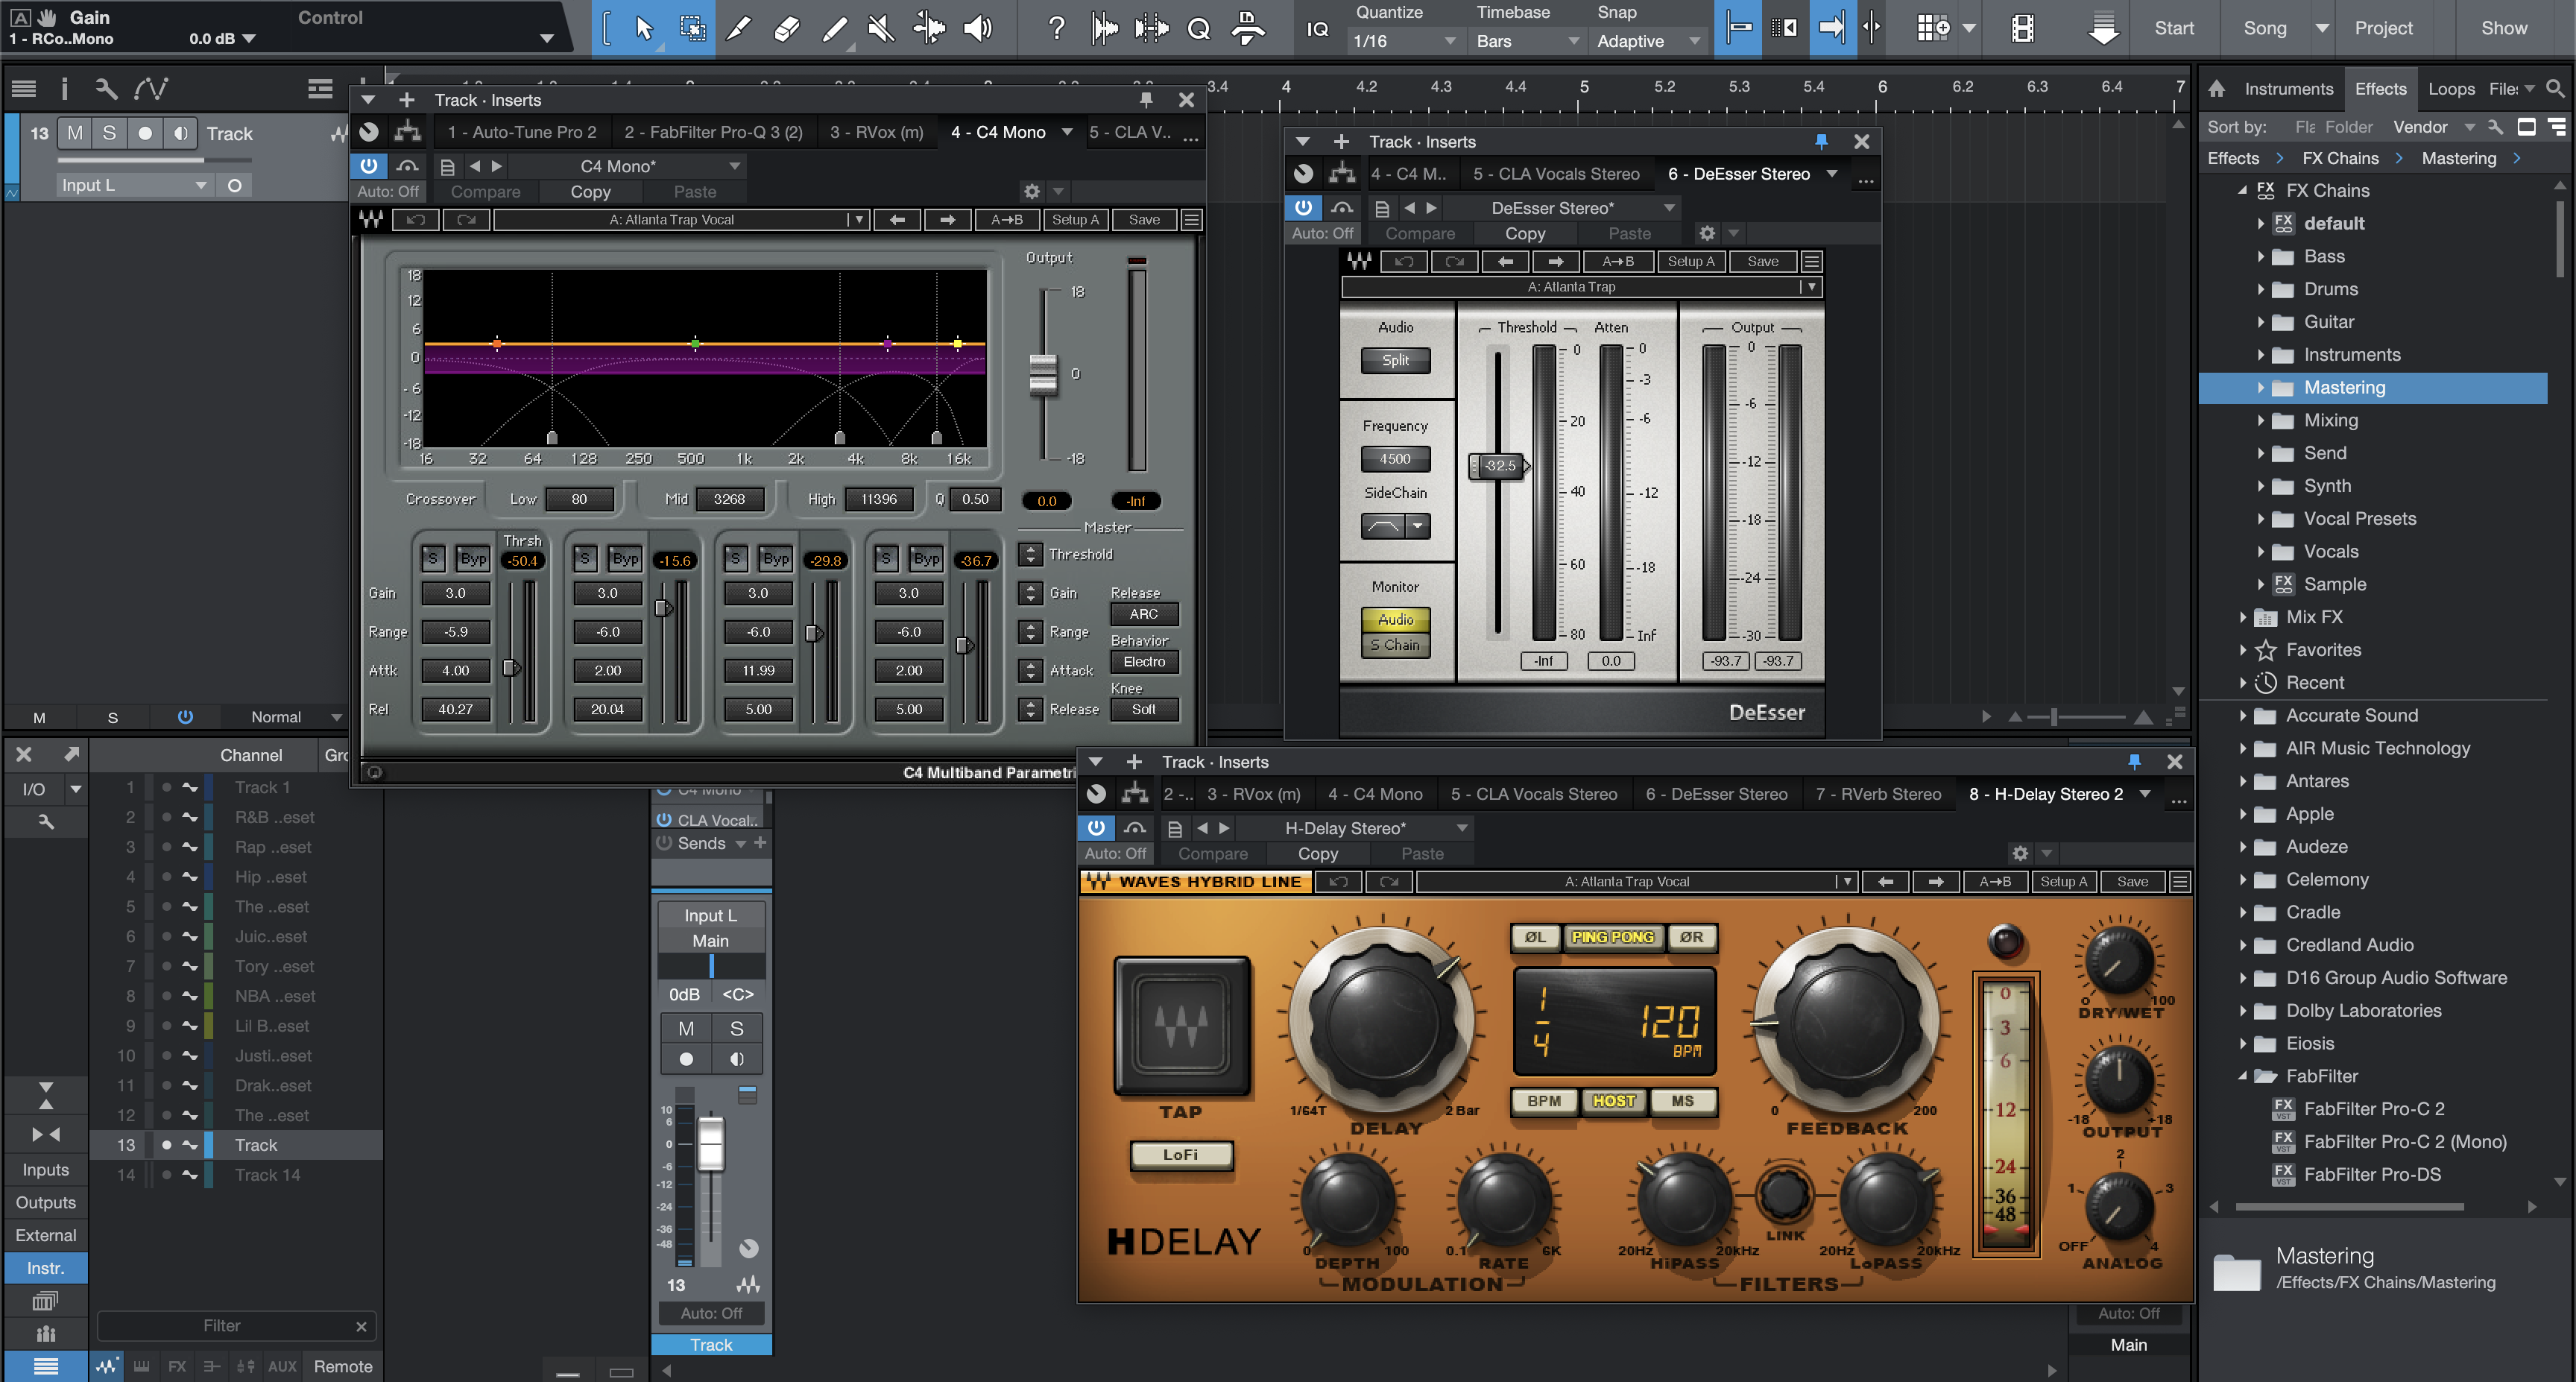
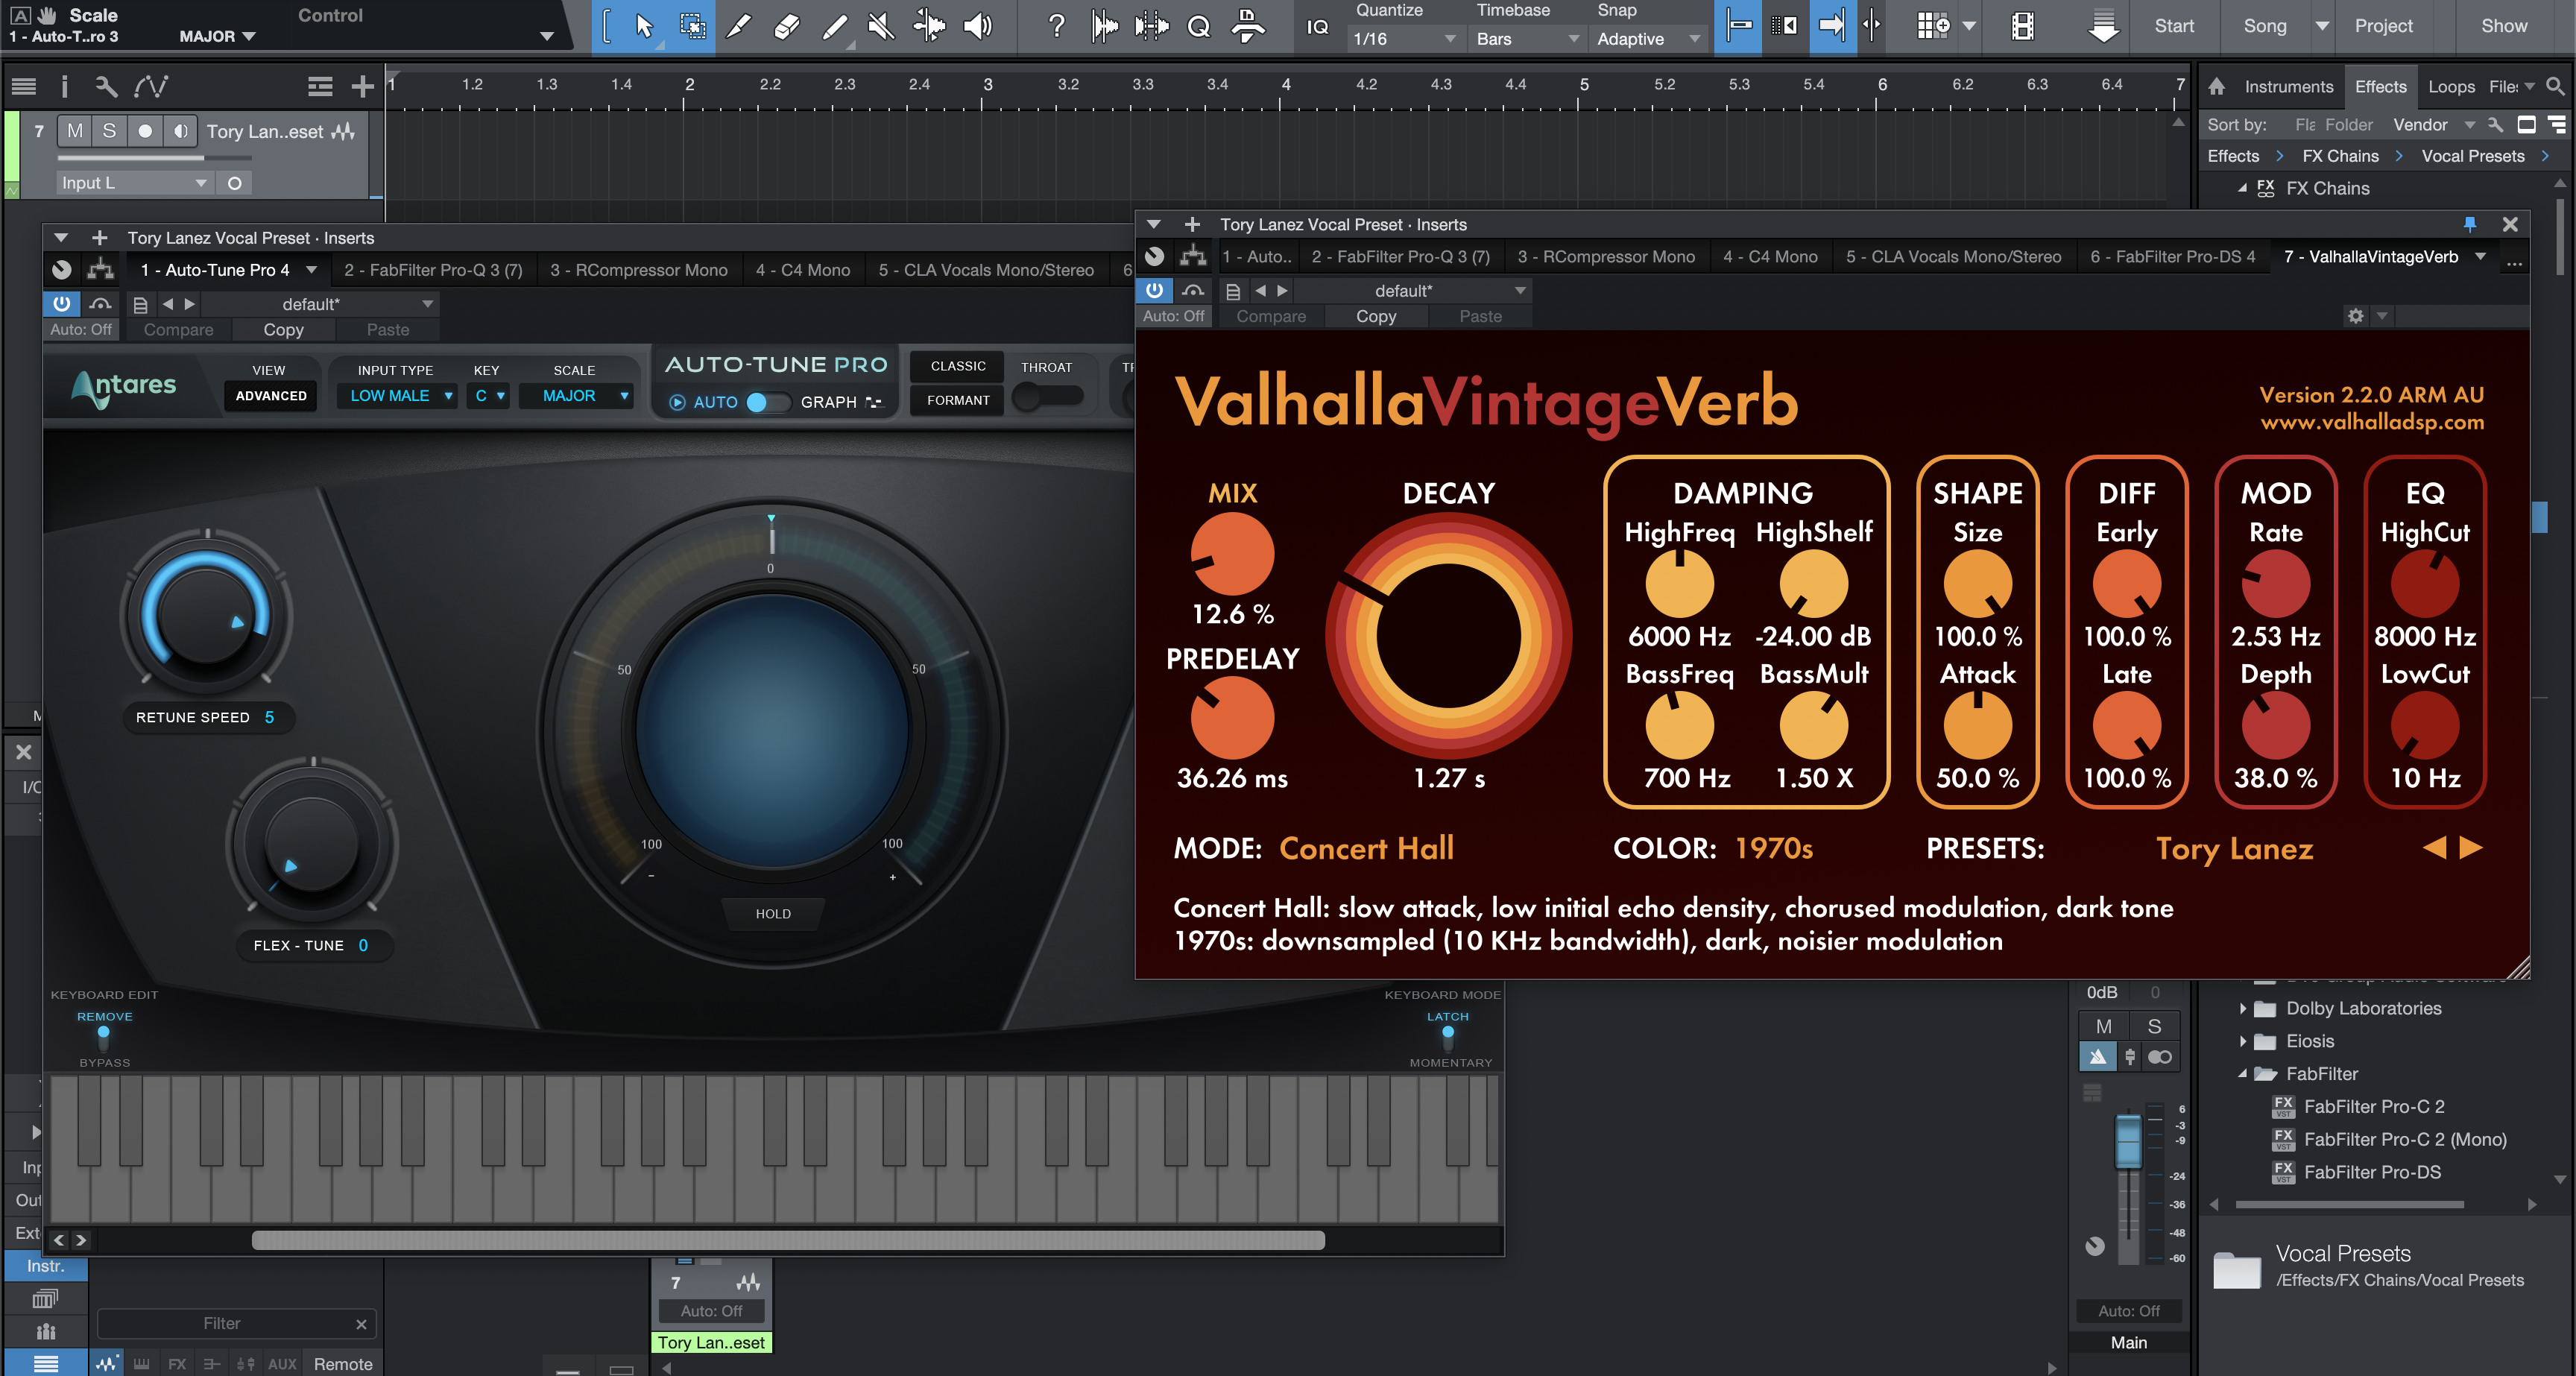
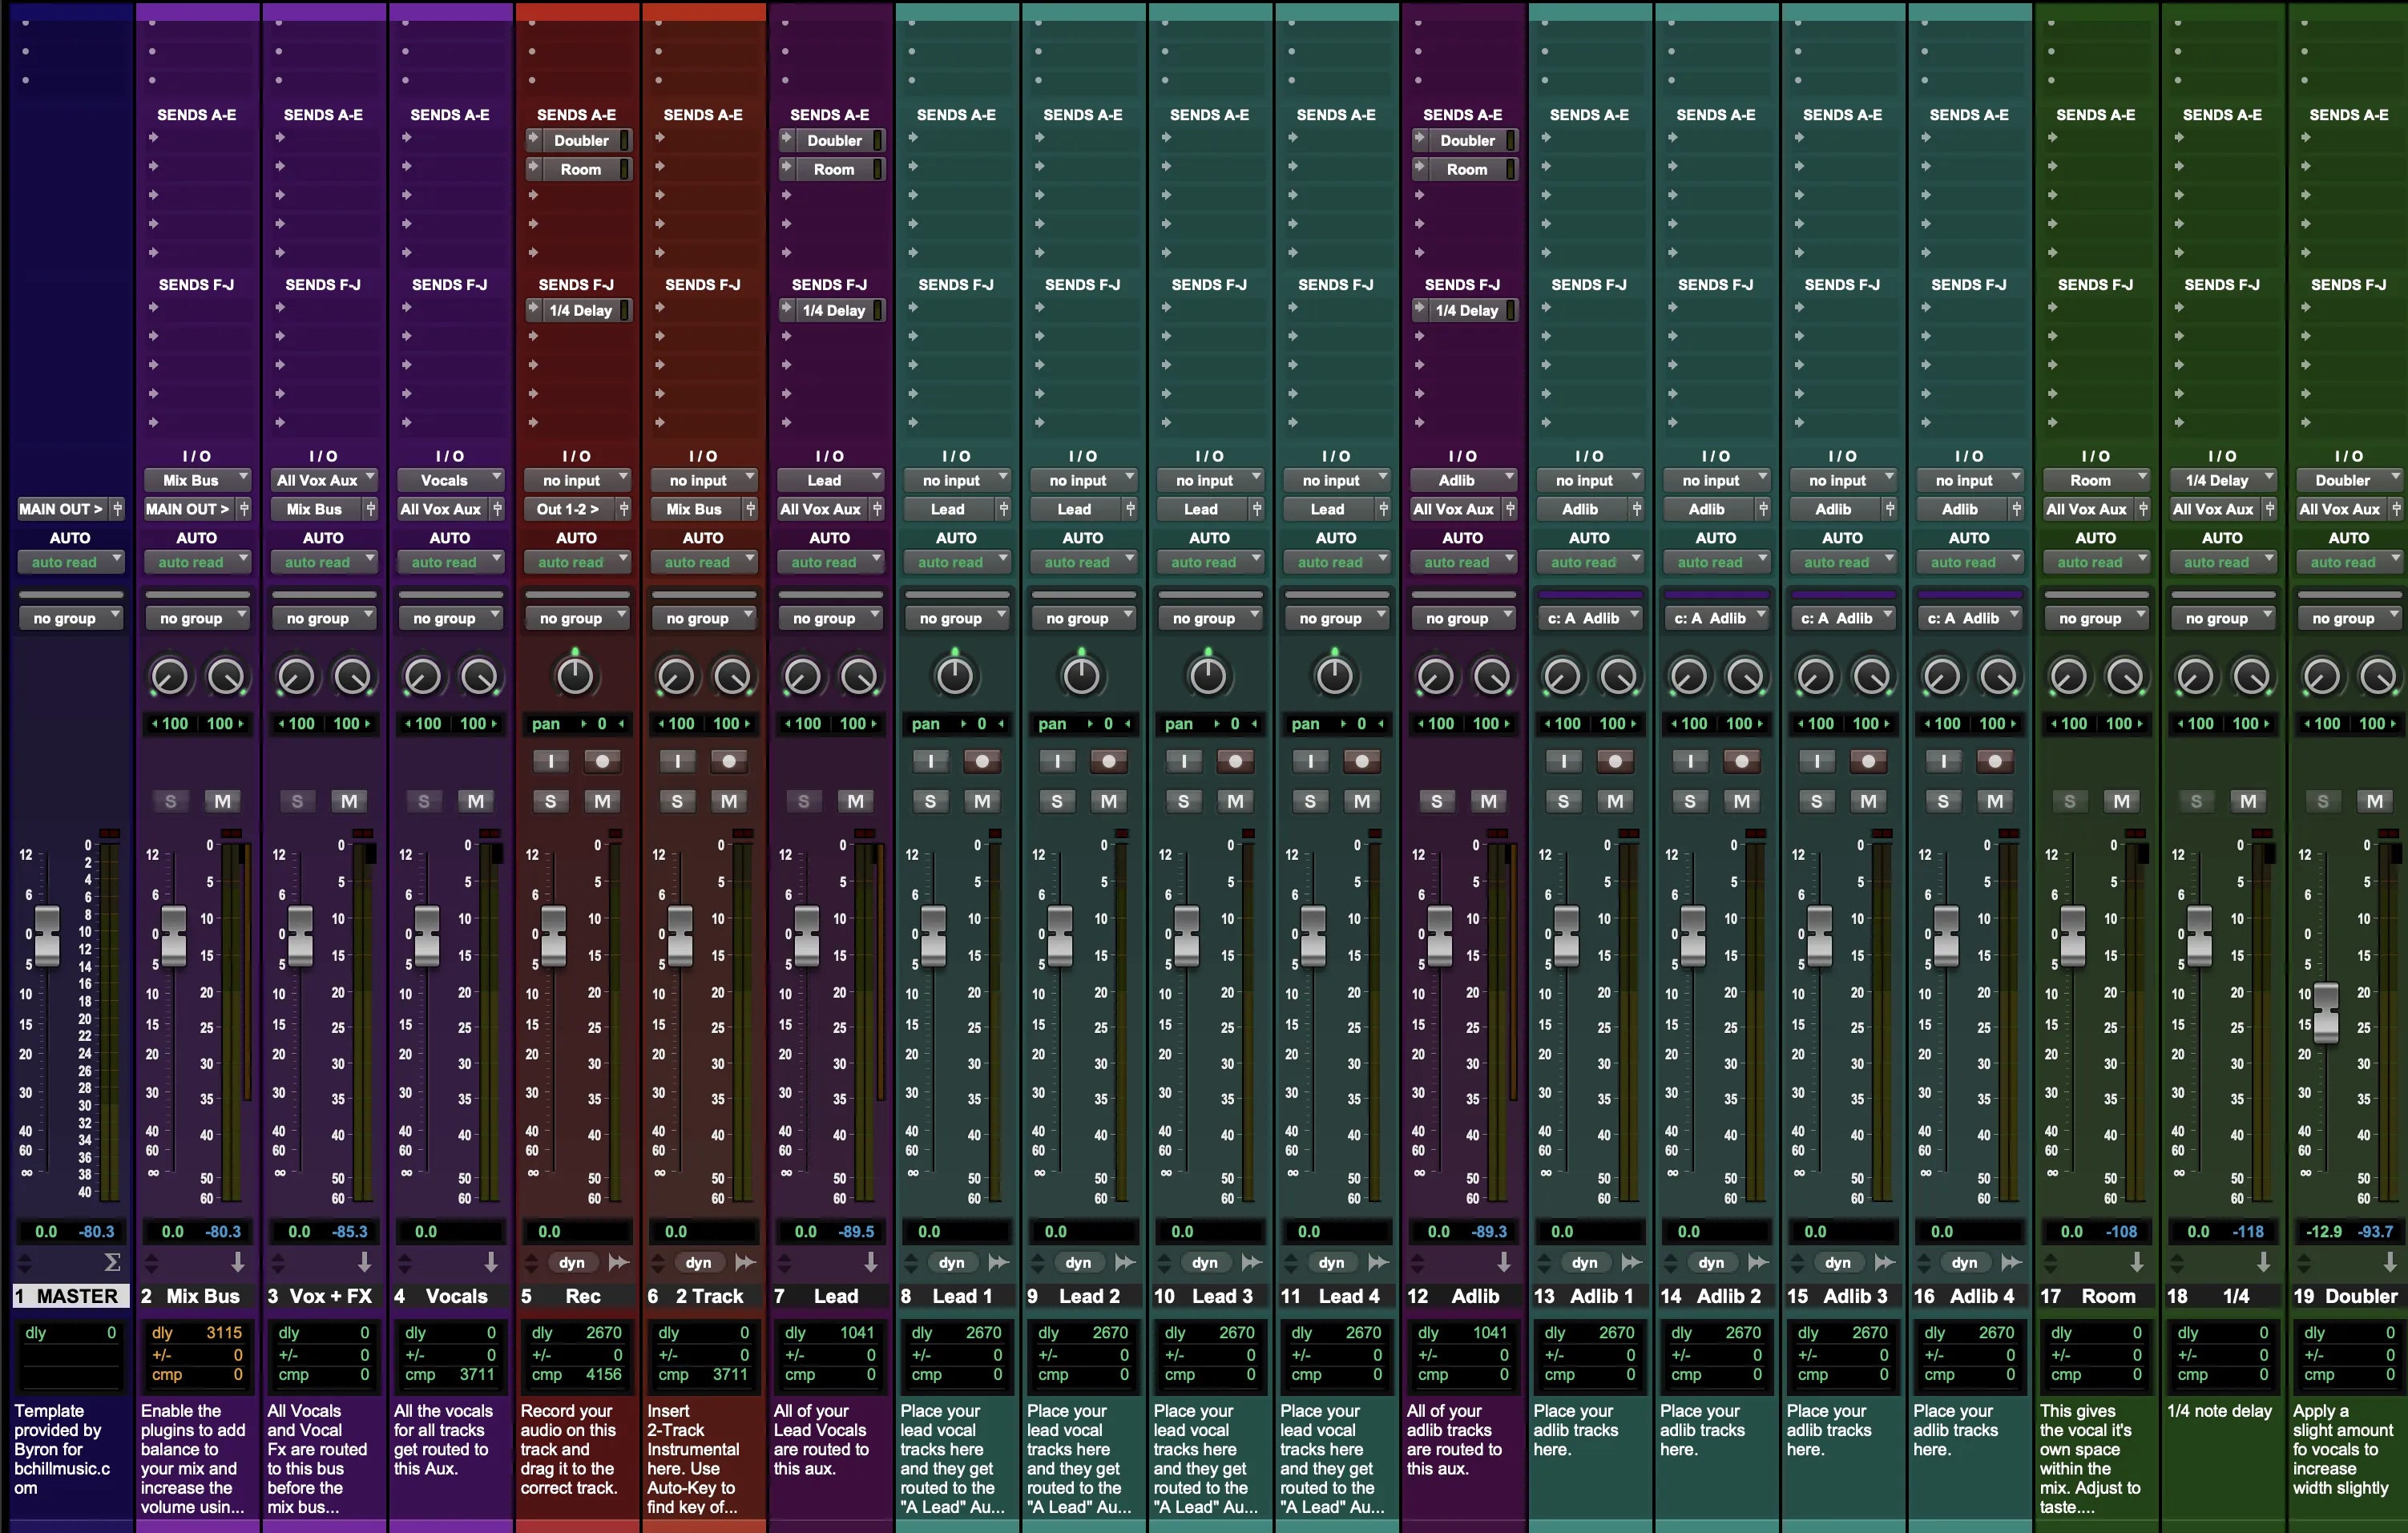
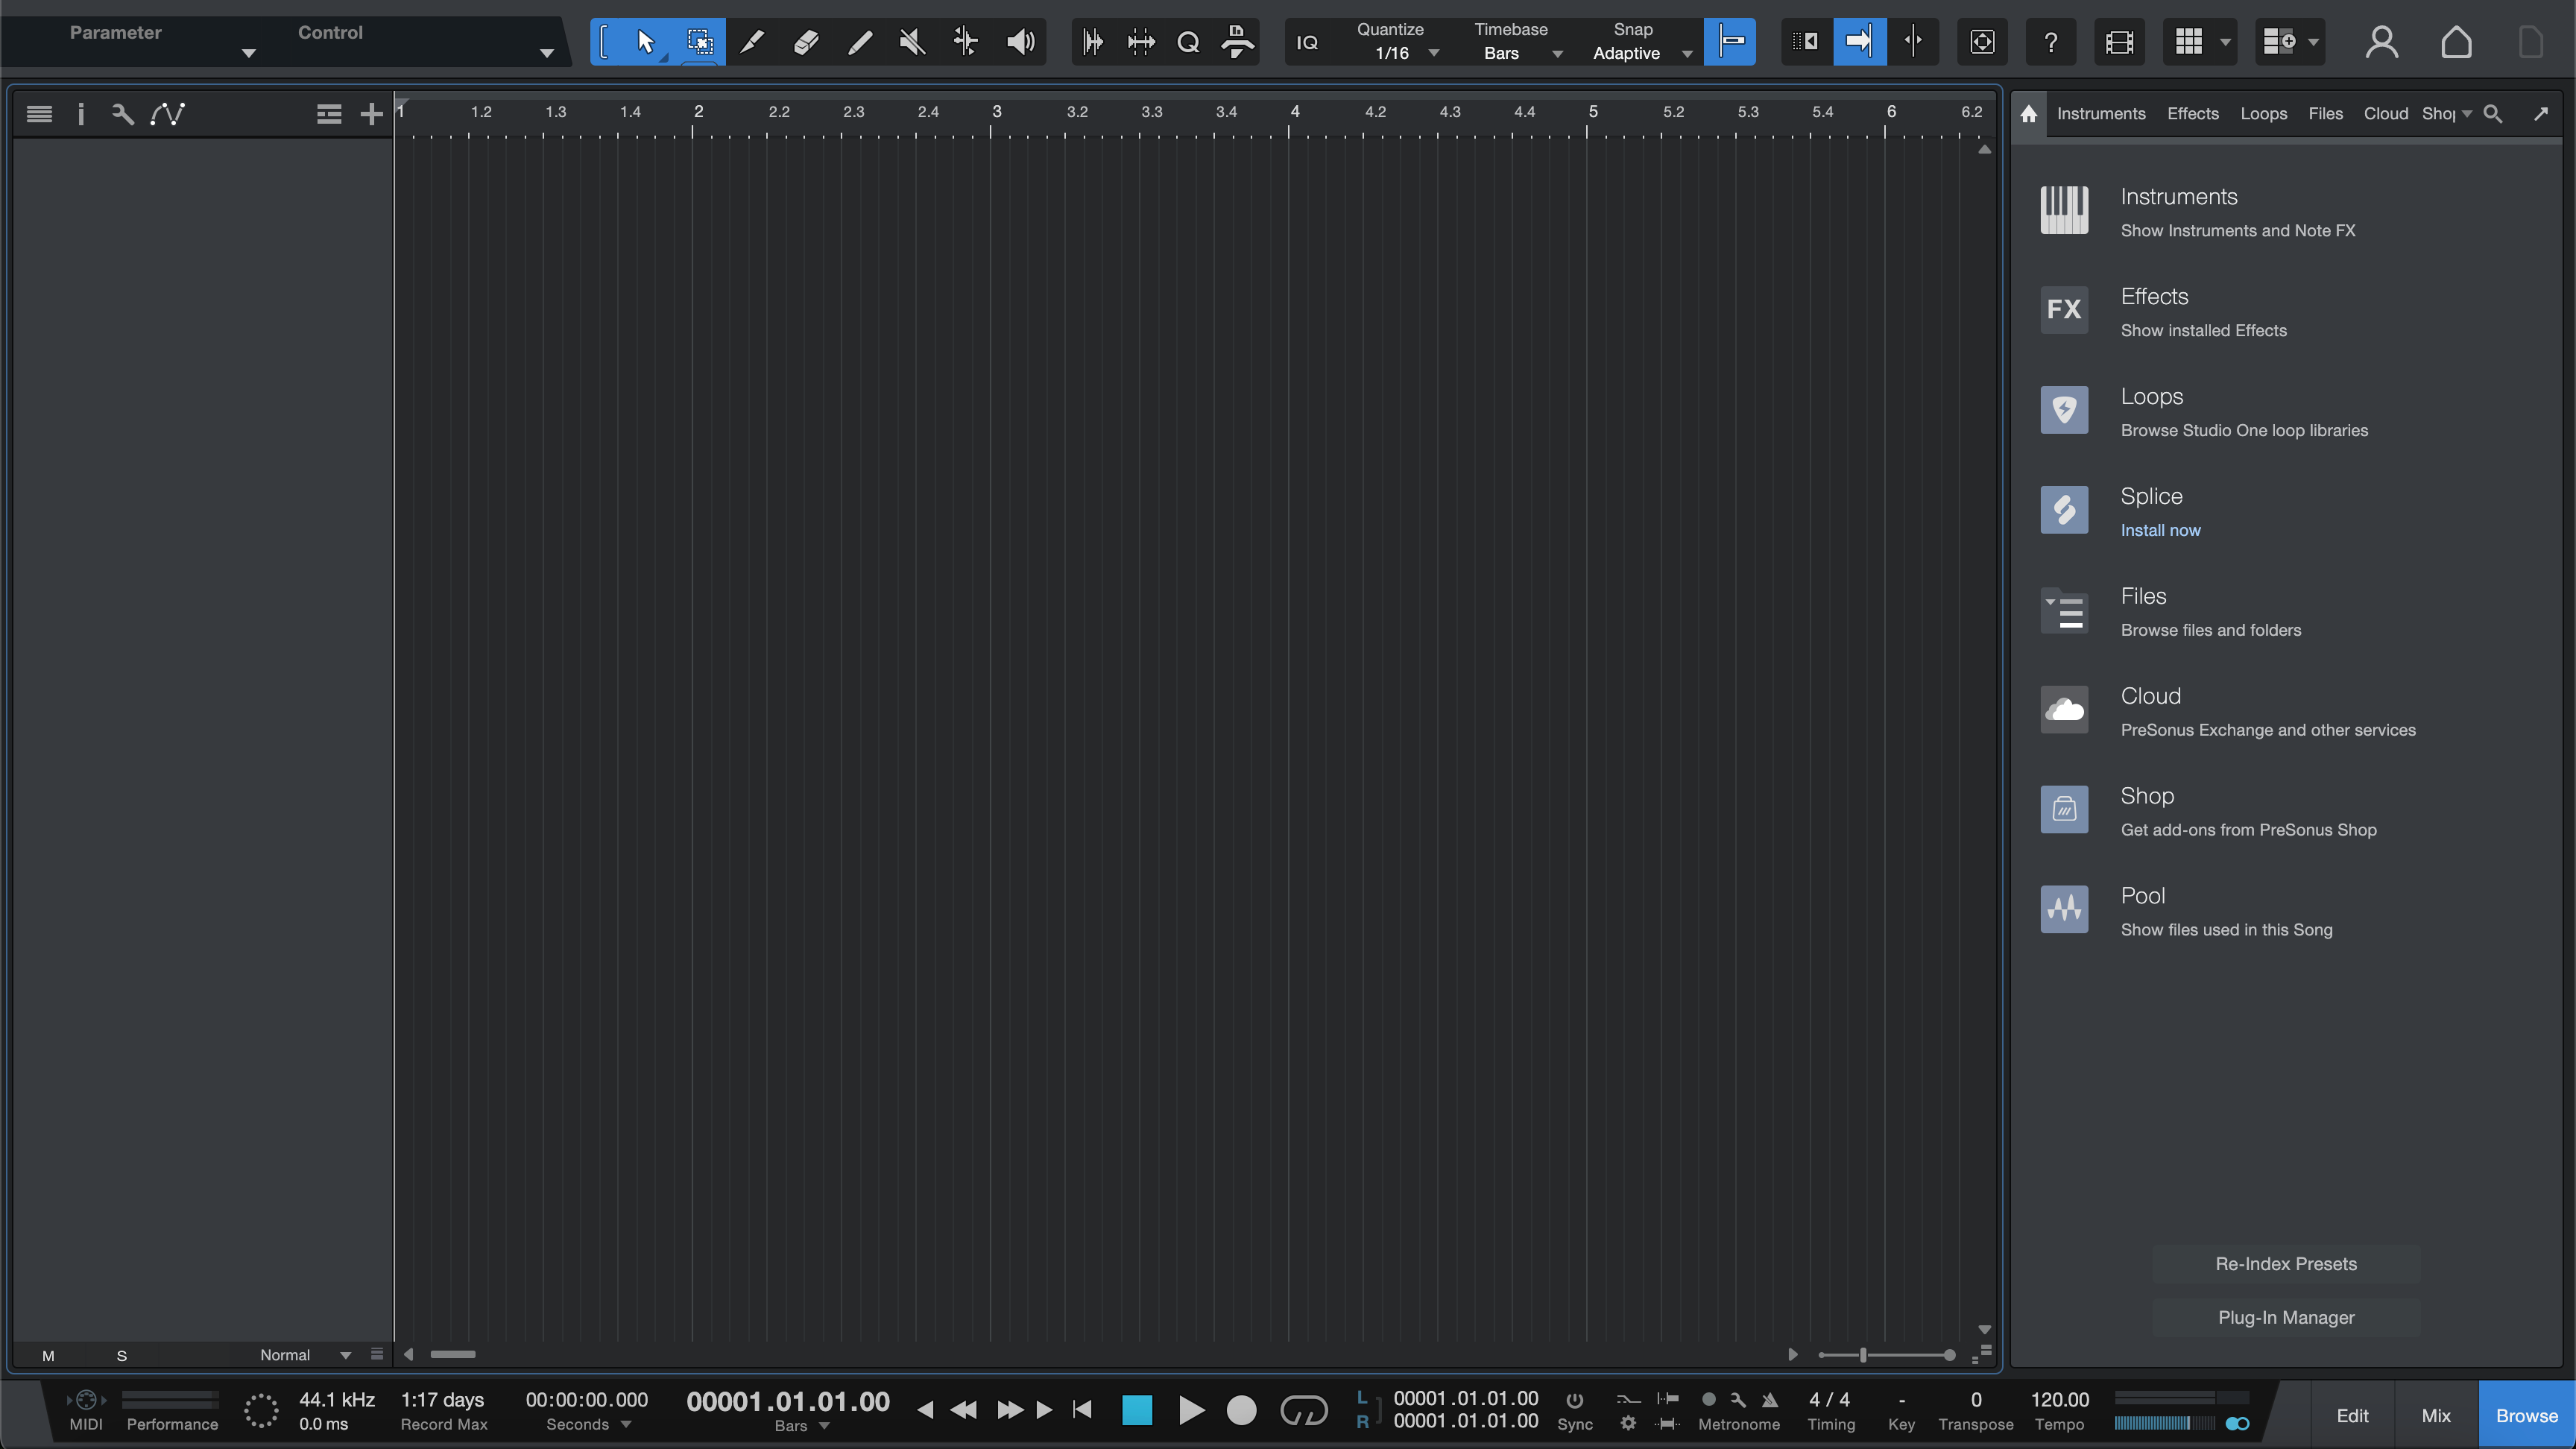
Dentro del DAW: Configuraciones de Preset Vocal de Studio One (Capturas de pantalla)
Un recorrido visual por el diseño típico de la pista, la codificación por colores, los buses y el mezclador en Studio One. Estas imágenes son solo de referencia para mostrar cómo se ve un proyecto vocal cuando está organizado—sin configuraciones incluidas.

